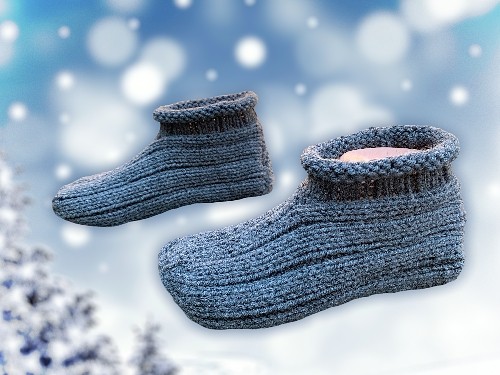
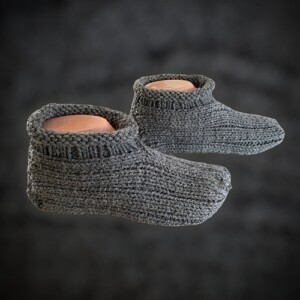
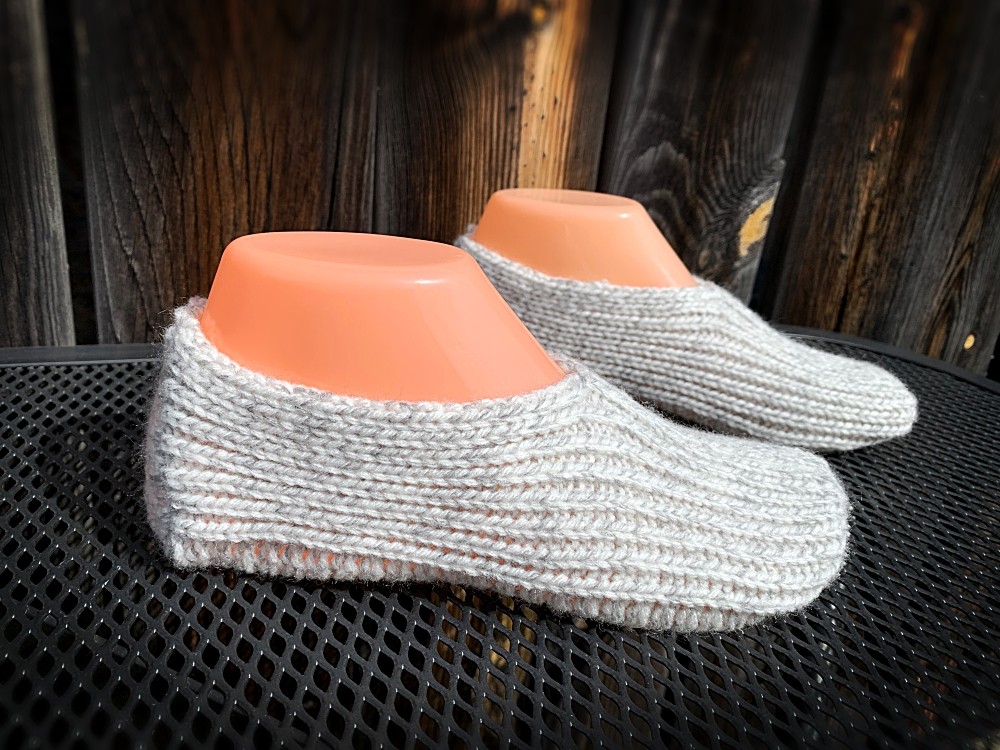
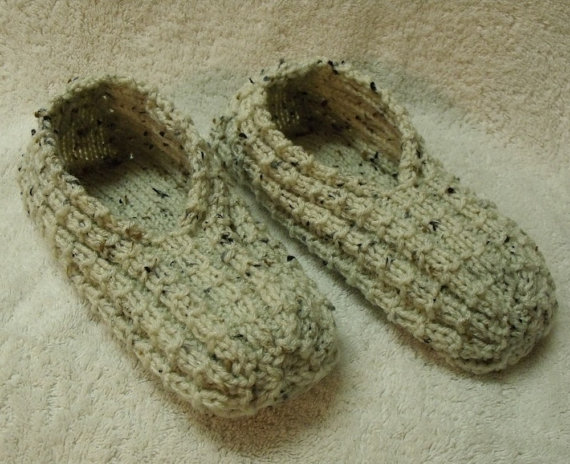
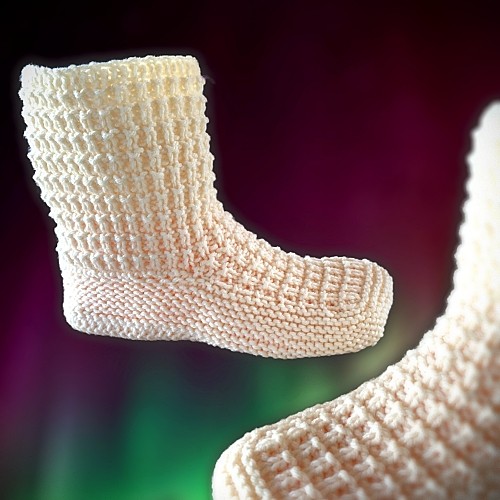
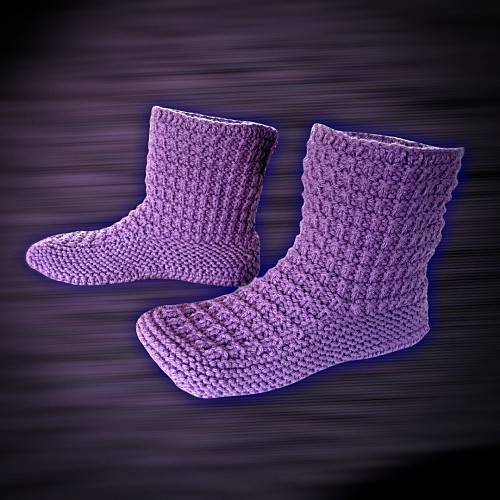
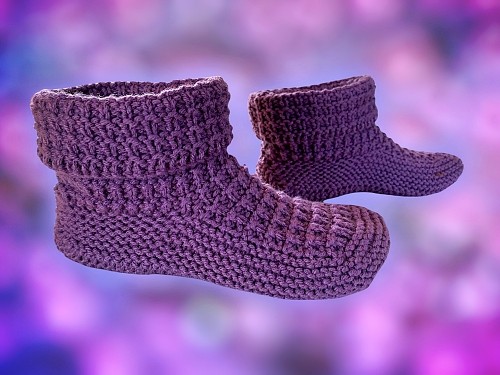
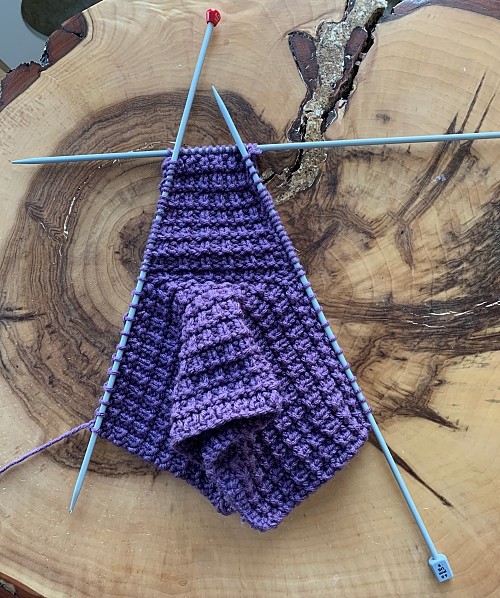
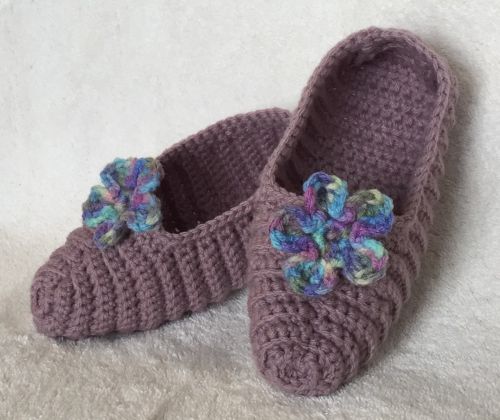
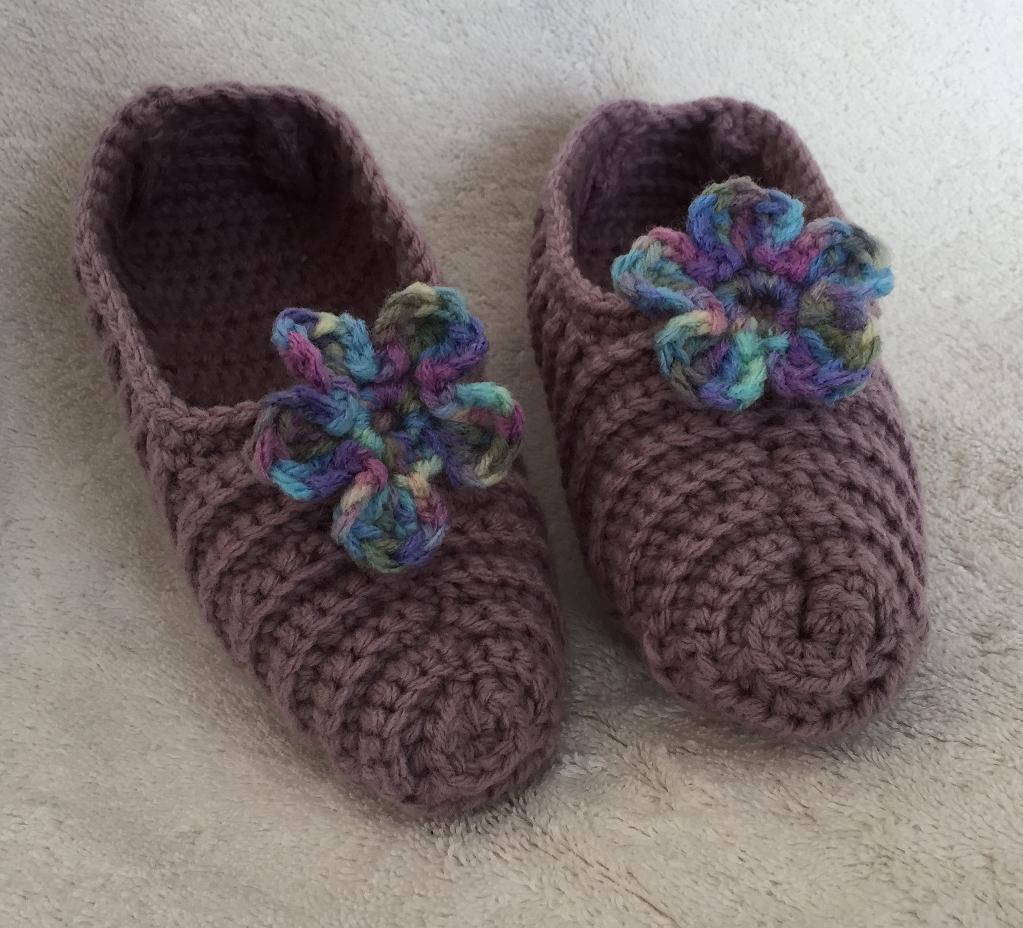
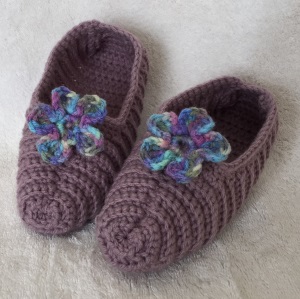
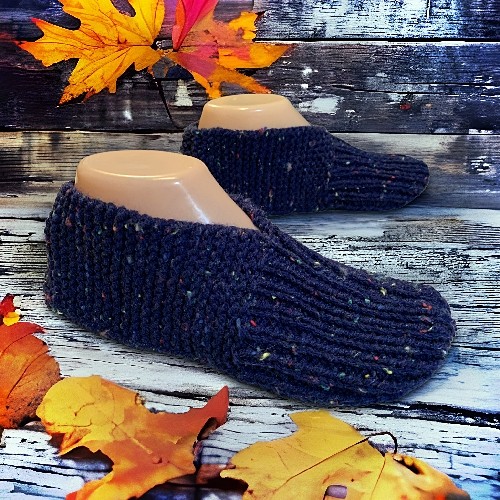
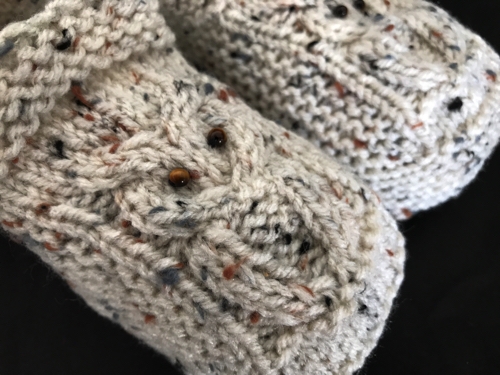
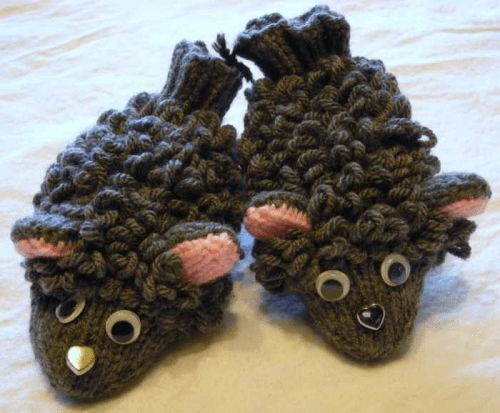
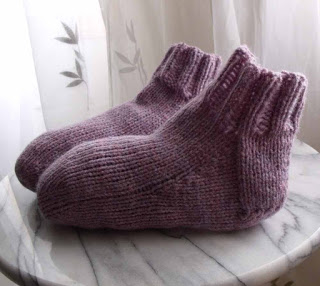
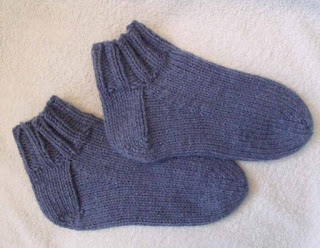
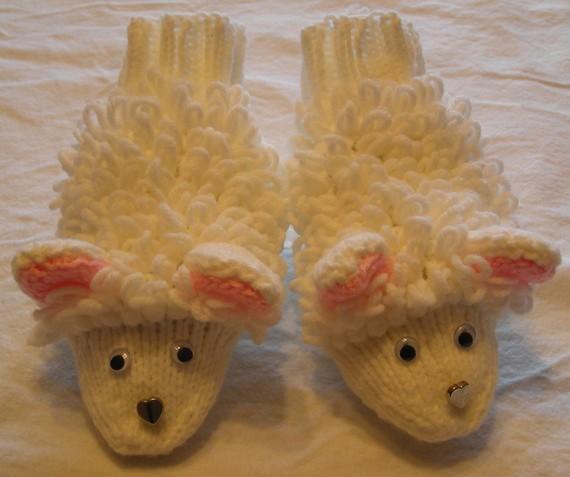
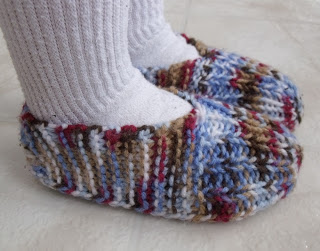
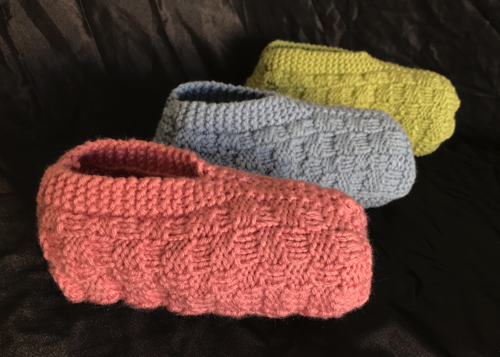
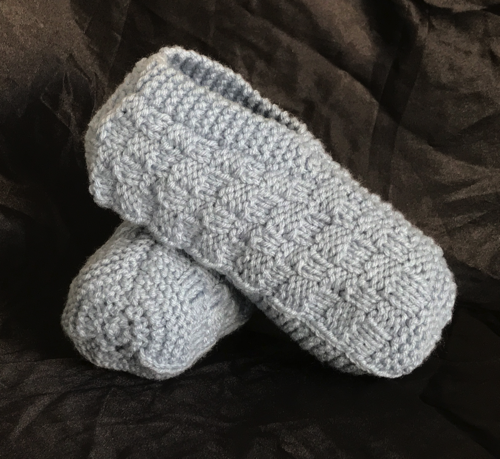
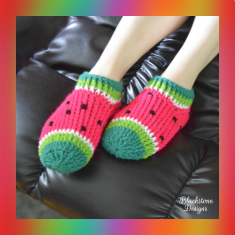
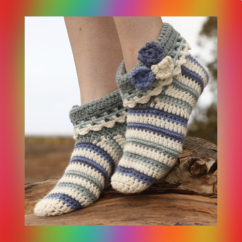
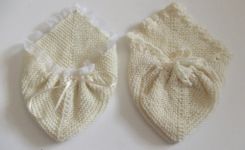
I’ve written a number of slipper patterns over the years with a couple of goals in mind, two goals to be specific. The first is to never have any seams to sew. This pattern didn’t meet this requirement. I offer a heartfelt apology for this.
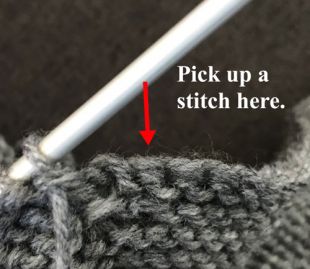
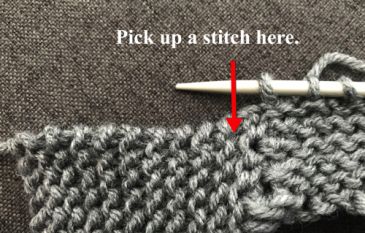
The other goal is to make them as easy as possible so new knitters or those with not as much experience, can knit something that gives a great final product. This pattern was written specifically to avoid any difficult techniques, specifically, picking up stitches. That is why this pattern is done in one piece; starting at the heel and working towards the toe.
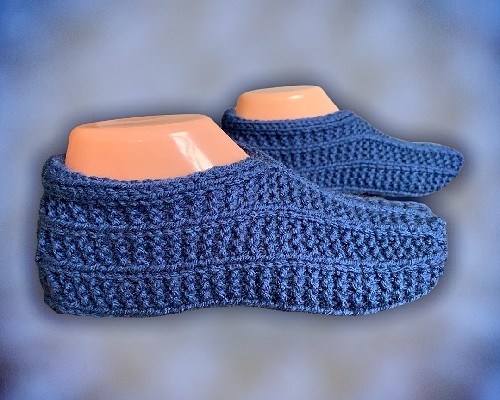

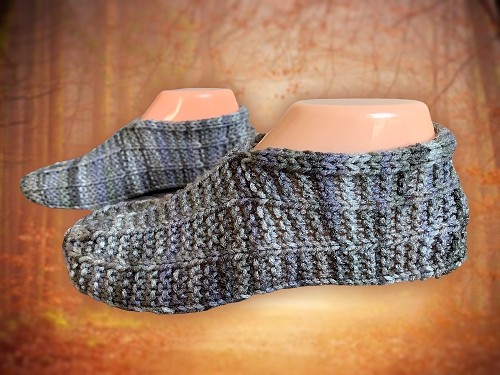
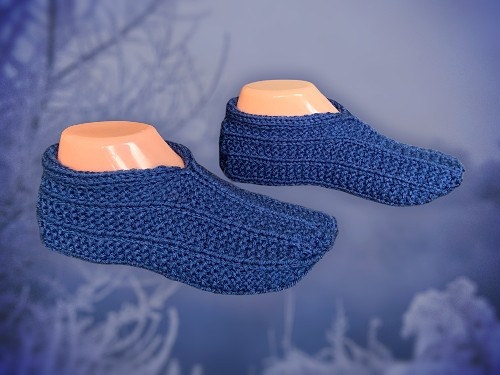
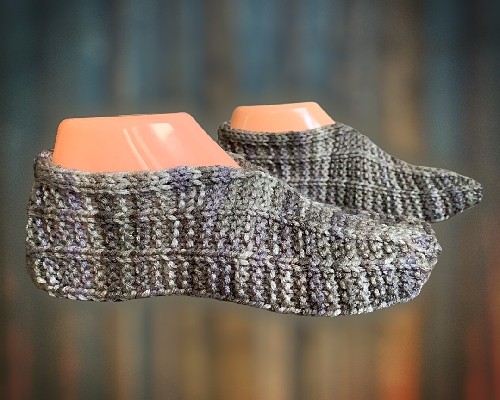
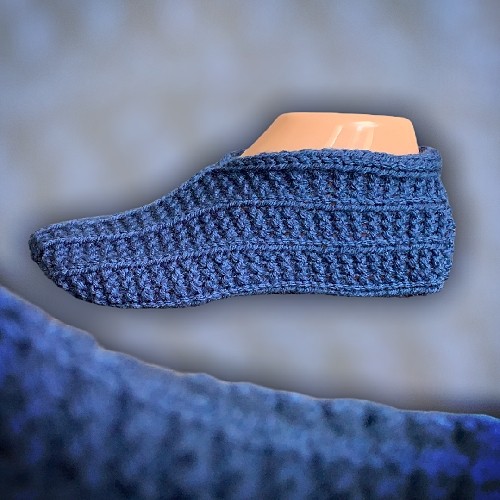
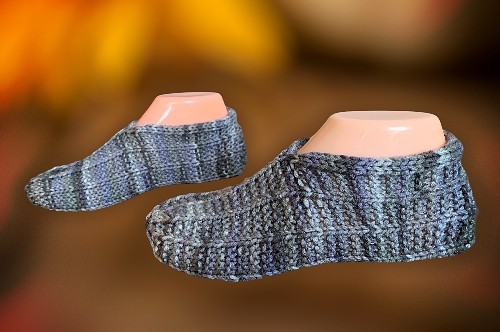
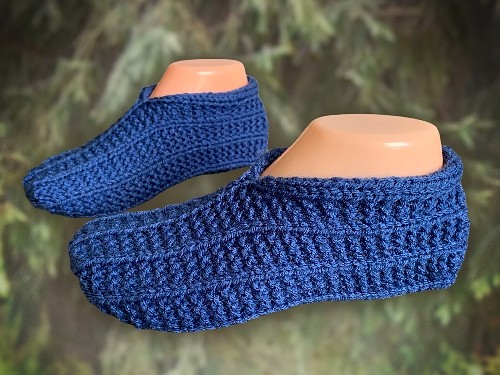
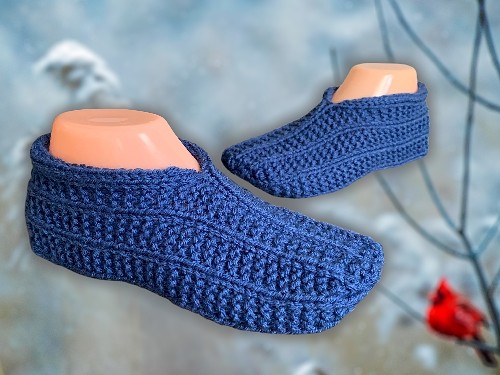
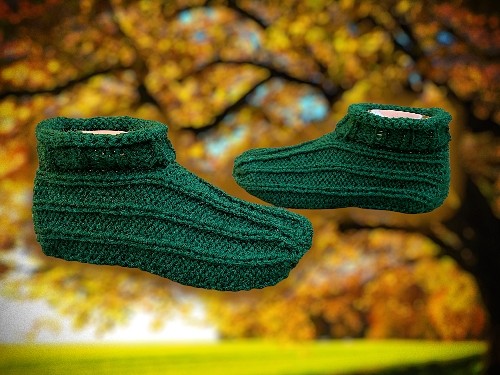
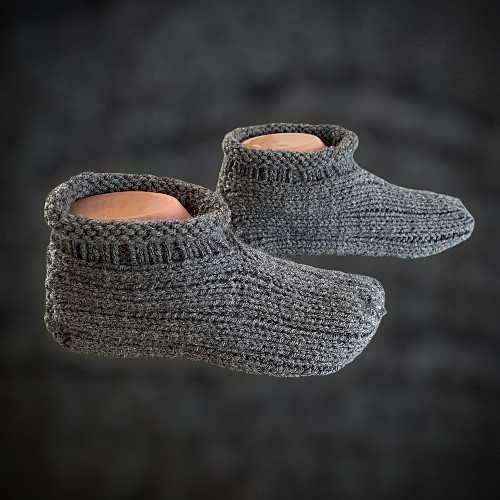
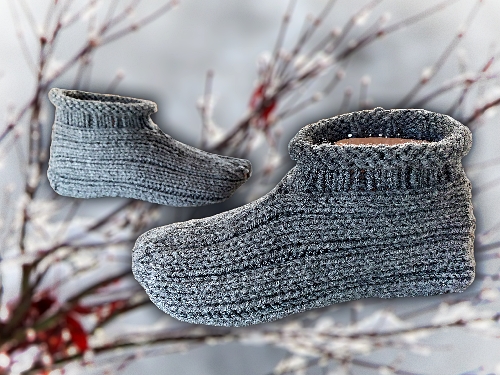
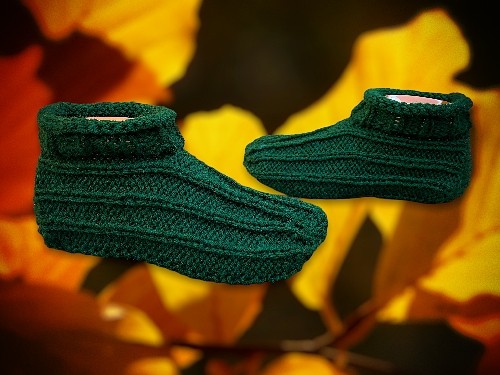
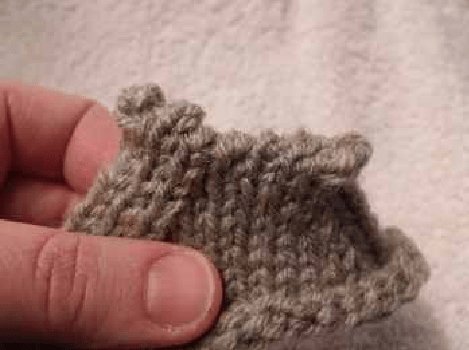
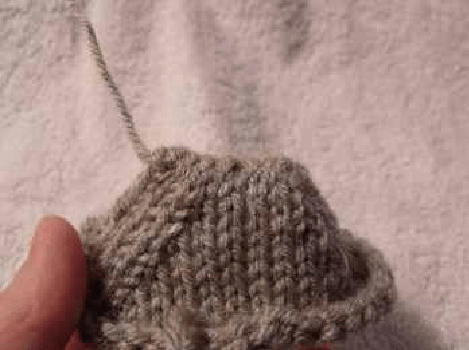
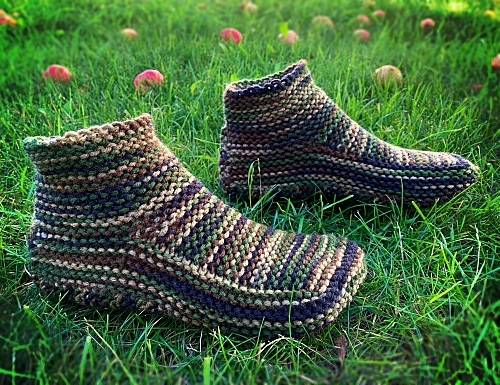
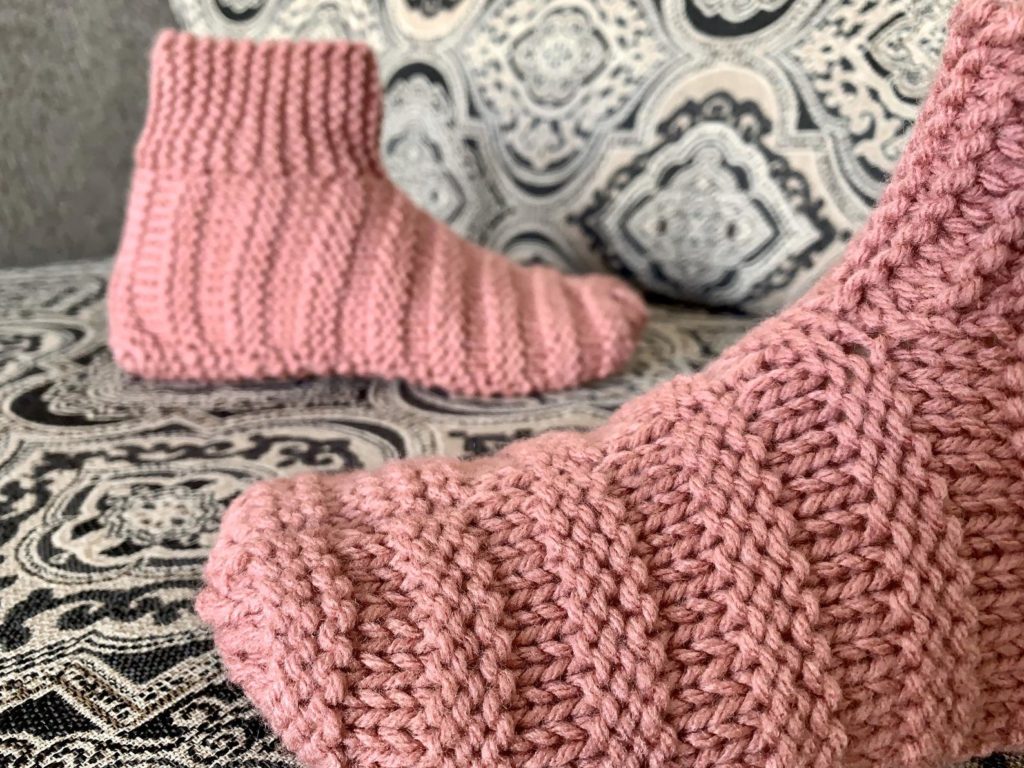
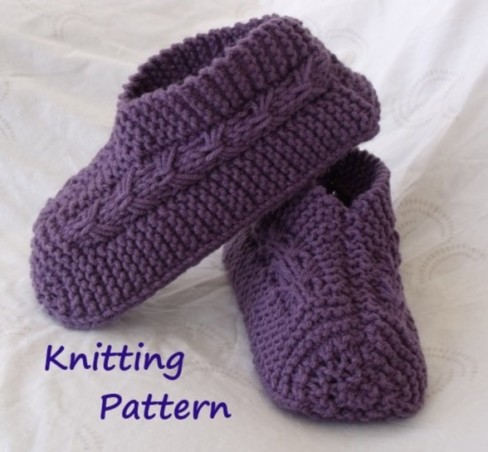
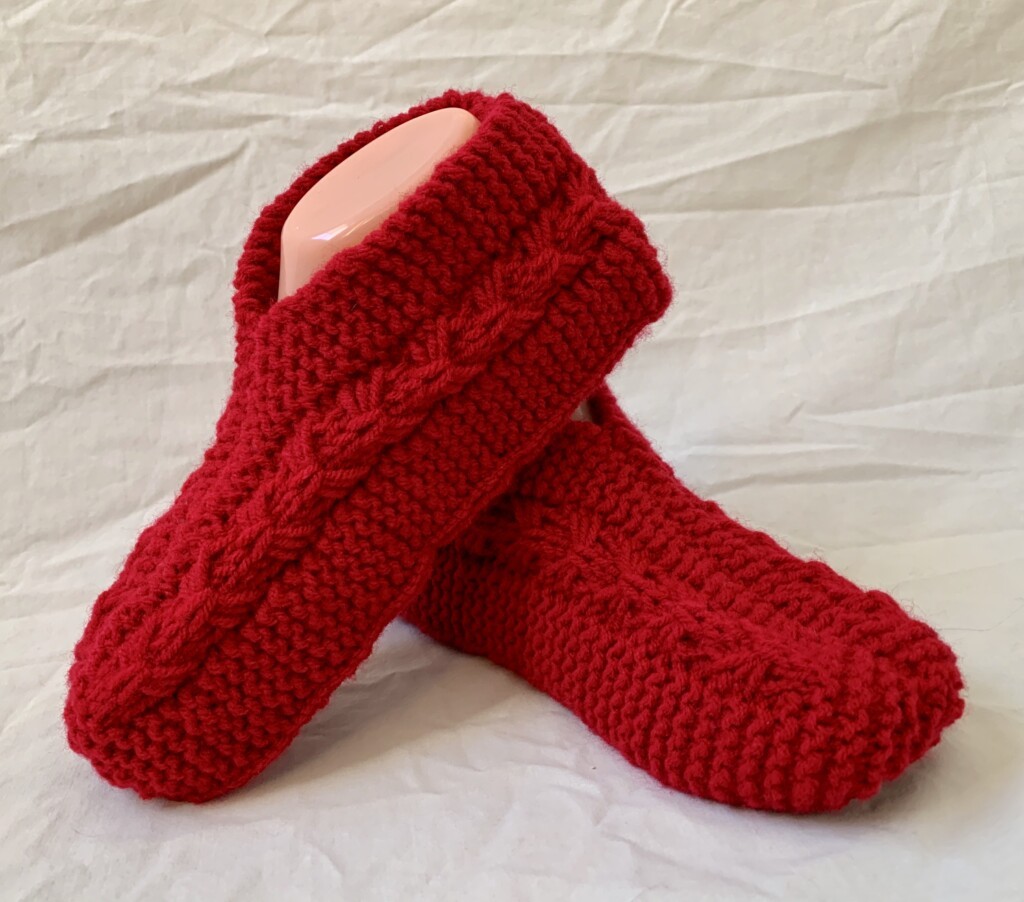
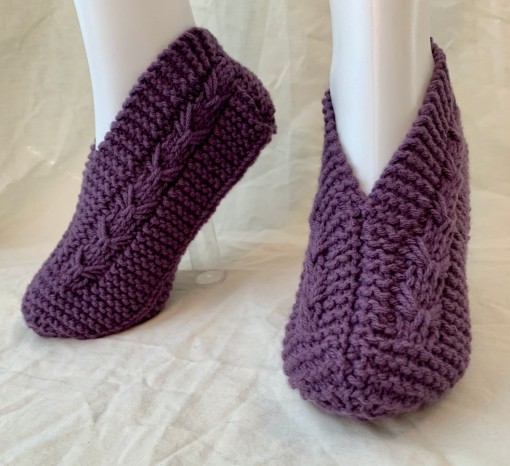
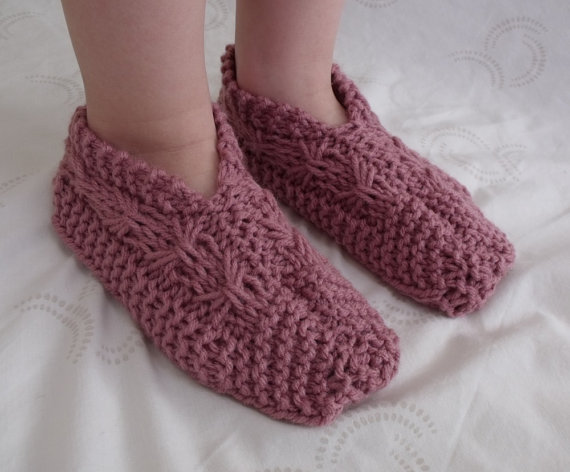
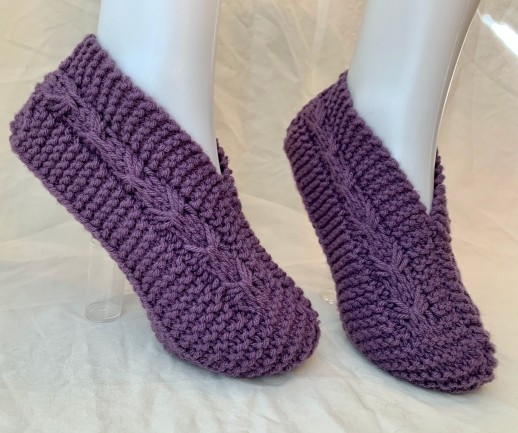
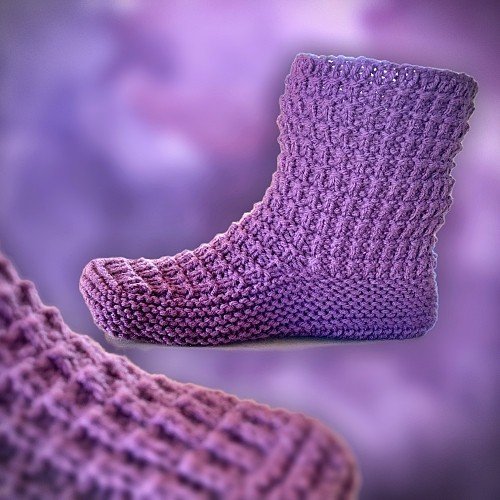
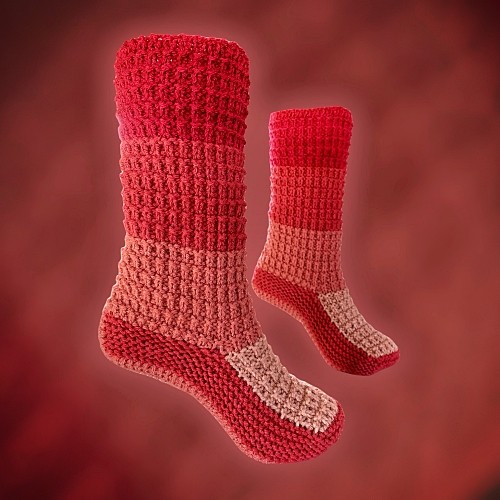
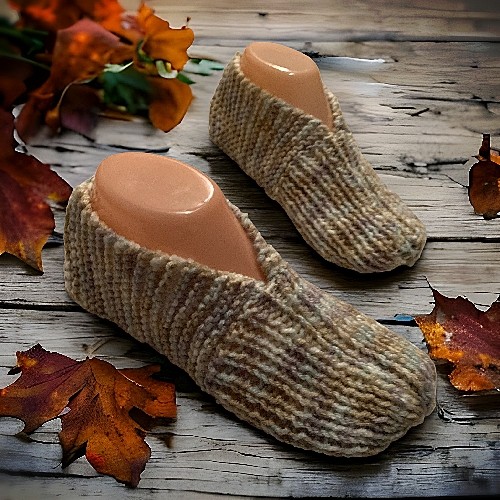
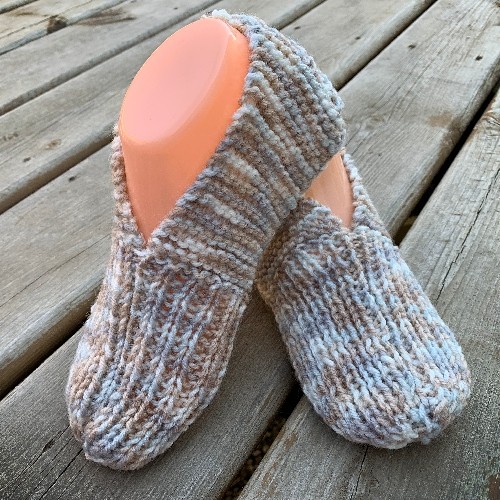
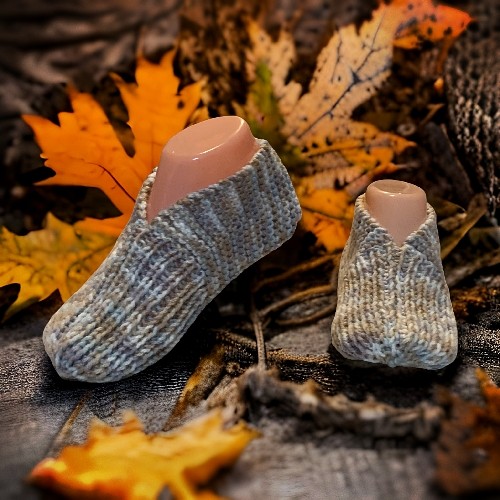
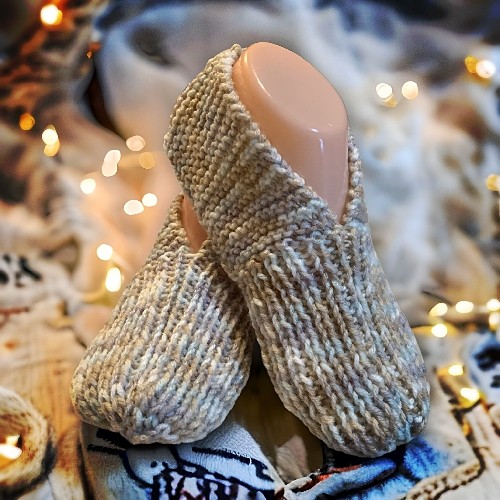
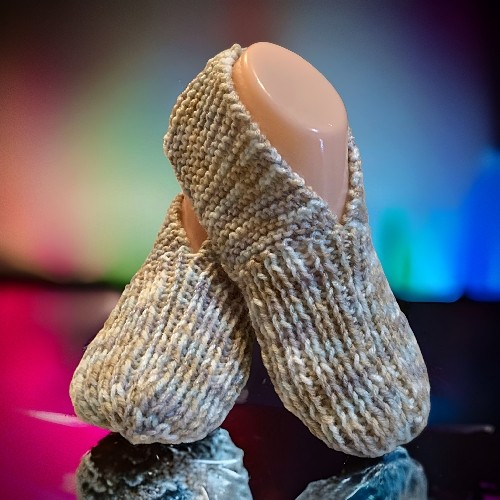
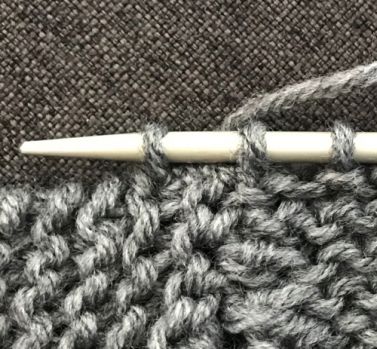
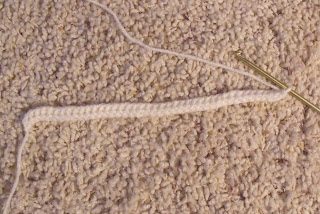
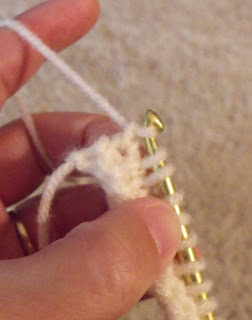
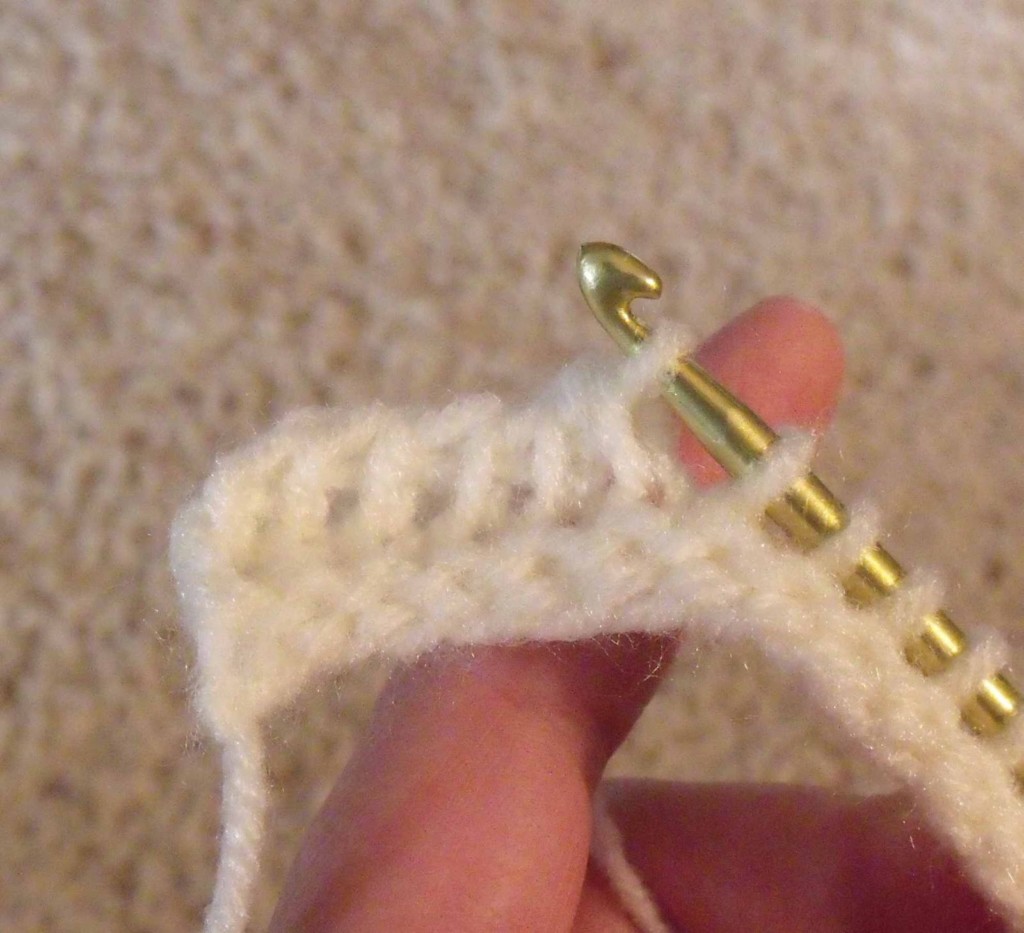
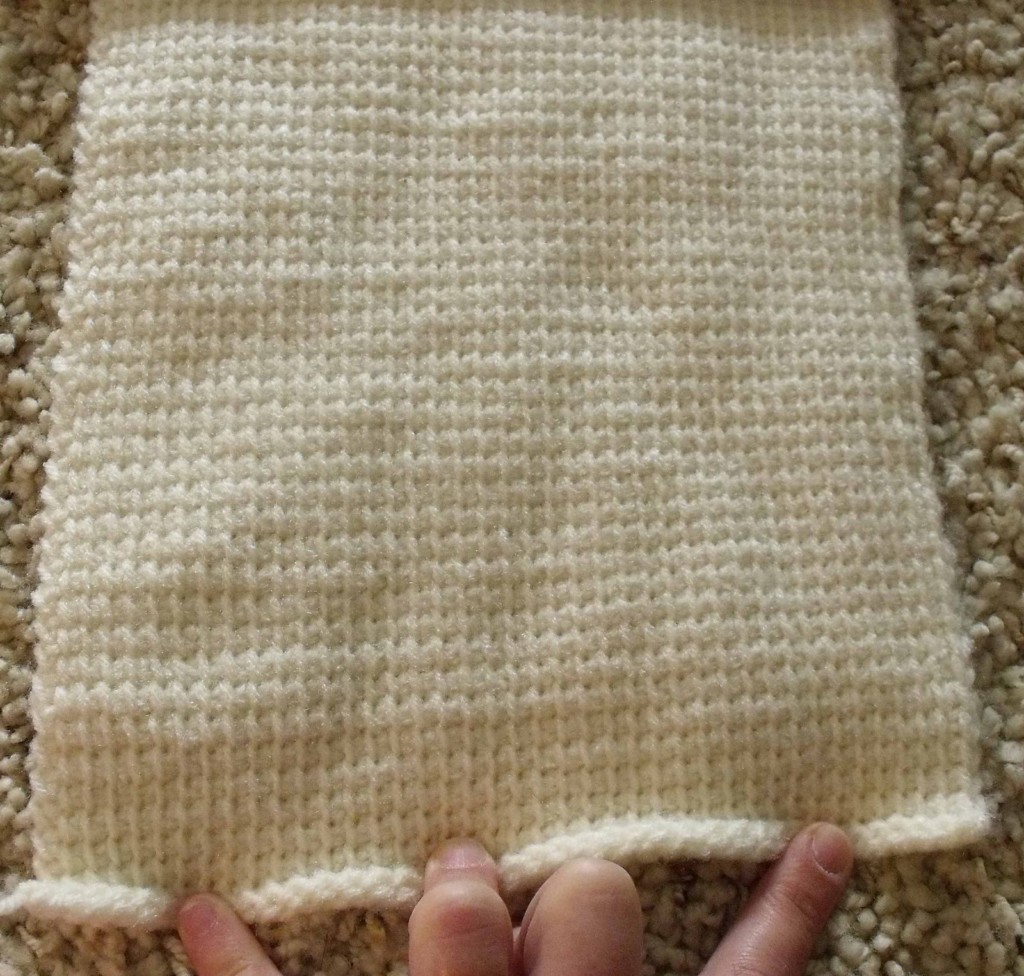
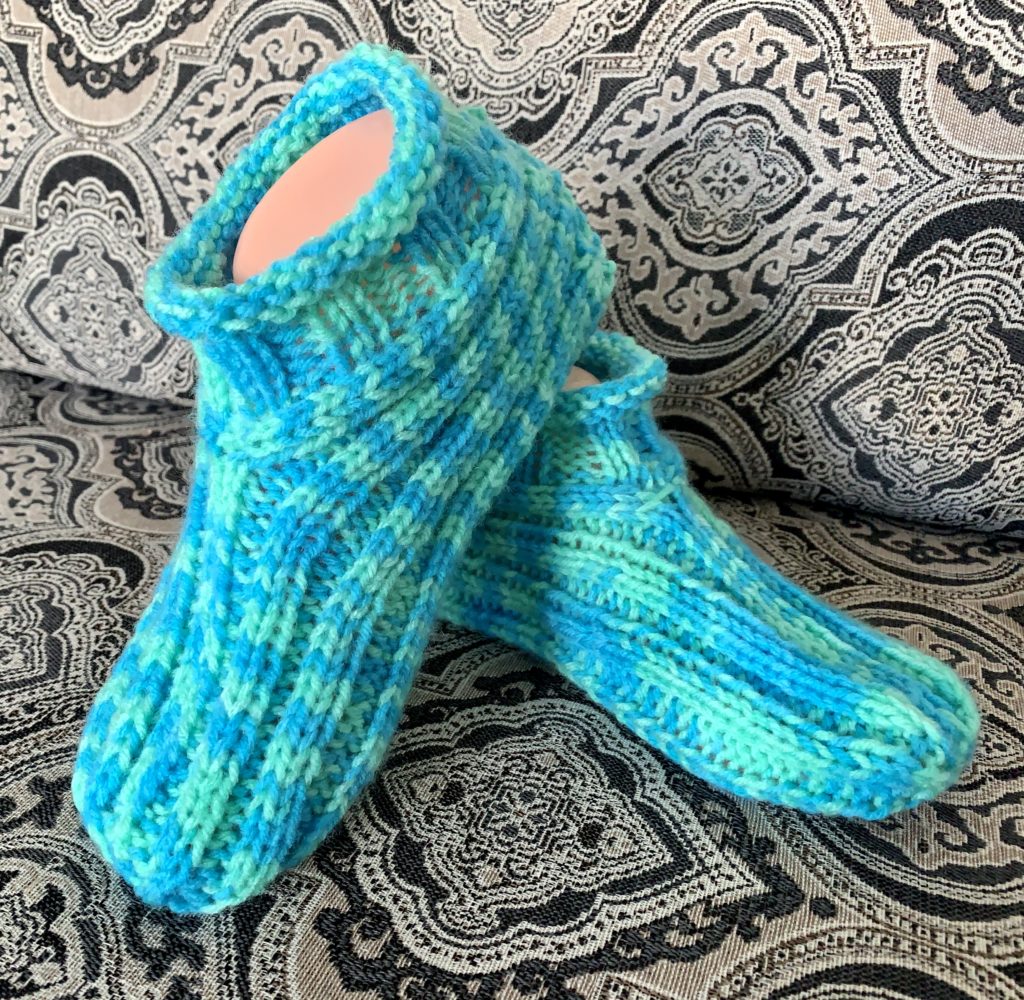
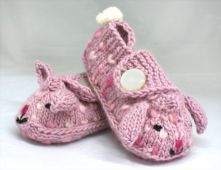
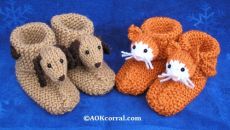
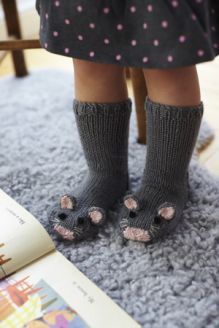
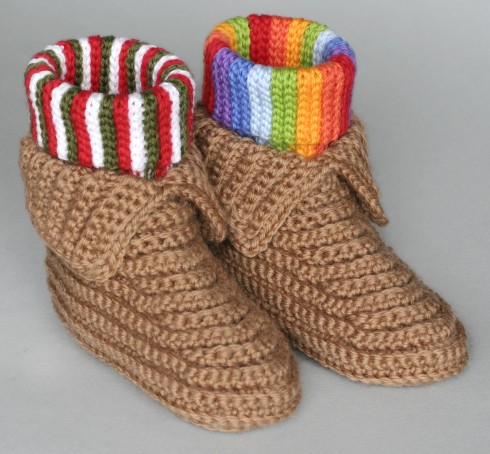
The cuff is made as you knit the piece. Because of the stitches used, it automatically rolls back up on itself giving a nice finished edge without adding any additional stitches or work.
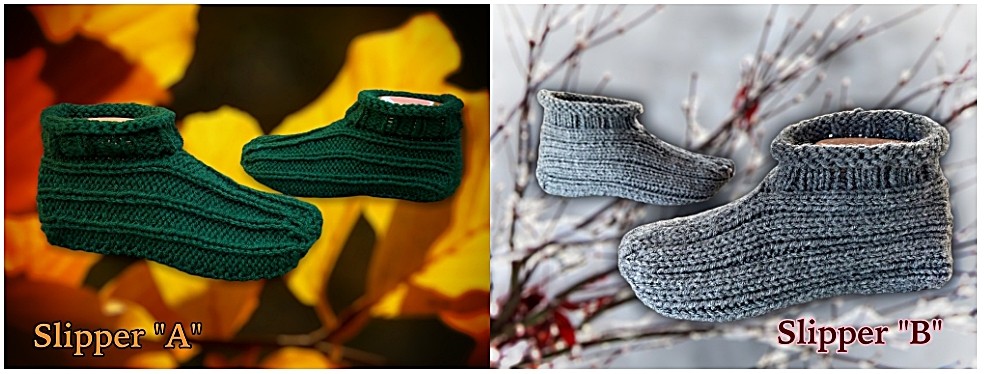
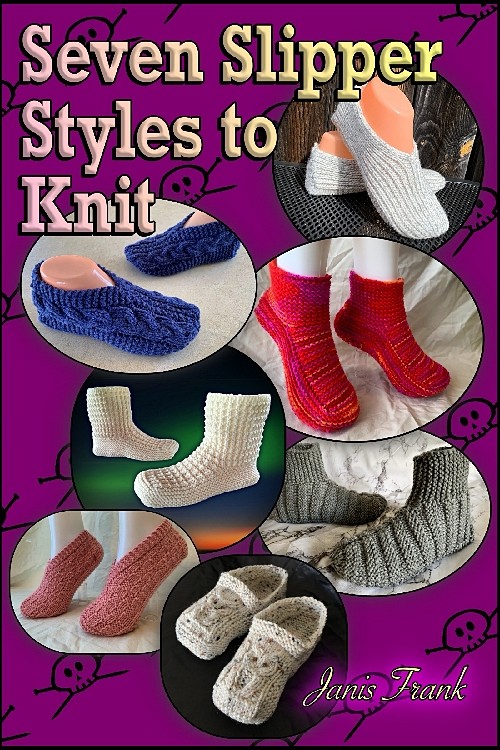
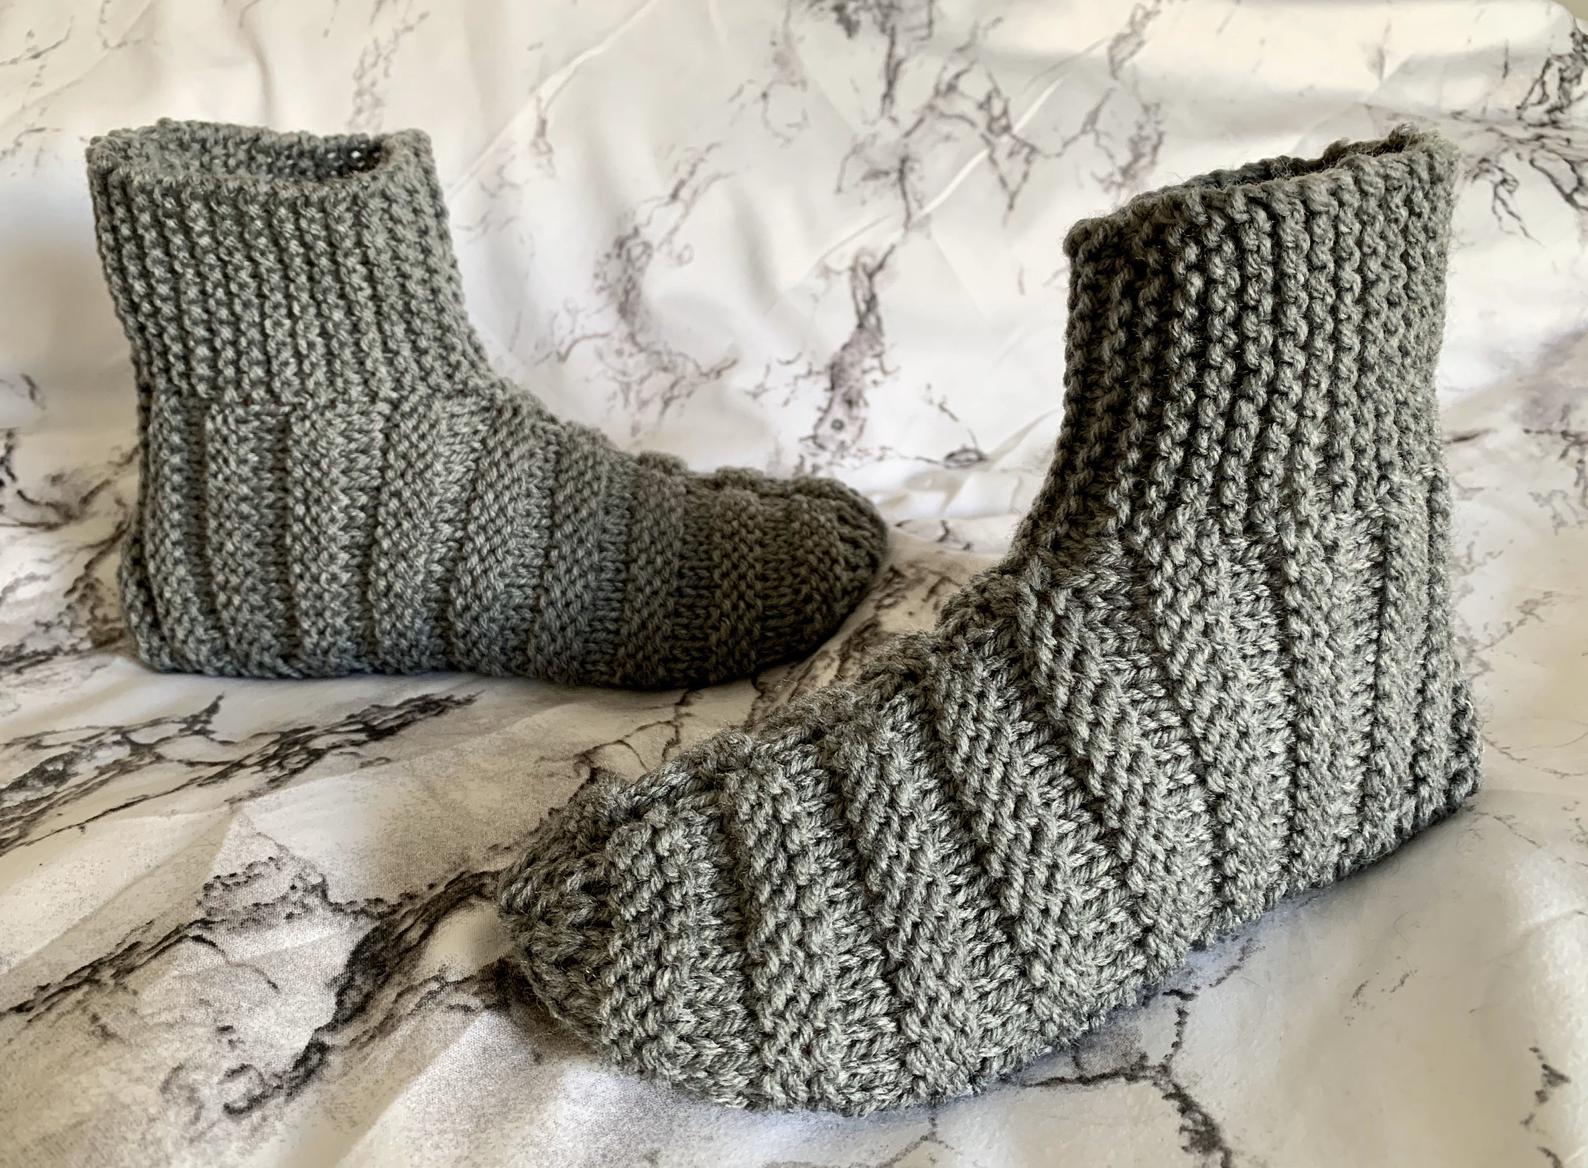
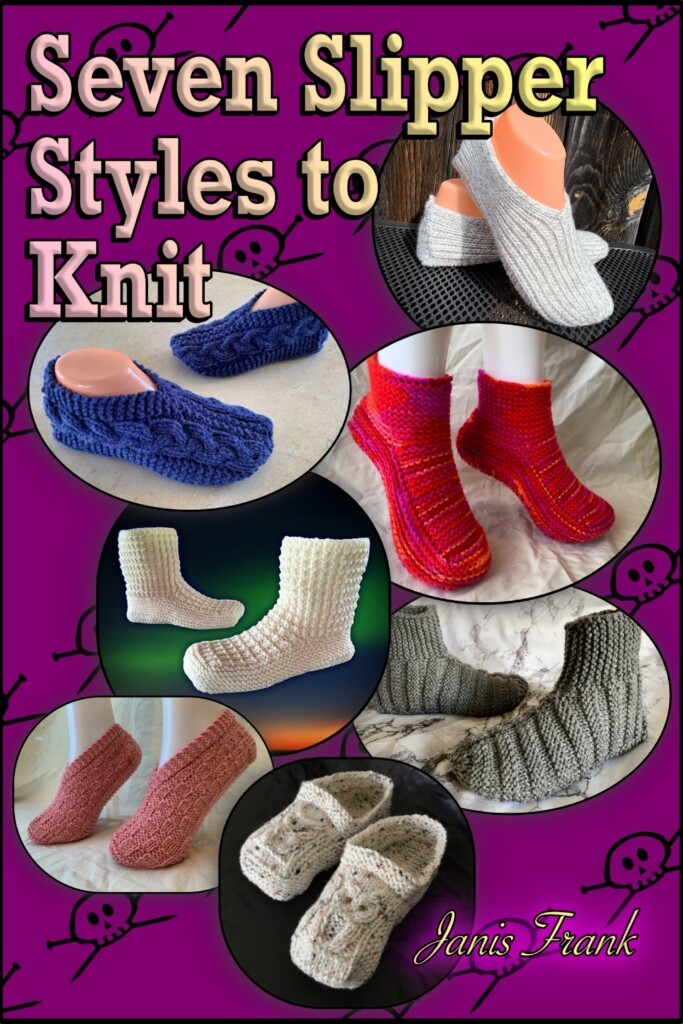
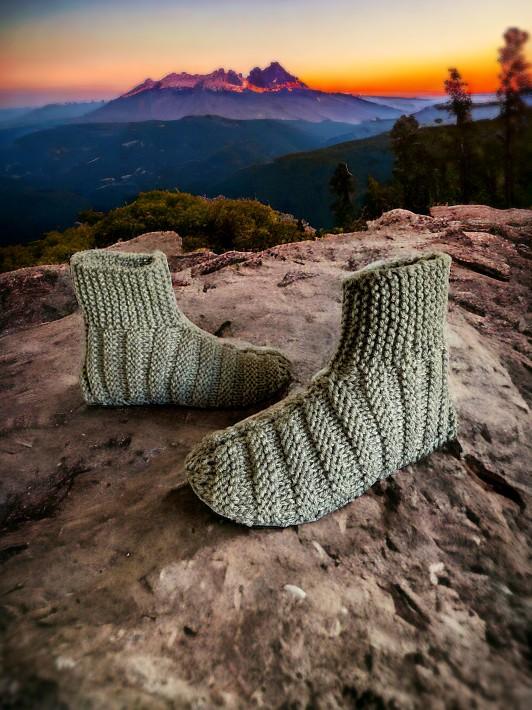
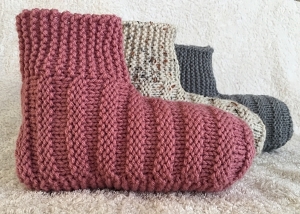
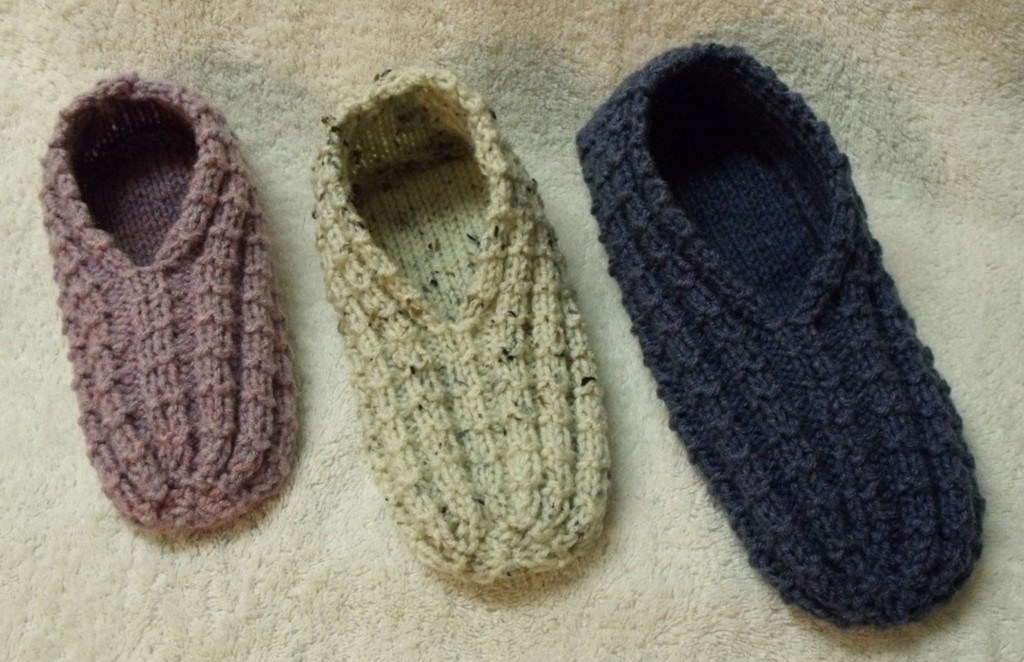
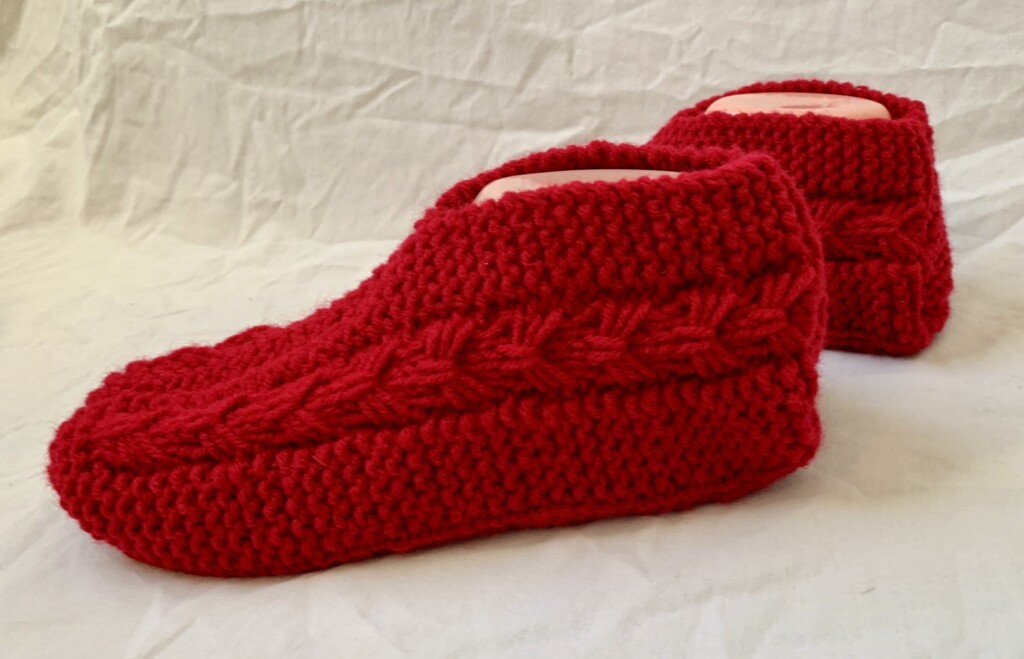
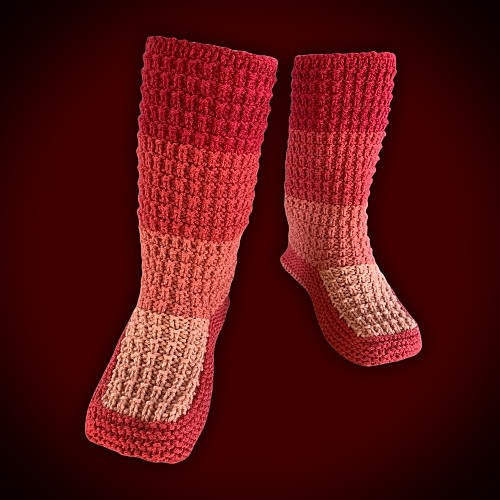
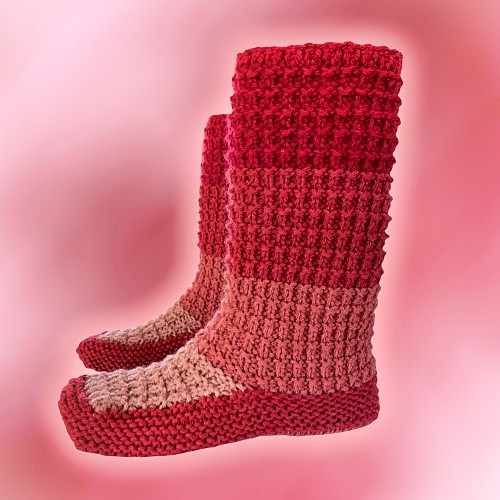
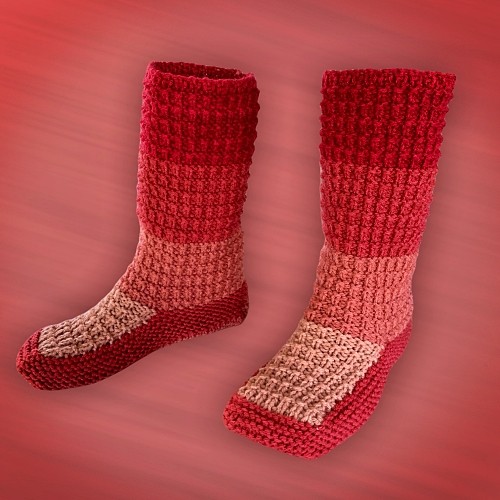
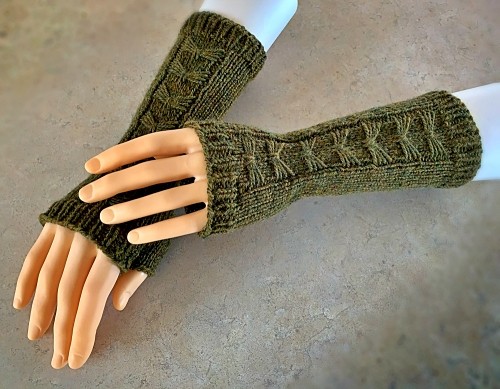
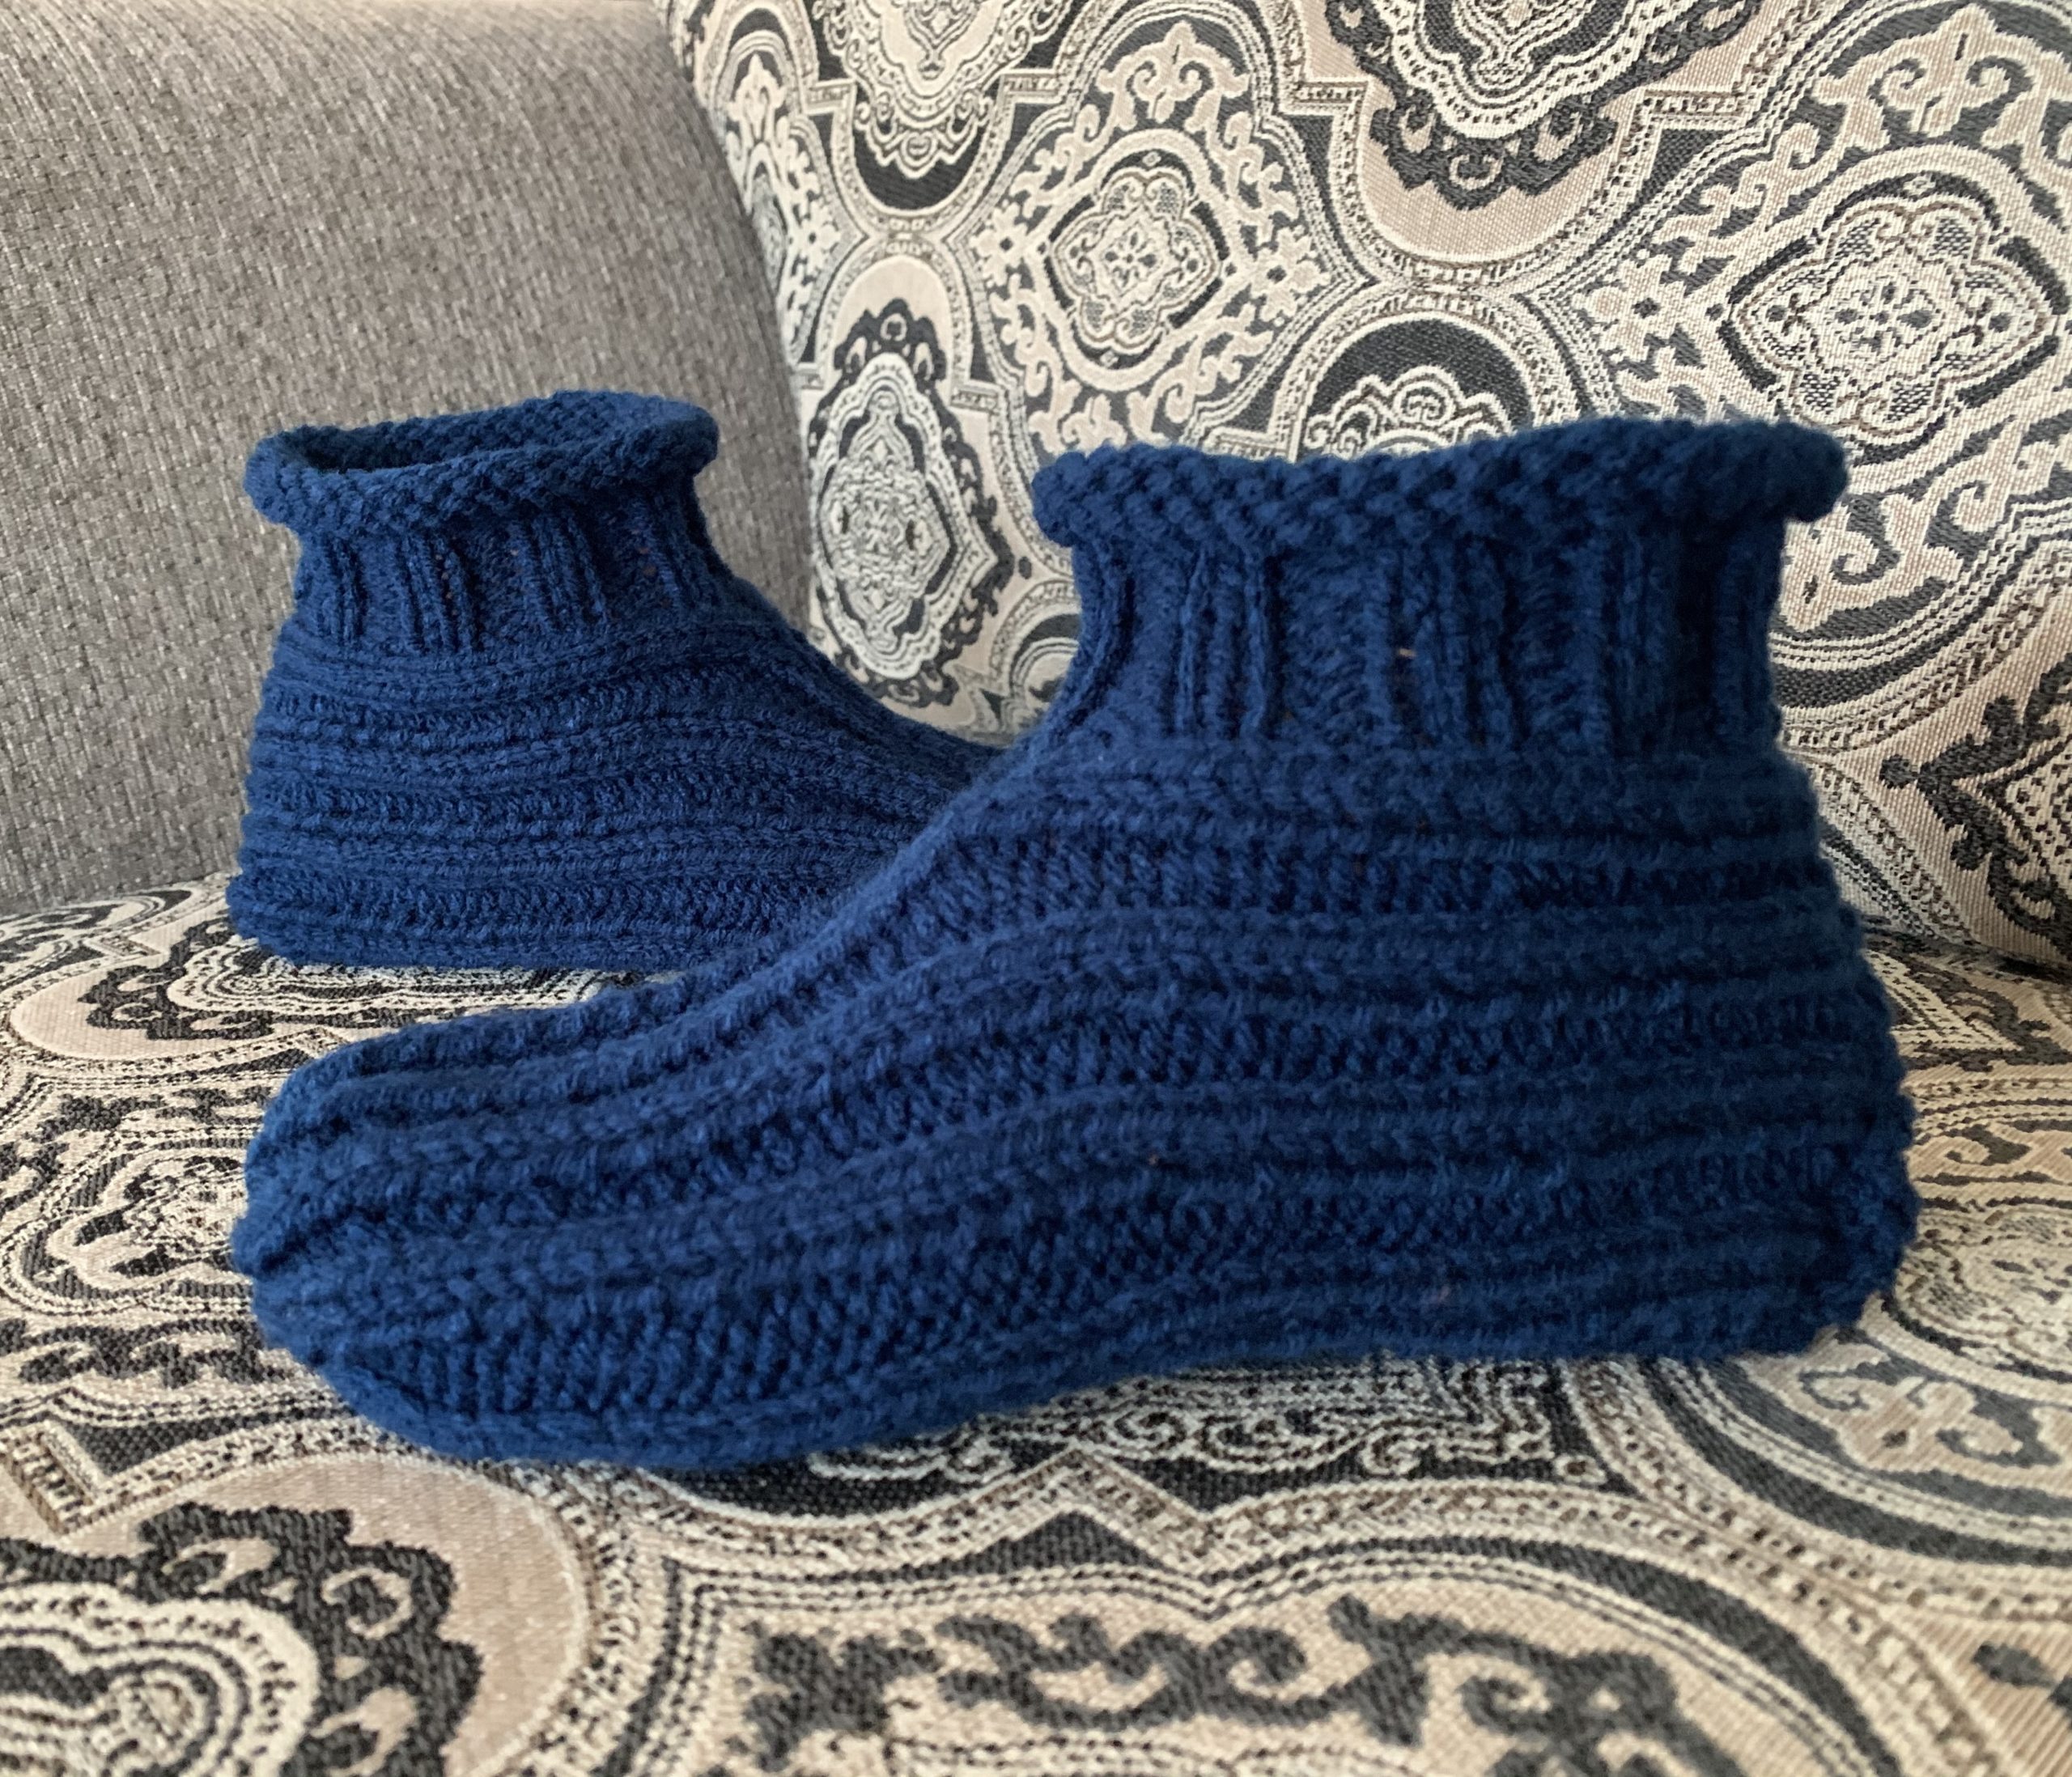
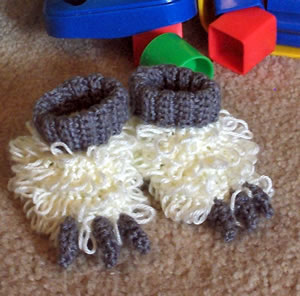
I also made a longer cuffed version of this pattern. It fits more like a bootie. You can use this link to check out that slipper design – Easy to Knit – Long Cuffed Slippers. There is also a thicker version of this slipper using 2 strands of yarn. It’s quicker to make and extra thick – Easy to Knit Beginner Slipper Pattern – Knit Flat with Bulky Yarn on Straight Needles – FREE Knitting Pattern
Love the free patterns? You can say thanks in a couple of ways. You can read more about how you can Support My Work by clicking that link or make a small donation and Buy Me a Coffee. ?? That is a website where you can make a one time donation as a thanks. (FYI I have some great offers if you would like to buy me multiple coffees. You can see those by clicking on the Extras tab or you can click this link Janis Frank Extras).
If you don’t want to or are unable to make a financial donation, sharing this pattern through social media is a great way to help out too! The links below are a super easy way for you to do so.
If you would like to avoid the ads on this page or would like to print the pattern, you can purchase the PDF for a small fee from this website at Easy to Knit Rolled Cuff Slippers , through my Etsy shop or on Ravelry.
Another way to avoid ads and pop-ups, get instant, PRINTABLE downloads of this pattern and others, is by becoming a Member on this website. When you become a Website Supporter for $3/month, you’ll gain access to exclusive member only posts. These posts contain one click downloads of the patterns. Simply click the Download & Print button. The PDF will automatically download to your computer or smart device. You can then read it on your device or print it at your leisure. You can download as many patterns as you like for the same $3 each month. You can go to this page to learn more, become a member and support my work… Exclusive Member Area
Things You Need
Yarn (a standard ball of worsted weight yarn will be more than enough)
Size 5 mm (US 8 ) single pointed needles
Tapestry needle to sew seams and work in ends
Gauge(in stockinette)
18 stitches = 4 inches
24 rows = 4 inches
Sizes are written as such:
- Women’s 6-7 (8-9, 10-11, 12)
- Men’s 6 (7-8, 9-10, 11-12, 13)
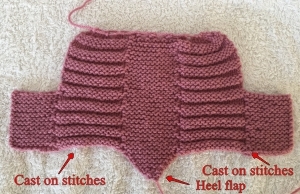
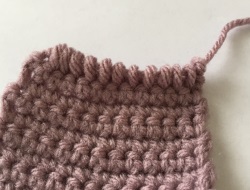
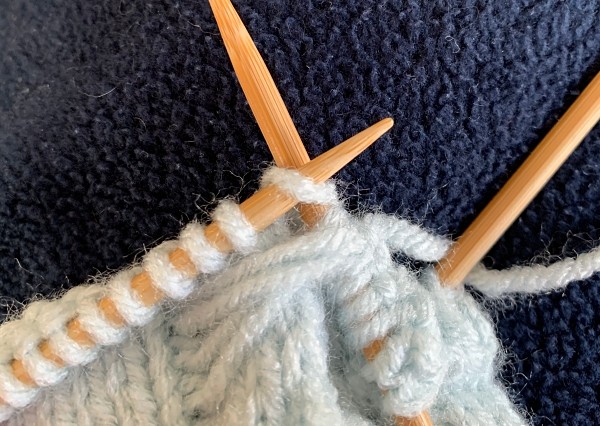
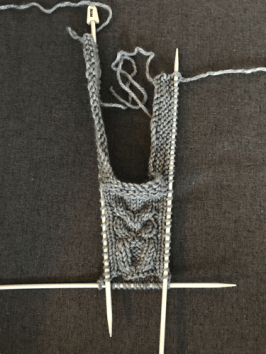
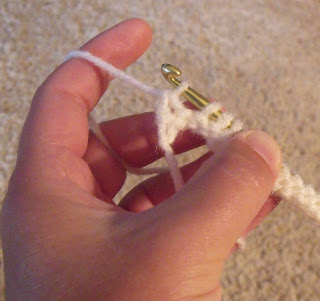
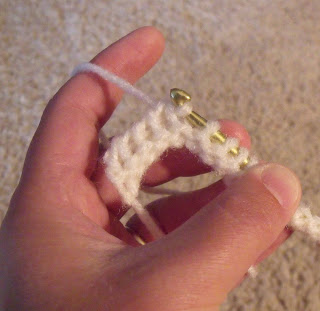
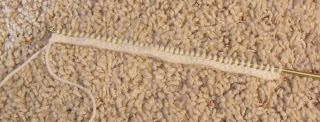
Heel Flap
Cast on 2
Row 1: Knit across.
Row 2: Increase in each stitch. (4 sts)
Row 3 – 4 : Knit across.
Row 5: Increase in the first stitch. K until one stitch remains. Increase in this stitch. (6 sts)
Row 6 – 7: Knit across.
Row 8: Increase in the first stitch. K until one stitch remains. Increase in this stitch. (8 sts)
Row 9 – 10: Knit across.
Row 11: Increase in the first stitch. K until one stitch remains. Increase in this stitch. (10 sts)
Row 12 – 13: Knit across.
Row 14: Increase in the first stitch. K until one stitch remains. Increase in this stitch. (12 sts)
Row 15 – 16: Knit across.
PLEASE NOTE:
The following rows are for sizes Women’s 10, 11 and 12 and Men’s sizes 9, 10, 11, 12 and 13 ONLY:
Next row: Increase in the first stitch. K until one stitch remains. Increase in this stitch (14 sts)
Next 2 rows: Knit across.
Continue the pattern for all sizes.
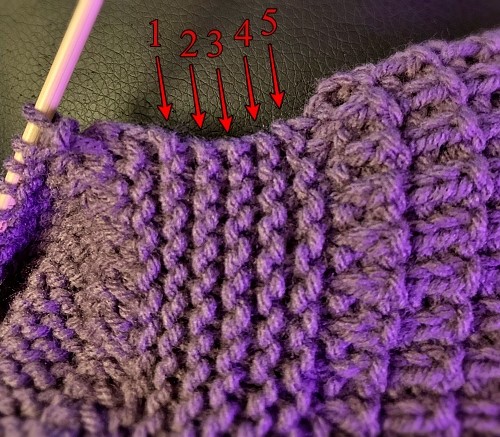
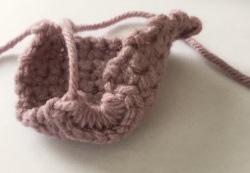
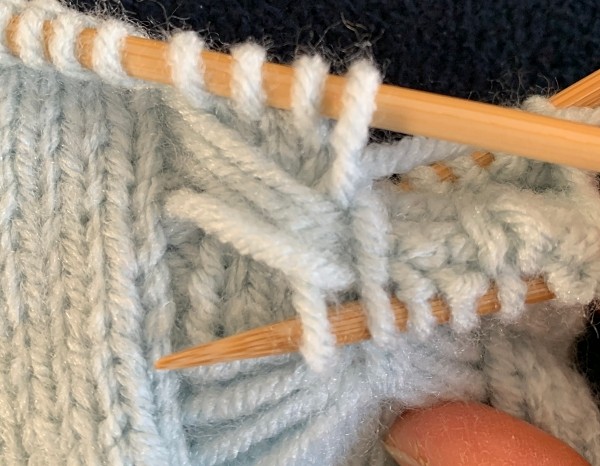
Next row: Cast on 16 stitches. (Yes, you already have 12 (12, 14, 14, 14) stitches on your needle. After casting on, you’ll have 28 (28, 30, 30, 30) sts on your needle). The following is worked over the stitches you just cast on and the stitches from the heel. P4 *K3 P1* Repeat from * to * 2 times more. K12 (12, 14, 14, 14). As you worked those stitches, your work was transferred onto the other needle. Cast on another 16 sts onto this needle. (You now have 44 (44, 46, 46, 46 sts) on your needle)
♥ Next row: Knit across.
Next row: P4 *K3 P1* Repeat from * to * 2 times more. K12 (12, 14, 14, 14). ◘ P1 K3 ◘ Repeat from ◘ to ◘ 2 times more. P4. ♥ Repeat from ♥ to ♥ 11 (12, 13, 14, 15) times more for 24, (26, 28, 30, 32) rows total.
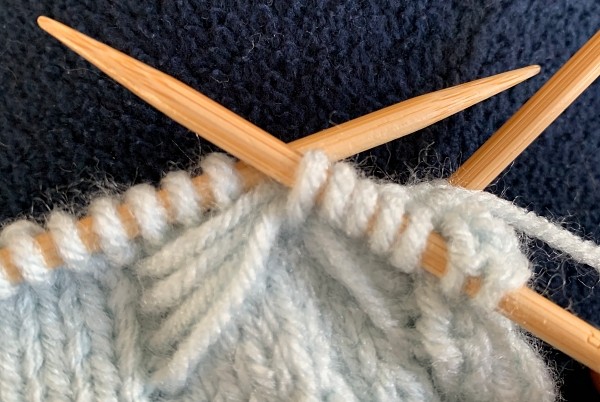
Shaping Toe
Next row: K2tog K to the last 2 sts K2tog. (42 (42, 44, 44, 44) sts)
Next row: P3 *K3 P1* Repeat from * to * 2 times more. K12 (12, 14, 14, 14). ◘ P1 K3 ◘ Repeat from ◘ to ◘ 2 timesmore. P3.
Next row: K2tog K to the last 2 sts K2tog. (40 (40, 42, 42, 42) sts)
Next row: P2 *K3 P1* Repeat from * to * 2 times more. K12 (12, 14, 14, 14). ◘ P1 K3 ◘ Repeat from ◘ to ◘ 2 timesmore. P2.
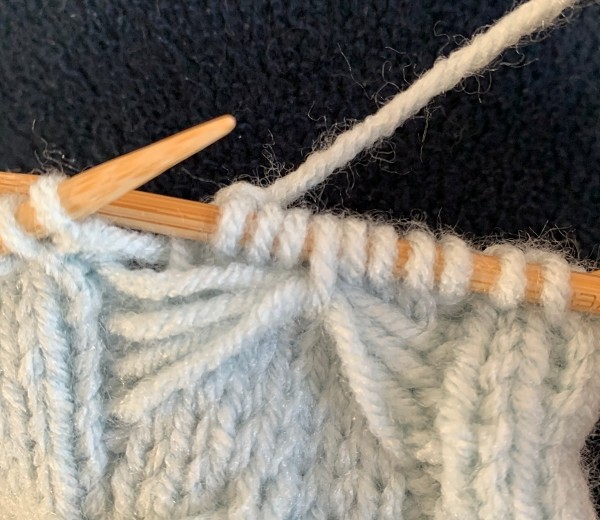
☺ Next row: Knit across.
Next row: P2 *K3 P1* Repeat from * to * 2 times more. K12 (12, 14, 14, 14). ◘ P1 K3 ◘ Repeat from ◘ to ◘ 2 timesmore. P2. ☺ Repeat from ☺ to ☺ 12 (13, 14, 15, 16) times more for 26 (28, 30, 32, 34) rows total.
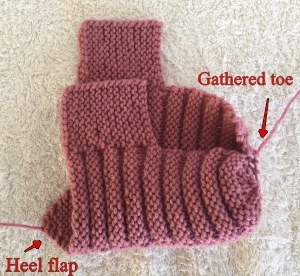
End Toe
Next row: K2tog 10 (10, 11, 11, 11) times. K1 K2tog to last 3 sts. K1 K2tog.
Next row: P1 K2 *P1 K1* Repeat from * to * once P1 K6 (6, 7, 7, 7) *P1 K1* Repeat from * to * 2 time more. P1.
Next row: K1 K2tog 4 (4, 5, 5, 5) times. K1 (1, 0, 0, 0) times. K2tog until last st. K1
Next row: P1 K1 P3 K3 P4.
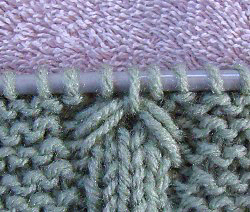
Break yarn and pull through. Pull tight to draw loops together.
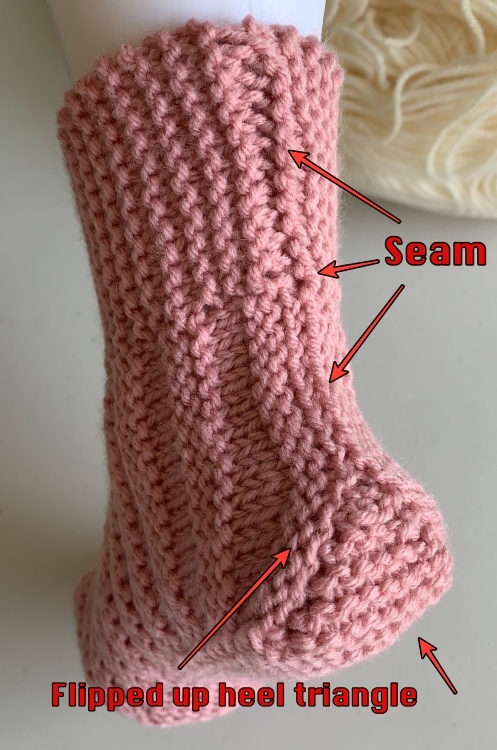
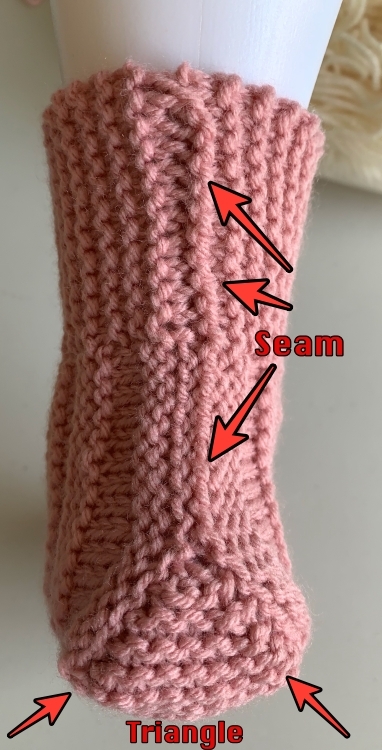
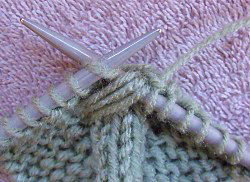
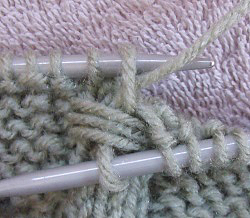
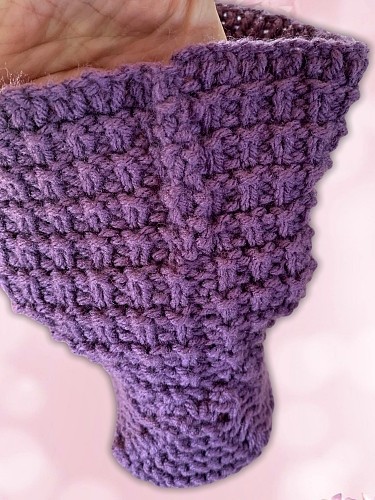
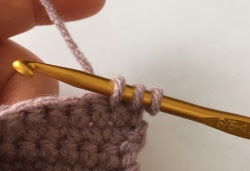
Sew seam on top of toe and the heel flap to the sides of the slipper (the 16 stitches you cast on earlier) and join the edges of the cuff together in the back above the flap.
Hints and Tips
Sew the seam on the top of the toe up to where you K2tog when shaping the toe. If you don’t like what the join looks like, you can always make a pom pom to cover it.
Leave a longer length of yarn when you first start the slipper. You can use this piece to sew one of the seams along the heel flap. When you end the slipper, leave that yarn length longer too. You can use the length to sew the toe seam.
The sizing of these slippers is very forgiving. The garter stitch used throughout helps the slipper to stretch both width and length wise. If your gauge is off by a row or a stitch, you should be able to get the size of slipper you want.
Abbreviations
K – Knit
P – Purl
K2tog – knit 2 together
sts – stitches
st – stitch
The pattern allows you to make, sell or give away any of the slippers that you make. You are NOT permitted to redistribute this pattern in any way. The purchase the PDF is for your PERSONAL USE ONLY! Sharing copies of my patterns robs me of what I financially gain from my hard work and creativity that goes into designing my patterns. Please respect my copyright.


