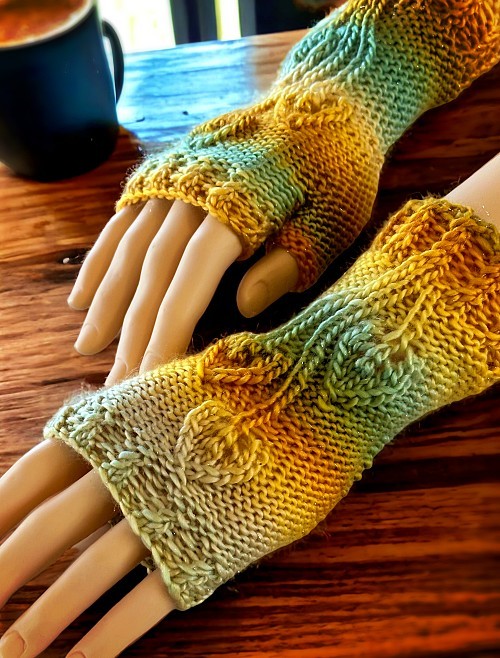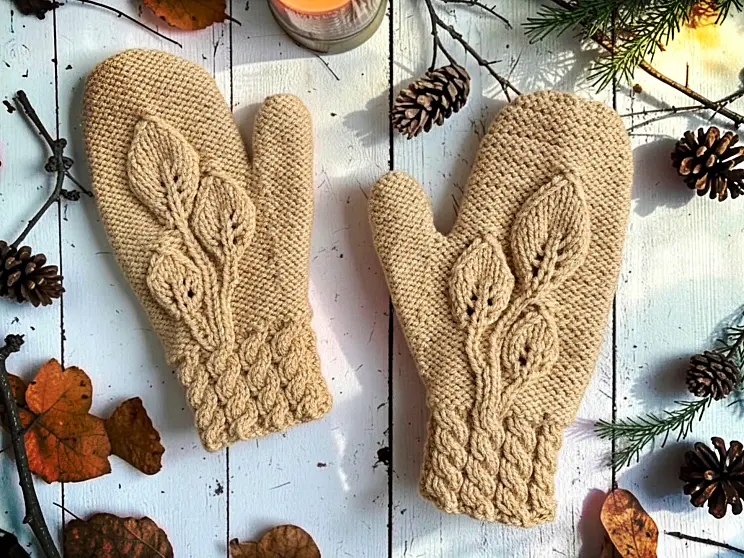
Free Knitting Pattern for Leaf Mittens on Straight Needles
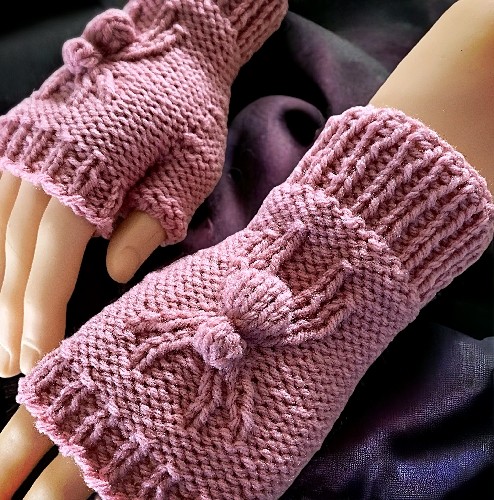
If you’re looking for a free knitting pattern for leaf mittens knit flat on straight needles, these Autumn Leaves Mittens are a cozy and elegant choice for fall and winter. Designed with three textured leaf motifs across the back of the hand, this pattern brings a beautiful nature-inspired detail to classic knit mittens. The leaves […]
Free Knitting Pattern for Leaf Mittens on Straight Needles Read Post »