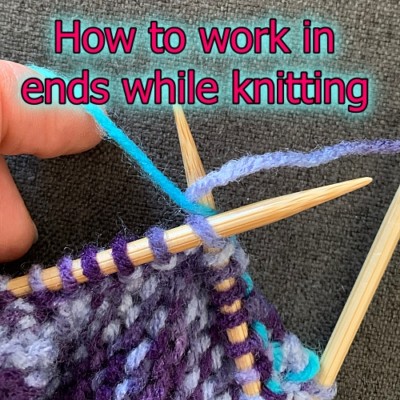
This simple technique is something that I’ve been meaning to share for quite sometime. And since I’ve received a number of comments regarding the number of ends for my Owl Slippers and Moccasin Slippers, I realized I needed to get on this ASAP.

I finally made the video! It shows how to work in the cast on end, work in the yarn at the start of the row if making stripes and how to join a new ball in the middle of a row and leave NO hole. I left the photo tutorial further down this page if you prefer that way of learning.
And I still don’t have instructions for left handed people. I’m so sorry about that. I’m right handed so it’s what I have to work with.
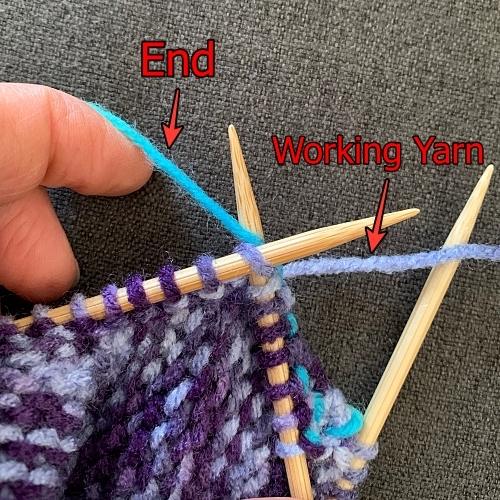
Step 1:
With the right side of your work facing you, put your needle through the stitch as if you were to knit. With the end at the back of your work, lay the end over your working needle. With your left hand, hold the end snug, not tight.
Step 2:
Place the working yarn over the needle as you normally would and knit the stitch. Do NOT catch or pull the end through while knitting the stitch.
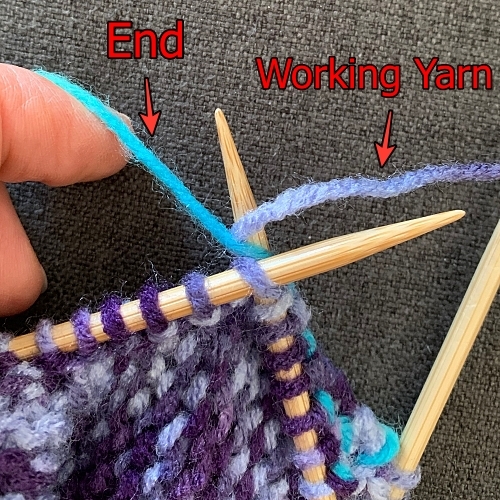
Drop the stitch from the non-working needle as you normally would.
Please share this page!
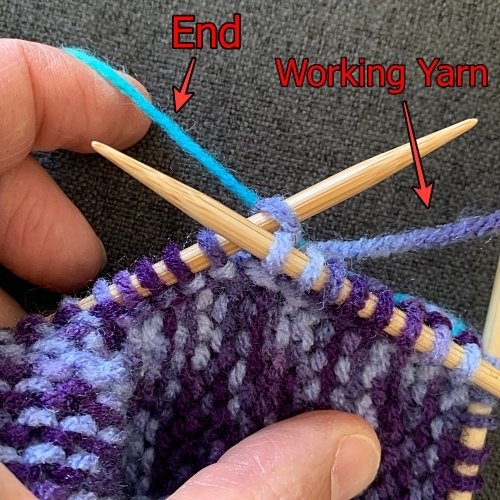
Step 3:
Drop the end (or hold out of the way) and knit the next stitch.
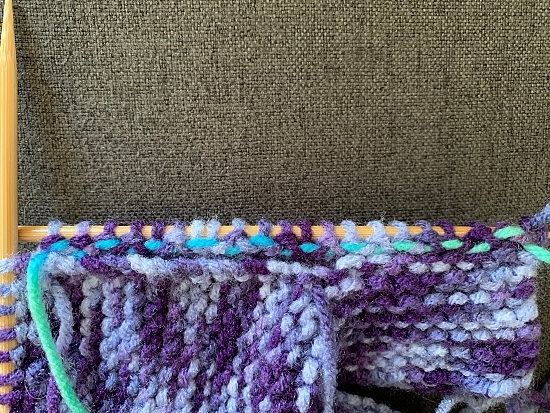
Repeat steps 1-3 for roughly 10 stitches. With this technique you are alternating in order to catch the end between the stitches at the back of your work as shown below.
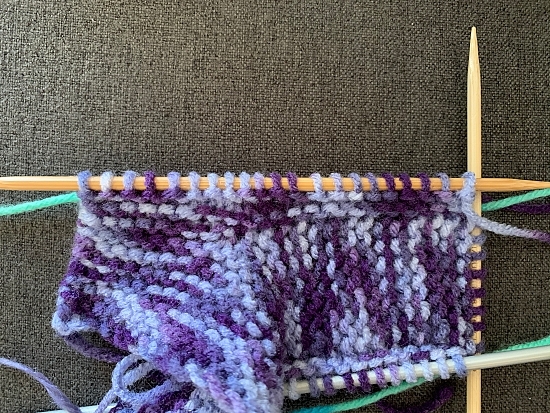
When you are done, pull the end so it is snug. It’ll take up any slack that’s between the stitches you skipped. Before I trim it off, I always stretch the final piece to make sure there is just enough slack to ensure there’s no puckering.
If you need a little more security, you can always give an additional back weave with a tapestry needle to catch the end of the end a bit, but I don’t.
And yes, this does keep the yarn in place even with 100% acrylic yarn. I’ve made a number of slippers with the ends worked in this way and an afghan. I’ve washed the afghan a number of times with no issue whatsoever.
I hope this helps speed up your work. I hate sewing in ends just as much as the next person and anything that lessens the number of them is worth a huge ?? in my books.
And I also haven’t had much success doing this with purl stitches. If you have any ideas, by all means, let us know in the comment section.
The K1 P1 ribbing that I do for the cuffs of my Owl Fingerless Gloves works well using this method, too. Catch the end on your knit stitch and purl the purl stitch as you normally would. Because it is right on the cuff and needs to stretch and contract, I do catch the end a bit with a tapestry needle just to give it a little extra security.


I remember watching my grandmother knit socks and mittens using this technique. It is truly better than using a needle. In addition, for really warm winter wear, she would add scrap wool yarn to be carried along behind the knitting.
I appreciate the time you took to take photos and write the how-to.
You’re very welcome. And thank you for taking the time to leave your comment. It means a lot to know you enjoyed it.