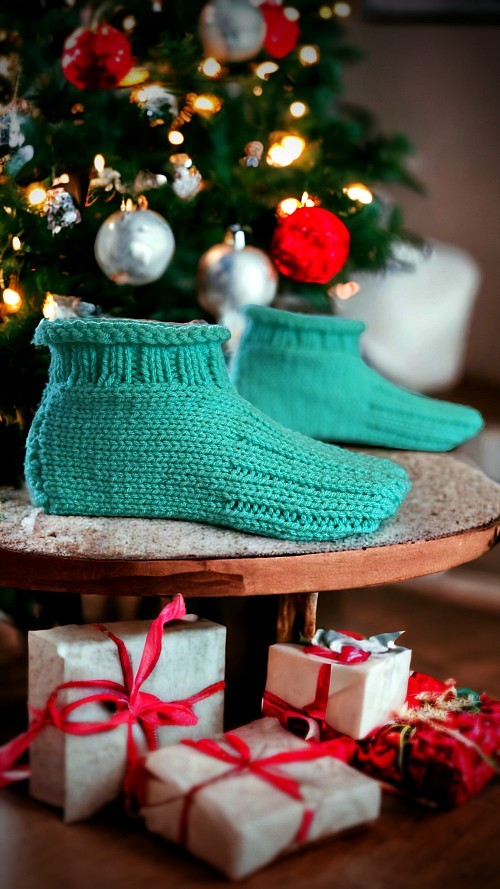
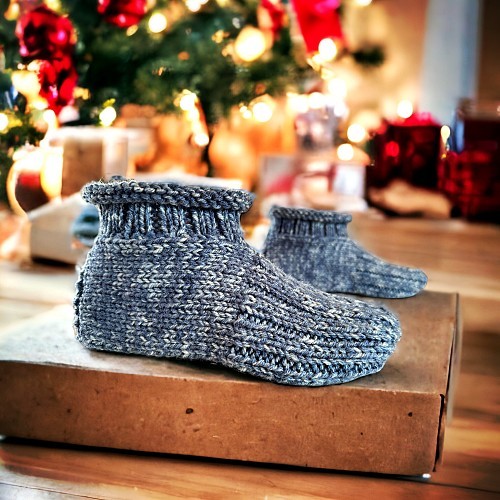
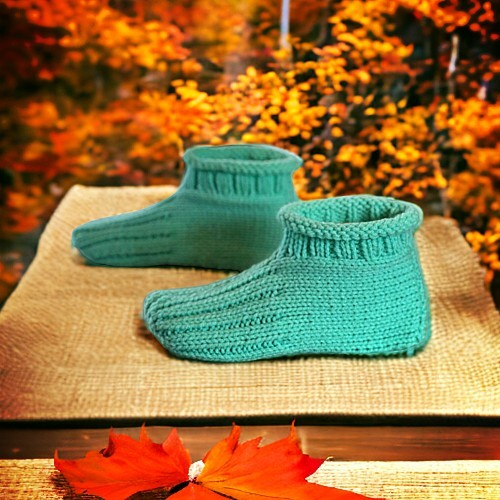
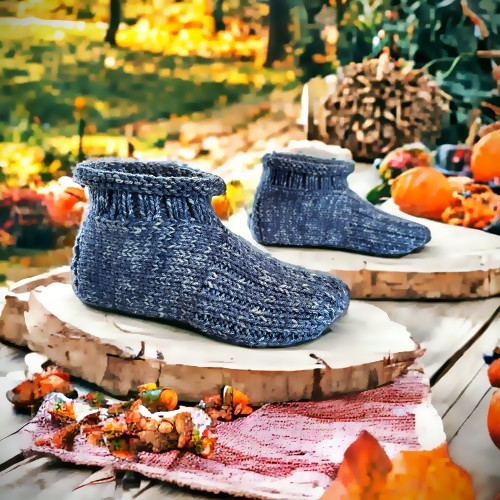
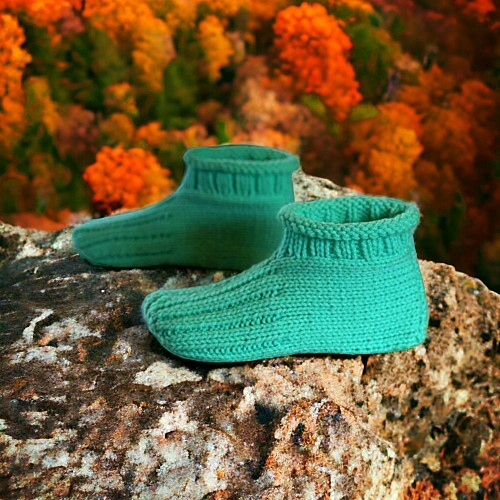
I have a number of slippers that I’ve designed over the years and this basic design is one of my all time favourites. I’ve done a number of different styles including my Granny Slippers and Adult Bootie Slipeprs that are made the exact same way, but look slightly different because of the ribbing.


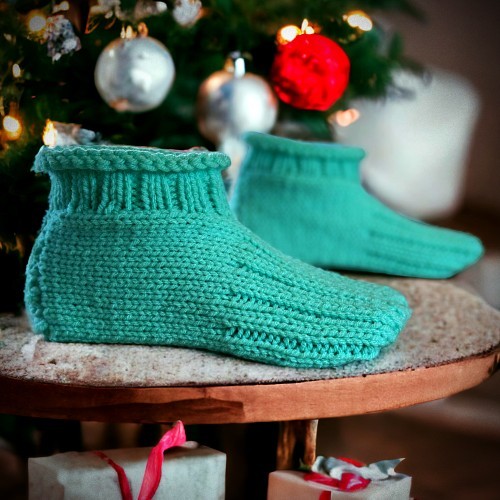
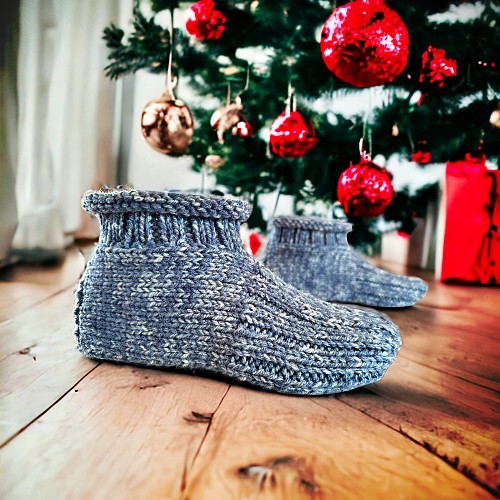
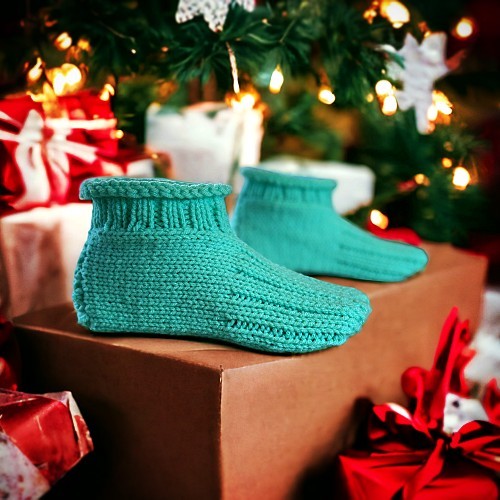
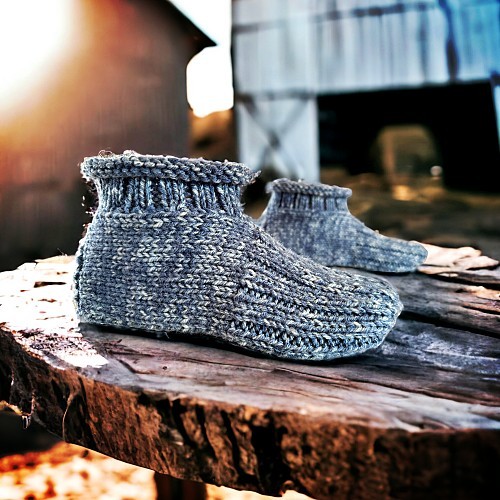
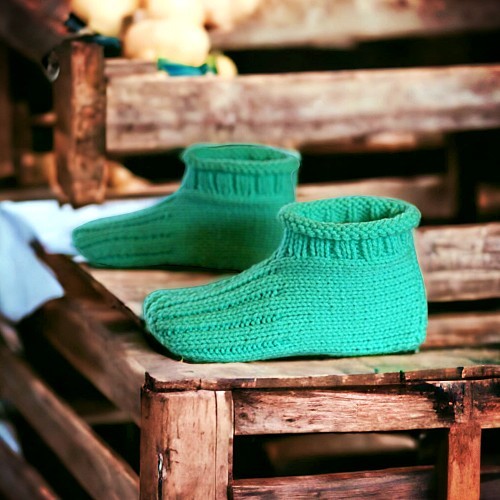
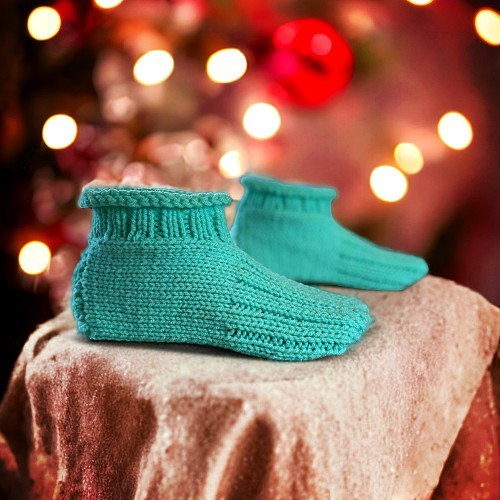

This pattern is a great place to start if you are ok with your basic knitting stitches, but want to try something new. If you’ve been toying with the idea of trying to knitting in the round, this is a great place to start. If you would like to learn with this pattern, I’ve embedded how-to videos into the pattern that demonstrate how easy it actually is. If you are a seasoned knitter, then these slippers will be super quick for you to make as there is nothing complicated about them.
If you would like to purchase a copy of this pattern that you can download and print, I have a number of options for you. You can buy the pattern on this website – Knitted Cozy Cuff Slippers– with How-to VIDEOS, Ravelry, Etsy, LoveCrafts, Creative Fabrica, Google Books and Amazon. Amazon has the book in both paperback and Kindle formats.
Use these 👇🏼 to share on social media 🥰
If you are loving this and all my other free patterns, please help out financially by visiting my Help Support My Work Page. If you can’t give cash, and I get that not everyone can, please do your part and share this where you can. Every share on social media helps promote my work and expose it to even more people. I’ve made it super easy for everyone to do that. By clicking those links up there 👆🏼 you can share it nearly everywhere.
If you like my patterns and want to print more, you can download this pattern and more when you become a Website Member works. Becoming a member is like being a patron of the arts. By supporting me for a small fee every month, you help support me to create more patterns for you to use. You also get access to the patterns in the members area. You can see how many pattern there are currently available in my Current List of Member Patterns. For more information on how you can support me and become a member, click the button below.
Abbreviations
K – Knit
P – Purl
K2tog – knit 2 together
st – stitch
sts – stitches
If you need help with any of the basic stitches used to make these slippers, there is a playlist on YouTube that will show you how. You can also use this link – Knitting for Beginners – Easy Knitting Videos to Learn Basic Knitting Stitches. It will take you to another page on this website where you can watch them all. A new page will open so you won’t lose this one 😊
Things You Need
Worsted weight yarn — (215 yards/197 m).
Size 5 mm (size 8 US) knitting needles (or whatever you require to get the correct gauge).
Set of 4 double point needles (DPN’s) – Size 5 mm (size 8 US)
Row markers (optional. Pieces of left over yarn will also work).
Tapestry needle to sew the seam and work in the ends .
Gauge
In stockinette stitch
9 sts – 5 cm (2″)
13 rows – 5 cm (2”)
Sizes are written as such:
Women 6-7 (8-9, 10-11, 12)
Men 6 (7-8, 9-10, 11-12, 13-14)
The Pattern
Cast on 38 (40, 42, 46, 48) sts
☺ Row 1: K across
Row2: P14 (14, 14, 17, 17) K10 (12, 14, 12, 14) P14 (14, 14, 17, 17)☺ Repeat from ☺ to ☺
13 (14,16, 17, 18) times more for a total of 28 (30, 34, 36, 38) rows.
Add row markers on both sides of the slipper. This makes it easier when picking up stitches to make the cuff.
Start Toe
♥ Next Row: (K2 P1) Repeat 3 (3, 3, 4, 4) times more. K14 (16, 18, 16, 18) (P1 K2) Repeat 3 (3, 3, 4, 4) times more.
Next Row: (P2 K1) Repeat 3 (3, 3, 4, 4) times more. P2 K10 (12, 14, 12, 14) (P2 K1) Repeat 3 (3, 3, 4, 4) times more. P2♥
Repeat from ♥ to ♥ for 9 (10, 11, 12, 13) more times for a total of 20 (22, 24, 26, 28) rows for this section. You have a total of 48 (52, 58, 62, 66) rows from the cast on edge.
End Toe
Next Row: (K2tog P1) Repeat 3 (3, 3, 4, 4) times more. K2tog 7 (8, 9, 8, 9) times (P1 K2tog) 3 (3, 3, 4, 4) times more.
Next Row: (P1 K1) Repeat 3 (3, 3, 4, 4) times more. P1 K5 (6, 7, 6, 7) (P1 K1) Repeat 3 (3, 3, 4, 4) times more. P1.
Next Row: K1 K2tog 5 times. K0 (1, 0, 1, 0) K2tog to the end of the row.
Please share this page!
More FREE patterns
Click the pic to read online!!


FREE Knitting Graph Paper for Colorwork Knitting


![]()
![]()


Next Row: P5 (5, 5, 6, 6) K2 (3, 3, 3, 3) P to the end of the row.
Draw through to pull the stitches together.
Make the Heel
If you need a little extra help with this part, the video will show you how to do it. You can either click this link – How to Make the Heel or you can watch the video below.
With the RIGHT side facing, pick up 12 (14, 16, 14, 16) stitches along the cast on edge
♦ Next 2 Rows: K across.
Next Row: K2tog. K to last 2 sts. K2tog. ♦ Repeat from ♦ to ♦ until there are 4 sts on your needle.
Next Row: K2tog twice.
End with the yarn on the left side of the row when the right side of the slipper is facing you. You may need to knit one more row.
Make the Cuff
If you want to make the cuff a different colour from the foot portion of the slippers, break your yarn and start with the new colour now.
There is also a video showing how to pick up the stitches to make the cuff if you are unfamiliar with knitting in the round. You can use this link – How to Make the Cuff or watch the video below.
With the RIGHT side facing and using your DPN’s, pick up 34 (37, 40, 43, 46) sts evenly around the edge of the slipper. You will now have 36 (39, 42, 45, 48) sts total. (As long as the final number of sts picked up is divisible by 3 your cuff will work. Pick up the same number of sts on both feet of course!)
Round 1-6: K2 P1 around
Round 7-10: K around.
Hints and Tips
Be sure to cast your stitches off loosely when making the cuff. It needs to be able to stretch when going over the top of the foot and the heel. It’s the widest part the slipper has to pass over. The ribbing will snap it back to tighten up on its own.
Make the cuff as long as you like with the K2 P1 ribbing. I made it 6 rows but you may want it longer, especially for the larger sizes.
When casting off for the heel, if you need an extra row to end it so the yarn ending on the left with the right side facing (if right you are handed), that’s ok. When knitting this part, I often lose track of how many rows I’ve knitted between the row with the decreases. I’ve never had a complaint yet.
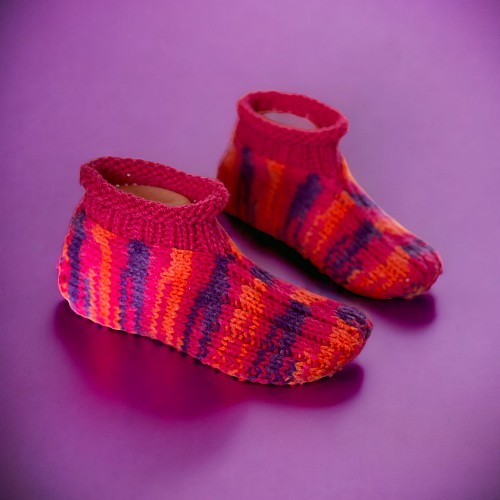
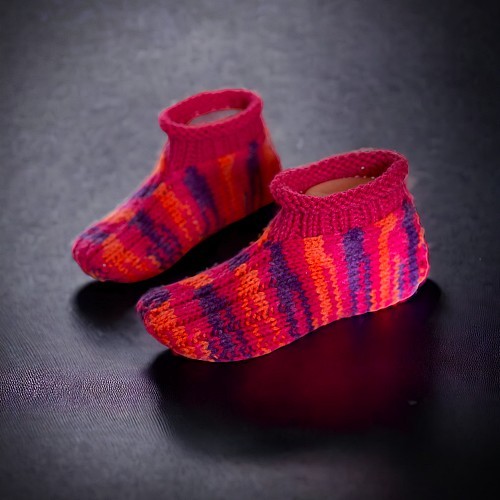
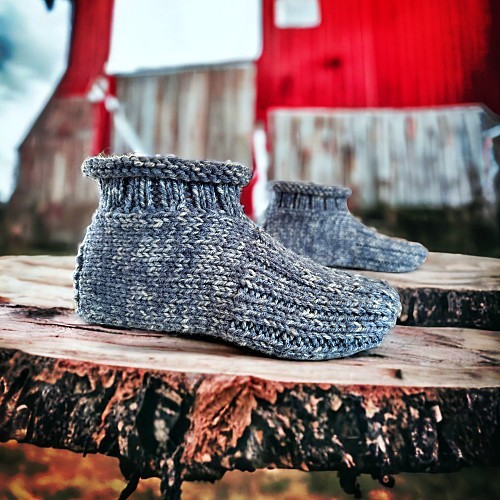
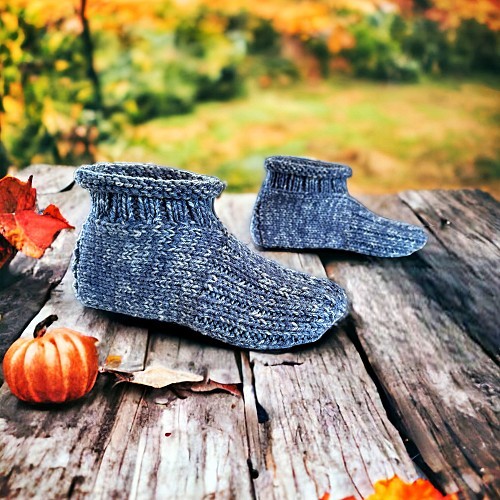
Don’t feel that the cuff needs to be the same colour as the slipper itself. A nice change is to make the cuff in a complimentary colour, especially if you have used variegated yarn. You can also use this pattern to use up some of your left over wool by making the toe (ribbed section) a different colour also.
This is also a great pattern to use if you have a variegated or any other colour changing yarn. Because there isn’t any specific stitch pattern other than some ribbing, it allows to show off the colours really well.


