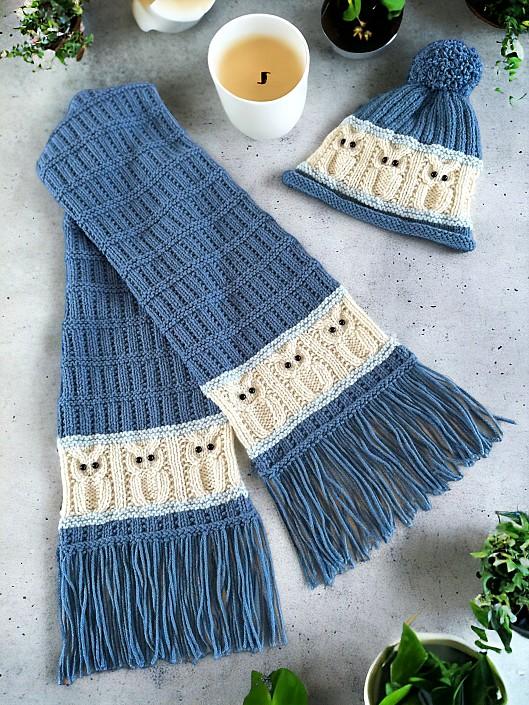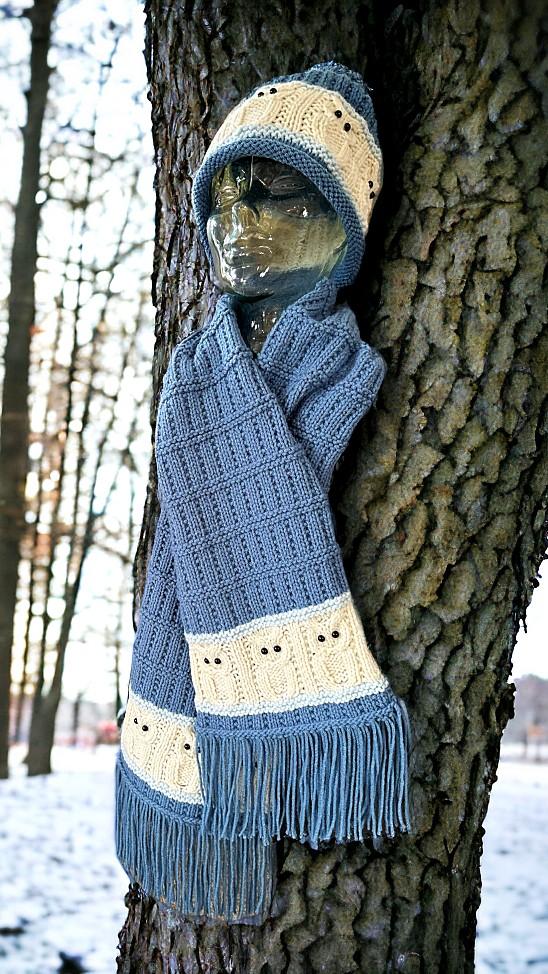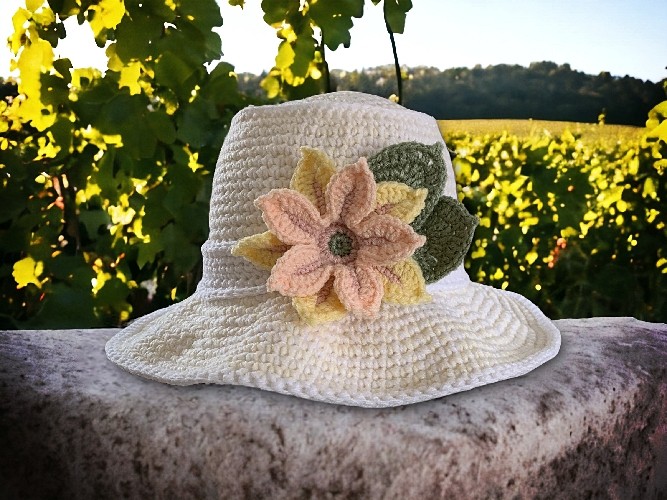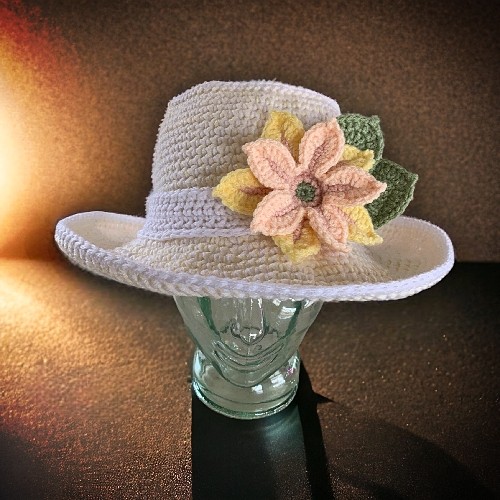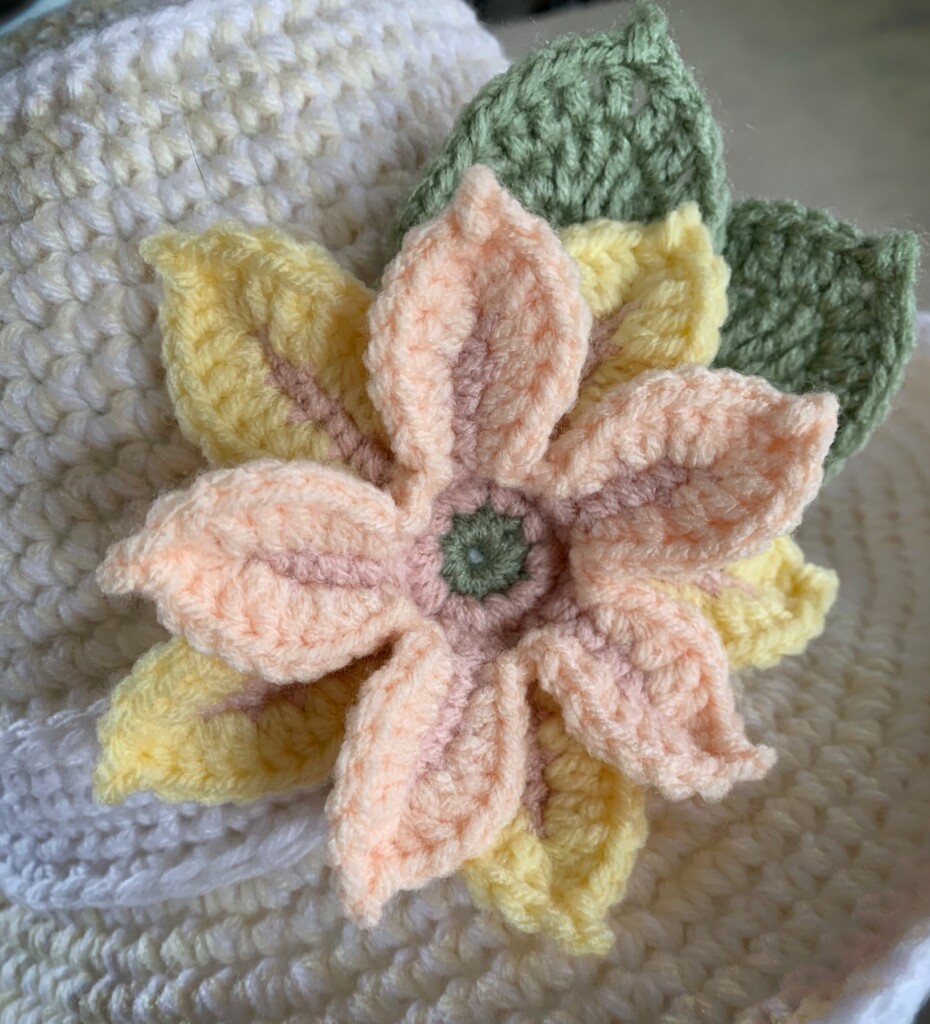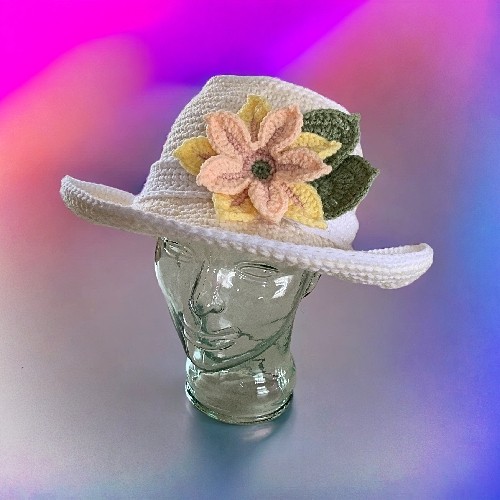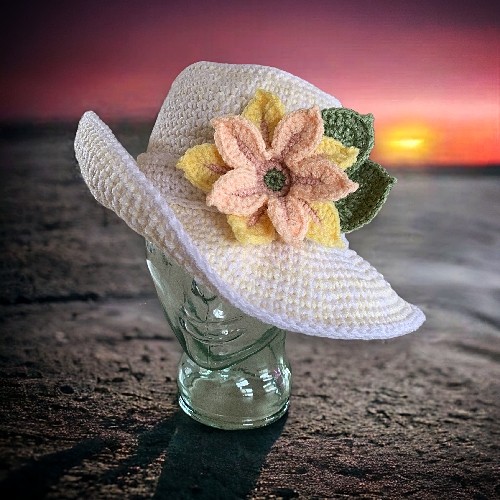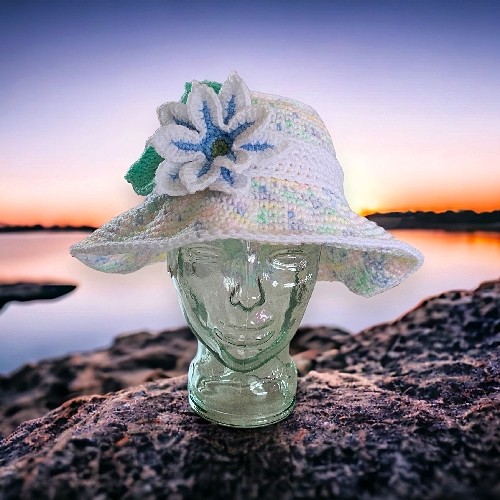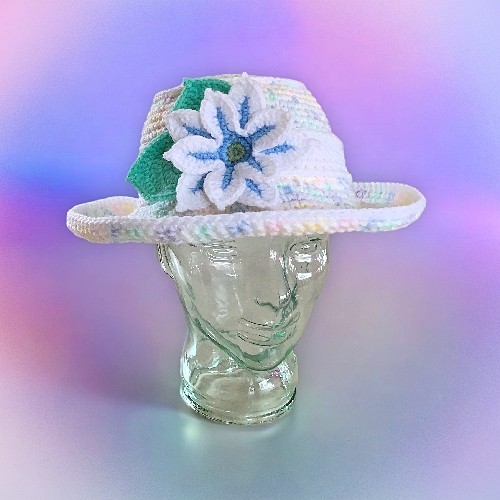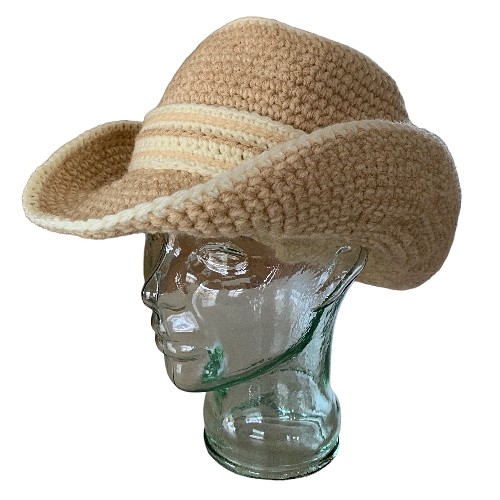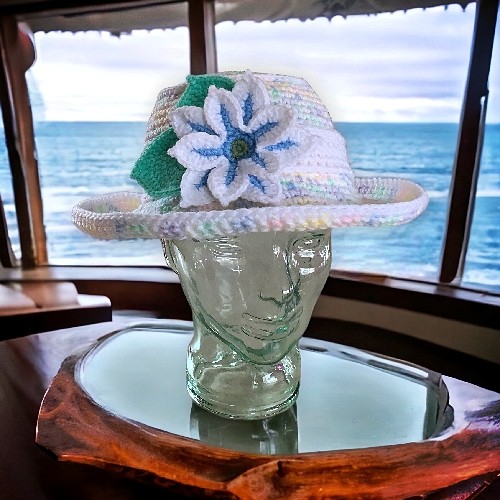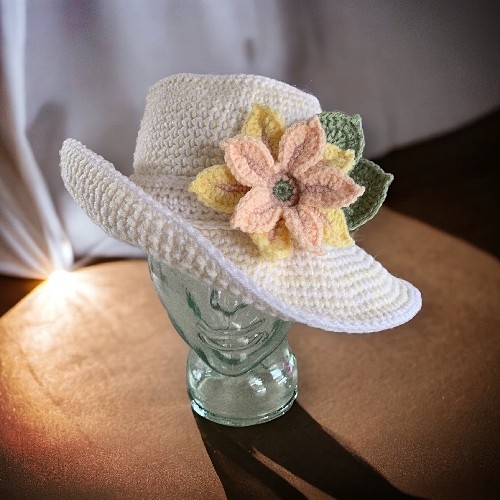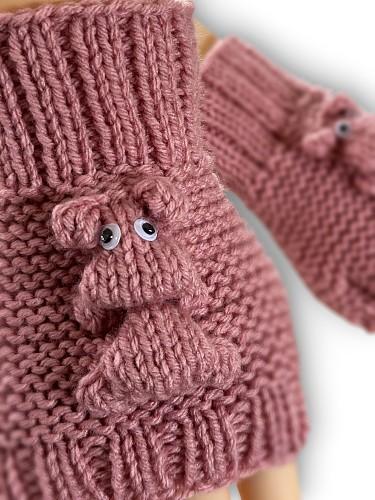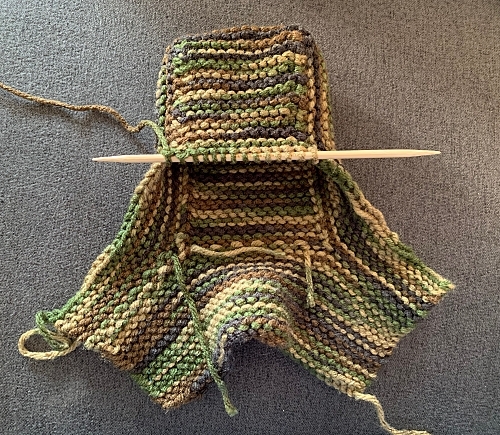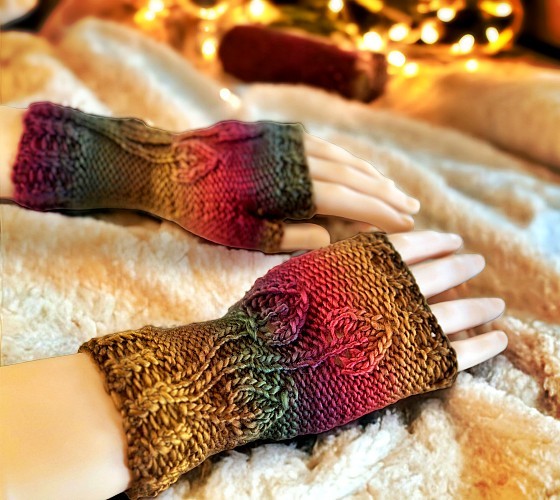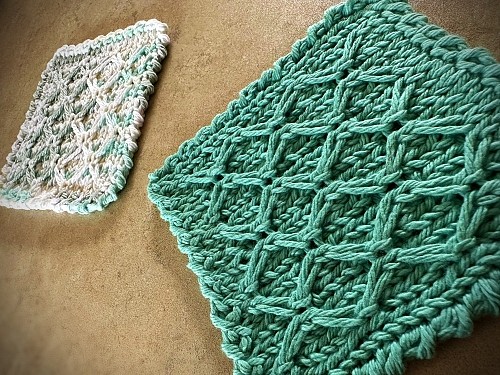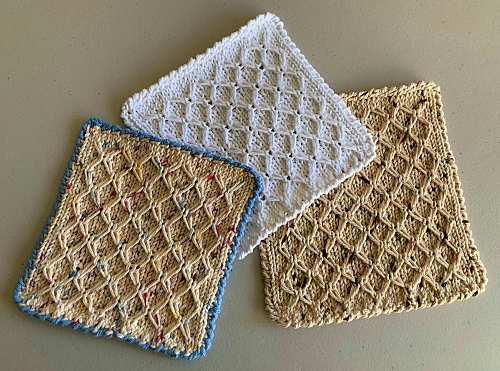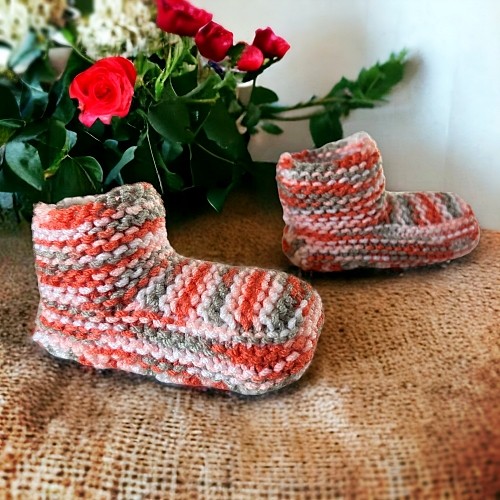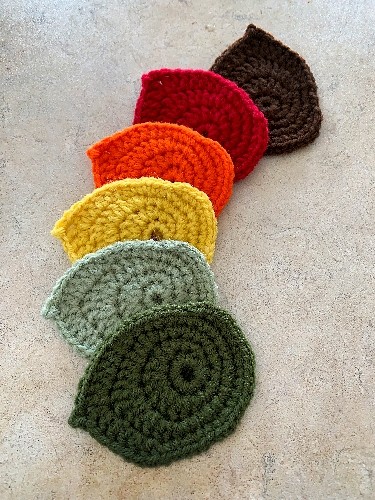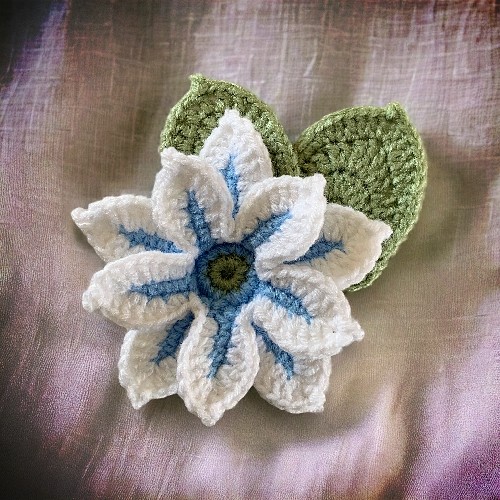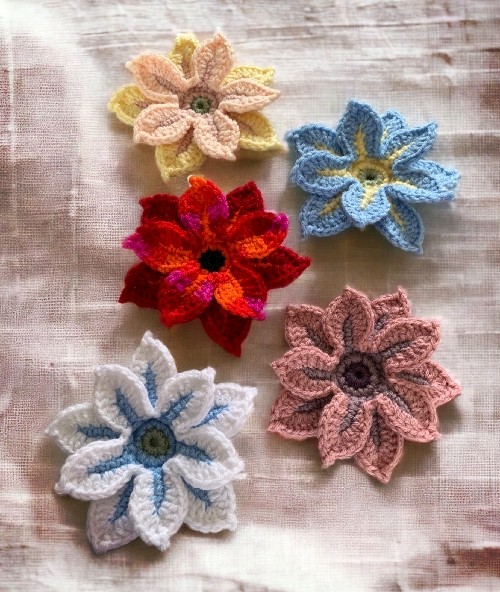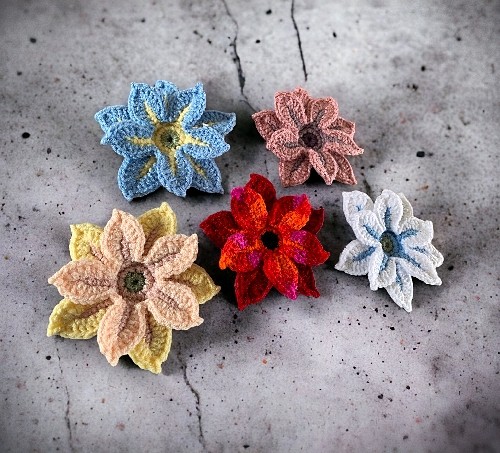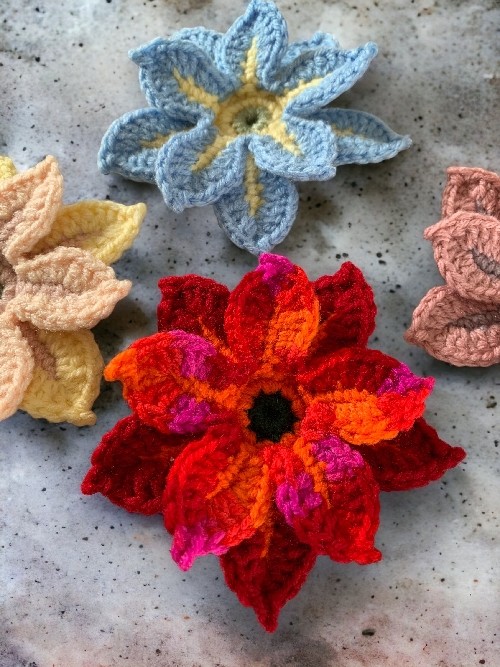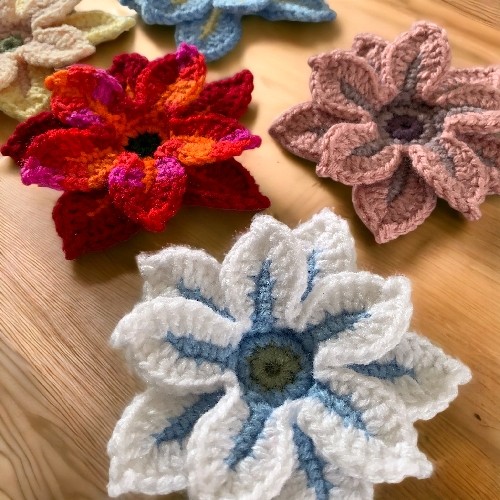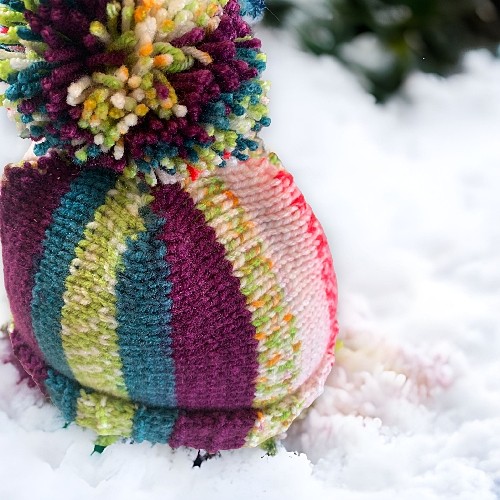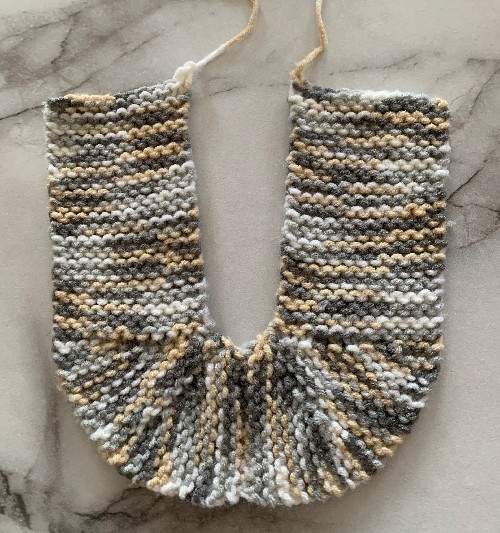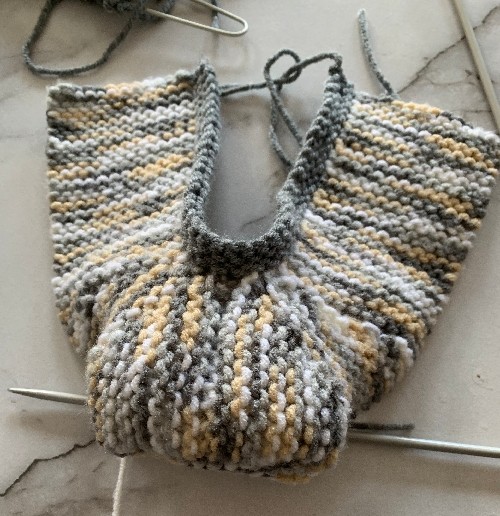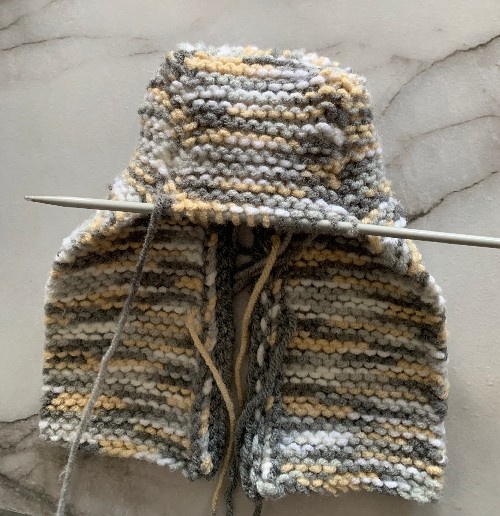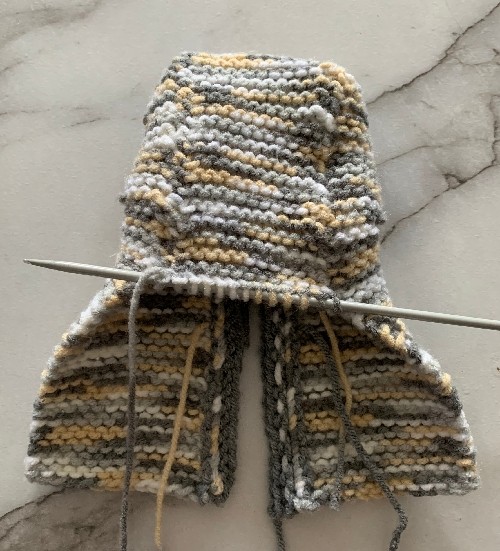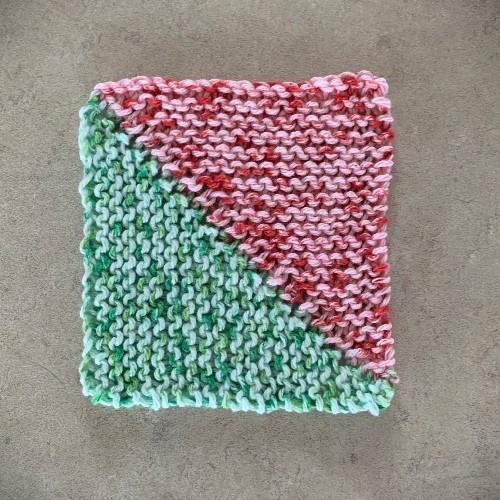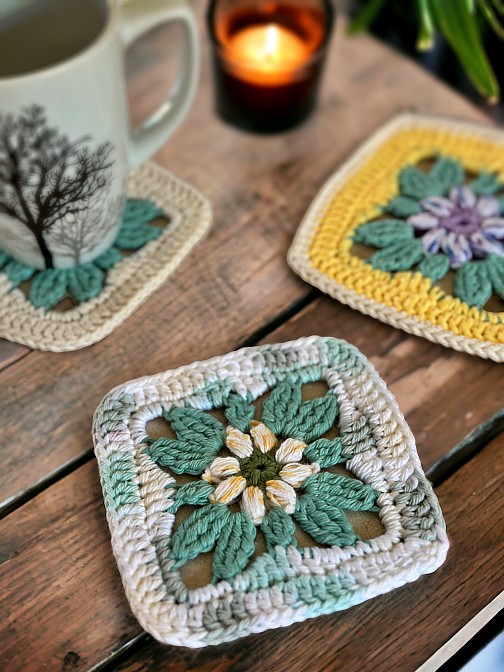
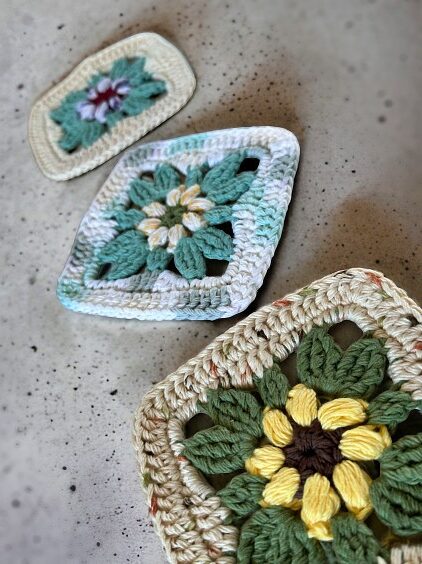
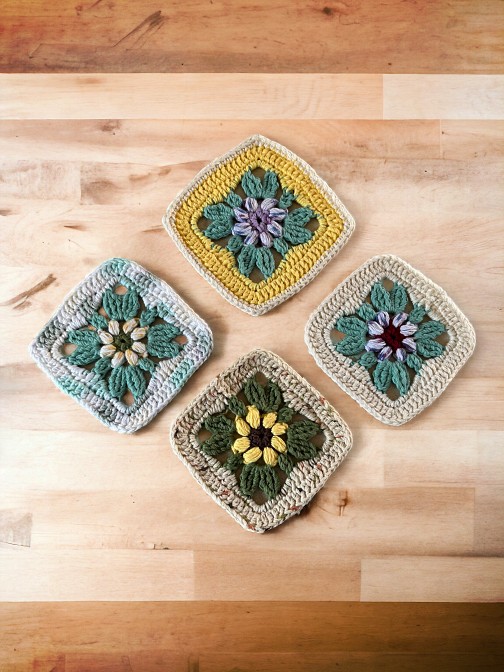
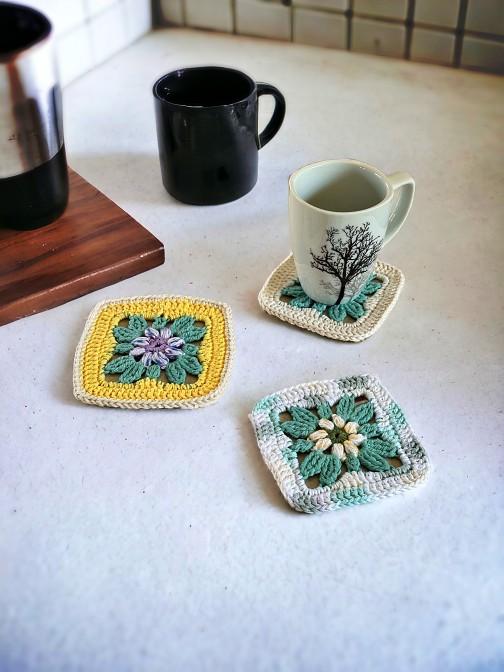
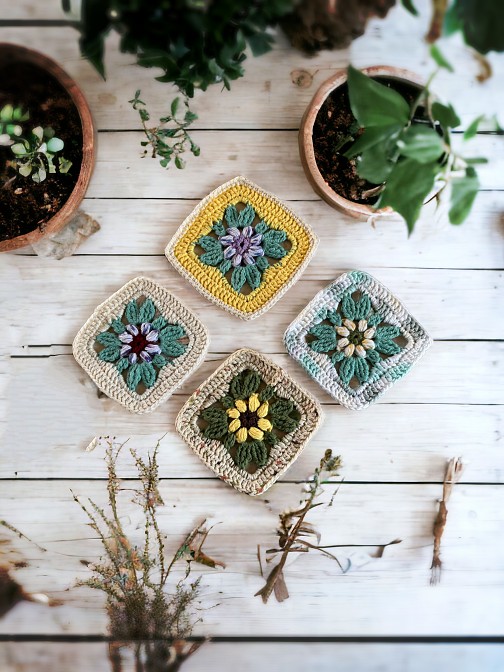
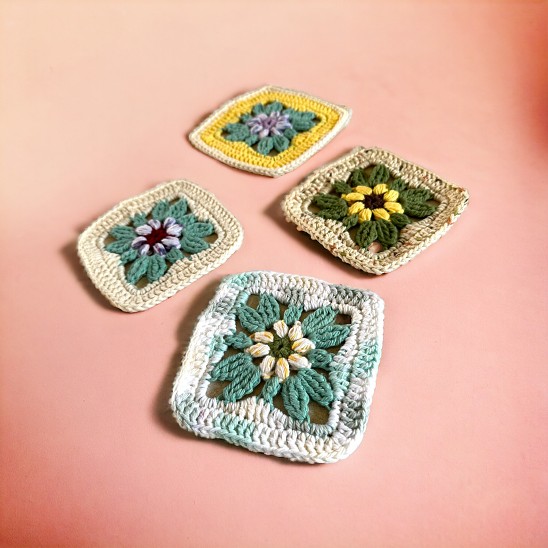
I decided to make a new style of bucket hat when I became enamoured with the many granny square hats I was seeing online. While I appreciate the basic granny square, I felt I needed to jazz up the square a bit. While this square is used in the hat, this particular pattern is for the square only.
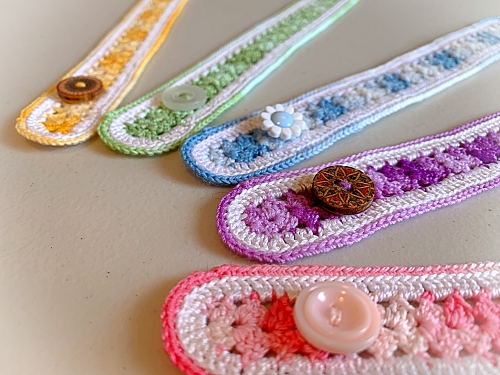
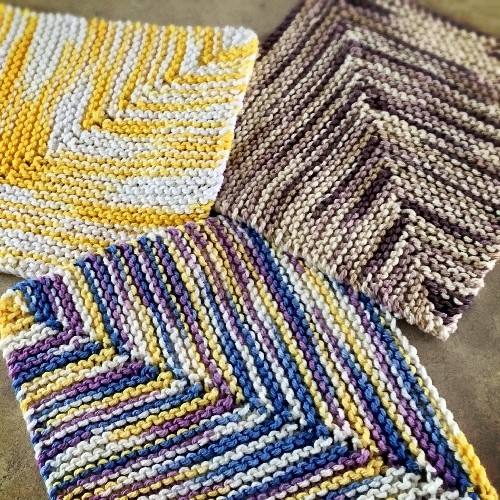
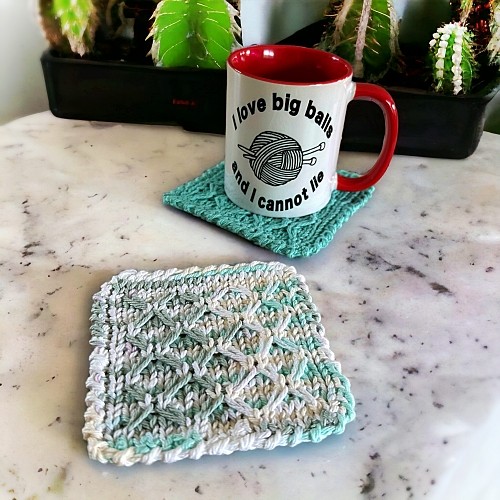
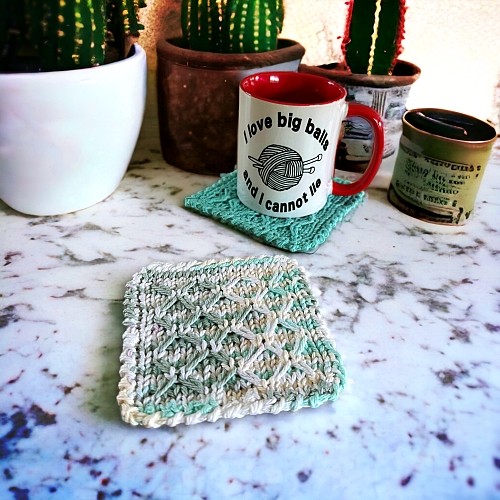
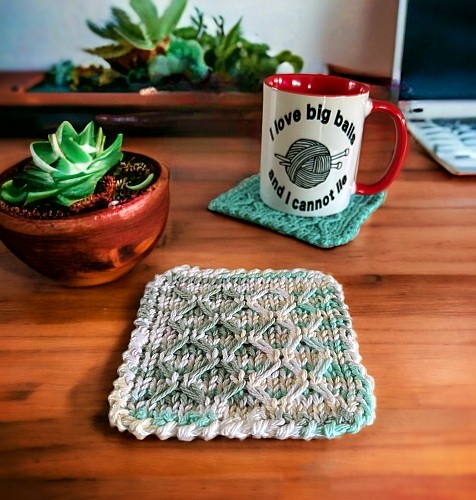
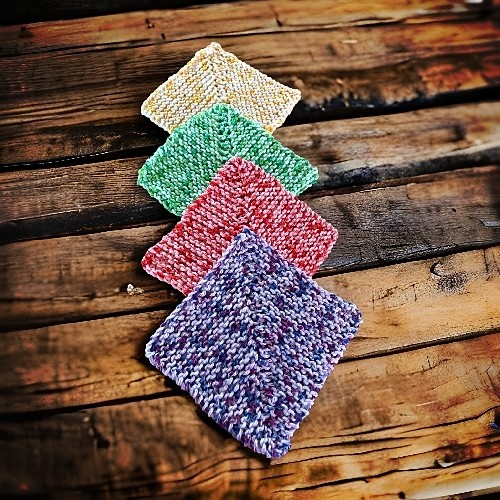
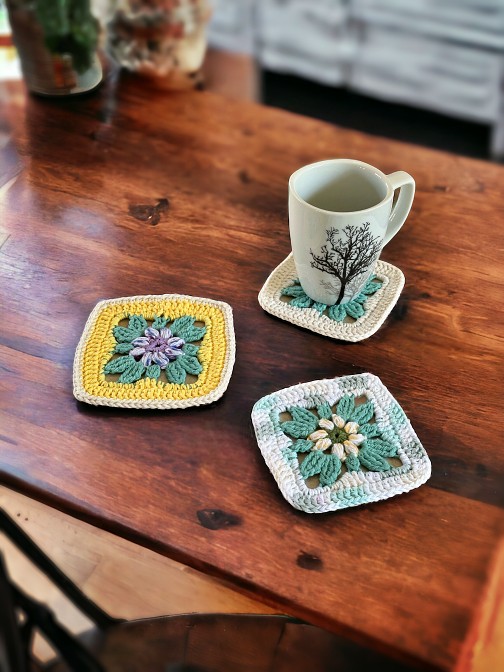
What can you do with a square? Pretty much anything. A square can be used as a square of course, like a coaster. It’s when you start adding those squares together that you really can do more. Attached them together to make a scarf, more squares to make a larger square for a pillow. Add a lot of squares and make an afghan. Put them together in creative ways to make the body and sleeves of a sweater, or diagonally and make a bag. Add extra stitches to make a hat, more stitches on one side to make a small purse. It really is only limited by imagination.
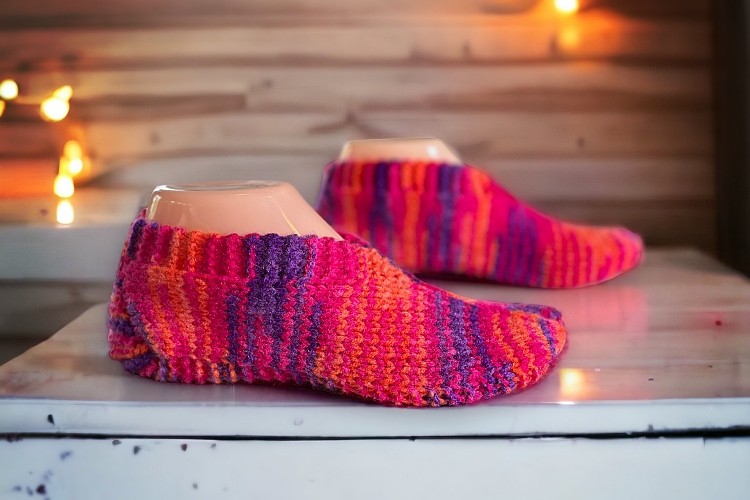
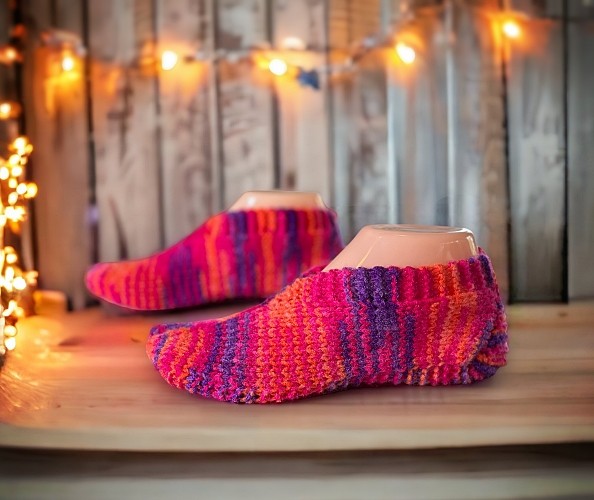
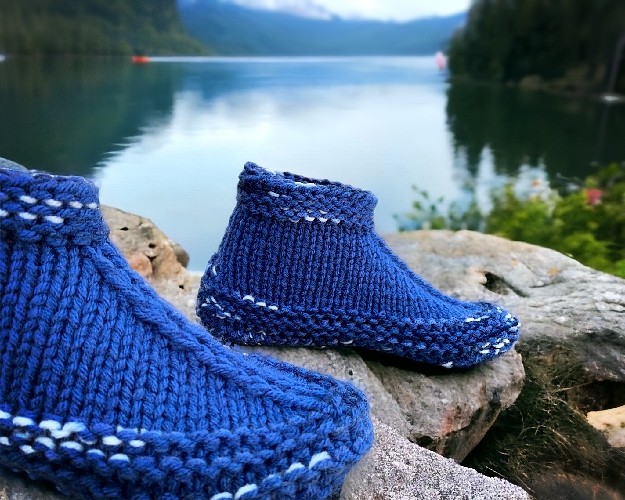
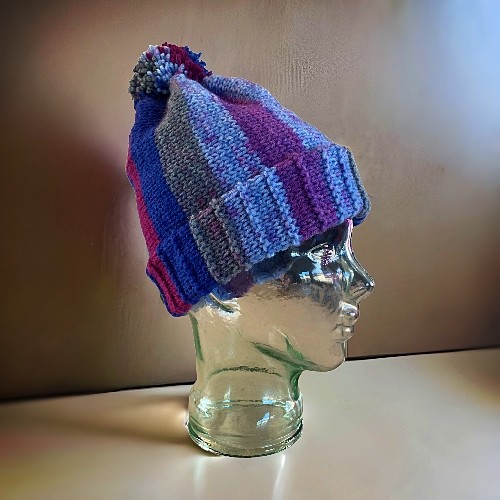
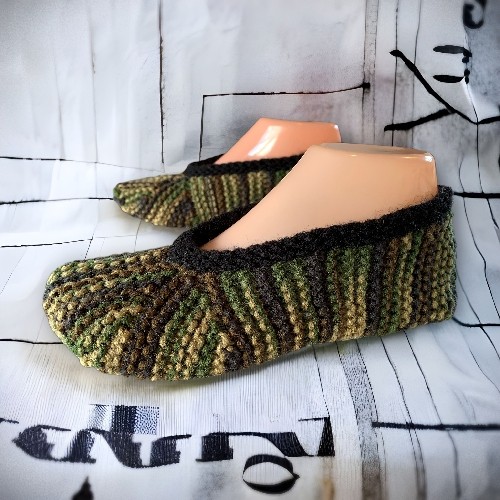
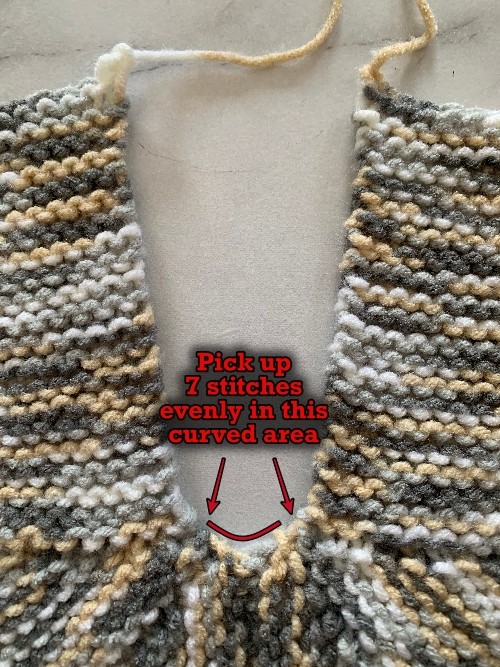
If you would like to make the bucket, you can find the pattern here – Sunny Days Flower Bucket Hat.
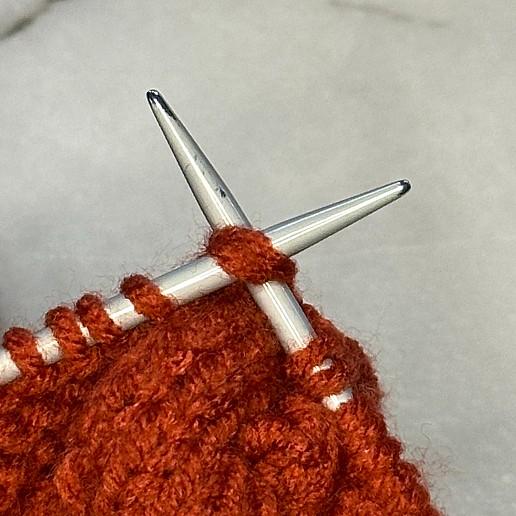
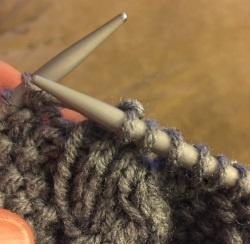
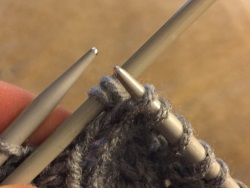
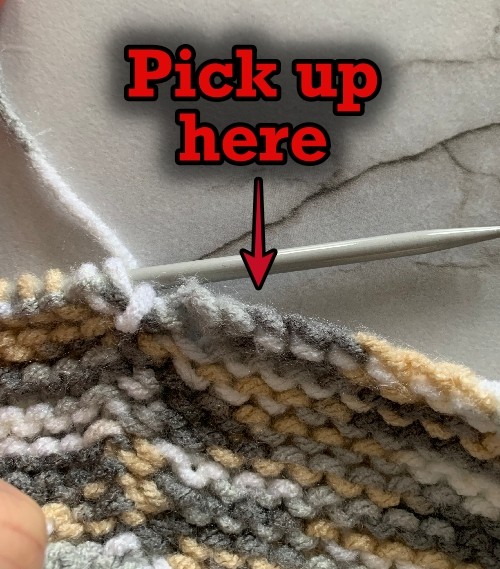
Use the Table of Contents tab on the left to go to the next round without scrolling past the photos.

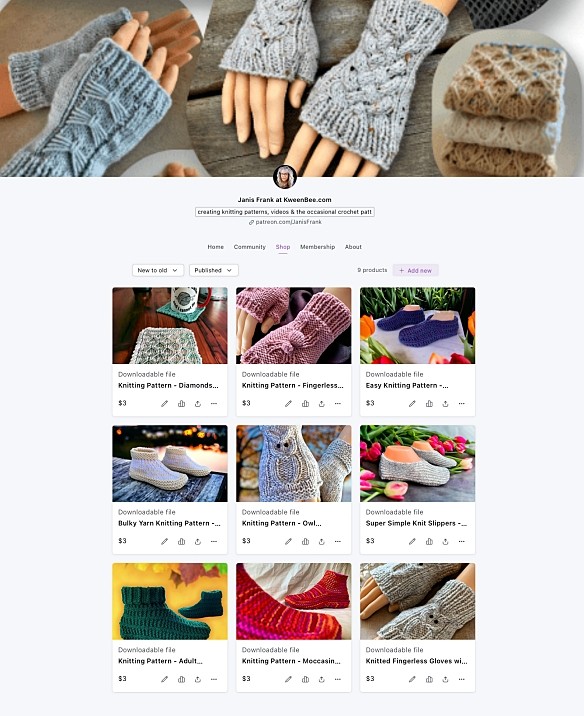
Love the free patterns? You can say thanks in a couple of ways. You can read more about how you can Support My Work by clicking that link or make a small donation and Buy Me a Coffee. 👈🏼 That link is to a website where you can make a one time donation as a thanks. (FYI I have some great offers if you would like to buy me multiple coffees. You can see those by clicking on the Extras tab or you can click this link Janis Frank Extras).
Another way to support my work is by becoming a Member on this website. When you become a Website Supporter for $3/month, you’ll gain access to exclusive member only posts. These posts contain one click downloads of the patterns. Simply click the Download & Print button. The PDF will automatically download to your computer or smart device. You can then read it on your device or print it at your leisure. You can download as many patterns as you like for the same $3 each month. You can go to this page to learn more, become a member and support my work… Exclusive Member Area. This pattern is NOT in the member area.
If you don’t want to or are unable to make a financial donation, sharing this pattern through social media is a great way to help out too! The links below are a super easy way for you to do so.
Unlike most of my patterns, this one is NOT available as a printable version, yet. I’m planning on developing a collection of granny squares I’m going to make available. And I have a hat pattern I’m working on where this square will be added in full. But for now, you can scroll along and make the square as you go.
Things You Need
4 colours of worsted weight yarn (center, flower, leaves and border)
3.5 mm (size E or 4) crochet hook
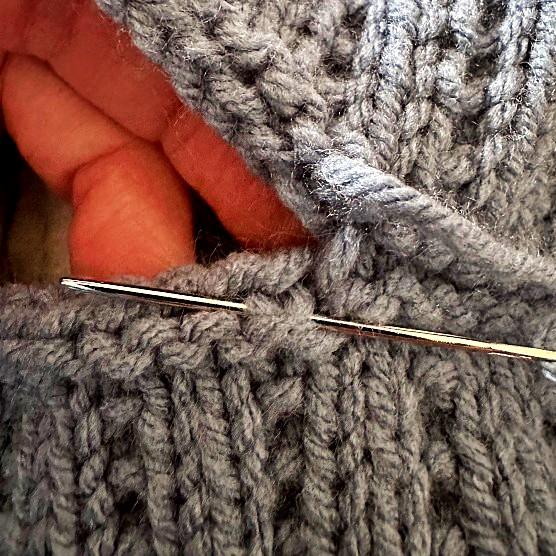
Tapestry needle to sew seams and work in ends
Gauge
In DC – double crochet
10 sts = 2 inches (5 cm)
5 rows = 2 inches (5 cm)
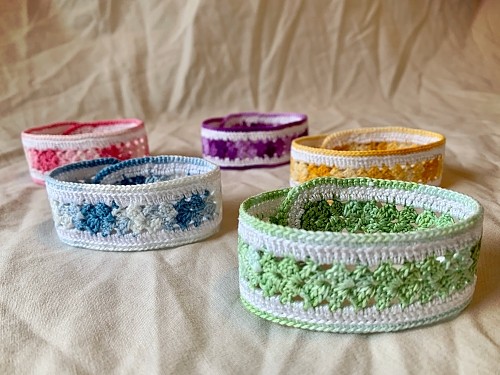
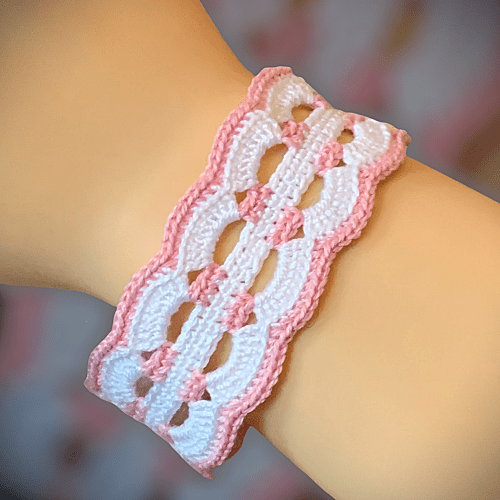
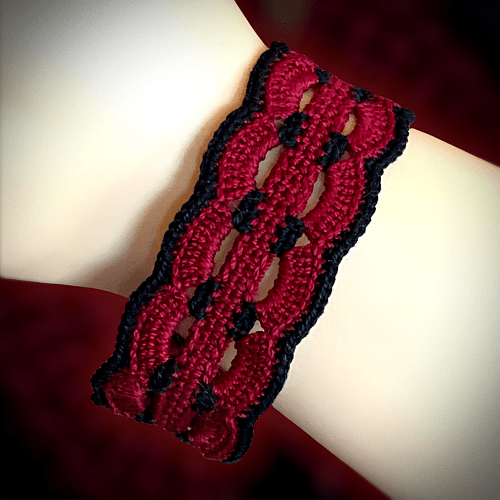
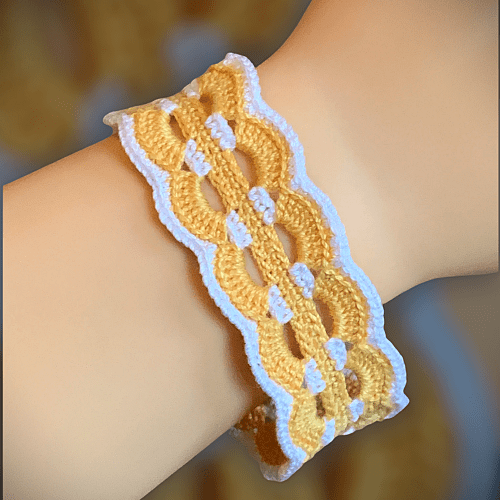
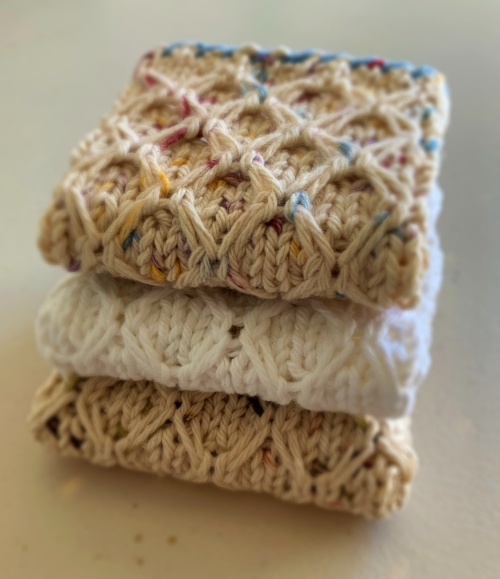
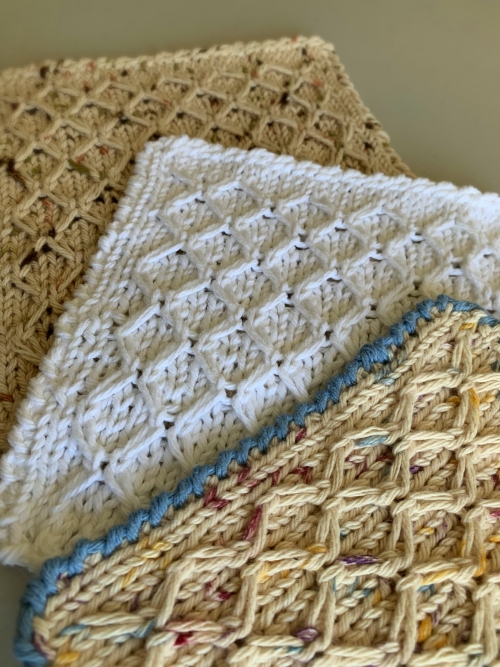
Each square measures approximately 12 cm (4.75 inches) wide.
This is a fairly densely packed square with more sts per inch. It’s not very “floppy” and is more stiff. If you are wanting more flexibility in your final project, like a blanket, use a larger hook, like a 5 mm (Size H or 6) or so.
If you are making the hat pattern (coming soon!) you’ll need 5 squares.
The Pattern
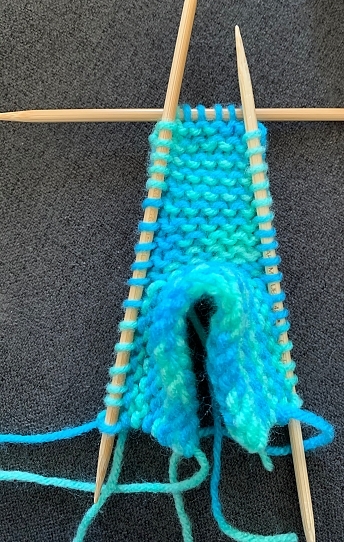
With your choice of center colour,
Ch 2 making first chain large enough to fit the next 8 sts.
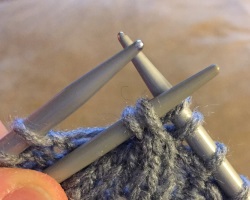
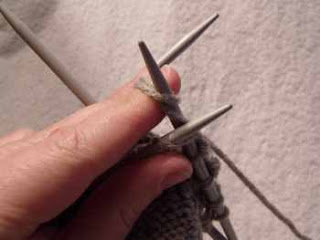
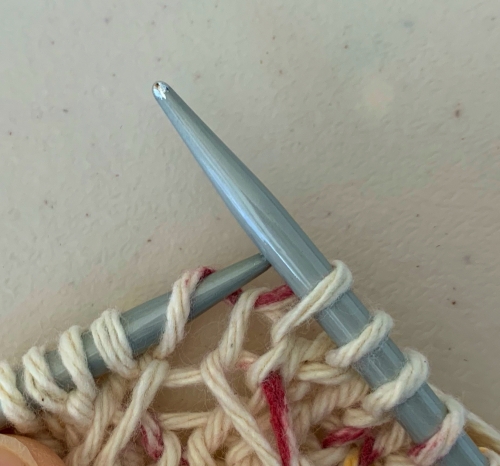
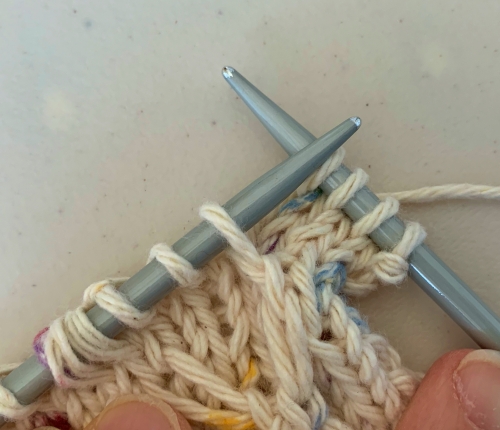
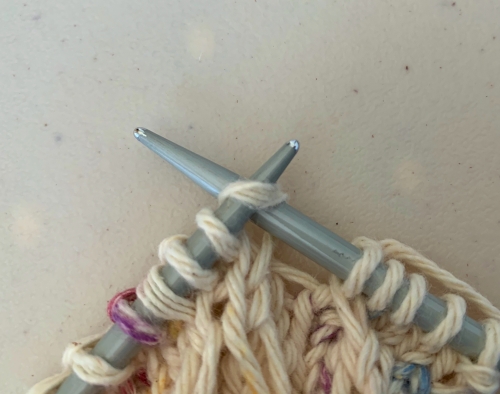
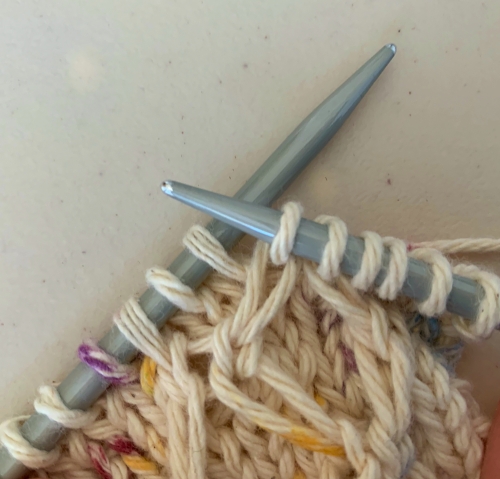
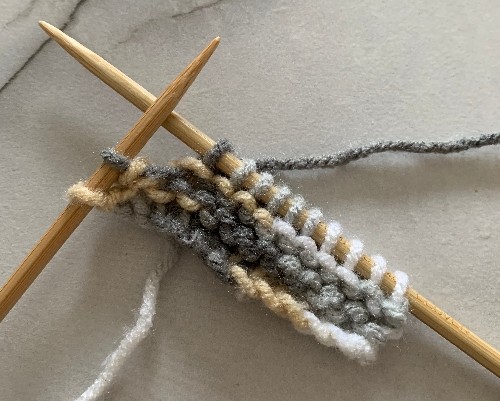
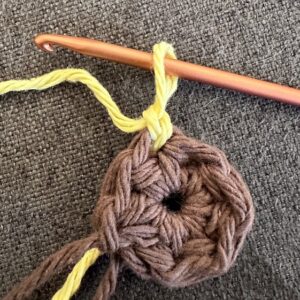
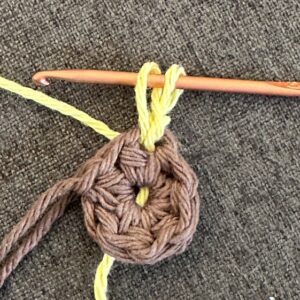
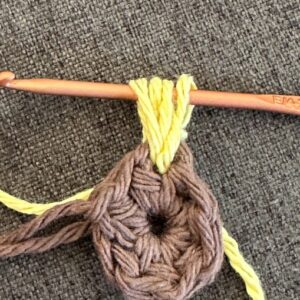
Round 1
8 HDC. Join with sl st at the top of the first ch. Break yarn.
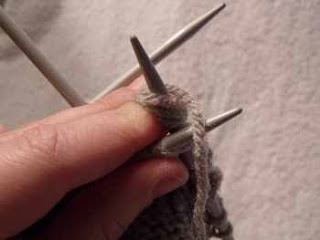
Round 2
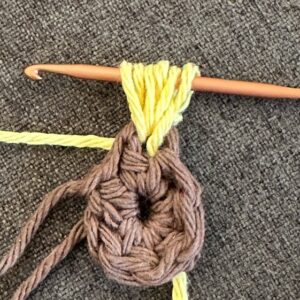
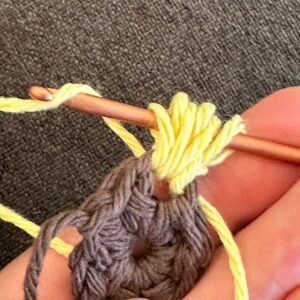
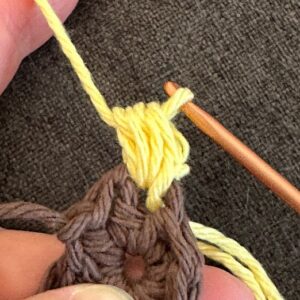
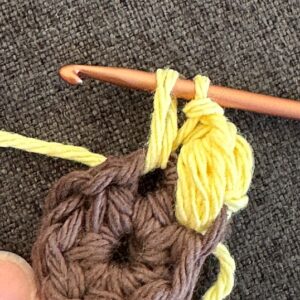
With your choice of flower petal colour,
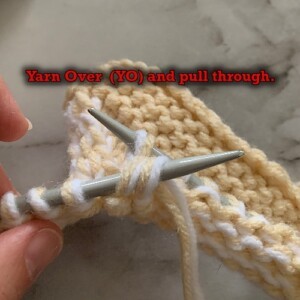
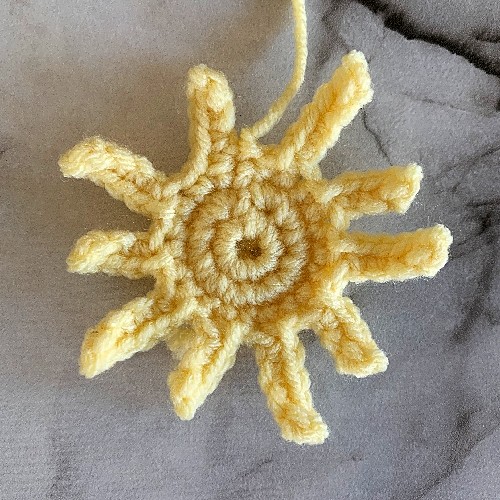
In any HDC, join with sl st. Ch 1 and make it into a large loop. Pull up a large loop. YO. Pull up a loop. YO. Pull up a loop. YO draw through all the loops ion your hook. Ch 2. ♠ In the next HDC, *Pull up a loop. YO* Repeat from * to * 3 times more (total of 4 large loops). Draw through all loops on your hook. Ch 2 ♠ Repeat form ♠ to ♠ around for a total of 8 petals. Join with sl st to the first ch 1 of the first petal. Break yarn. Tie off.
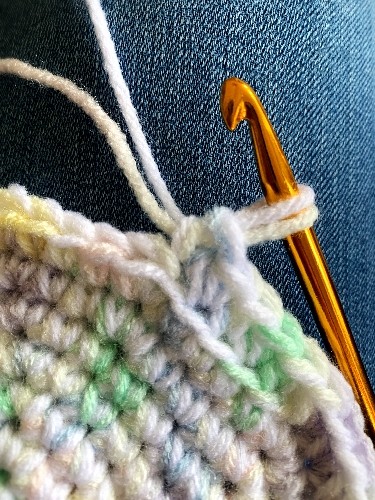
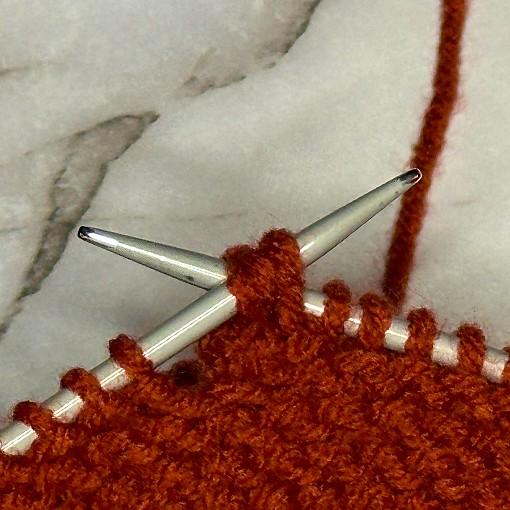
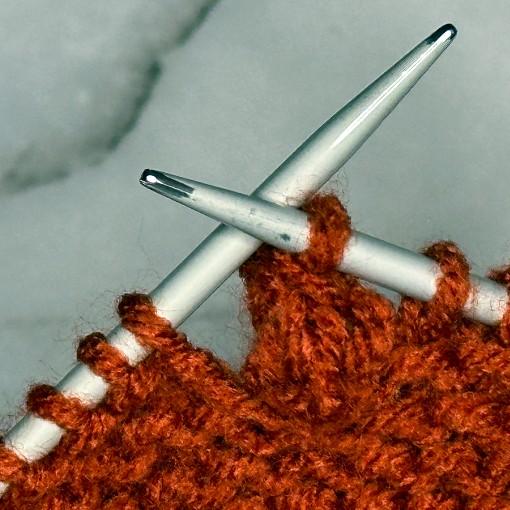
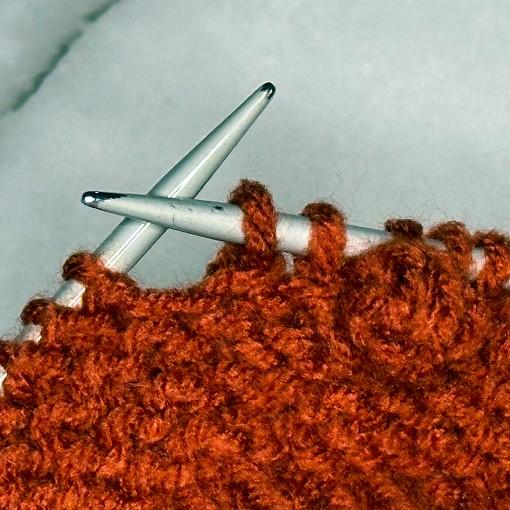
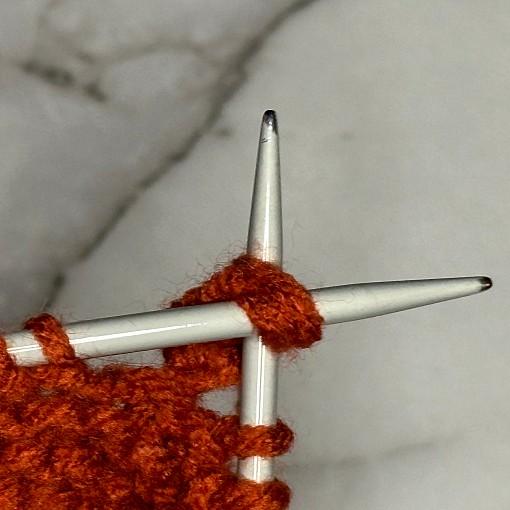
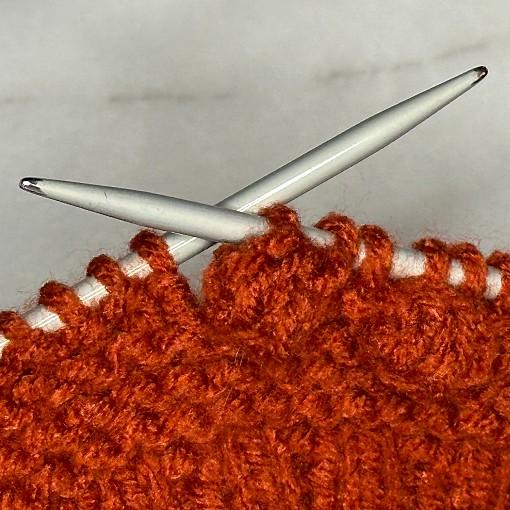
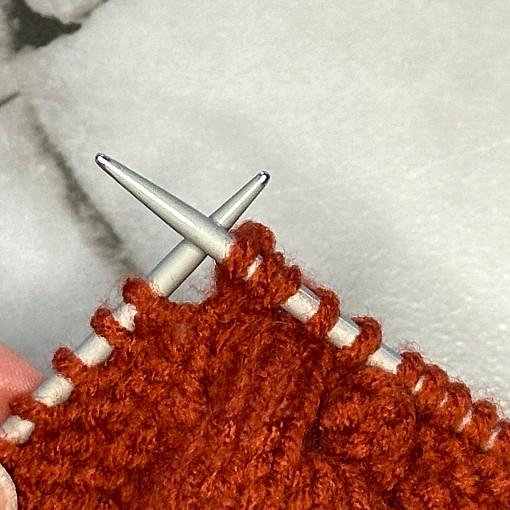
Pattern continues after photos. Use the Table of Contents tab on the left to go to the next round without scrolling past the photos.
Ch 2
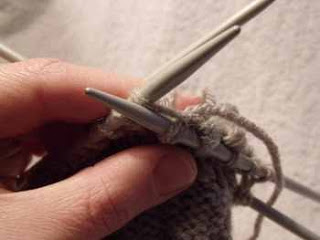
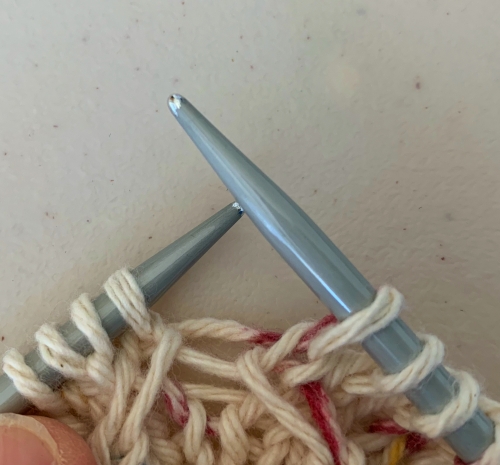
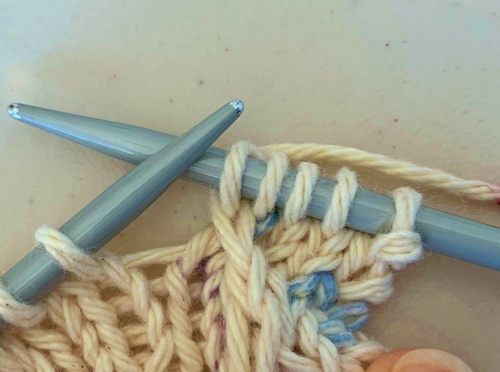
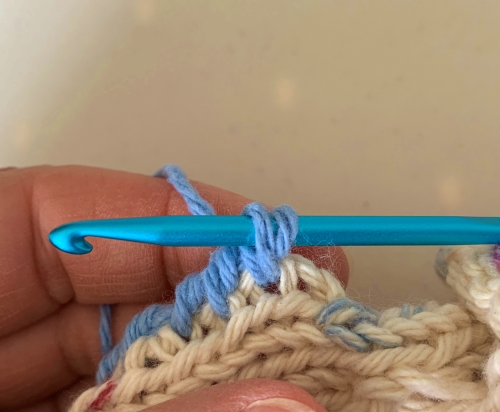
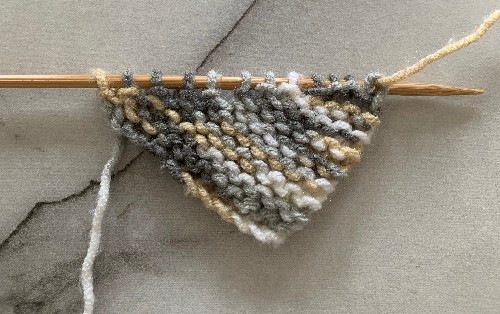
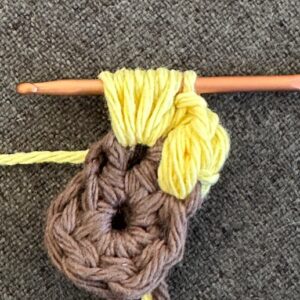
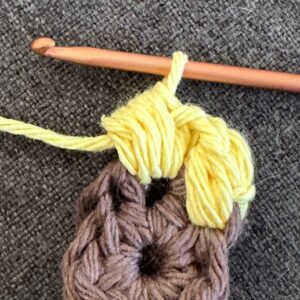
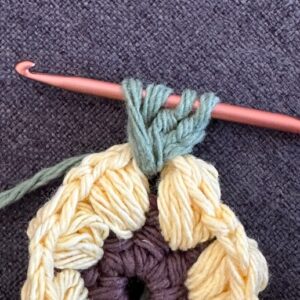
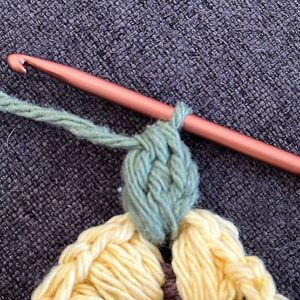
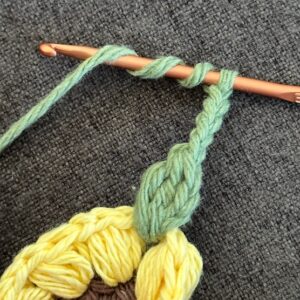
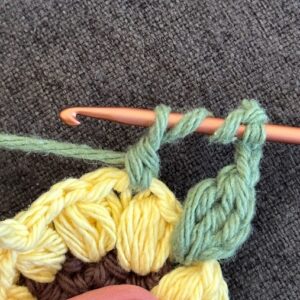
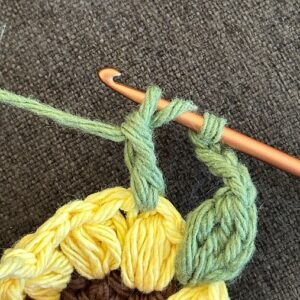
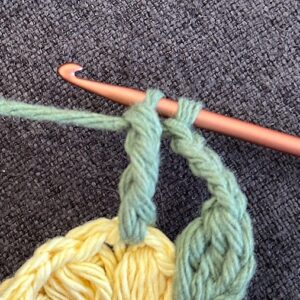
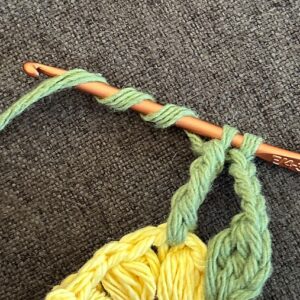
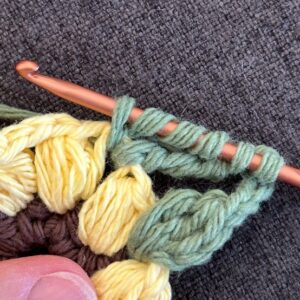
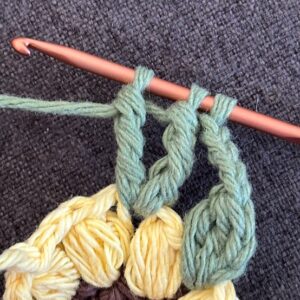
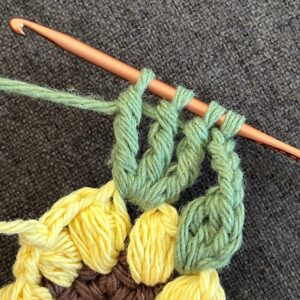
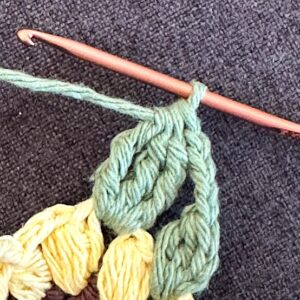
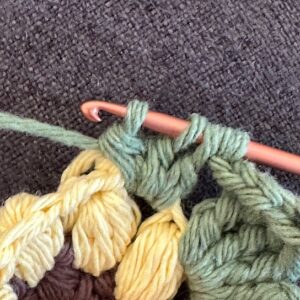
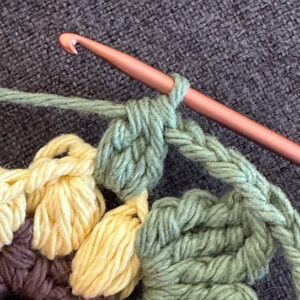
Round 3
With your choice of leaf colour,
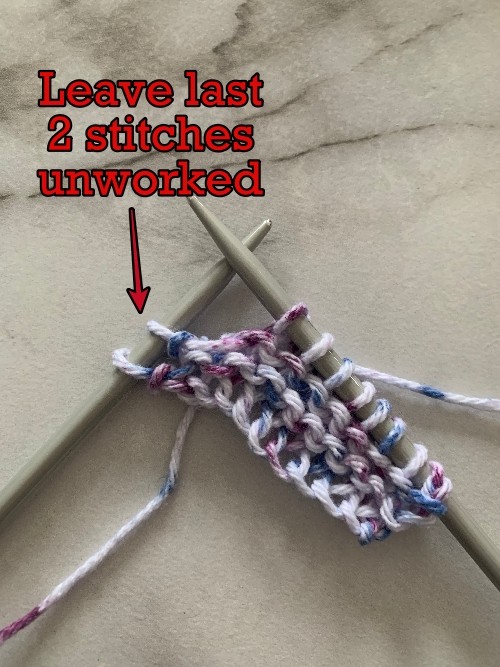
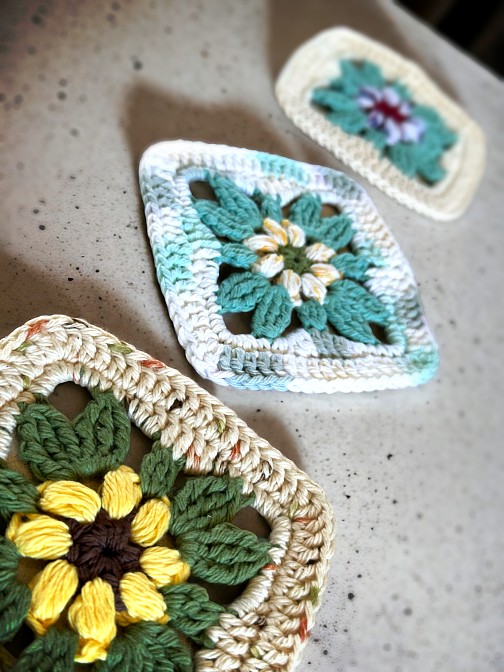
Join with sl st in any Ch 2 space. Ch 1 ♣ YO. Draw up a loop as if to make a DC. YO and draw through the first 2 loops on your hook. Leave the remaining loops on your hook unworked.♣ Repeat from ♣ to ♣ one more time. YO and draw through the all loops on your hook. (Small middle leaf complete). ▲ Ch 4.. In the next Ch 2 space, ♥ ◘ YO 3 times. Draw up a loop as before. YO and draw through the first 2 loops on your hook. YO. Draw through the next 2 loops on your hook. YO Draw through the next 2 loops on your hook. Leave the remaining loops on the hook unworked.◘Repeat from ◘ to ◘ 2 more times. YO and draw through all 4 loops on your hook. ♥ (1st corner leaf made). Ch 5. Repeat from ♥ to ♥ 1 time staying in the same Ch 5 space of the leaf just made. (2nd corner leaf made). Ch 4. In the next Ch 2 space, Repeat from ♣ to ♣ but repeat 3 times total. (Small middle leaf made).▲ Repeat from ▲ to ▲ ending with last 2 corner leaves. Ch 4. Join with sl st to the top of 1st small middle leaf. Break yarn. Tie off.
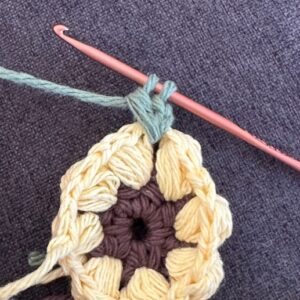

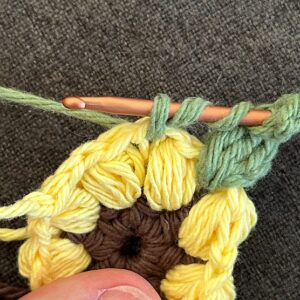
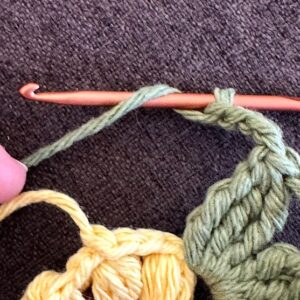
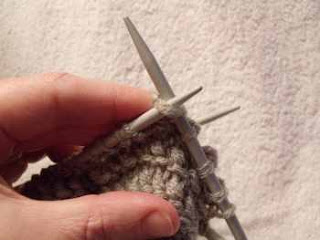
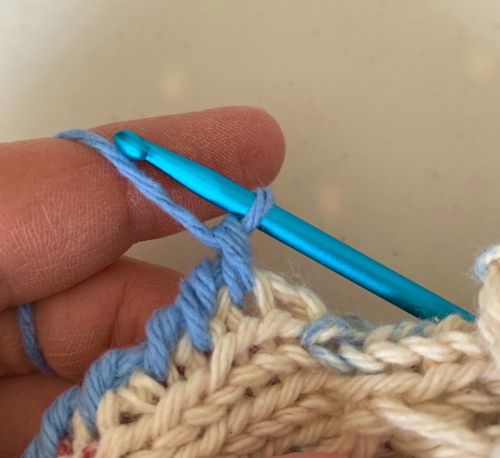
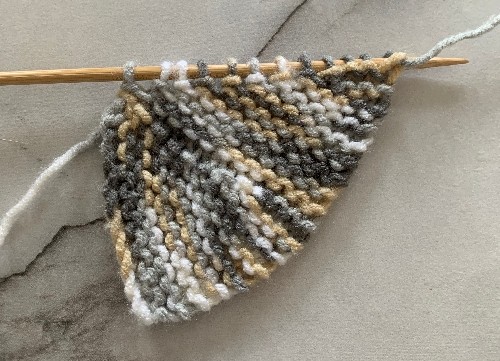
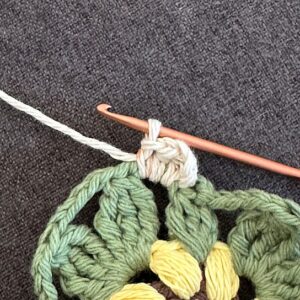
Round 4
With your choice of edging colour,
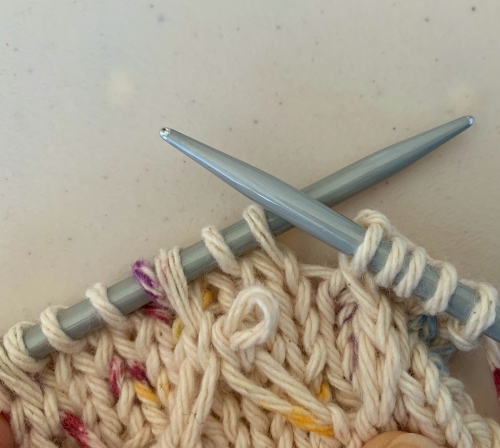
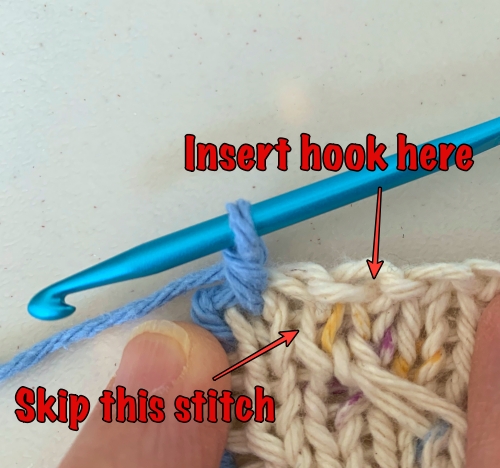
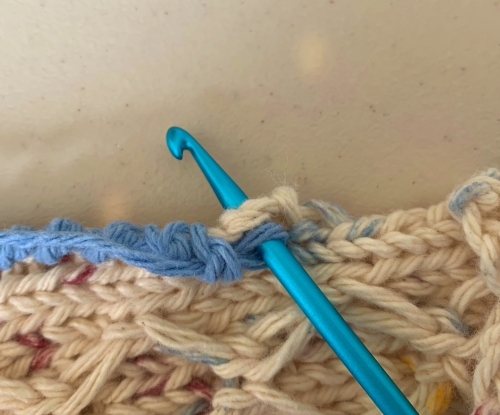
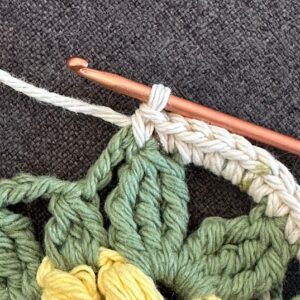
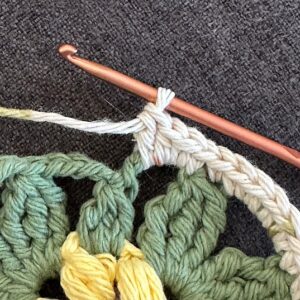
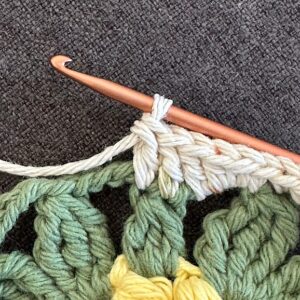
Join with sl st in the DC of any small middle leaf, Ch 2. ♫ In the next Ch 4 space, (DC, HDC, SC). SC in each of the next 2 sts. In the Ch 5 corner space, 5 SC, SC in each of the next 2 sts. In the Ch 4 space (SC, HDC, DC) DC in the next 2 sts. ♫ Repeat from ♫ to ♫ ending with 1 DC in the next st. Join with sl st in the top of the starting Ch 2.

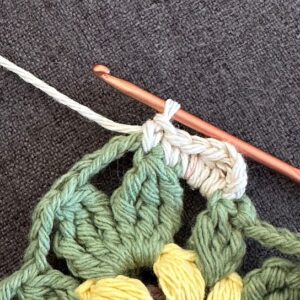
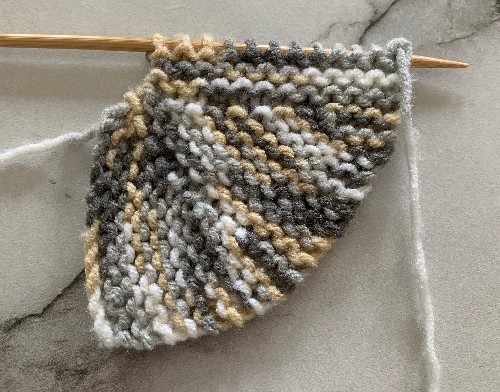
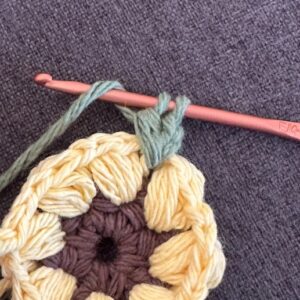
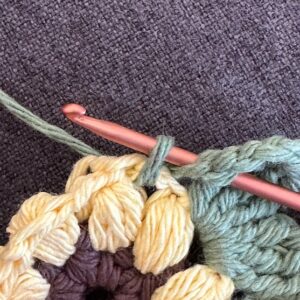
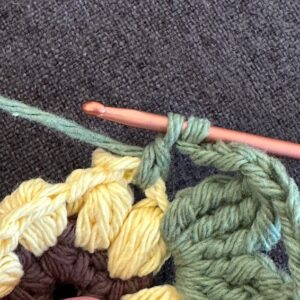
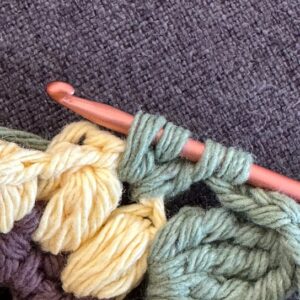
Round 5
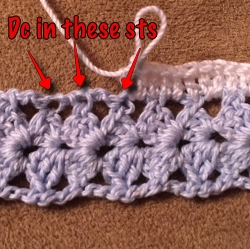
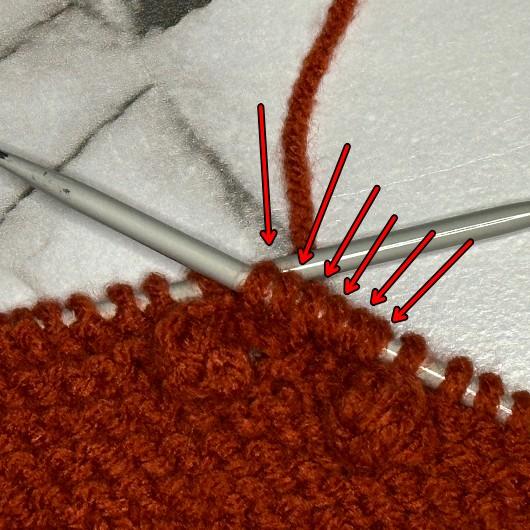
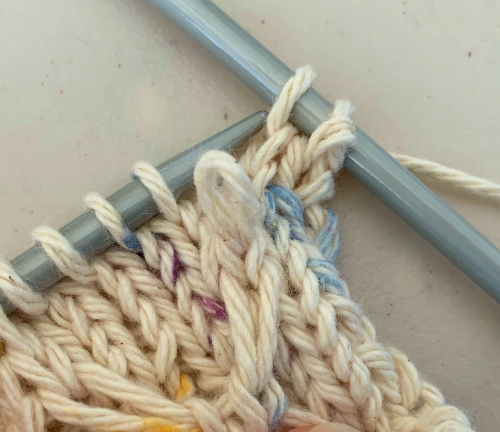
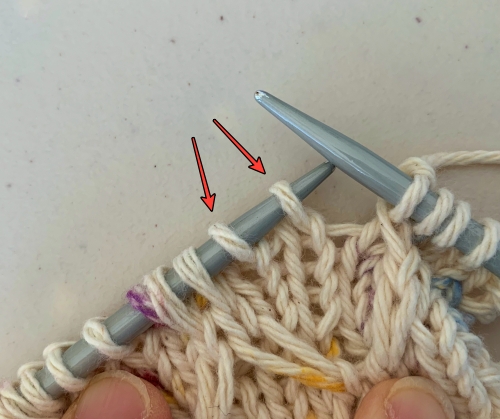
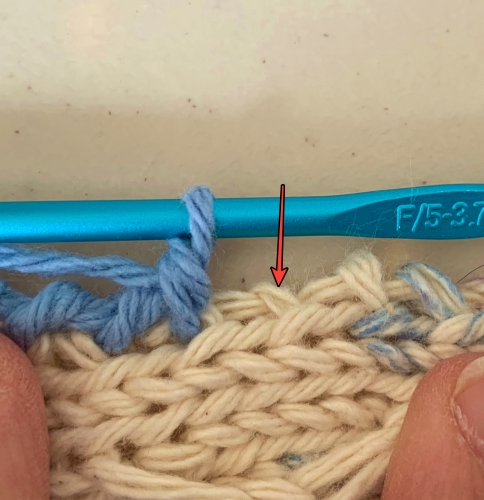
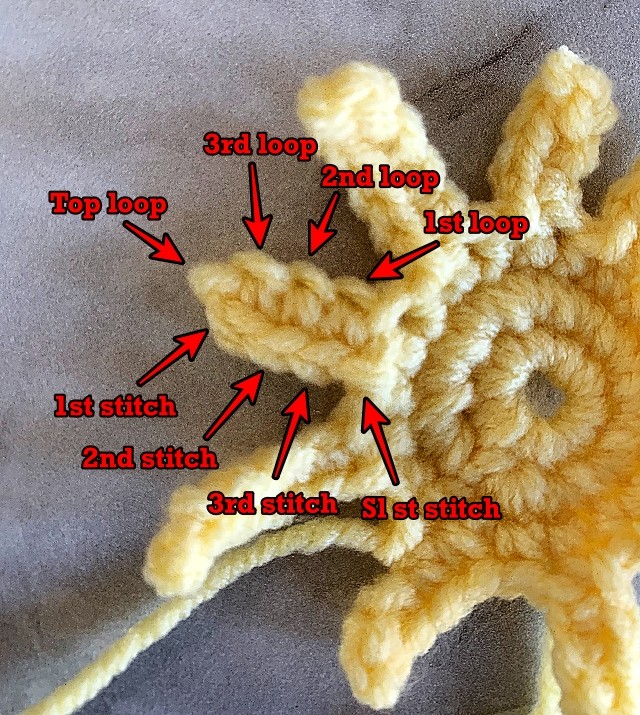
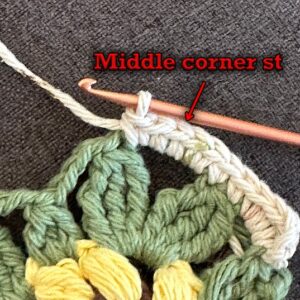
Working evenly over the sts unless otherwise stated Ch 3, 6 DC, 3 DC in the corner st, ☼ 16 DC, 3 DC in the corner st. ☼ Repeat from ☼ to ☼ 2 more times. 8 DC. Join with sl st in starting Ch 3. Break yarn. Tie off.
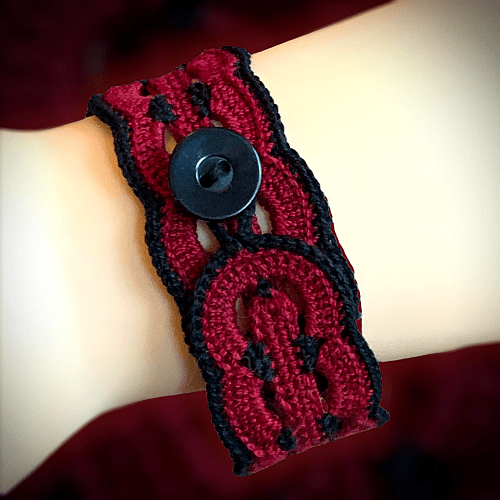
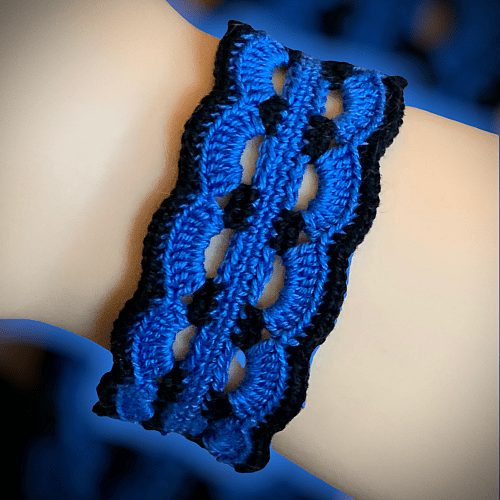
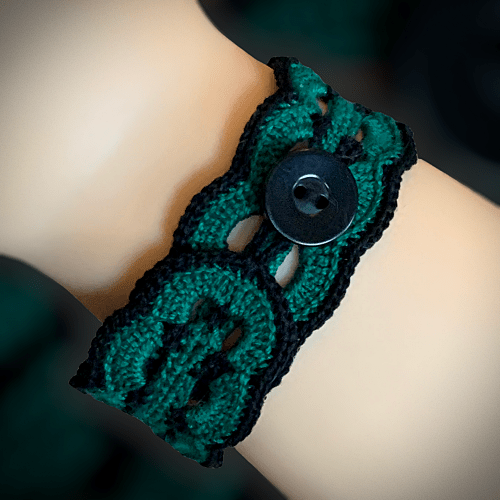
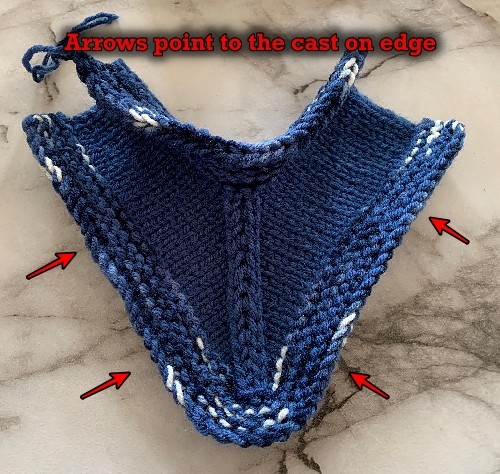
Please note: You can substitute SC for the DC in round 5. Photos of the granny square show the squares with DC edging. If using SC don’t Ch 3.
Abbreviations
SC – single crochet
DC – double crochet
HDC – half double crochet
YO – yarn over
sl st – slip stitch
st – stitch
sts – stitches
Hints and Tips
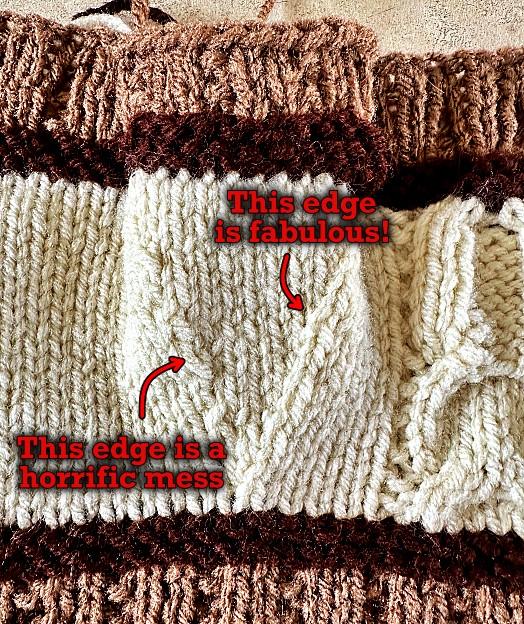
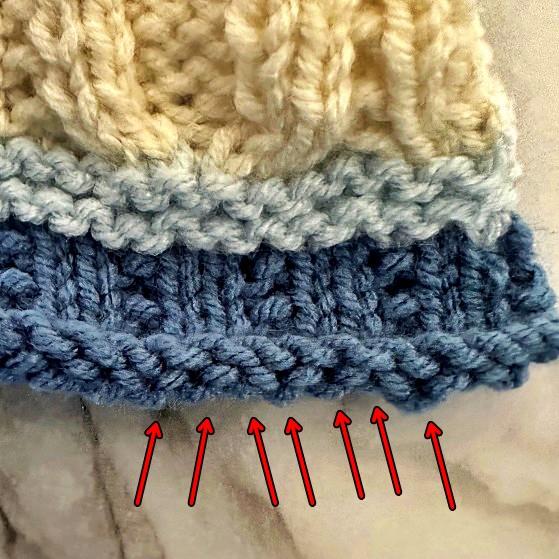
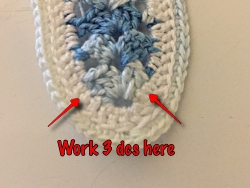
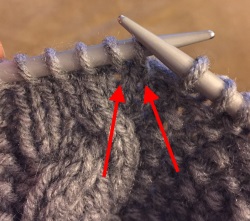
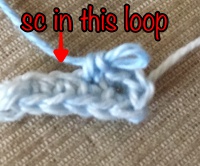
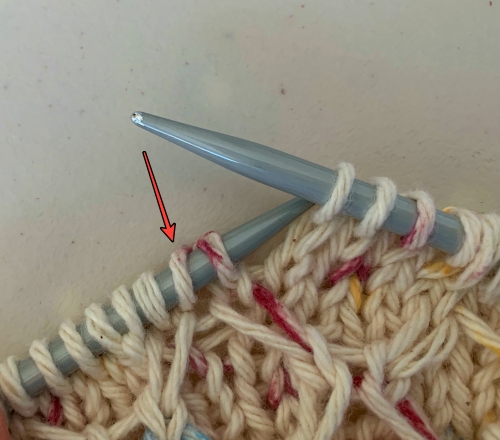
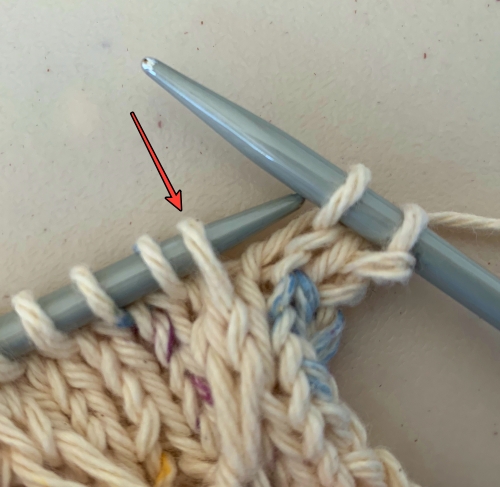
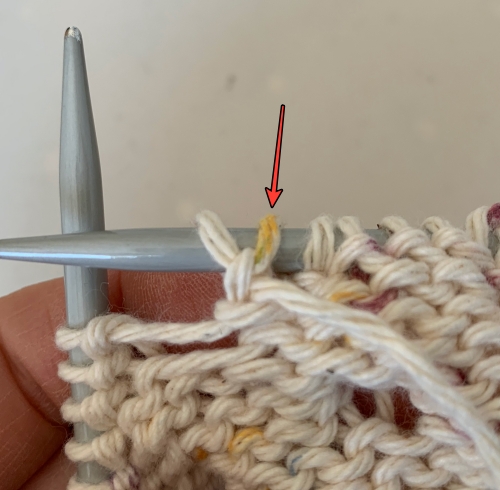
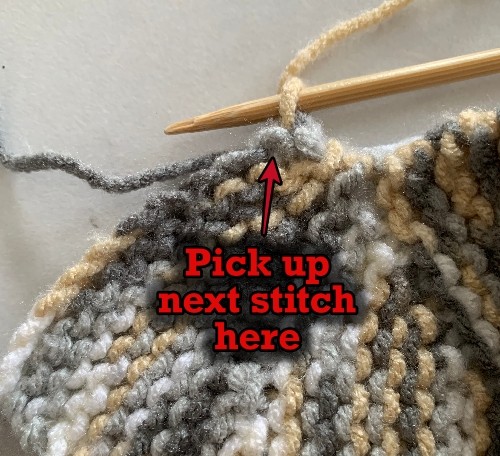
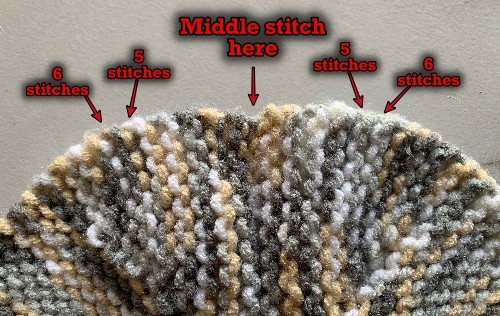
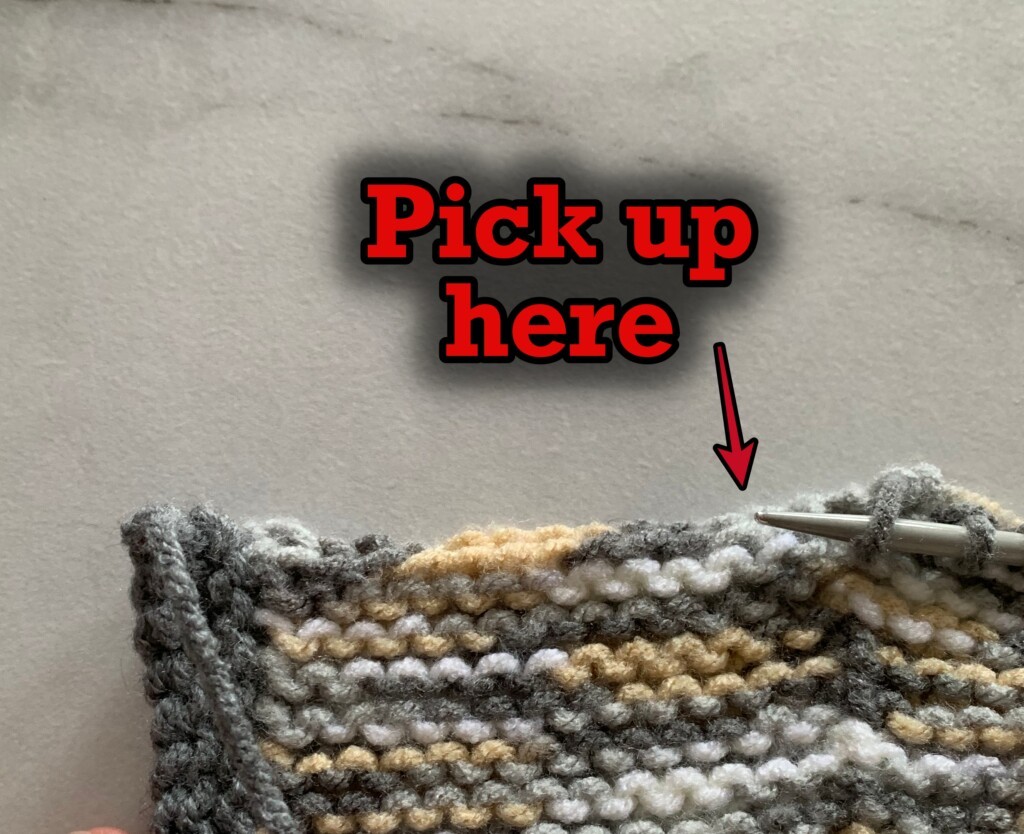
If counts are off for round 5, DC as many sts as you need to get to the middle st of the corner (I marked it in the photo). Make sure the 3 sts in one st are always in the middle st.
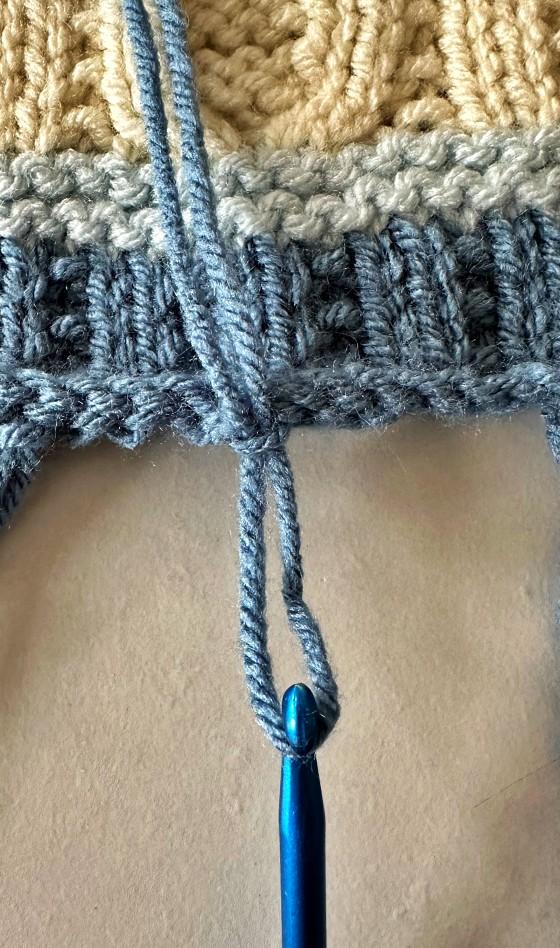
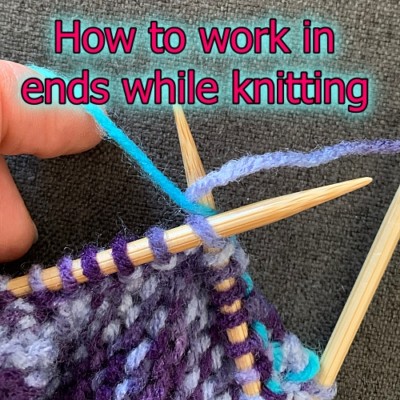
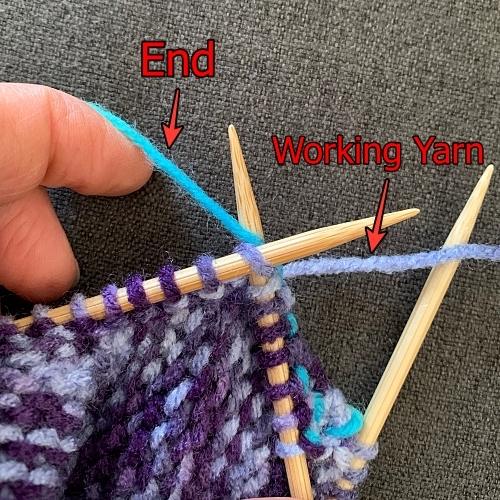
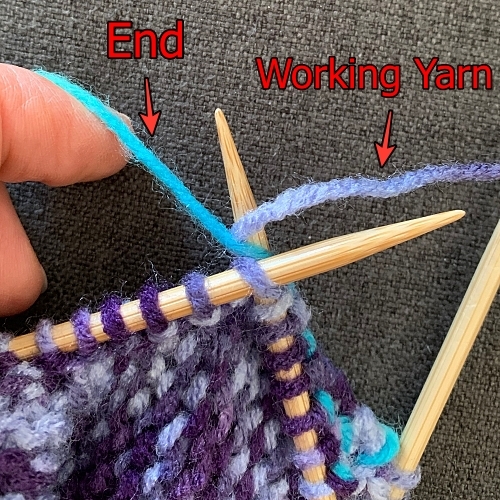
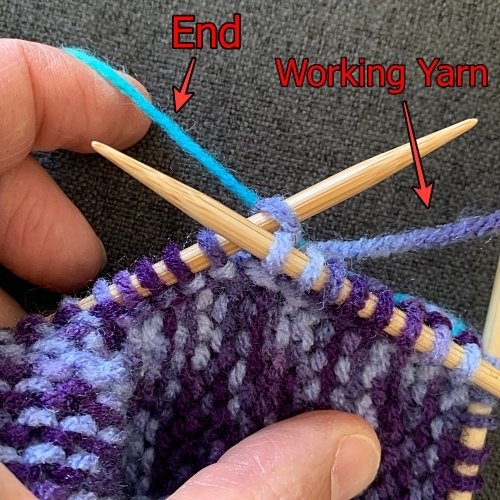
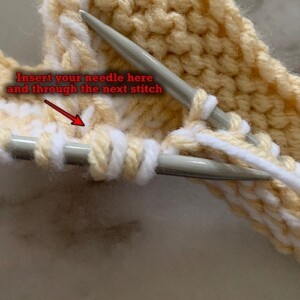
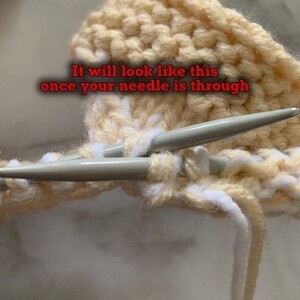
There are a lot of ends when you make a multi-coloured granny square. To help with things, hold your yarn to the back of your work and catch the end over a few sts while you crochet. There are lots of great videos online that can show how.
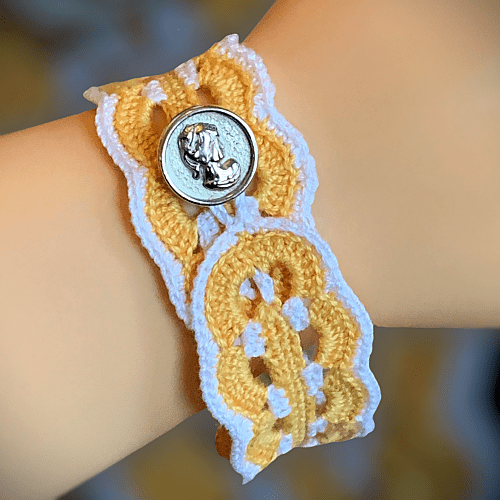
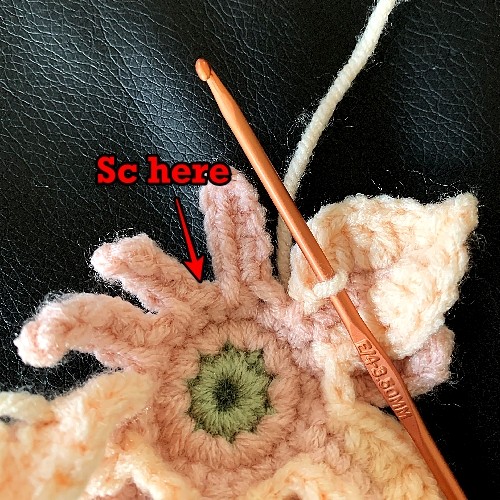
The yellow square has an additional SC border.