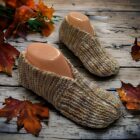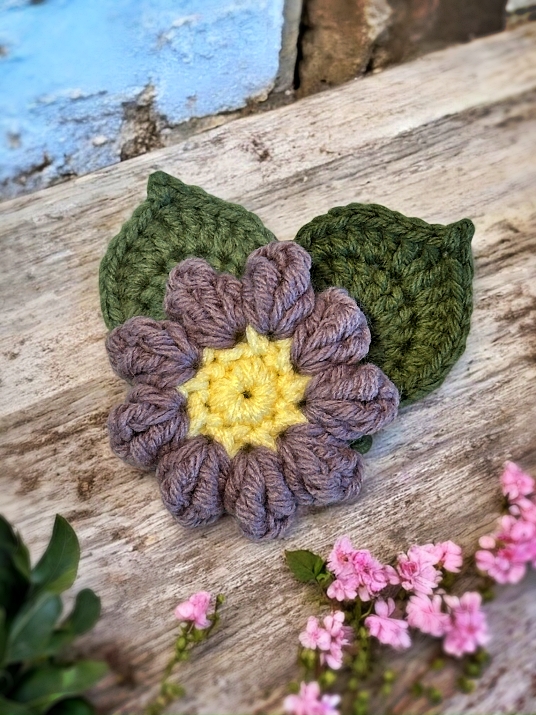

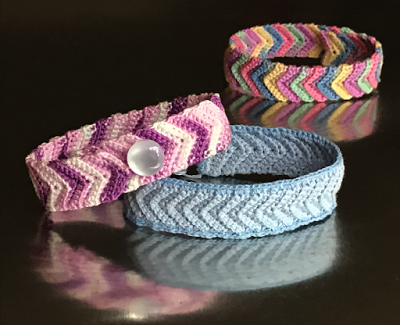
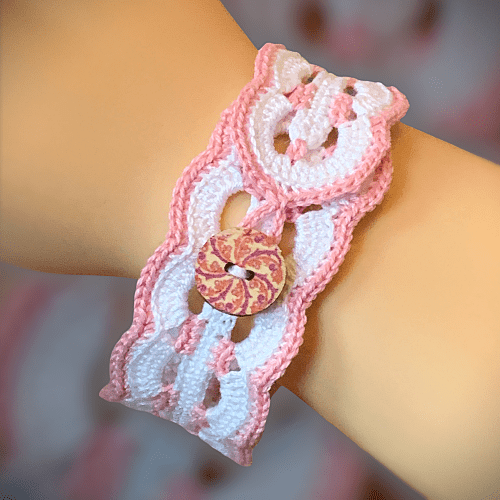
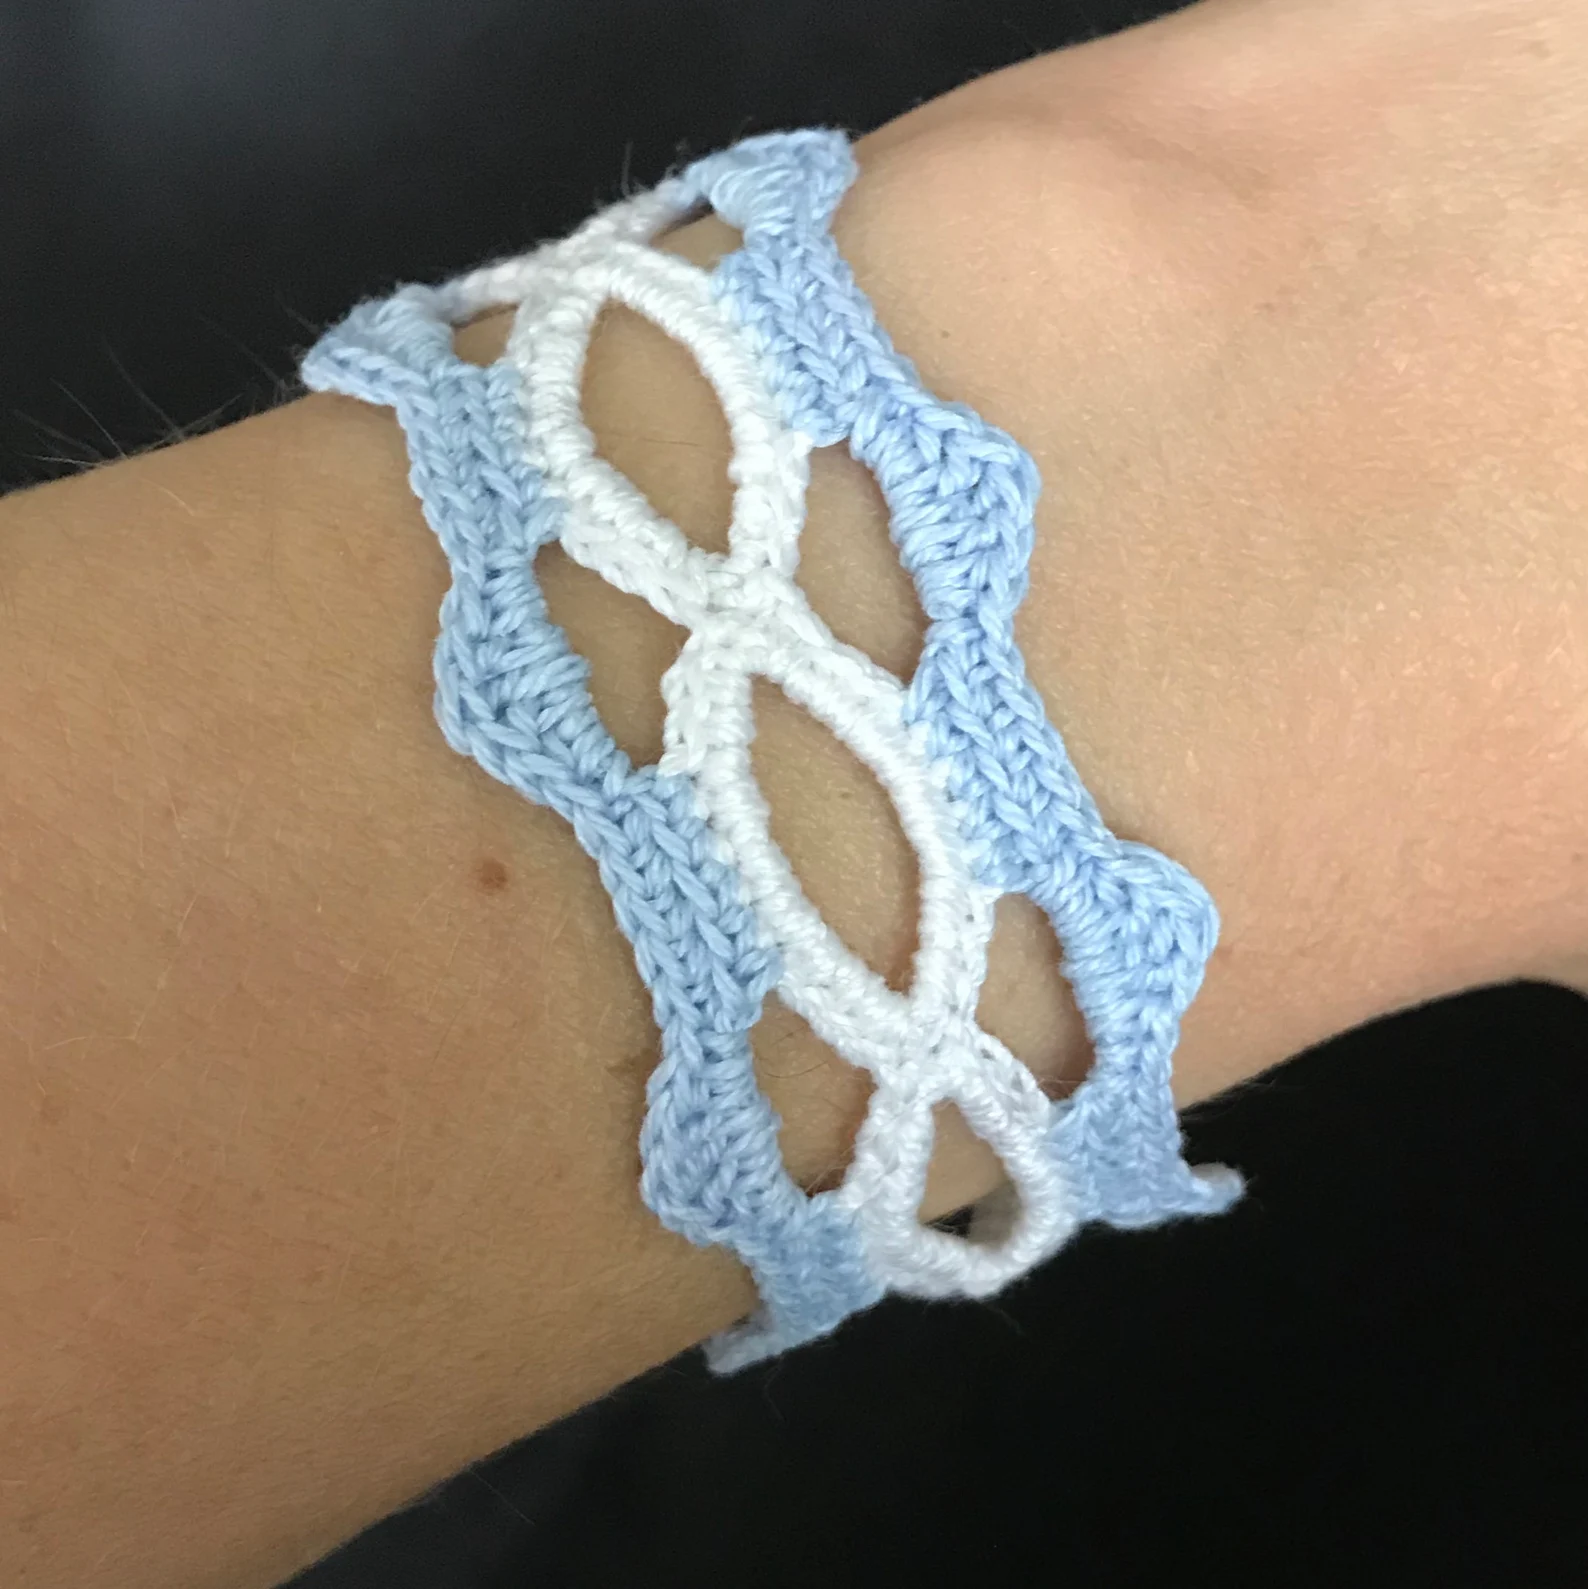
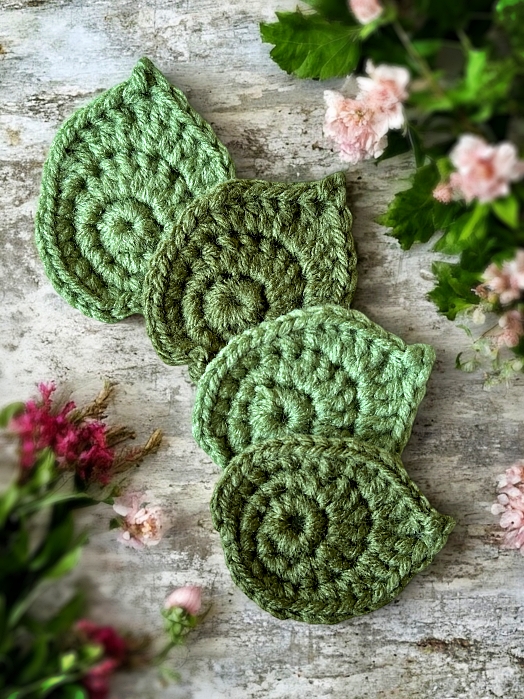
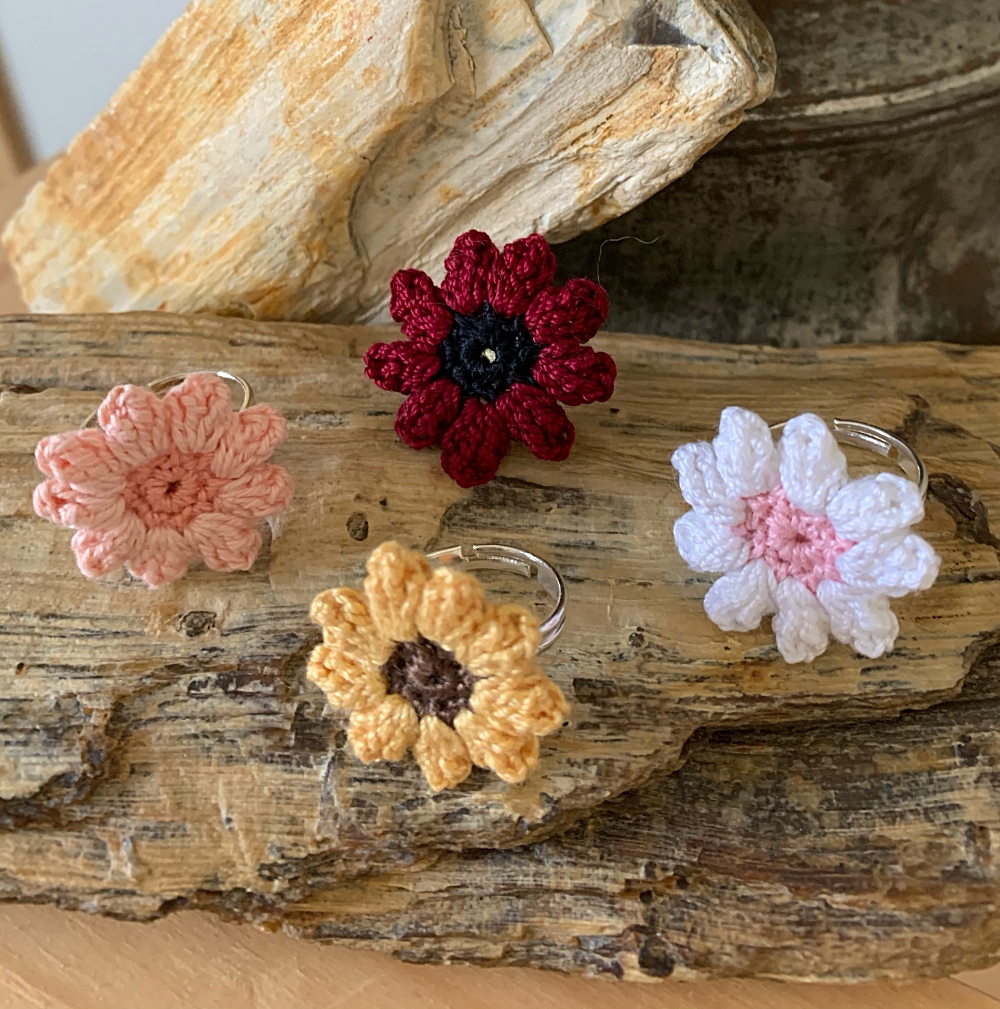
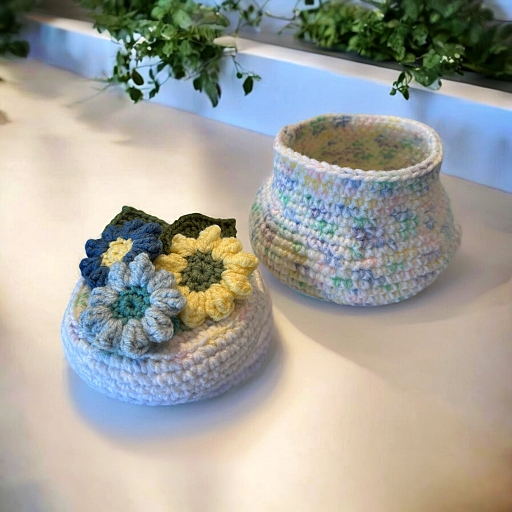
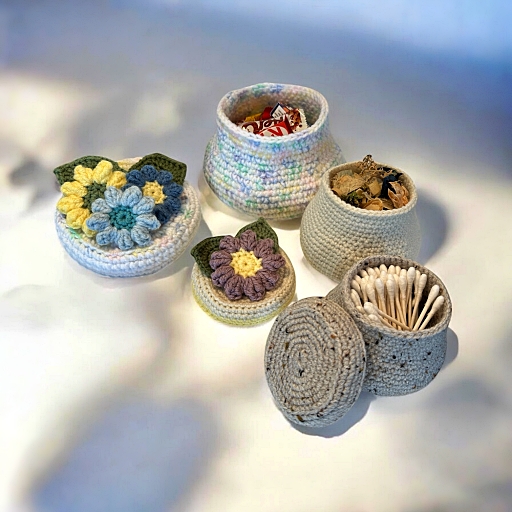
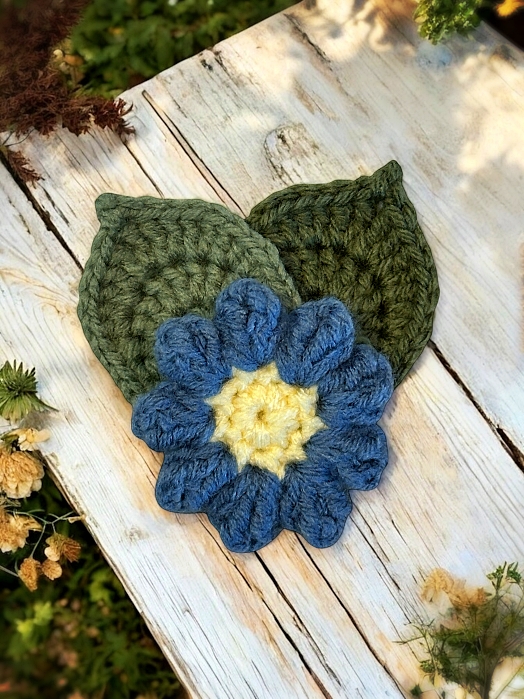
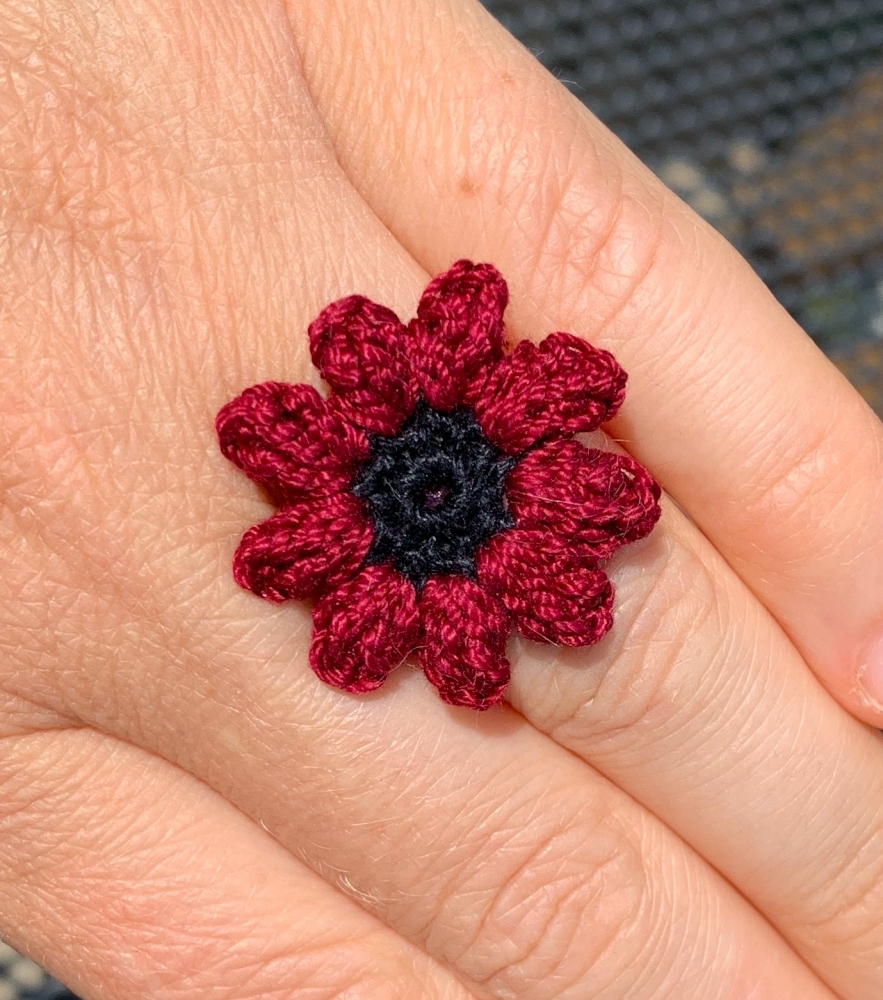
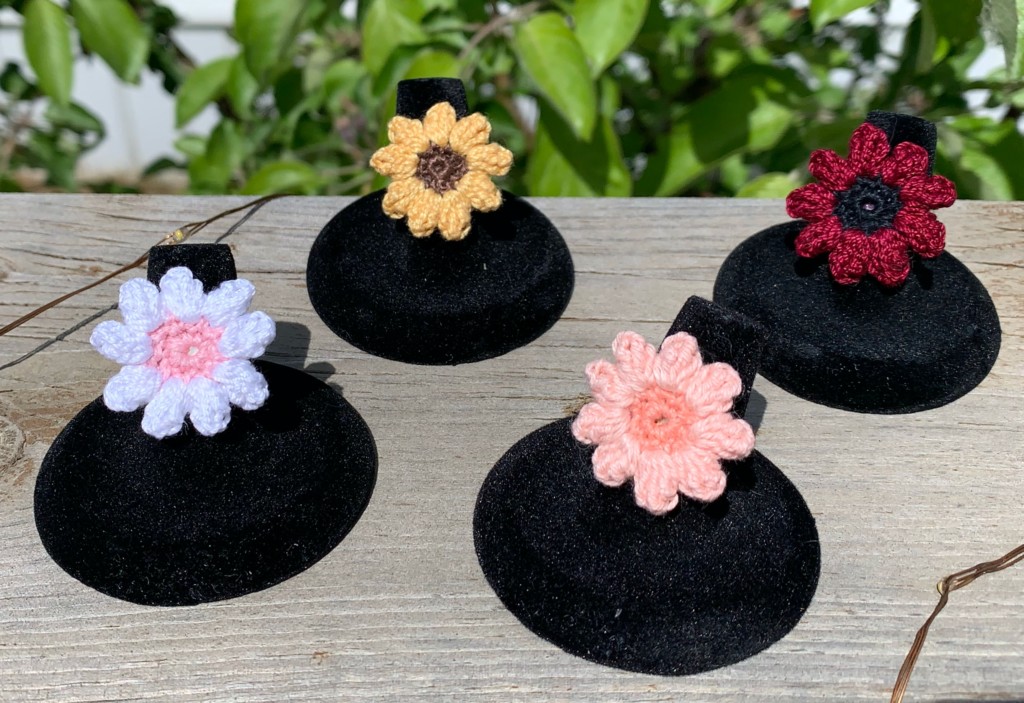
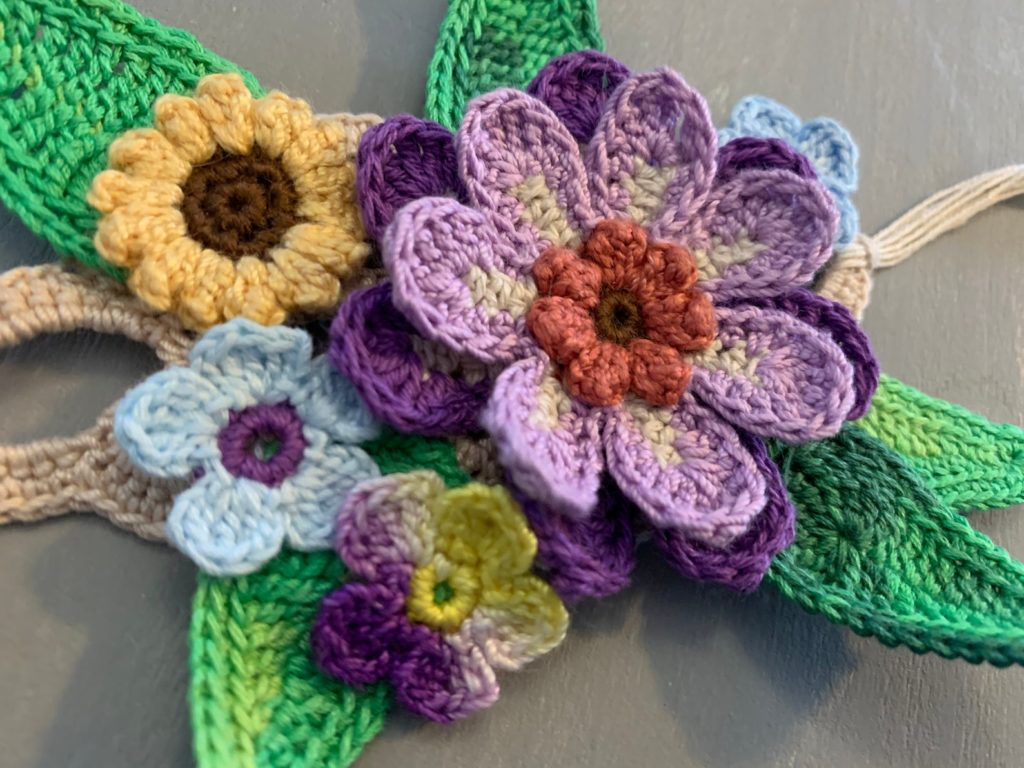
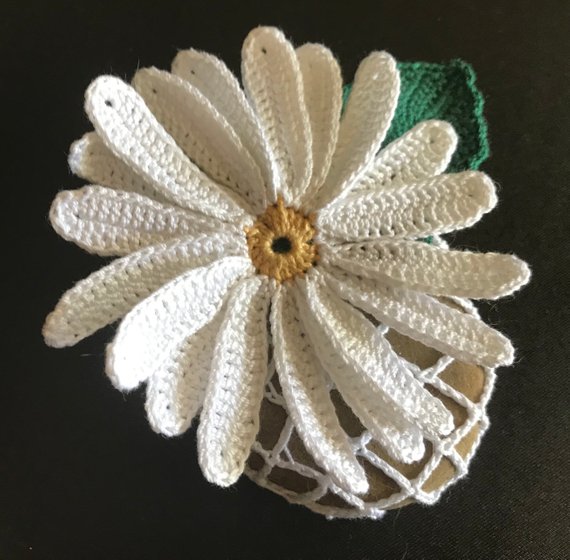
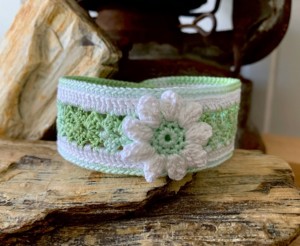
Nice idea, but what can I do with a crocheted flower, you may be asking yourself? Well, you can do a lot with them actually. In particular, I designed this pattern to be the perfect size to be a ring. Make a matching set and you have a pair of earrings. Sew the flowers together and you can make a necklace or choker. Add them as an embellishment on one of my existing crochet bracelet patterns. You can see those by click these links: Quick and Easy Bracelet, Fans Bracelet, and Waves Bracelet or any pic below. If you’d like to add leaves, I’ve included the link to that too.
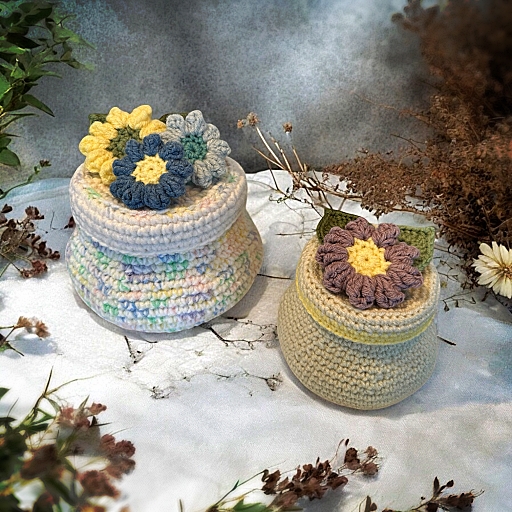
And now … Crochet a Pot With a Lid. If you come up with more ideas, I loved to read about them in my comment section below.

I have been designing crochet flowers for number of years but never really got around to publishing any of them to share. Most are done on the fly, free from crochet if you will, with more and more detail being added to each time I make a new crochet flower.


I have shared a few of my flower designs, in particular my Friendship and Flower Bracelet crochet pattern that has been relatively popular. Mostly I made flowers to add to my art projects like you can see here.


Depending on the response to this, my first stand alone crochet flower pattern, I may add the others.
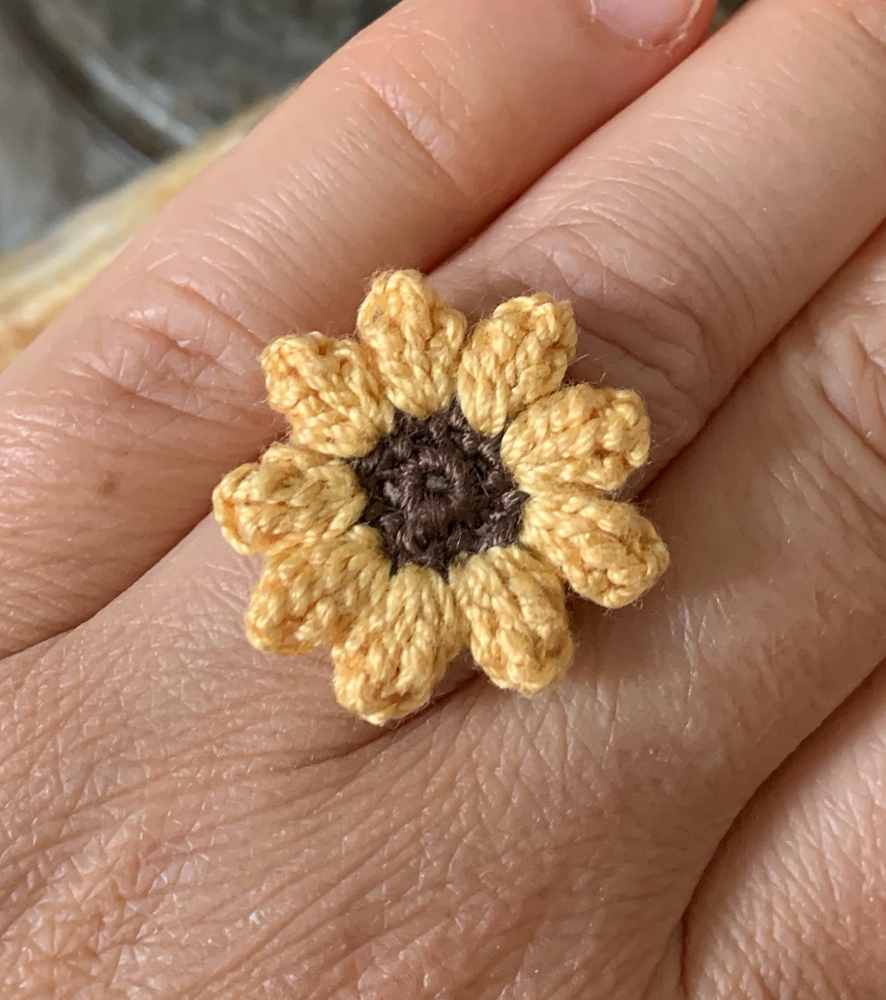
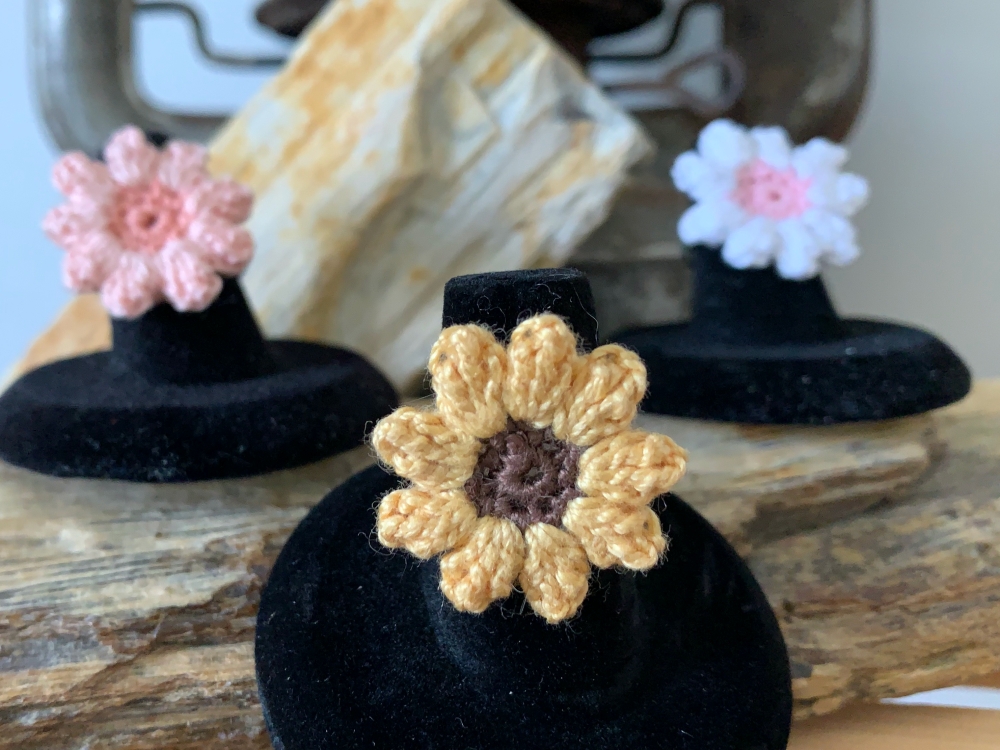
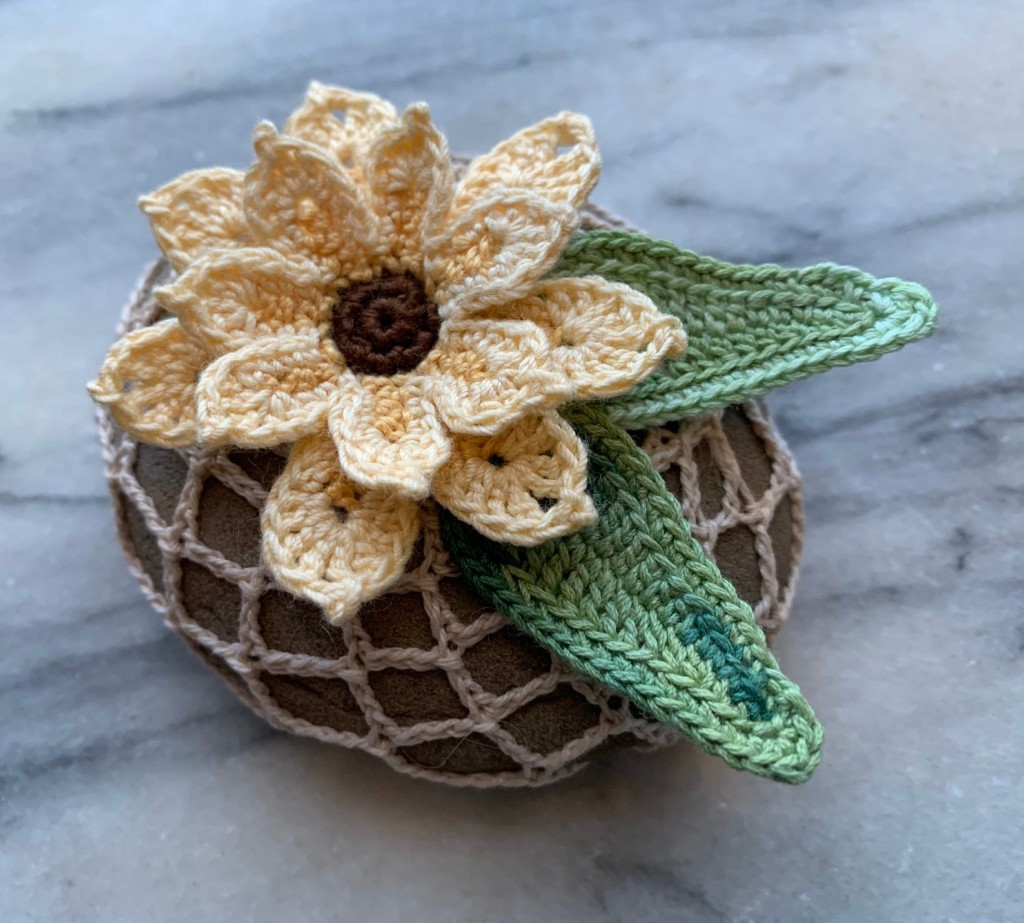
While I wouldn’t consider this project crochet for beginners, if you know your basic crochet stitches, this is quick and fairly easy to make. Originally when I designed this I was aiming for a crochet sunflower. While it is a bit small to be a sunflower, It does have a sunflower type feel to it. At least I feel it does. Depending on your colour selections, you really can make this be any sort of generic “crochet flower”.
But without further ado, except for the handy share icons, here is how to crochet a flower step by step and what you will need.
Things You Will Need
Crochet cotton thread (size 10) – 2 colours of your choice
Size 10 (1.3 mm) crochet hook
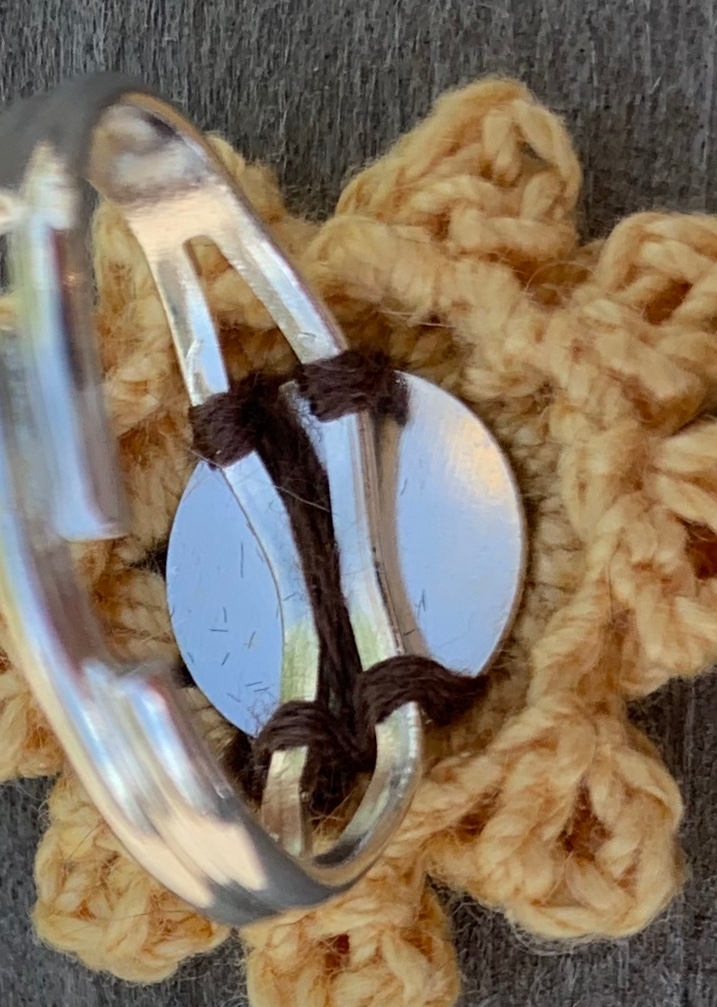
Needle to sew in the ends and attach to ring base
Ring base (I prefer the kind that is pictured here. It gives more security when you tie it on and fits any size finger.)
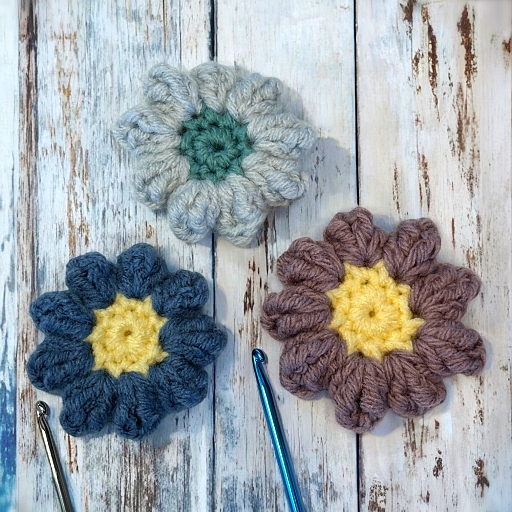
If you are making this flower to go on the Pot and Lid
Size E/ 4 (3.5 mm) to size C/2 (2.5 mm) crochet hook (the size of the hook changes the size of the flower)
Worsted weight yarn – 2 colours of your choice)
Tapestry needle to sew in the ends and attach to lid.
Crocheting the Flower
With the centre colour crochet thread
Ch 2 (make the first loop slightly larger so you can fit in the sc coming up).
Round 1: 9 sc in 2nd ch from the hook. Join with sl st in the top of the first sc (not the ch. Ignore it. It’ll be fine. Trust me.)
Round 2: Ch 2. *(Sc, ch 1)* in the next sc of previous round. Repeat from * to * in each sc around. Join in the first ch 1 of first ch 2. Break thread.
Round 3: Join petal colour thread in any ch 1 space. Ch 2, tr (wrap thread 2 times around hook), tr +1 (wrap thread 3 times around hook), tr, dc. Ch 1. Turn. Join with sl st to top of ch 2. Ch 2. *In next ch 1 space, dc, tr , tr +1 , tr, dc. Ch 1. Turn. Join with sl st to top of the first dc. Ch 2.* Repeat around. Join with a sl st to the sl st at the top of the ch 2 of first petal made. Break thread.
Work in the ends. Sew the flower to the ring base.
More of My Stuff on Etsy
You can make a widget like this for your blog or website, too.
Instructions are on my website here: How to Display Etsy Items on Your Website
Hints and Tips
When starting your flower, leave a generous tail when you make your original ch 2. You can use this thread to sew the flower to the ring.
Hold your thread or yarn to the back of your work when making the petals if you can. If you catch the thread or yarn when making a few stitches, it will stay in place without any extra sewing. (I really need to show how to do this with some photos at some point. It’s a huge time saver.)
If you can’t find the shade of crochet cotton thread that you want, you’ll be able to find the embroidery thread (aka embroidery floss) that is the correct colour. For the life of me I can’t find any brown crochet cotton thread locally so I decided to use embroidery thread instead. It worked great! It’s actually the centre of the crochet sunflower. Couldn’t tell could you ?. You will have to separate 2 or 3 threads from the skein to acquire the same thickness as the crochet cotton thread. I found 2 pulled out worked best but it may be different depending on what embroidery thread you’re using.
You can make as many petals on the flowers as you like. Either add more original sc at the beginning and corresponding number of sc, ch 1 on the second row. Be carful though. Too many and the flower won’t lie flat. Not enough and it will look less full and not be enough to go around.
If you ended up with more or less petals than 9, technically, you made it wrong. It doesn’t really matter. But if you’re trying to make a product to sell or make a matching set for earrings or a choker, make sure you do it the same way every time. You want to be consistent. To get 9 ch 1 spaces exactly each time, I count the number of ch 1’s I make INCLUDING the first ch 1 at the start of row 2 (the first ch of the ch 2 is really a sc. The 2nd ch is creating the ch 1 space), then I join in the first ch 1 space I made.
You can adjust the size of the petals by changing up the stitches used to make them. Smaller stitch combo’s such as sc, hdc, dc, hdc, sc in each ch 1 space will make it smaller. Tr, tr +1, (3 times around hook), dtr (4 times around the hook) tr tr, tr can give some interesting effects.
I prefer the ring type that I’ve shown in the affiliate link (yes, I’ll make a bit of money from the sale) but you may prefer something else. I’ve tried a variety of glues and double sided tape (even professional grade) and none of the products worked to my satisfaction in holding the final crochet flower to the ring base. I found sewing it on by passing the thread through the middle hole and around the sides held it securely. And I could also find these bases easily at my local big box craft store. ?
I never ironed my crochet flower before sewing it to the base. It wouldn’t hurt but it’s a very stitch dense item and I don’t think it would really do much to the finished crochet flower.
Abbreviations
Sl st – slip stitch
Ch – chain
sc – single crochet
dc – double crochet. Wrap the thread 1 time around the hook.
Please share this page!
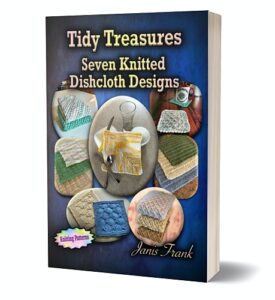
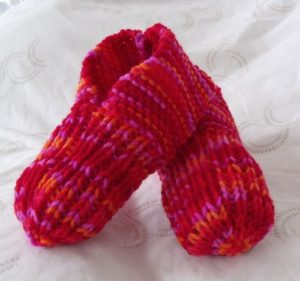
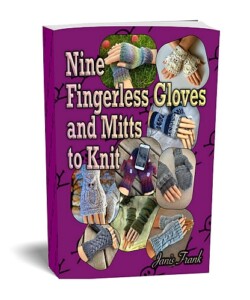
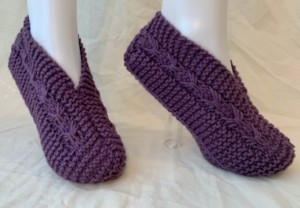
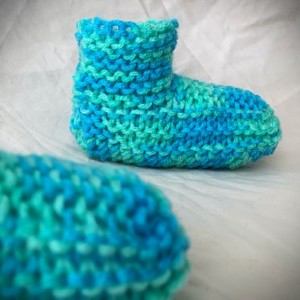
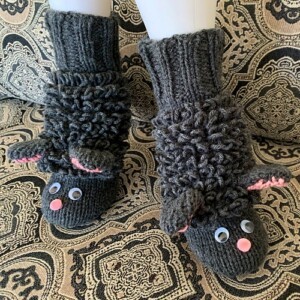
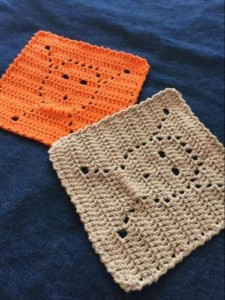
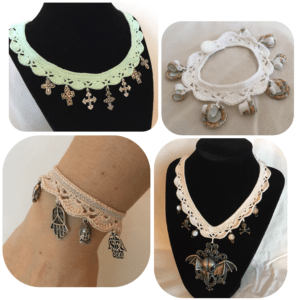
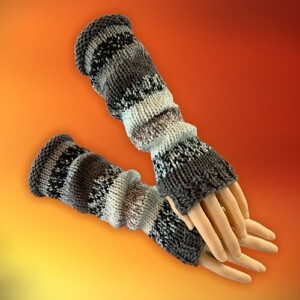
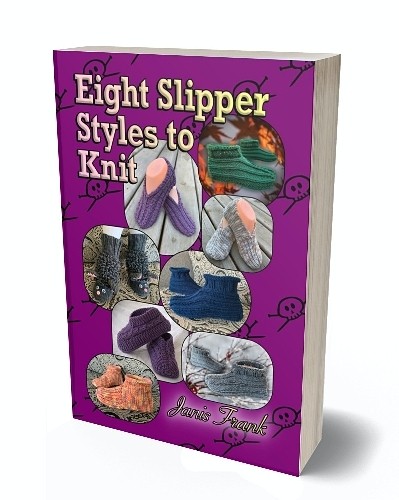
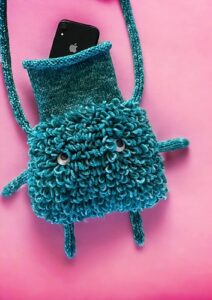
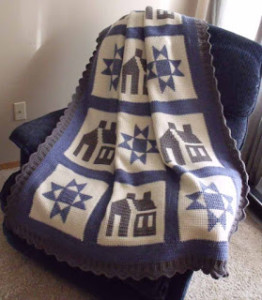
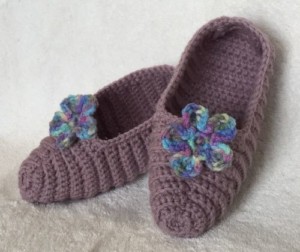
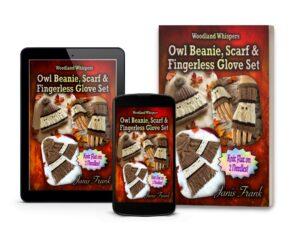
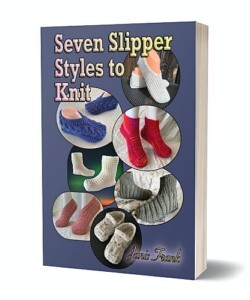
More FREE patterns
Click the pic to read online!!


FREE Knitting Graph Paper for Colorwork Knitting


![]()
![]()


tr – treble crochet. Wrap the thread 2 times around the hook.
tr +1 – treble crochet plus one additional thread wrap. Or, wrap the thread 3 times around the hook. (This isn’t a standard stitch so I just made up the most logical name and abbreviation).