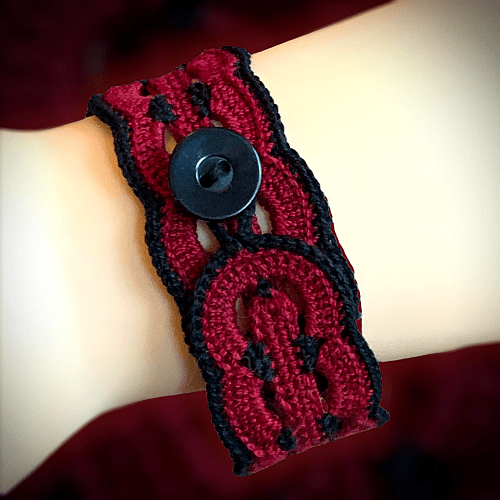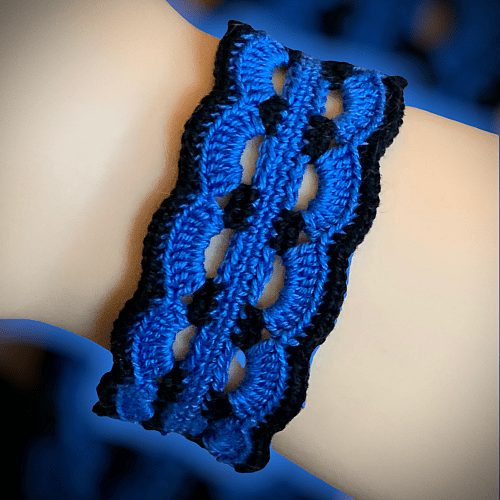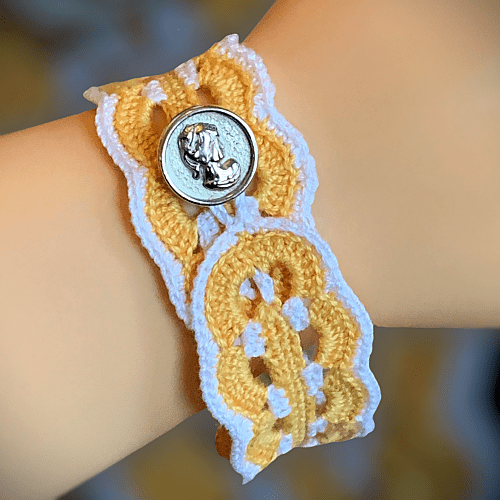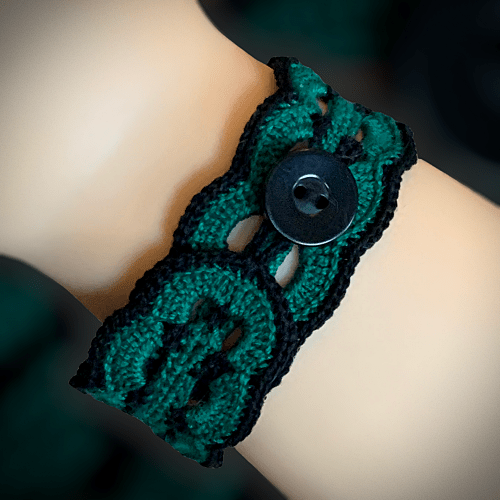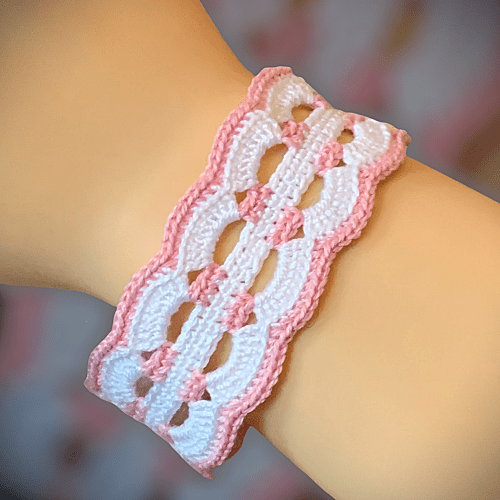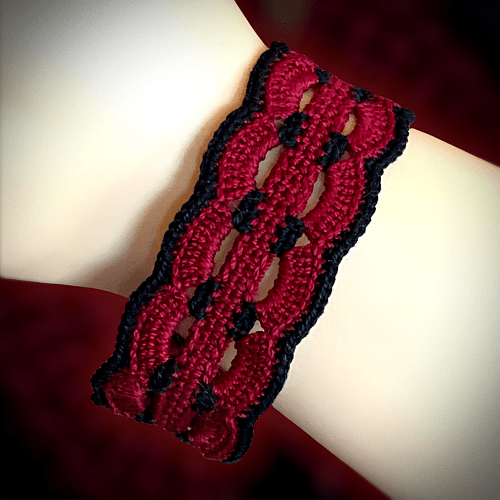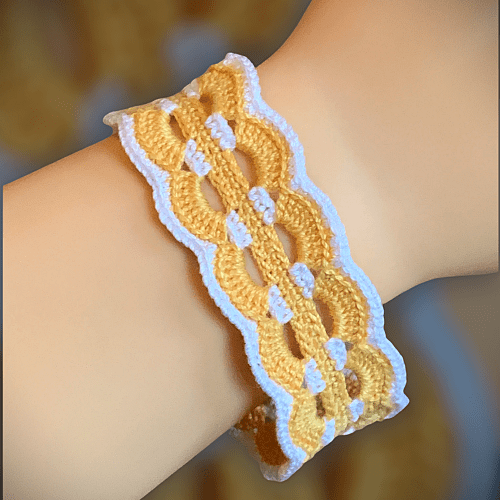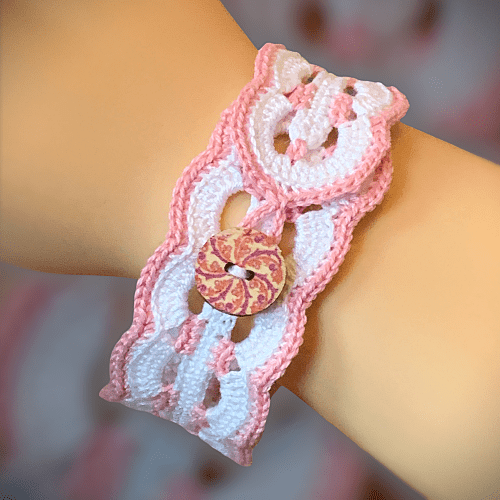
I came up with this crochet bracelet design years ago and have been selling the occasional one online for quite some time. They are a great little money maker too! It doesn’t cost much in either material or time so are a great thing to put on your table at the next craft fair you attend. I sell them in my online shop on Etsy. Right now, I’m focused on the more gothic, dark colour version. The lighter, more delicate ones are soon to make an appearance. I do alright with them. It’s one thing that people don’t know they want until they see them so I’m finding marketing a bit of a challenge.
This crochet pattern is short and simple. It’s also easy to make and is a great way to use up those awesome, one of a kind buttons that are just a bit too nice to get rid of but you don’t know what else to do with them.
If you are enjoying the free patterns and would like to see more, then please share my work! Those handy little icons up there ☝? let you do it easily. If you’d like more information on how you can keep things free, learn how you can Help Support My Work
Without further ado, here’s the pattern so you can get your crochet on. And the link in case you’d like to download the ad free version of the pattern instead – Waves Bracelet Crochet Pattern.
If you’re more experienced downloading from Etsy, you can also get that pattern here – Crochet Pattern – How to Crochet a Beautiful Bracelet How to Crochet Jewelry Waves Bracelet
Things you need:
1 ball of crochet cotton thread (Main colour, Size 10)
1 ball complimentary colour of crochet cotton thread (accent colour or whatever you’d like the edging to be. Also size 10).
Size 10 (1.3 mm) crochet hook.
A pretty button (doesn’t matter what size but bigger than your average dress shirt button)
Gauge:
It’s not really important for this project as there isn’t a specific size needed. The pattern, as written, makes a bracelet that is approximately 7 inches (17.5 cm) in length. If you’re so inclined, you can make this bracelet either longer or shorter in 1.5 cm or 5/8 inch increments. For example, if it is too long by 5/8 of an inch, then chain 6 less stitches (69 chains). If you needed the bracelet to be 3 cm longer, chain 12 more stitches than what the instructions give (87 chains).
The Pattern:
Chain 75.
Round 1: With main colour of thread, sc in 2nd chain from hook. Sc in each chain to the end. In the last chain, 5sc. On the opposite side (there is a small loop on the bottom of each sc you made down the chain), sc to the end of the chain. In the last chain 4sc. Join with sl st to the first sc made. Break thread.
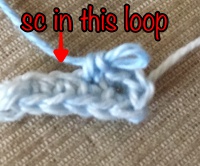
Round 2: With complimentary colour of thread, join the thread in the 3rd sc after join of last round. Ch 1, sc in same st as ch 1. 2sc. * ch5, skip next 3 sts, 3sc * repeat from * to * 10 more times. Ch7, sc in middle st of 5sc of previous round. C7, skip next 3 sts, 3sc, repeat from * to * 11 more times. Ch7, sc in top sc of previous round. Ch7, join with sl st to 1st sc of round. Break thread.
Round 3: With main colour of thread, join in 1st ch5 loop of previous round. Working in the loop, ch2, 9dc. 10dc in the each ch5 and ch7 loop around. Join with sl st to top of ch2. Break thread.
Round 4: With complimentary colour of thread, and working in the back loop of each dc, join thread in back loop of the 5thdc of previous round. Ch1, sc in same st as join. Sc in each dc leaving the last dc of shell unworked. In this unworked dc and the 1st dc of next shell, sc2tog. (In other words, sc2tog between the last dc of this shell and 1st dc of the following shell. ) * 8sc, sc2tog * repeat from * to * 9 more times. 8sc. (You should be at the end of the bracelet between the shells) ch 10 (or however many sts you need to slide over your selected button). Sl st in sc just made forming a loop. Sc2tog in the last dc of this shell and in the 1st dc of the next shell. * 8sc, sc2tog * repeat from * to * 11 more times. 8sc. (You should be at the opposite end of the bracelet between the shells). Sc2tog over last and first dc of the end shells. Sc in remaining dc. Sl st to first sc made in the round. Break thread.
Sew button to the end opposite the loop as shown above.
Work in thread ends.
More of my stuff on Etsy:
You can make a widget like this for your blog or website, too.
Instructions are on my website here: How to Display Etsy Items on Your Website
Hints and Tips:
The counts for how many time you repeat the * to * sections of rounds 2 and 4 will change if you’ve made the bracelet longer or shorter than the 7 inches than I wrote this pattern.
To save work of sewing in ends, work in the ends of the threads as you are making the bracelet.
Hold the thread behind your work and catch it as you make the next 4-5 stitches. The joins are positioned along the pattern so there isn’t too many ends in one area.
You can use 1 to 4 colours to make this bracelet. Just because I’ve only shown examples with 2 colours, doesn’t mean you can’t try something different.
When making the loop to secure the bracelet, chain as many stitches as you think you may need. Sl st to the sc and pass the button through the loop. If it is too small, undo the sl st and add more chains. If too long, undo the sl st and take some out. It’s easier to check now than later. And always easier to sl st to the sc to make sure it’s a good length.
Abbreviations:
sc – single crochet
dc – double crochet
ch – chain
sl st – slip stitch
st – stitch
sts – stitches
2sctog – single crochet 2 stitches together
