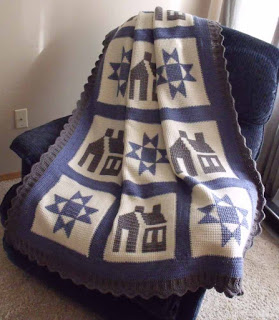
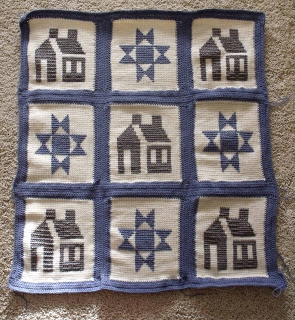
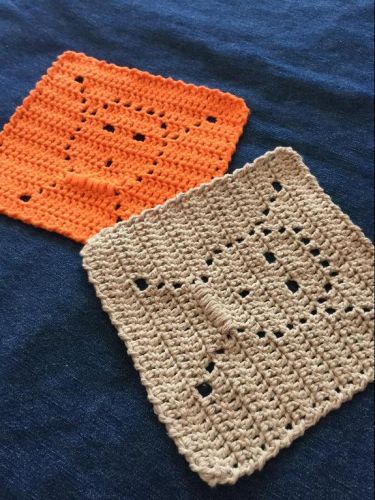
This is more than a common granny square…this is what is known as an afghan stitch or tunisian crochet. A few months ago I decided to make another afghan using this method. It’s the second one I’ve made, but this time instead of using my left over yarn I came up with the idea to make it a little more fancy. The house and star patterns are done in a basic cross-stitch and really could be anything you want. What I didn’t realize was how long it was going to take me to finish this project. It was a mammoth undertaking but slowly it’s came together. Since the chances of me making another one like this in the near future is slim to none, I figured I might as well share it with everyone.


To start with, you can make the squares any size you like. For my project I’m making them 41 stitches across and 40 rows long. I found an actual afghan hook at my local Michael’s store but you can use a regular crochet hook in whatever size you want. An afghan hook is very long and has an end on it like the end of a knitting needle. If you can’t find one you can use a traditional style hook. To keep the stitches from falling off the end of a regular crochet hook, you can wrap a rubber band around the end to help hold them on. The size of the hook you use can be whatever you like. I’m using a size 5 mm (size 8 US) hook and the next size smaller for doing the edging around each square once it’s was completed.

Like my knitted sock pattern, this is a read online only pattern. I never had the gumption to make it available as a download. If you’d like to see that change, please contact me and I’ll see what I can do.
To Do the Afghan Stitch (or How to Tunisian Crochet):
Chain 41
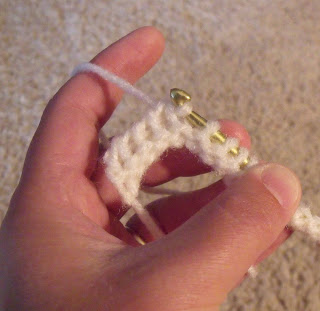
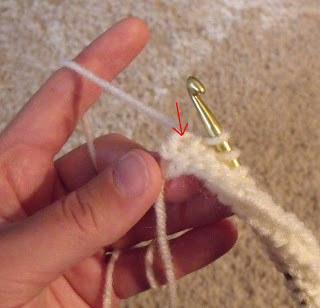
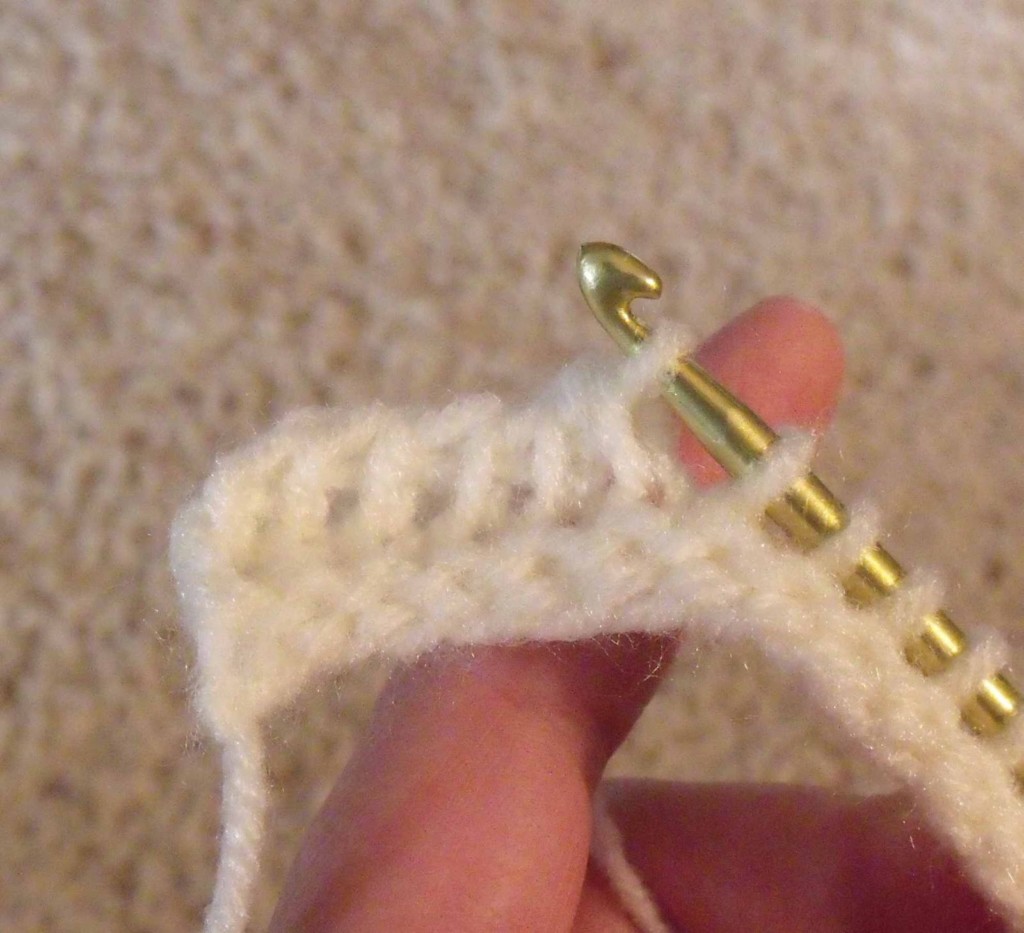
1st Row: In the second chain from the hook, pull up a loop as if you were making a single crochet.
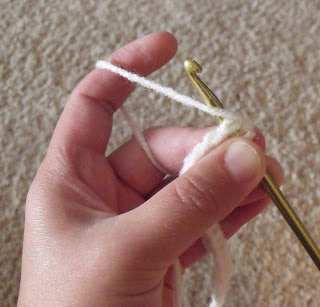
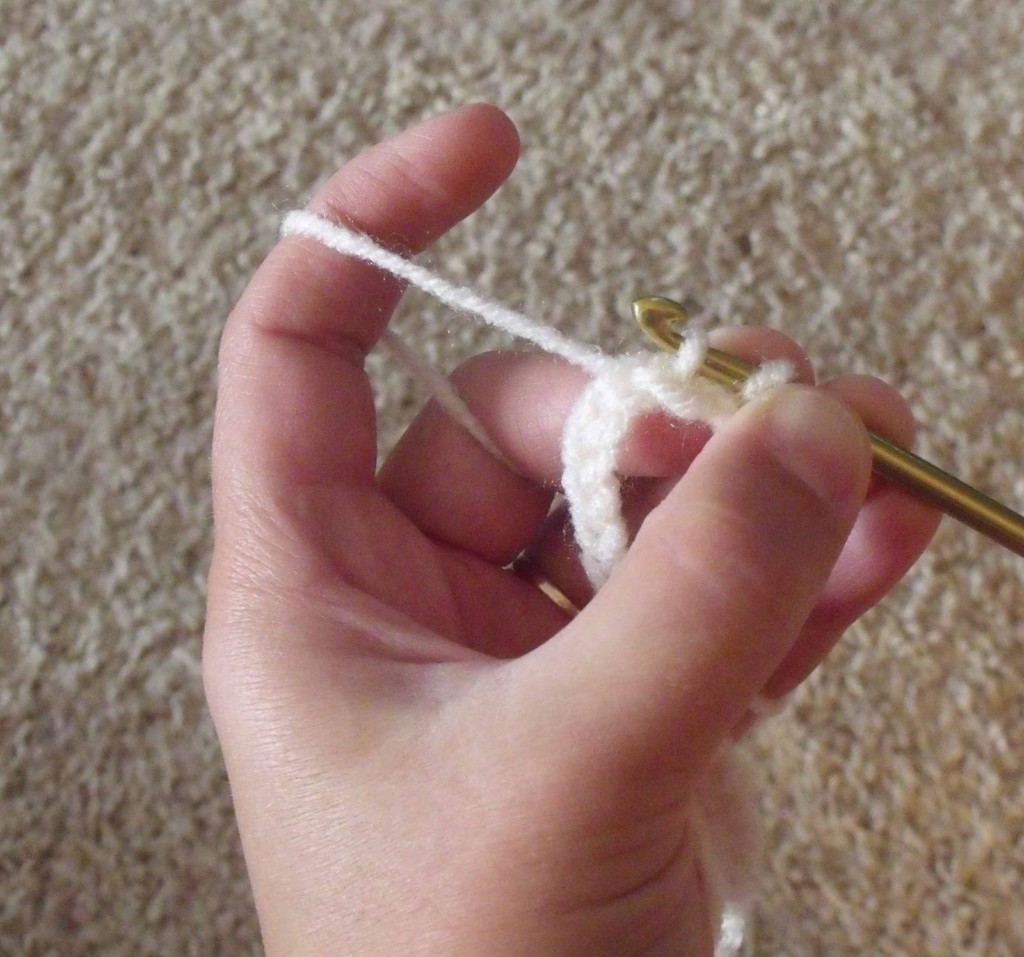
Without completing the previous stitch, pull up a loop through the next chain.
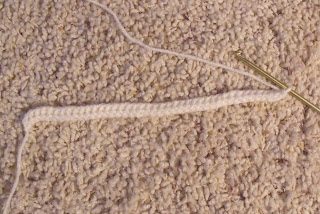
Pull up a loop through the next chain and repeat until you get to the end of the chain. You will have 41 loops on your crochet hook.
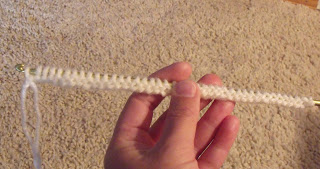
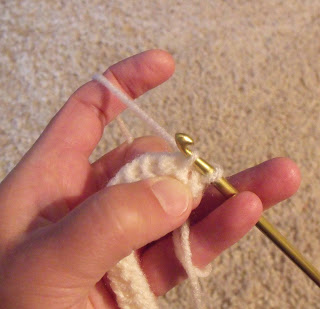
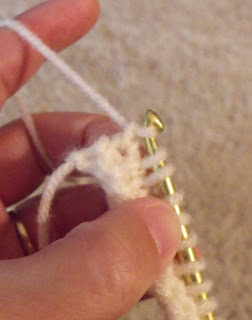
With the 1st loop on the end of your hook, chain 1.
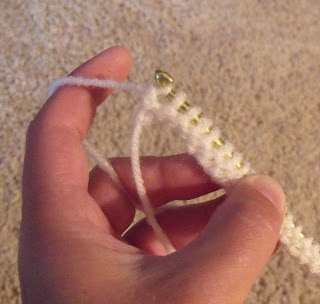
With the loop you just made, pull up a loop through this stitch and the next loop on your hook.
Pull up a loop through the loop you just made and the next loop on your hook. Repeat this until there is only one loop remaining on your hook.
More of my stuff on Etsy
You can make a widget like this for your blog or website, too.
Instructions are on my website here: How to Display Etsy Items on Your Website
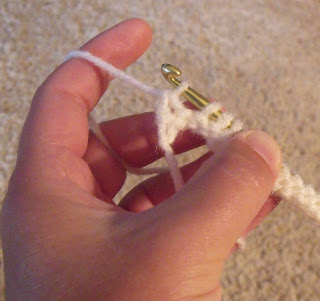
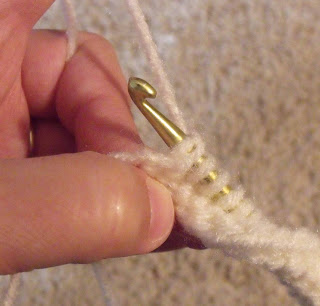
2nd Row: There will be a vertical bar formed by each stitch from the last row. You work the stitches along these bars.
Place your hook under the first bar. Draw up a loop as if making a single crochet. Do not complete the stitch.
Place your hook under the next bar draw up another loop. Repeat this with all of the bars.
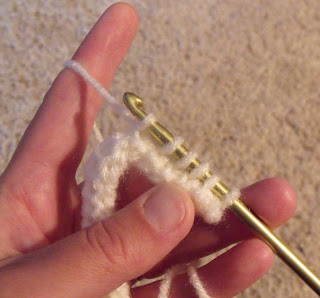
The last stitch looks like two chains. Draw up a loop through the top chain. You will have 41 loops on your hook.

With the first loop on your hook, chain 1.
Draw a loop through the loop you just made and the next loop on your hook. Repeat until there is only one loop remaining on your hook.

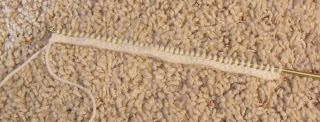
Repeat row 2 for each subsequent row.
You can make the squares as long as you want. For my project I’m making 40 rows.
To finish:
There will be one loop on your hook. Place your hook under the vertical bar. Draw up a loop but this time, complete the single crochet. Repeat with all the bars. Once again the last stitch looks like 2 chains. Draw up a loop through the top chain and complete the single crochet. Finish off.
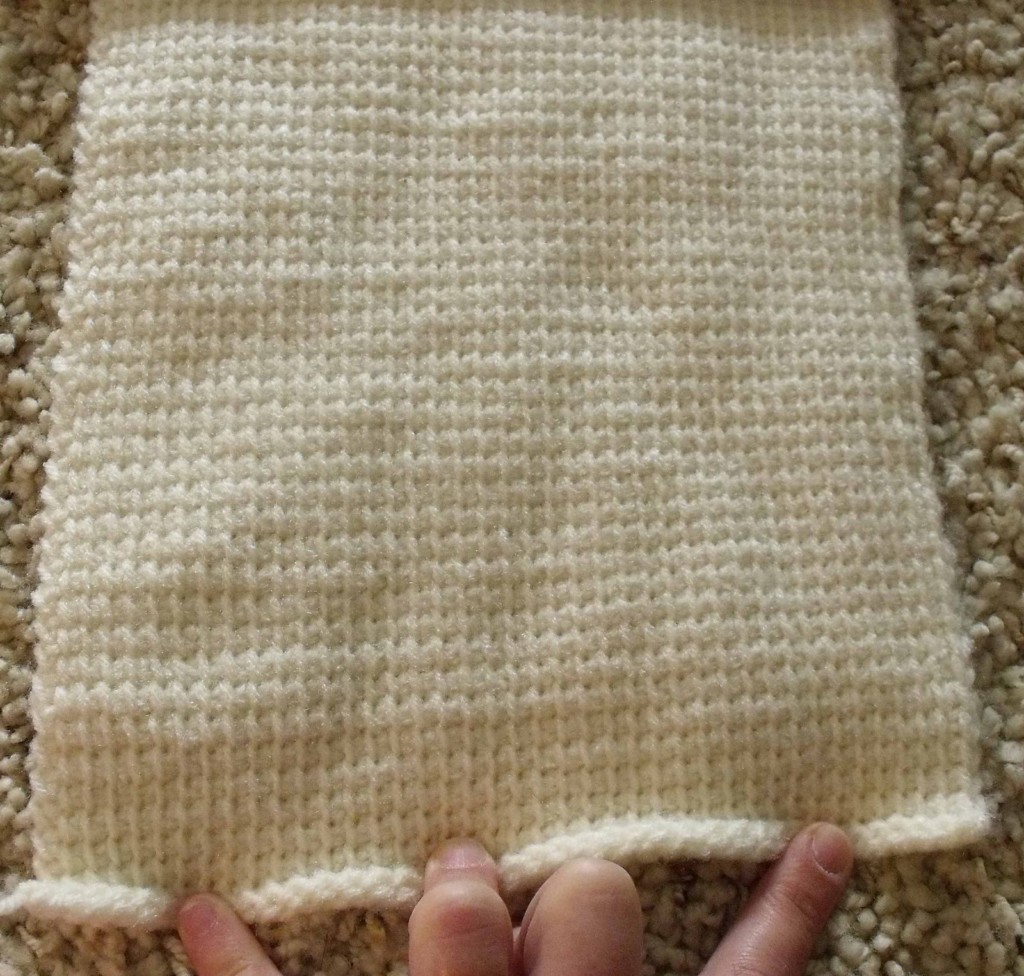
When your square is completed they tend to roll up. A quick ironing will help the fibers relax and lie flat. Be sure to read the care instructions that came with your yarn. Some may have specific recommendations on temperature settings or blocking.
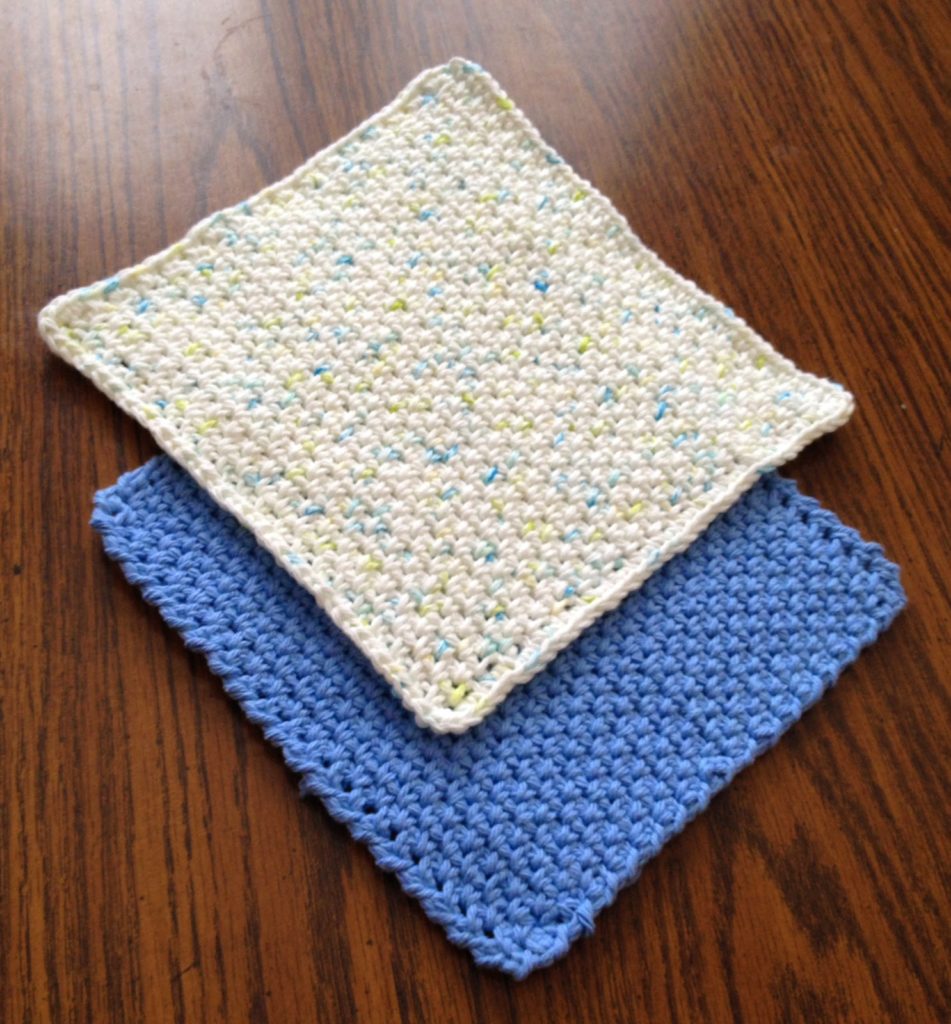
To create the edging on your pieces, you can do whatever you like. You may want to surround it with a combination of rows like double crochet and single crochet, or you may want single crochet with the following rows in the back stitch of previous rows. It really doesn’t matter and is your personal preference. Just be sure that your work lies flat. You may need to use a smaller crochet hook than the one you used to make the squares to create a flat edge or decrease where necessary.
My project is 2 rows of double crochet and one row of single crochet on the 2 side edges. I’m then stitching the squares together along these edges making a long strip. I then do 2 rows of double crochet and one row of single crochet along the tops and bottoms of these strips. Then, I’m sewing the strips together and working in the ends.
For a more interesting effect you can try using two colours of yarn and alternate the colours for each row. The yarn will naturally keep to the back when you switch between colours. You can also try using a very fine yarn or fingering with a regular worsted weight yarn. Work them together as if they are one strand.
For myself, I think that this will be my first and last afghan like this. I’ve been considering maybe making pillows with this stitch and doing more elaborate cross-stitch decorations on them. I’ve also considered wall hangings to be more like art pieces, but I always have a list as long as my arm of to-do projects in the works.
I hope you found this helpful or at the very least inspiring. If you are enjoying the free patterns and how-to pics, then please share my work! Those handy little icons along the side or bottom of the page let you do it easily and helps me tremendously. If you’d like more information on how you can keep things free, learn how you can Help Support My Work.
If you need more help than what I’ve given here, by all means feel free to contact me here.


I have looked over your crochet afghan pattern and was wondering how you do your star and house pattern on this afghan? Where can I get this info?
It’s not my design and I got it from a book. I can’t publish it because that would be highly unethical. Sorry.
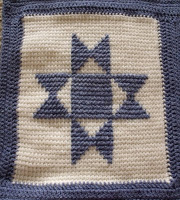
What I can say is that it’s a basic cross stitch pattern. You literally make x’s with the yarn over the stitches of the square. If you zoom in on the photo you can see how it’s done.
There’s a lot of simple cross stitch patterns post online. You can use any of those.