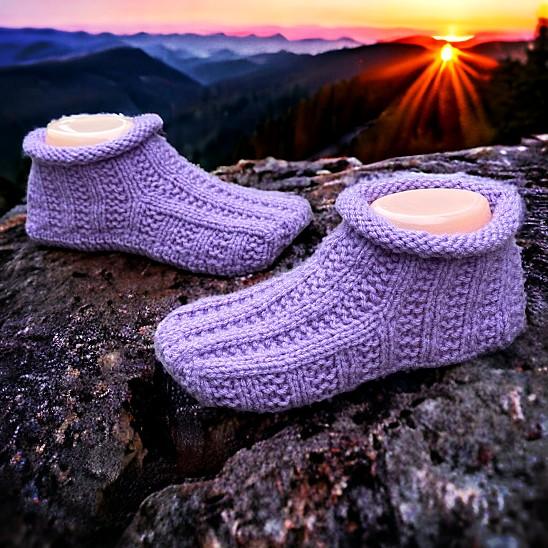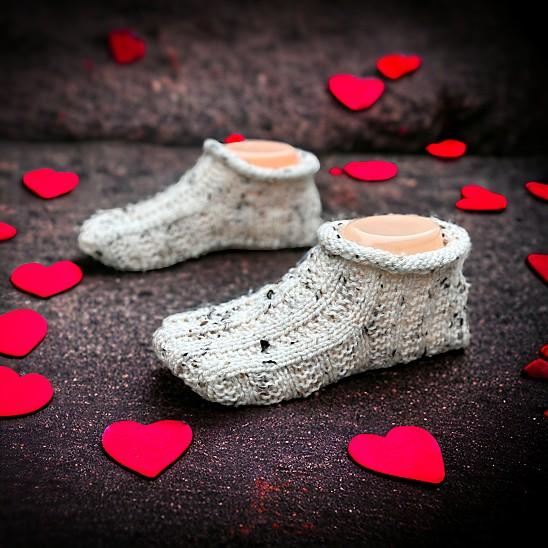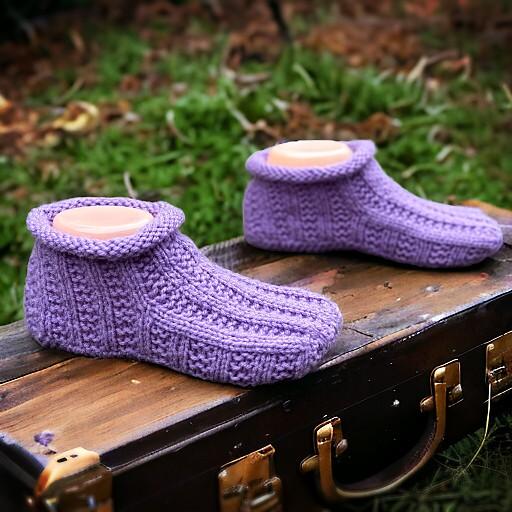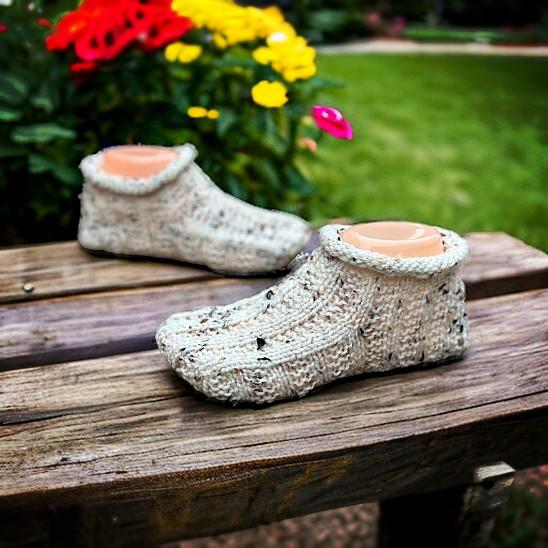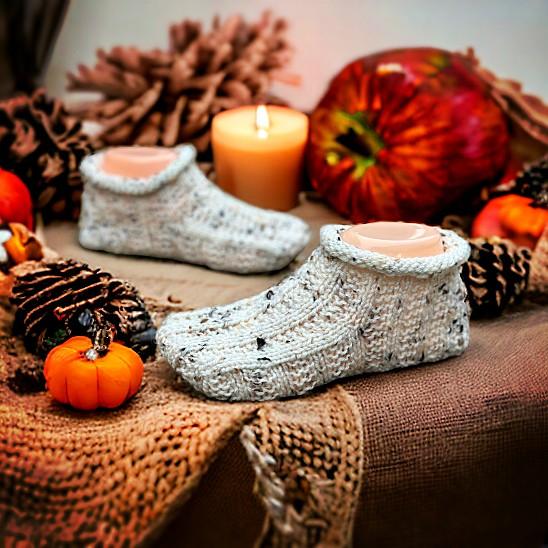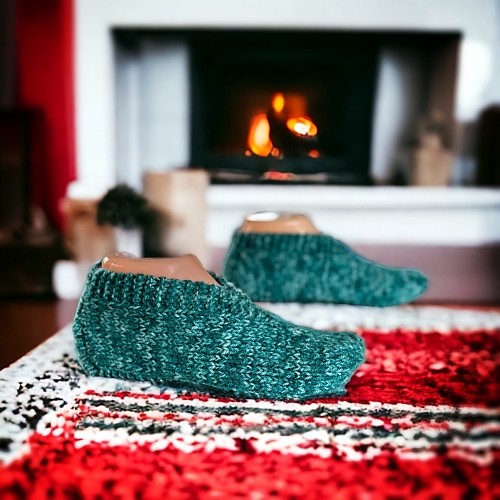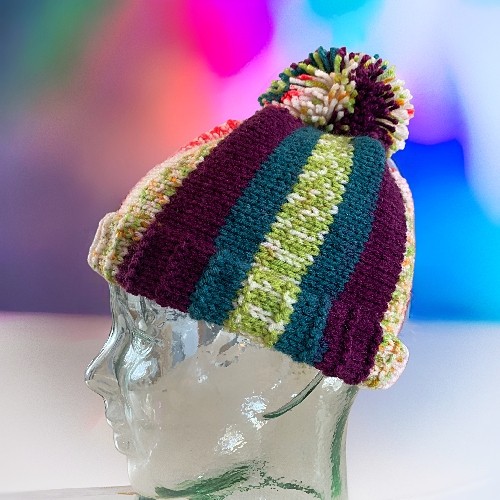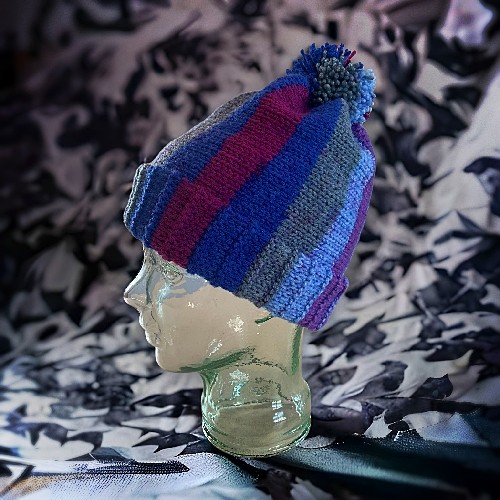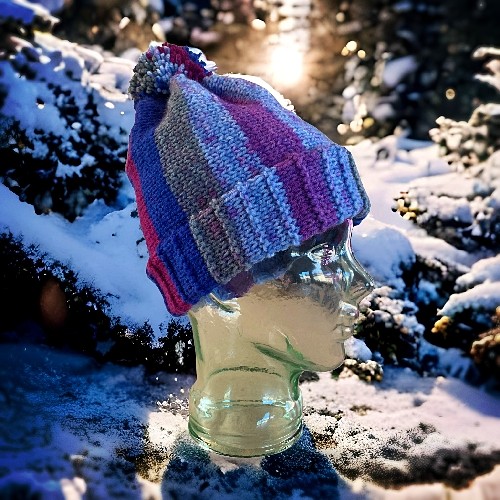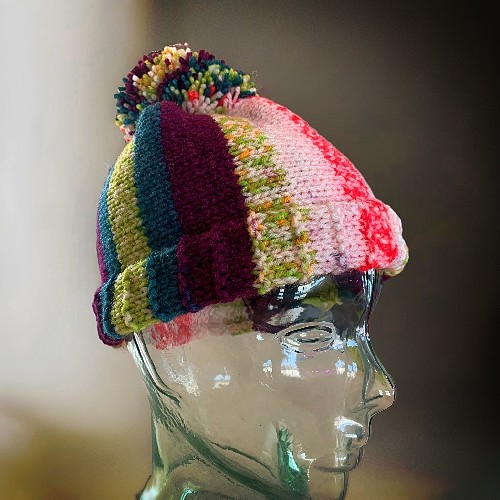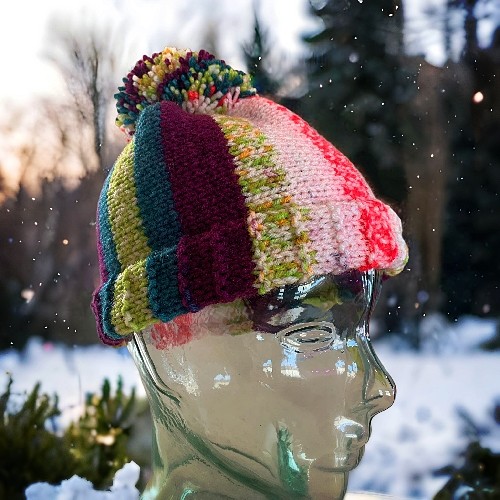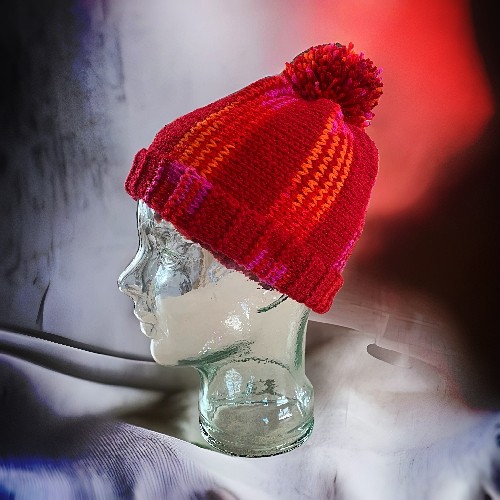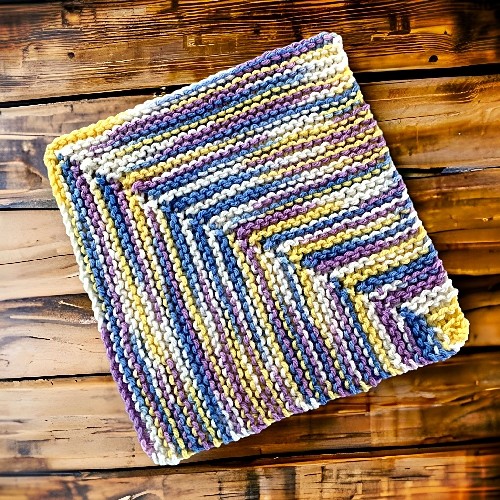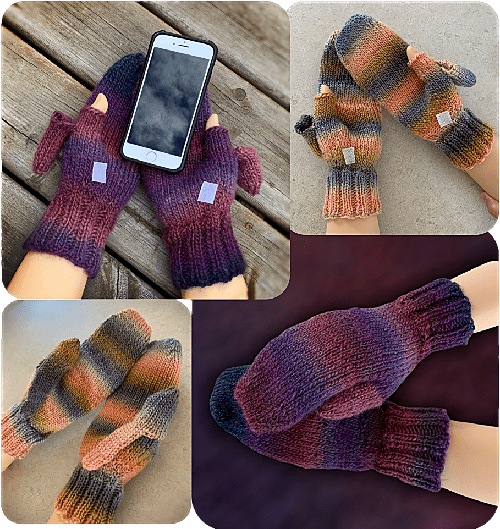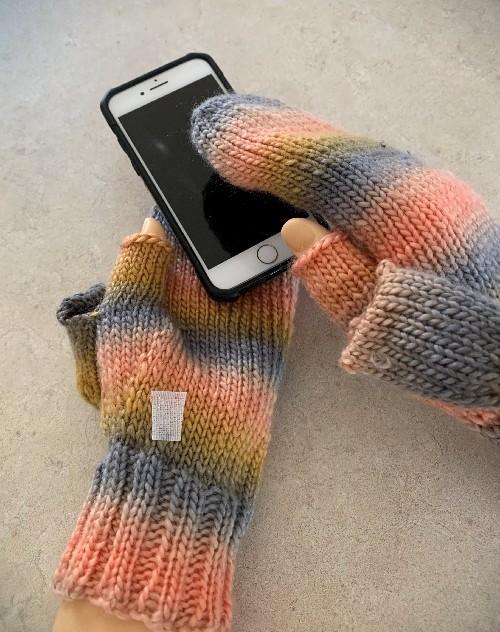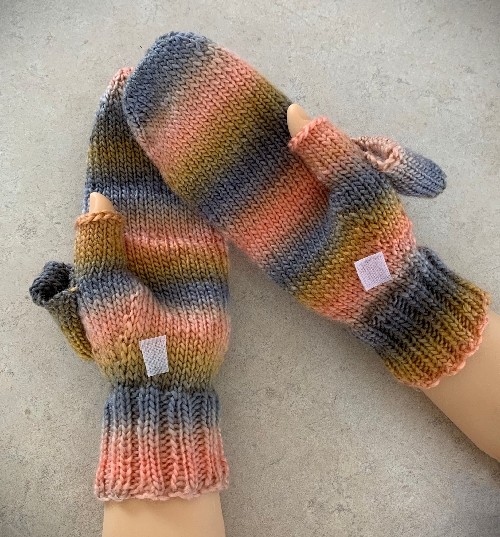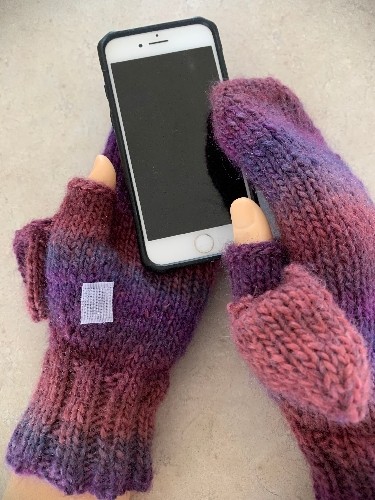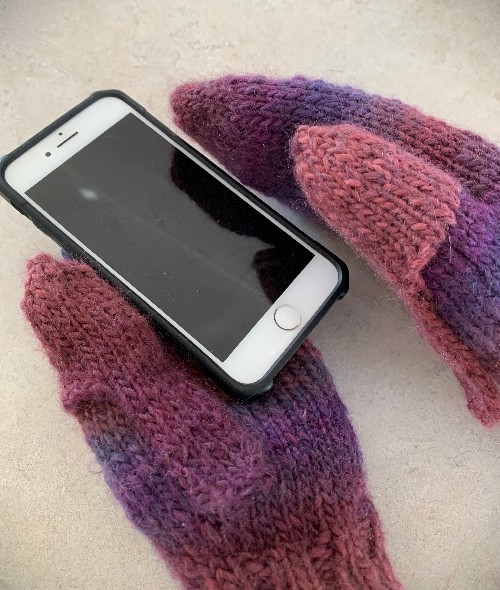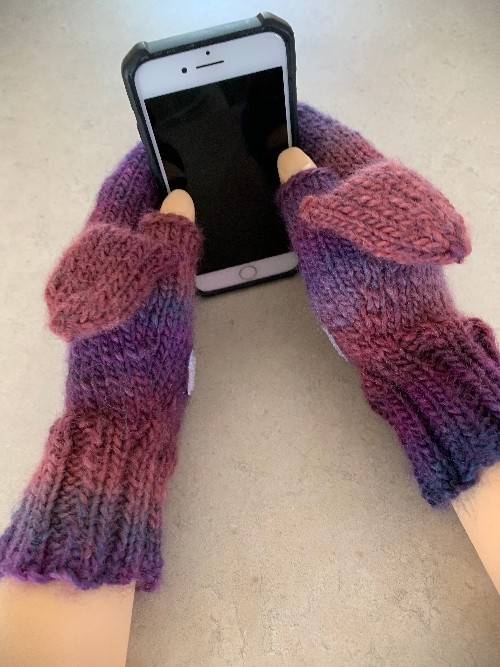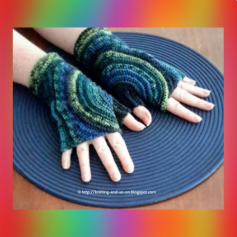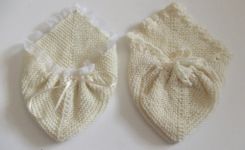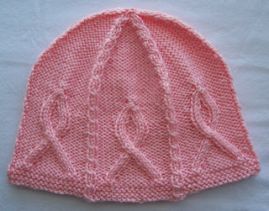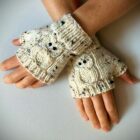
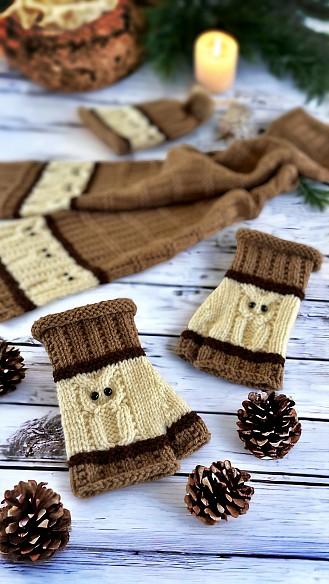
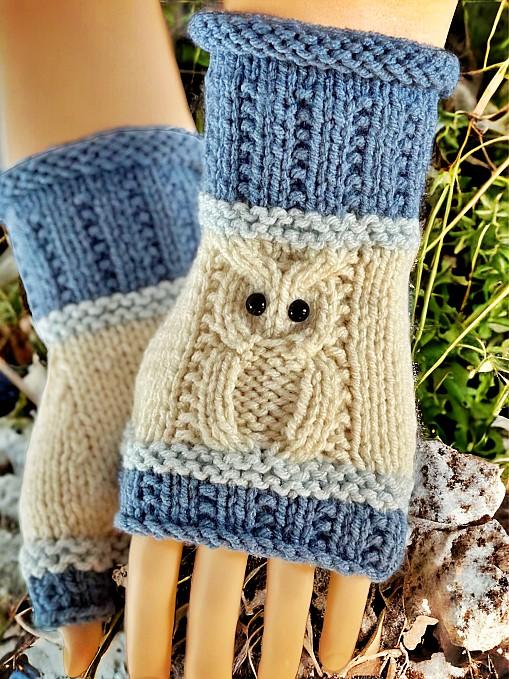
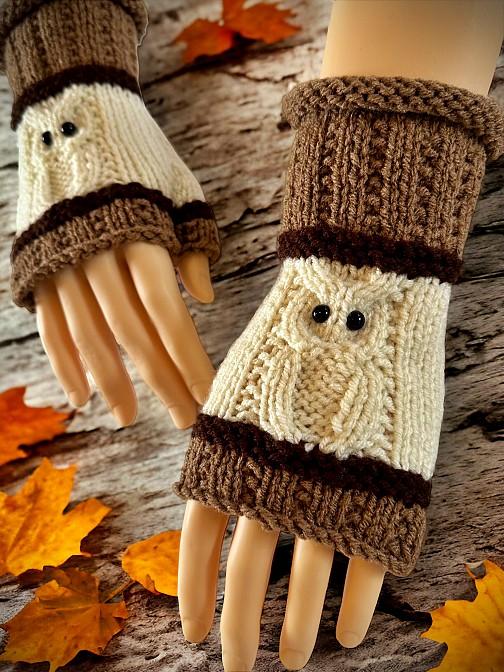
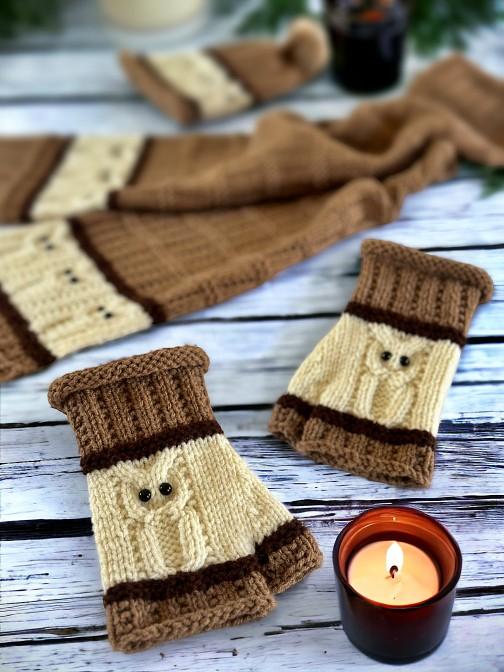
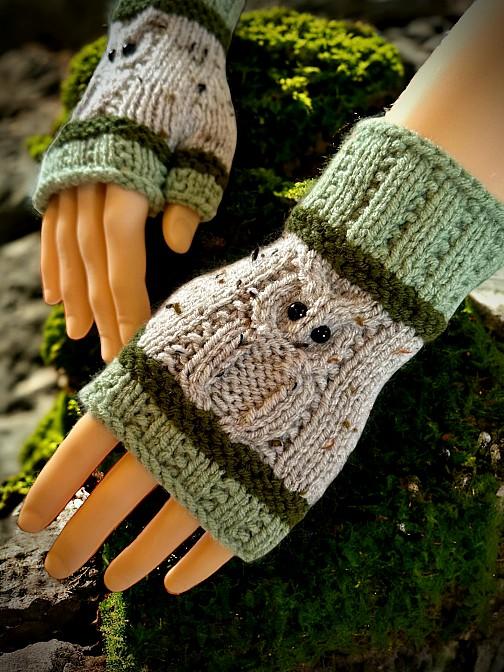
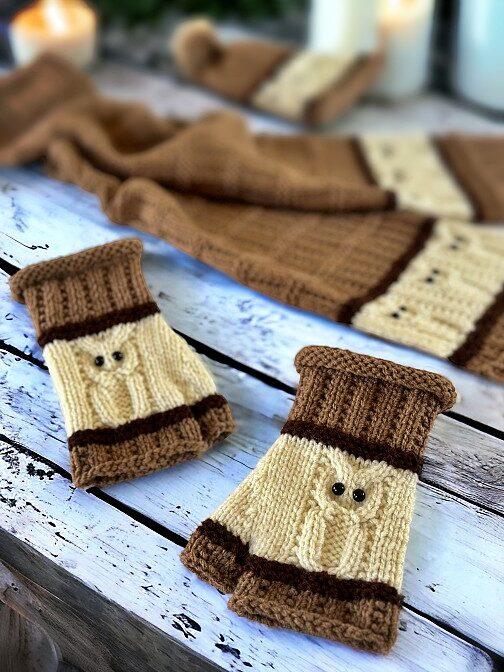
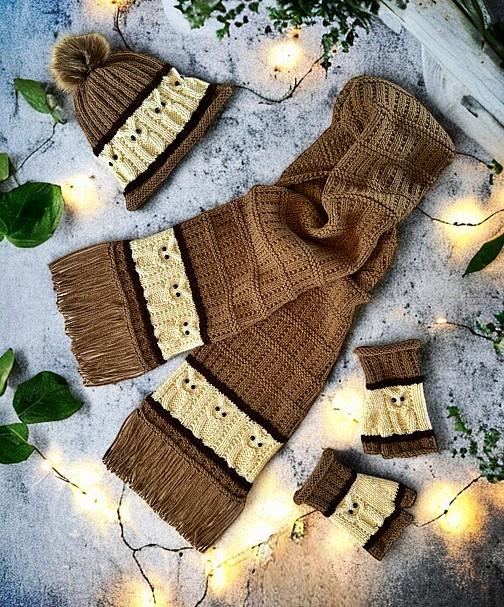
These colourful, cuffed owl fingerless mitts are made to match my very popular Owl Beanie and Owl Scarf, also knit flat on two needles. You can click the links if you would like to make either one; or both 😉. A new window will open so you won’t lose this page.
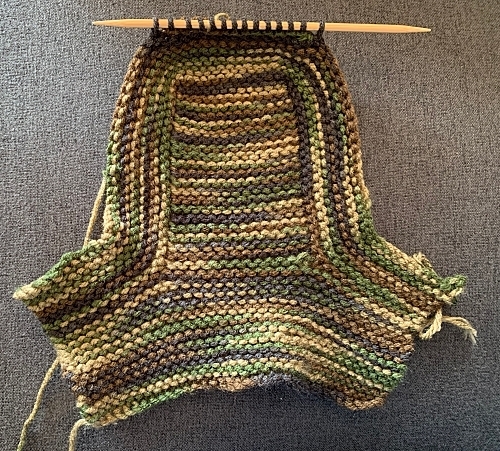
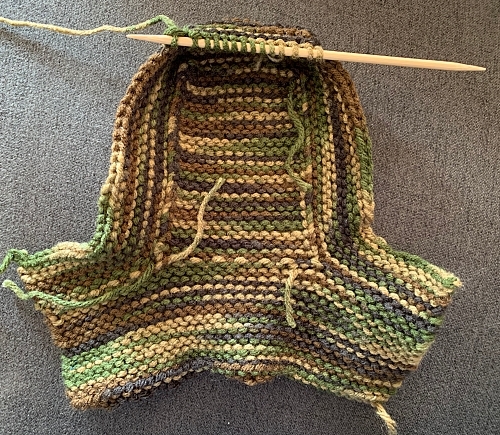
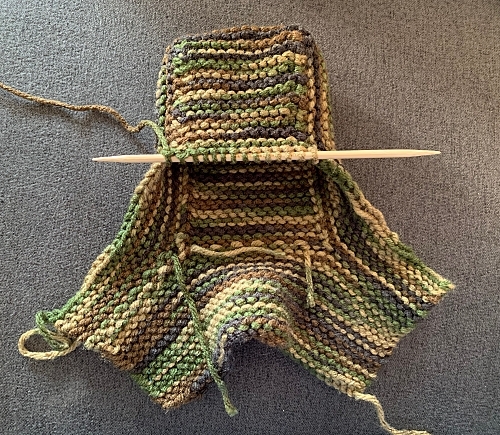
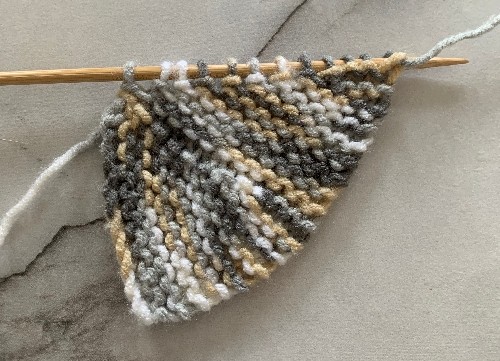
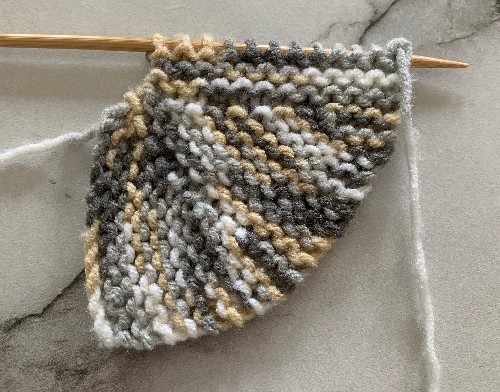
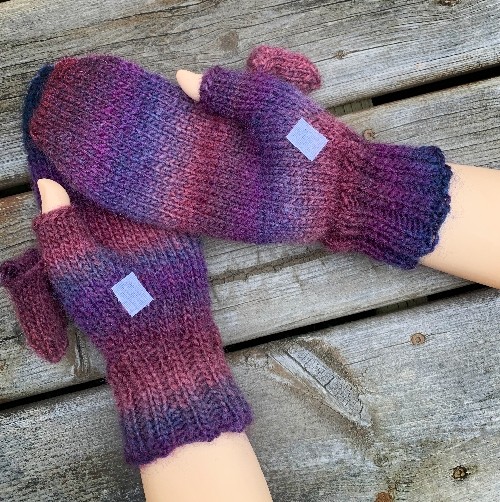
I’ve made these owl wrist warmers similar to my original knit flat owl half gloves but with this version, they are knit from the fingers to the wrist cuff. The owls are made from feet to head, matching the aforementioned hat and scarf. There is a slight difference with the appearance of the owls when made from head to feet and I couldn’t live with that. Once you see it you can’t not see it, if you know what I mean.
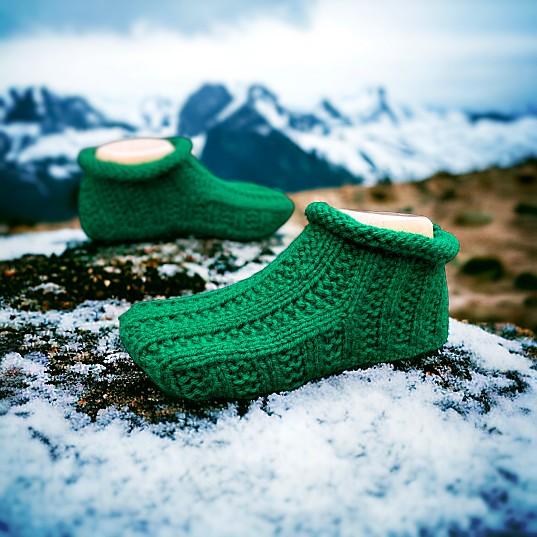
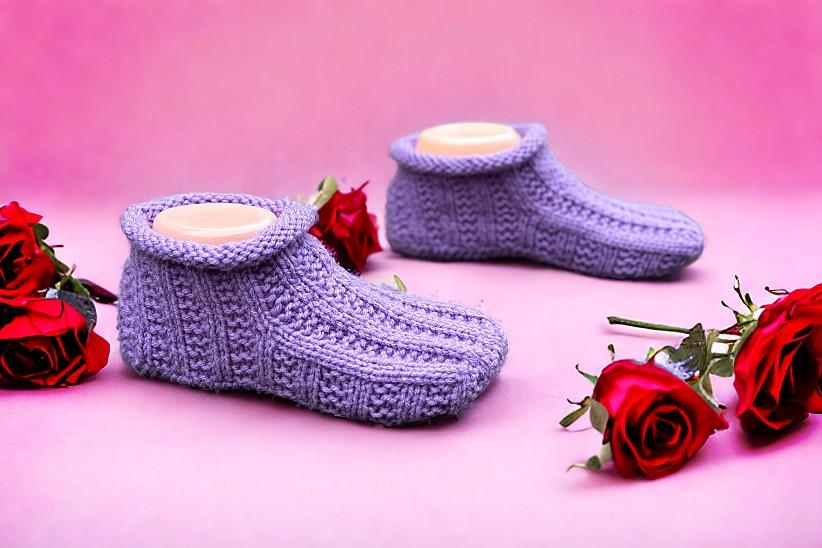
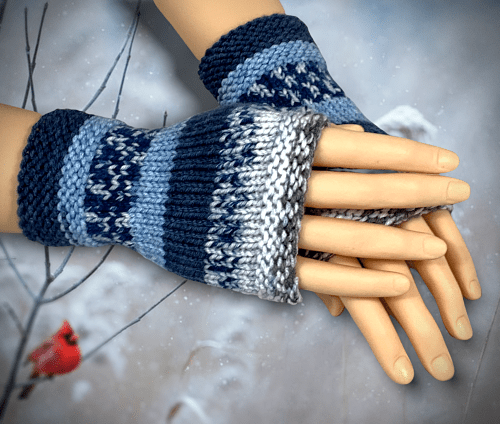
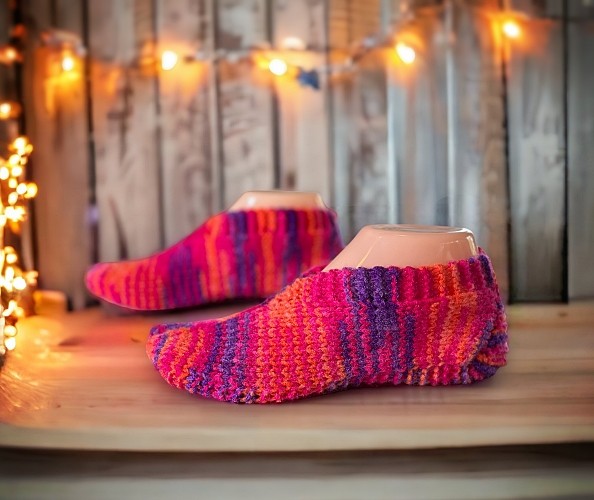
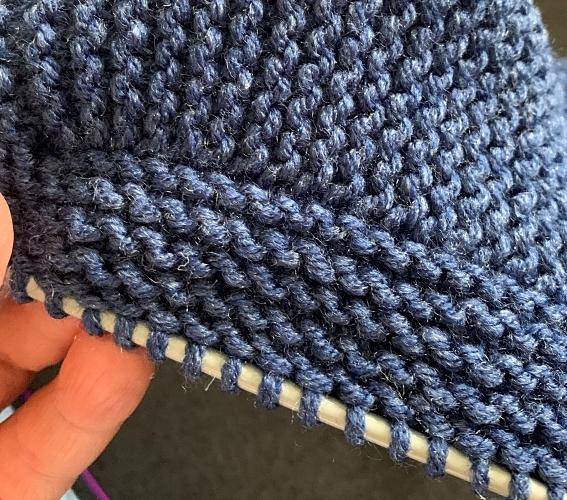
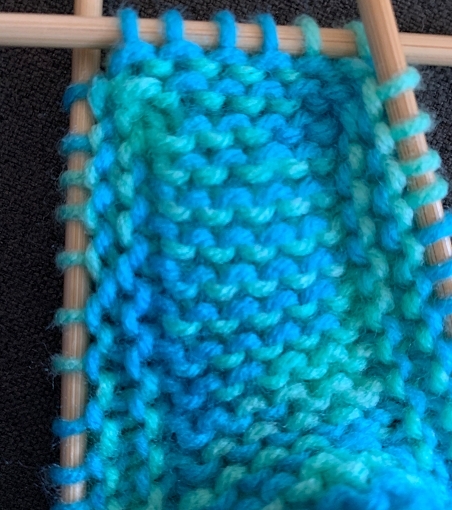
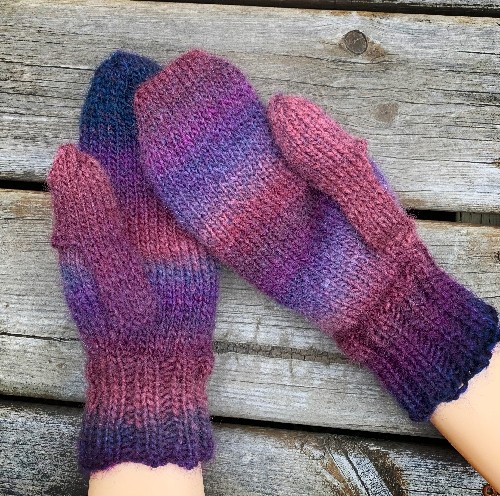
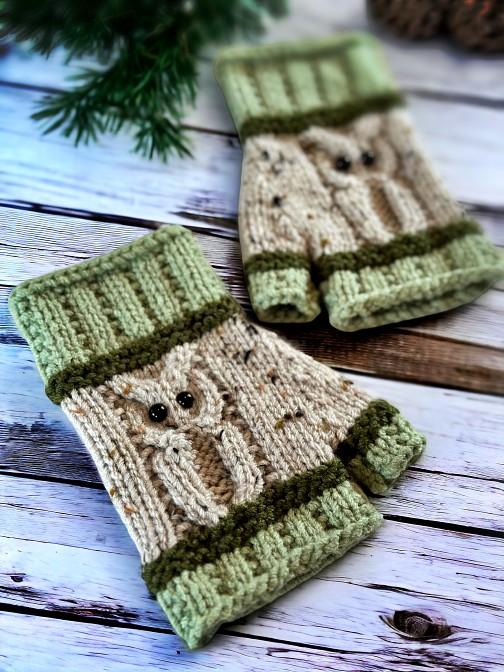
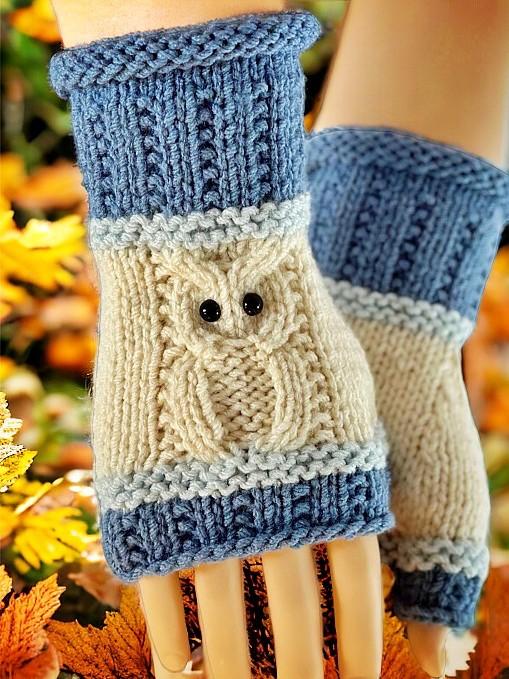
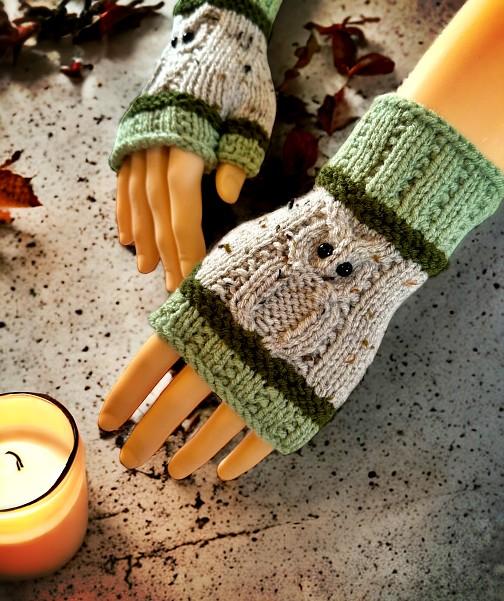
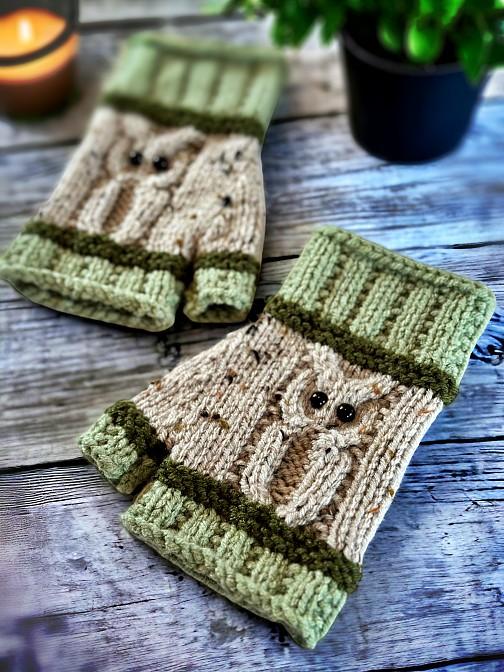
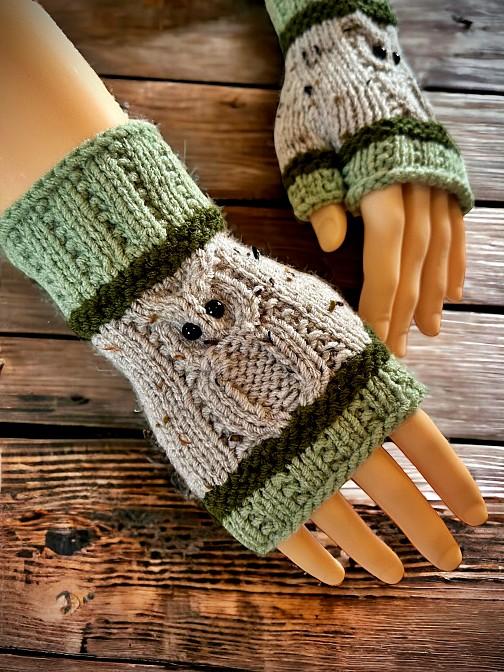
And since I was doing a redesign, I figured I should make the cuffs match. So I did. I did two versions of the glove. One with a rolled cuff edge (blue and brown) and one without (green). It is clearly marked in the pattern where to stop knitting and cast off depending on the edging you want. And speaking of the final appearance of the granny gloves, there is no reason that these gloves have to match anything. You can also knit them in a single colour. It really is up to you and what look you are after.
To make the thumb gusset blend as much as possible and match on both sides of the thumb, there are different ways to knit and purl the stitches together. It changes whether it is on the left or the right side of the thumb. It is noted how to knit and purl the stitches in the pattern. I’ve also added links to a helpful how-to video to show you how. You don’t have to make the stitches the way I did, but it gives a much better overall look. There’s more about this in the Hints and Tips section.
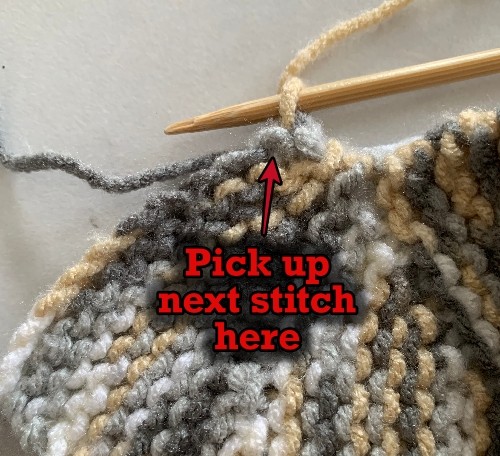
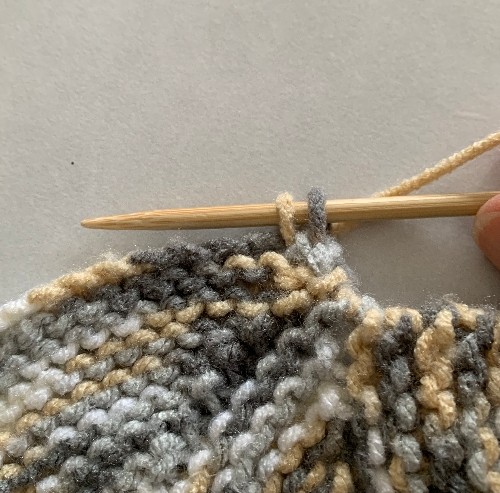
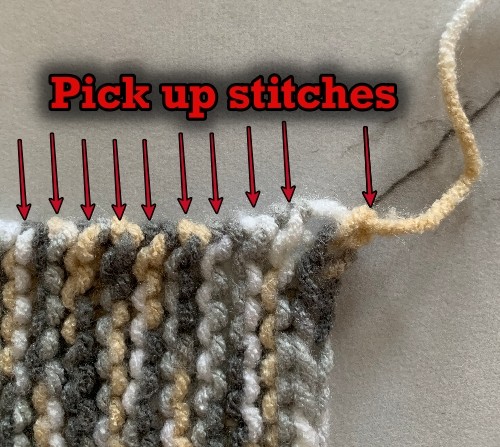
If casting on the 13 stitches for the thumb or picking up stitches is confusing for you, there is also a video to help you with that too. The link is after the Hints and Tips section.
If you enjoy this pattern and my other free online knitting patterns, please consider making a small donation or helping me out by visiting my Help Support My Work page. If that’s not possible, that’s totally fine too! Even sharing this page on your social media helps me out immensely. You can use those buttons below to do so easily.
Things You Need
Worsted weight yarn – 1 standard ball of yarn (215 yards/197 m) will make the gloves in one colour. Any colour combinations of your choosing will work.
Knitting needles:
Small – Size 3 US (3.25 mm) knitting needles
Medium – Size 6 US (4 mm) knitting needles
Large – Size 8 US (5 mm) knitting needles
Tapestry needle – to sew the seam and work in the ends.
4 – 8 mm flat back cabochons or small buttons. You can also embroider eyes on if you prefer.
Gauge
In stockinette stitch
Small
size 3.5 mm (US size 4) knitting needles
11 stitches every 2 inches (5 cm)
16 rows every 2 inches (5 cm)
Medium
size 4 mm (US size 6) knitting needles
10 stitches every 2 inches (5 cm)
14 rows every 2 inches (5 cm)
Large
size 5 mm (US size 8) knitting needles
9 stitches every 2 inches (5 cm)
12 rows every 2 inches (5 cm)
Sizing
Like my other fingerless mitt patterns, I’ve made this as one pattern and adjusted the needle size to change the sizes. This makes it a heck of a lot easier to design and keeps the proportion of the owl the same on all sizes. Frankly, the overall look is better.
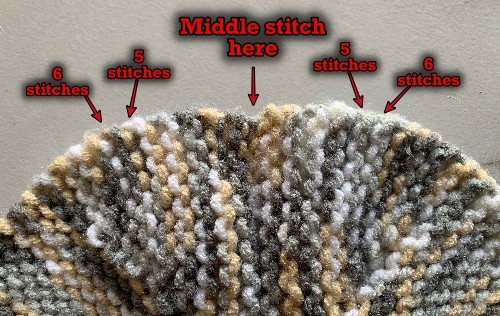
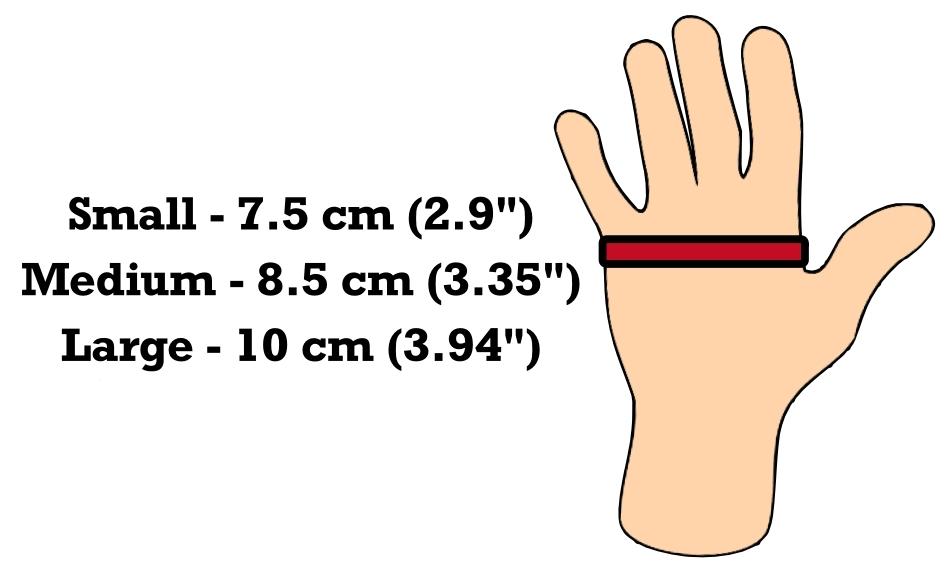
To help with the hand sizing, I’ve included a handy infographic (pun intended). Keep in mind, The gloves will stretch a bit as the stitches relax.
Right Hand
Cast on 34 sts
◊ Row 1: K across
Row 2: *K1 P2* Repeat from * to * to the last st. K1 ◊ Repeat from ◊ to ◊ for a total of 6 rows. (Change colour at the START of row 7 if desired.)
To save yourself time if you’re changing colours, I suggest that you Work in the Ends While Knitting.
Row 7 – 11: K across (Change colour at the START of row 11 if desired.)
Row 12: P5 K1 P8 K1 P19
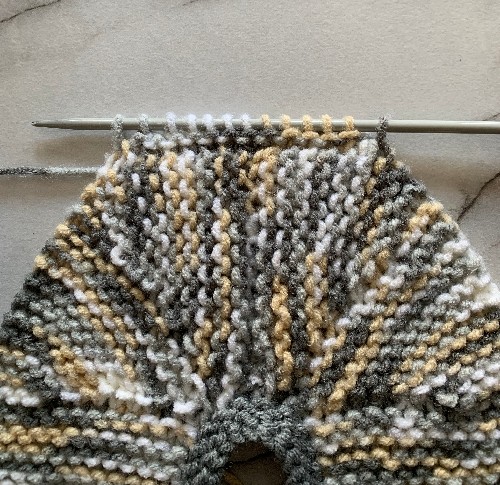
Row 13: K14 Cast on 13 sts K6 C4B C4F K6
If you are uncertain how to make the C4B or C4F, you can either click the link or watch the videos below:
Row 14: P5 K1 P2 K4 P2 K1 P32
Row 15: K35 P4 K8
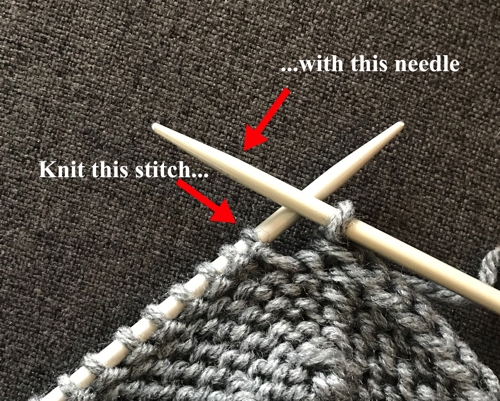
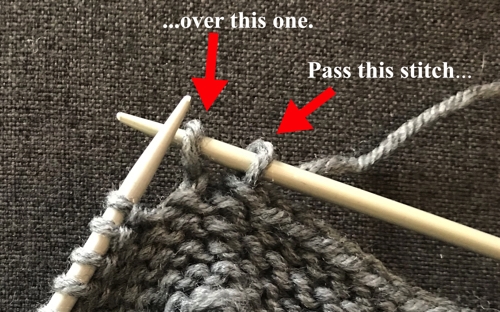
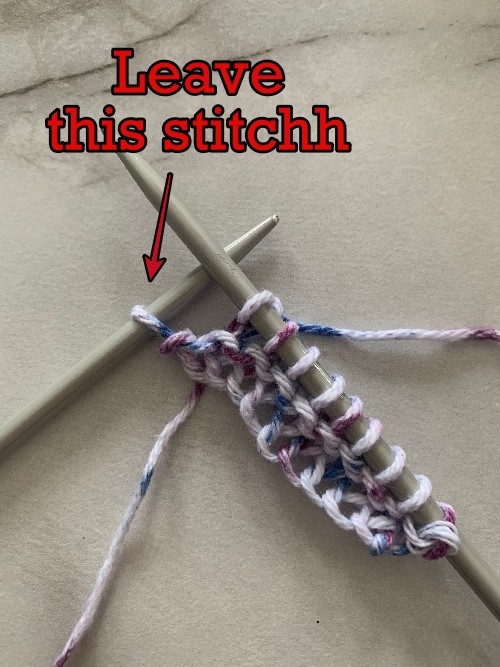
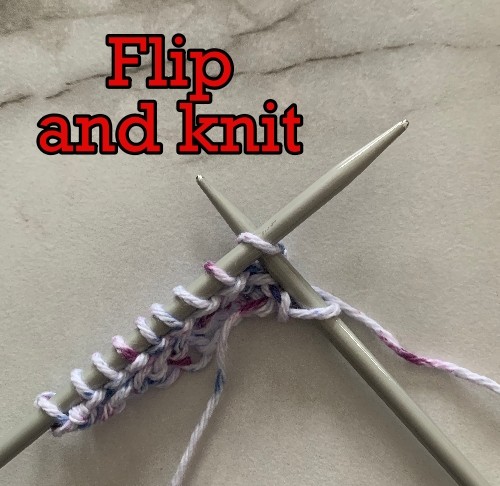
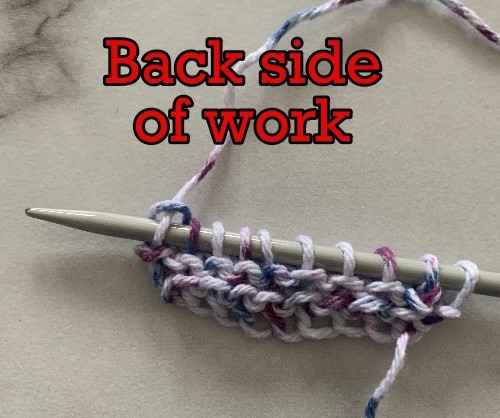
Row 16: P5 K1 P2 K4 P2 K1 P5 P2tog (Slip the next st onto your working needle. Pick up the next st, twist and place back on your non-working needle. Pass the slipped st back onto the non-working needle. Purl the sts together from LEFT to RIGHT). P9 P2tog (Purl these sts together from RIGHT to LEFT – as you normally would). P14
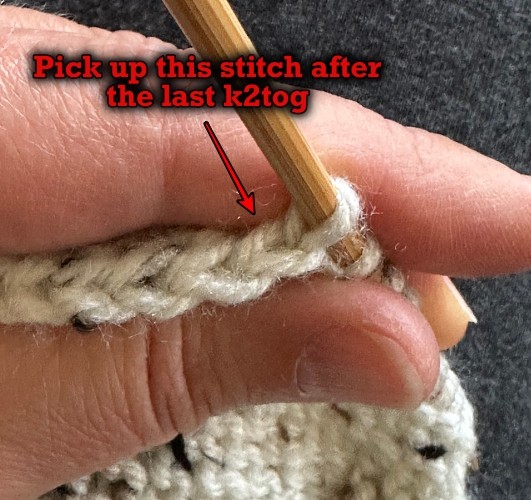
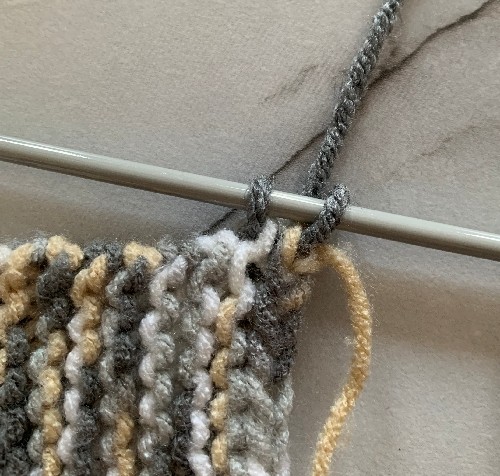
If you need some extra help with making these stitches, you can click this link How to P2tog and K2tog to Make the Gusset or watch the video below
Row 17: K33 P4 K8
Row 18: P5 K1 P2 K4 P2 K1 P30
Row 19: K14 K2tog (Knit the sts together from LEFT to RIGHT). K7 K2tog (Pick up the next st, twist and place back on your non-working needle. Knit the 2 sts together from RIGHT to LEFT) K8 P4 K8
This is the same video as above but automatically starts at the how to K2tog section.
Row 20: P5 K1 P2 K4 P2 K1 P28
Row 21: K31 P4 K8
Row 22: P5 K1 P2 K4 P2 K1 P5 P2tog (as before – pass the next st over, pick up and twist next st, pass slipped st back. Purl from left to right) P5 P2tog (P right to left) P14.
Row 23: K27 C4B C4F K6
Row 24: P5 K1 P8 K1 P26
Row 25: K14 K2tog (from left to right) K3 K2tog (as before – pick up next st, twist, knit from right to left). K20
Row 26: P5 K1 P8 K1 P24
Row 27: K across
Row 28: P5 K1 P8 K1 P5 P2tog (as before – pass the next st over, pick up and twist next st, pass slipped st back. Purl from left to right) P1 P2tog (P right to left). P14
Row 29: K across
Row 30: P5 K1 P8 K1 P22
Row 31: K14 K3tog (from left to right) K6 C4B C4F K6
Row 32: P5 K1 P8 K1 P20
(Change colour at the START of row 33 if desired.)
Row 33 – 37: K across. (Change colour at the START of row 37 if desired.)
Row 38: K2tog. ♠ P2 K1 ♠ Repeat from ♠ to ♠ to the end of the row.
☺ Row39: K across
Row 40: ♦ K1 P2 ♦ Repeat from ♦ to ♦ to the last st. K1 ☺ Repeat from ☺ to ☺ for a total of 10 rows.
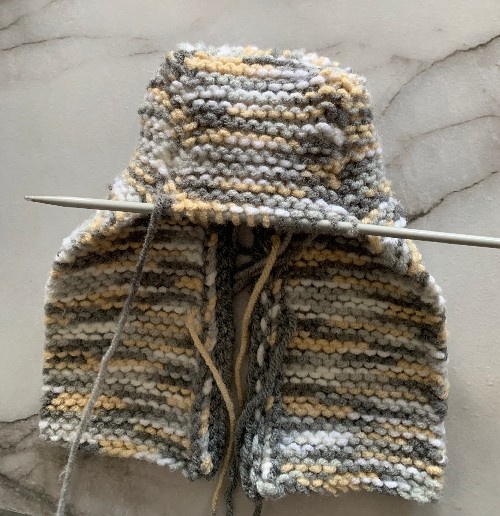
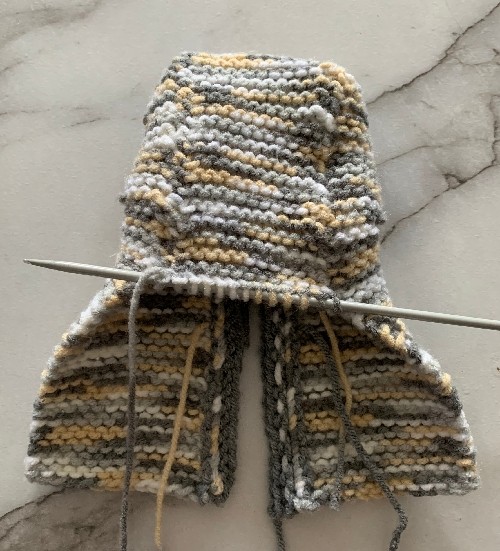
Continue with the rest of the pattern if you would like a rolled edge to match the edging of the owl beanie hat. If you don’t like the rolled edge, cast off. Leave a longer length of yarn to sew the seam.
◘ Row 49: K across
Row 50: P across. ◘ Repeat from ◘ to ◘ for a total of 8 rows.
Cast off. Leave a longer length of yarn to sew the seam.
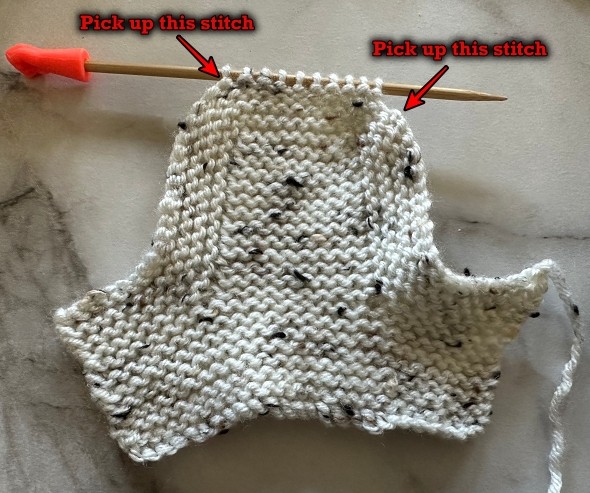
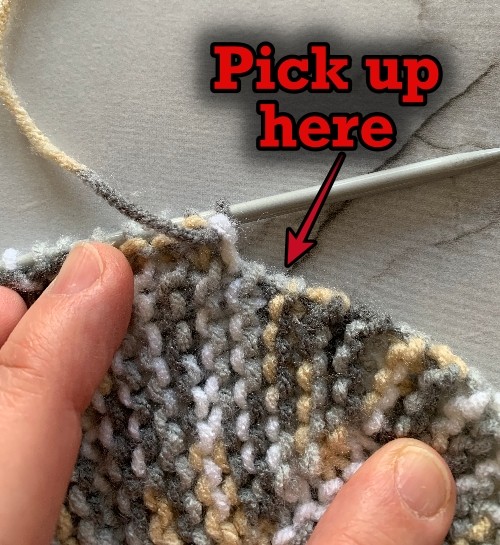
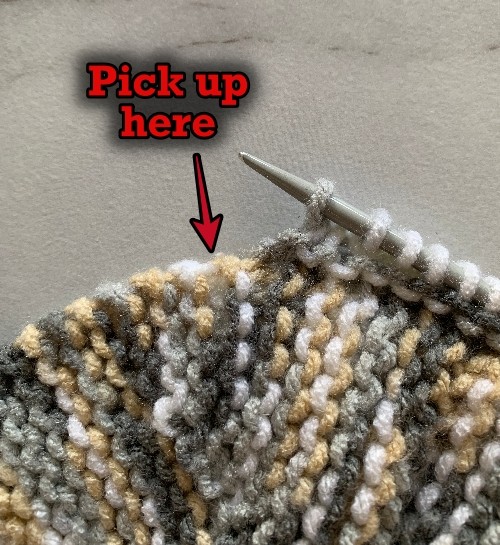
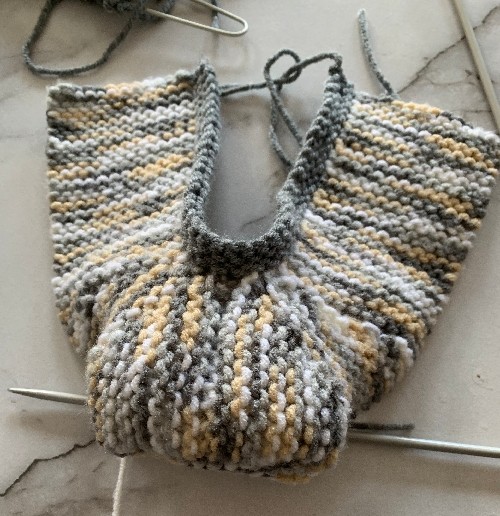
Thumb
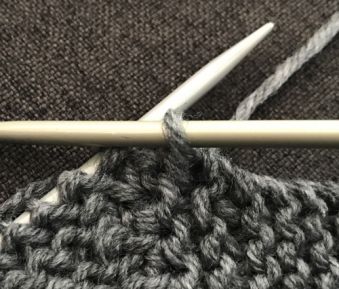
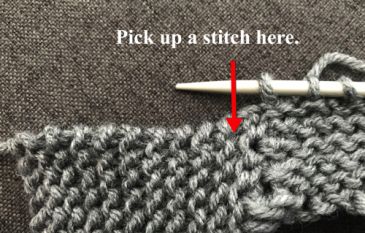
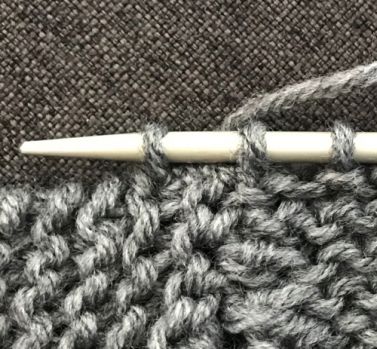
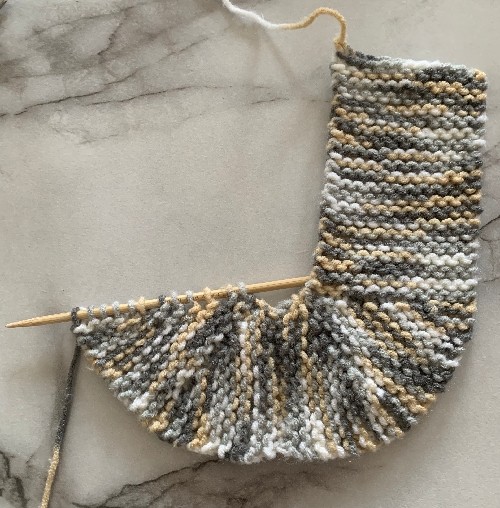
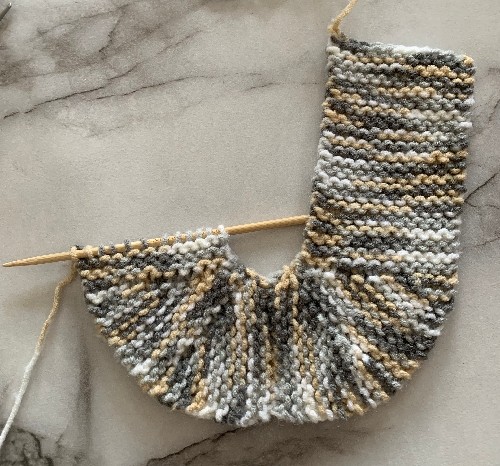
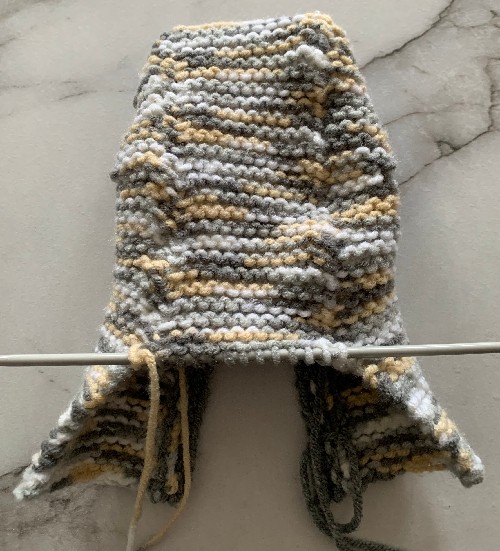
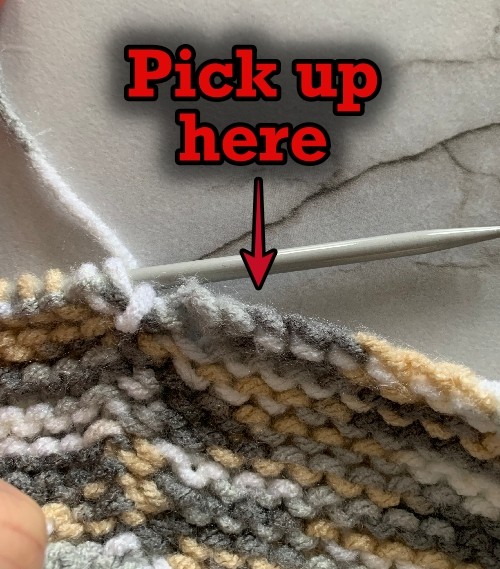
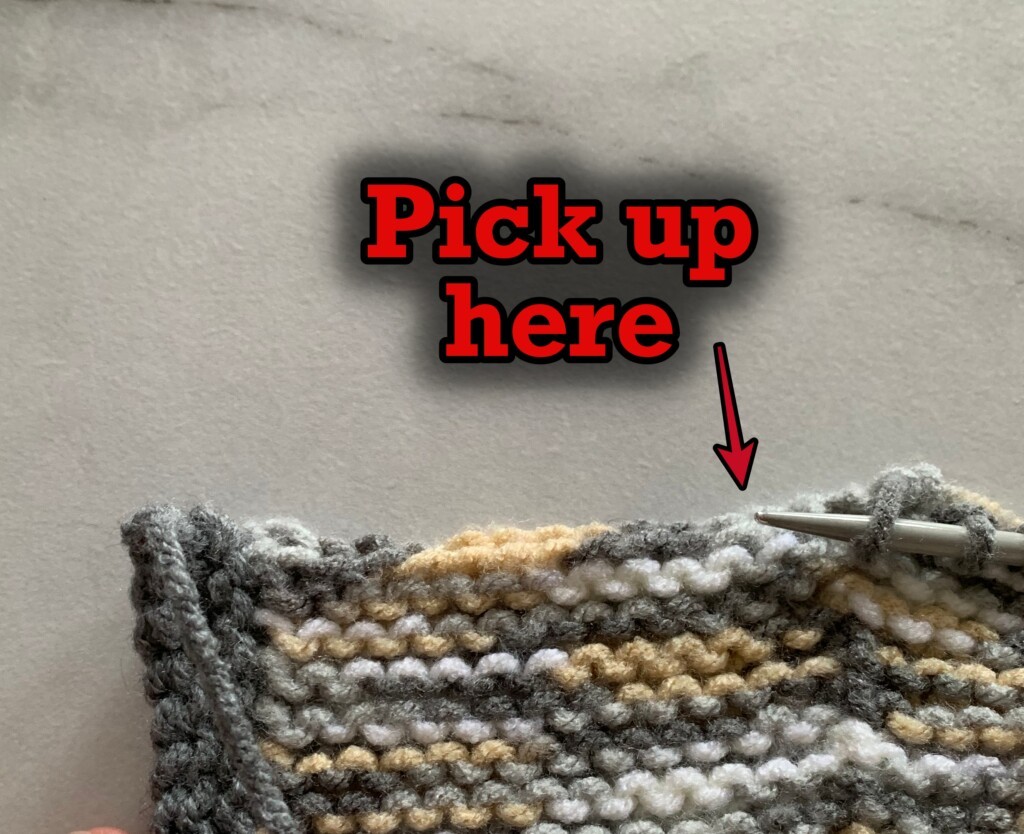
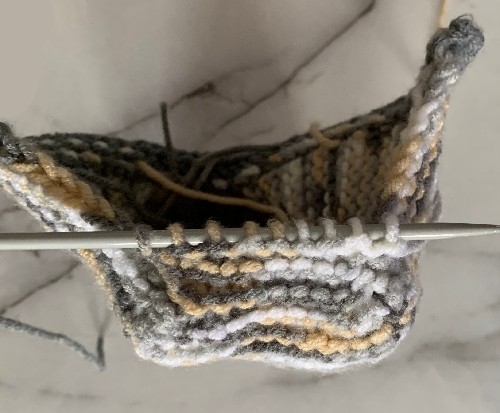
With the RIGHT side of the glove facing you, pick up the 13 sts you cast on in row 13.
Row 1 – 4: K across (Change colour at the START of row 4 of the thumb if desired.)
Row 5: ♦ K1 P2 ♦ Repeat from ♦ to ♦ to the last st. K1
Row 6: K across
Row 7: ♦ K1 P2 ♦ Repeat from ♦ to ♦ to the last st. K1
Cast off. Leave a length of yarn to sew the thumb seam.
More of my Stuff on Etsy:
You can make a widget like this for your blog or website, too.
Instructions are on my website here: How to Display Etsy Items on Your Website
Left Hand
Cast on 34 sts
◊ Row 1: K across
Row 2: *K1 P2* Repeat from * to * to the last st. K1 ◊ Repeat from ◊ to ◊ for a total of 6 rows. (Change colour at the START of row 7 if desired.)
Row 7 – 11: K across (Change colour at the START of row 11 if desired.)
Row 12: P19 K1 P8 K1 P5
Row 13: K6 C4B C4F K6 Cast on 13 sts K14
Row 14: P32 K1 P2 K4 P2 K1 P5
Row 15: K8 P4 K35
Row 16: P14 P2tog (Slip the next st onto your working needle. Pick up the next st, twist and place back on your non-working needle. Pass the slipped st back onto the non-working needle. Purl the sts together from LEFT to RIGHT). P9 P2tog (Purl these sts together from RIGHT to LEFT – as you normally would). P5 K1 P2 K4 P2 K1 P5
Row 17: K8 P4 K33
Row 18: P30 K1 P2 K4 P2 K1 P5
Row 19: K8 P4 K8 K2tog (Knit the sts together from LEFT to RIGHT). K7 K2tog (Pick up the next st, twist and place back on your non-working needle. Knit the 2 sts together from RIGHT to LEFT) K14
Row 20: P28 K1 P2 K4 P2 K1 P5
Row 21: K8 P4 K31
Row 22: P14 P2tog (as before – pass the next st over, pick up and twist next st, pass slipped st back. Purl from left to right) P5 P2tog (P right to left) P5 K1 P2 K4 P2 K1 P5
Row 23: K6 C4B C4F K27
Row 24: P26 K1 P8 K1 P5
Row 25: K20 K2tog (from left to right) K3 K2tog (as before – pick up next st, twist, knit from right to left). K14
Row 26: P24 K1 P8 K1 P5
Row 27: K across
Row 28: P14 P2tog (as before – pass the next st over, pick up and twist next st, pass slipped st back. Purl from left to right) P1 P2tog (P right to left). P5 K1 P8 K1 P5
Row 29: K across
Row 30: P22 K1 P8 K1 P5
Row 31: K6 C4B C4F K6 K3tog (from left to right) K14
Row 32: P20 K1 P8 K1 P5
(Change colour at the START of row 33 if desired.)
Row 33 – 37: K across. (Change colour at the START of row 37 if desired.)
Row 38: K2tog. ♠ P2 K1 ♠ Repeat from ♠ to ♠ to the end of the row.
☺ Row39: K across
Row 40: ♦ K1 P2 ♦ Repeat from ♦ to ♦ to the last st. K1 ☺ Repeat from ☺ to ☺ for a total of 10 rows.
Continue with the rest of the pattern if you would like a rolled edge to match the edging of the owl beanie hat. If you don’t like the rolled edge, cast off. Leave a longer length of yarn to sew the seam.
◘ Row 49: K across
Row 50: P across. ◘ Repeat from ◘ to ◘ for a total of 8 rows.
Cast off. Leave a longer length of yarn to sew the seam.
Thumb
With the RIGHT side of the glove facing you, pick up the 13 sts you cast on in row 13.
Row 1 – 4: K across (Change colour at the START of row 4 of the thumb if desired.)
Row 5: ♦ K1 P2 ♦ Repeat from ♦ to ♦ to the last st. K1
Row 6: K across
Row 7: ♦ K1 P2 ♦ Repeat from ♦ to ♦ to the last st. K1
Cast off. Leave a length of yarn to sew the thumb seam.
Hints and Tips
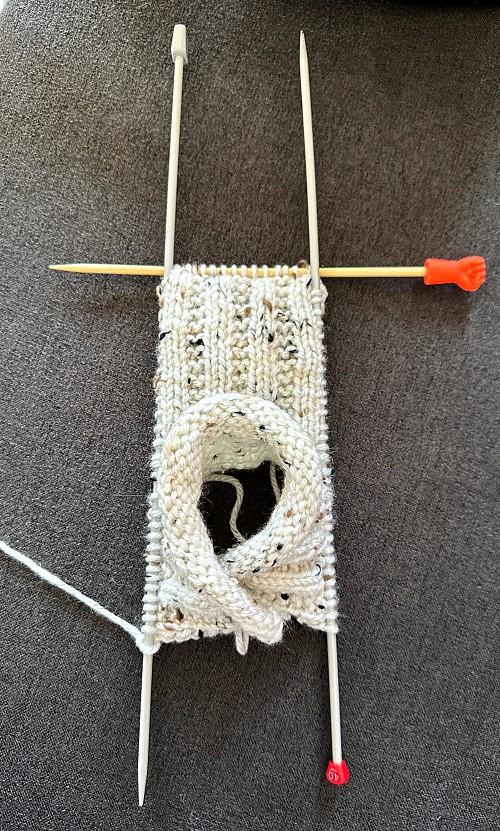
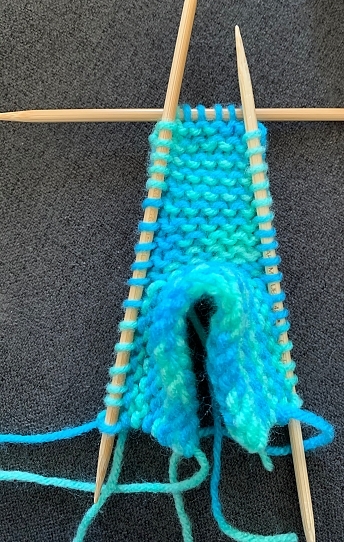
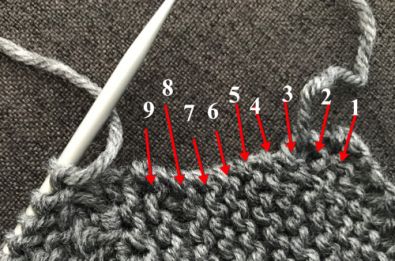
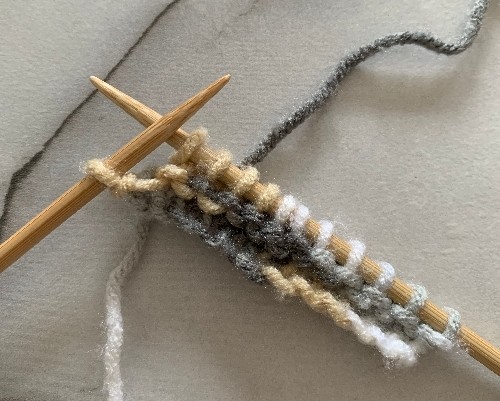
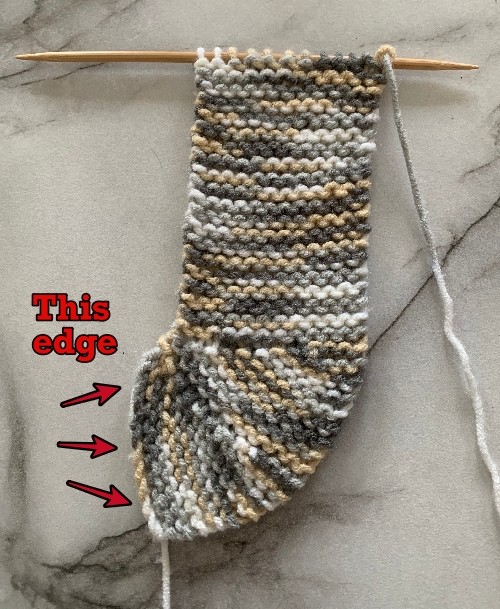
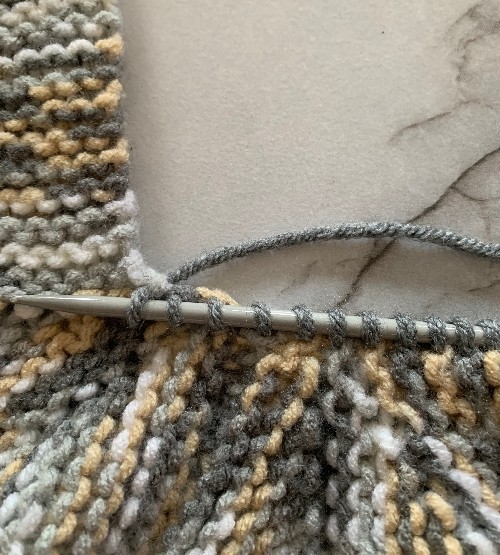
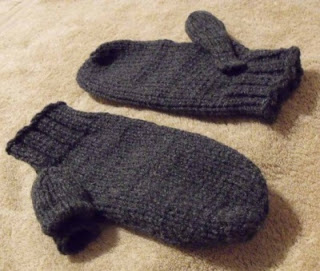
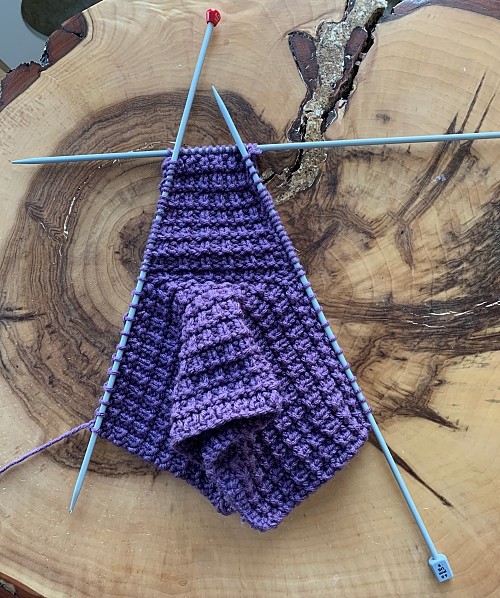
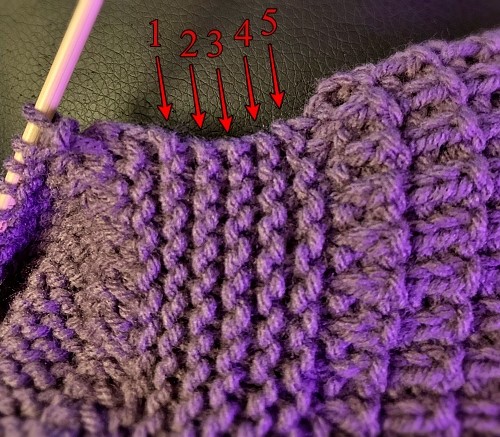
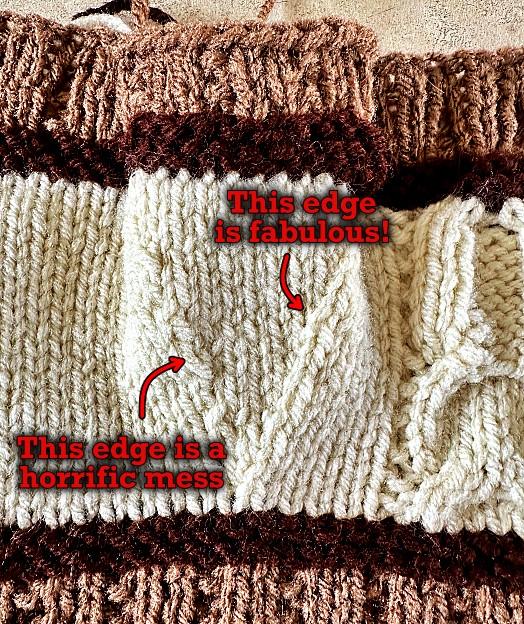
If you don’t P2tog and K2tog as indicated in the pattern, you’ll end up with one very defined line on one side of the thumb gusset, and a much less refined edge on the other. I tried many combos to make the side of the gusset match. Making the stitches as indicated in the pattern allow for this.
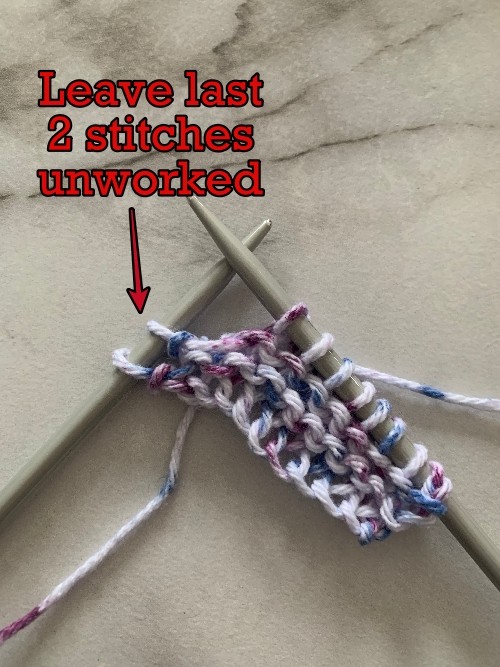
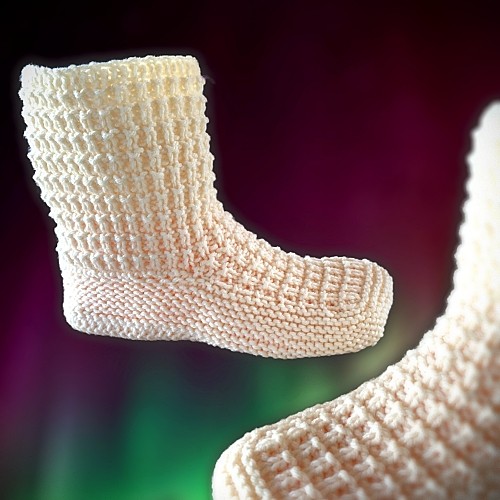
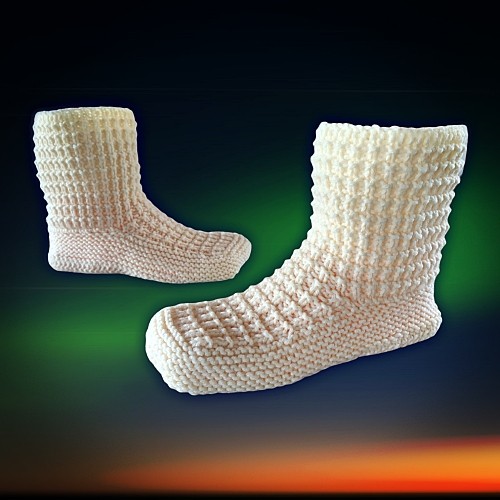
This photo is what the thumb gusset will look like if you knit and purl the stitches without following the instructions.
You don’t need to add the extra garter and ribbing for the thumb. It is a finished edge so it won’t come undone. You may want to do a quick single crochet around to give it a bit of a fancy edging.
You can use whatever you like for eyes. Buttons will work. I used 8 mm flat back cabochons. They come in a variety of colours and sizes. I looked for more realistic owl eyes but all I could find were ones for taxidermy and they were too big, and expensive. I also recommend gluing them on as sewing will take a bit of time.
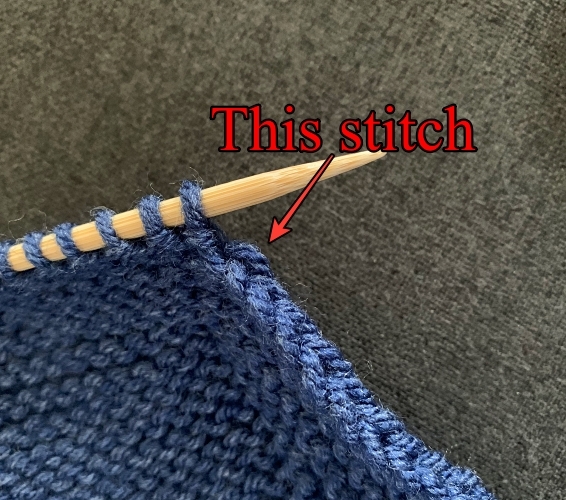
Watch the Helpful Thumb Video
If you need help with casting on the thumb or picking up the stitches to finish the thumb, you can watch the quick how-to video on Youtube here – Basic Fingerless Gloves – How to Make the Thumb The video is for a different fingerless glove style, but is a very similar technique.
Abbreviations
K – knit
P – purl
K2tog – knit 2 together
P2tog – purl 2 together
K3tog – knit 3 stitches together
st – stitch
sts – stitches
Side note: I use both versions of the terminology when it comes to cable stitches. I’ve been corrected that I’m using the wrong one for both occasions so it’s a no win for me. What I mean is that C4F is the same technique as C2F. Just like how C2B is the same as C4B. Do you think of it as the just the stitches you’re pulling or the number of stitches you’re using in total when you do it? It’s a personal choice, I guess.
C4F – Pick up the next 2 stitches with your cable needle. Pull the stitches to the FRONT of your work. Knit the next 2 stitches on your non-working needle. Knit the 2 stitches from the cable needle. Watch this video to see how. How to C4F or Cable 4 Forward.
C4B – Pick up the next 2 stitches with your cable needle. Pull the stitches to the BACK of your work. Knit the next 2 stitches on your non-working needle. Knit the 2 stitches from the cable needle. Watch this video to see how. How to C4B or Cable 4 Back
Like all of my patterns you have my permission to sell and/or give away the physical items that you make using this pattern. You are NOT permitted to reprint this pattern in any form unless you have obtained my written permission to do so.