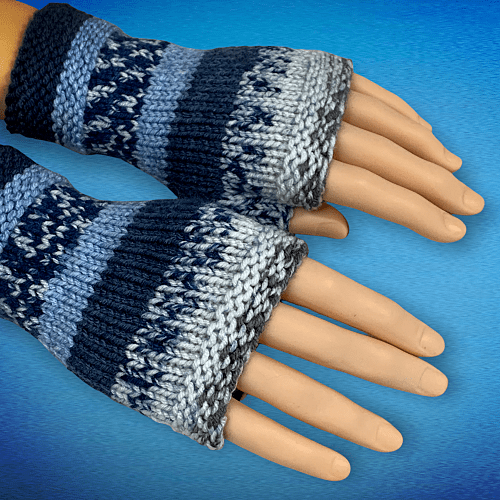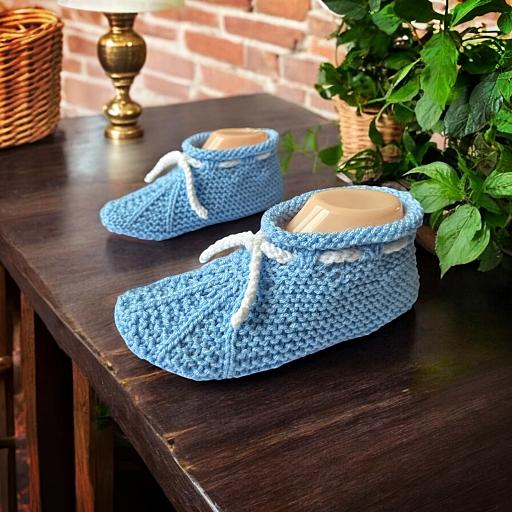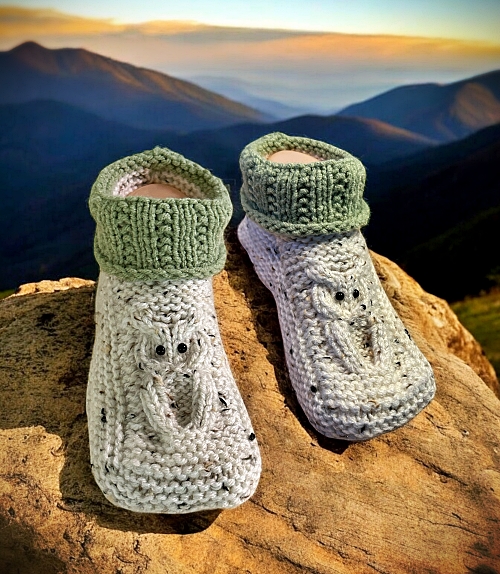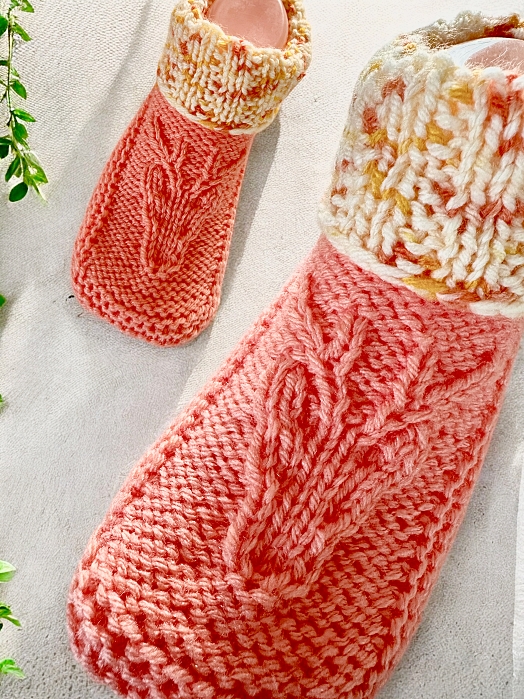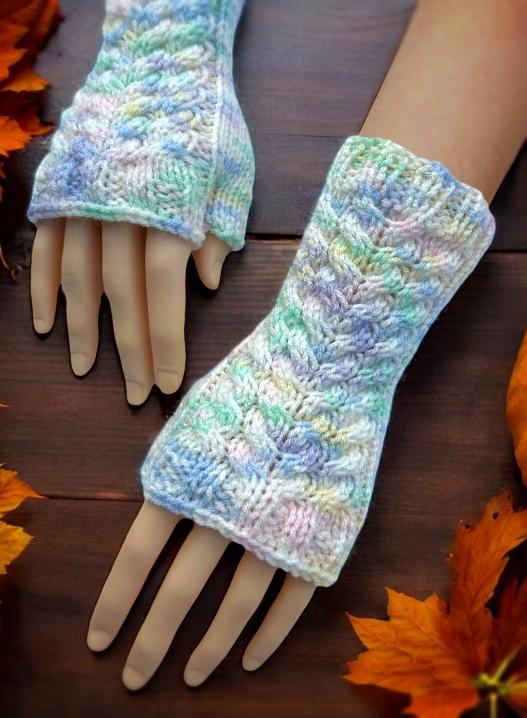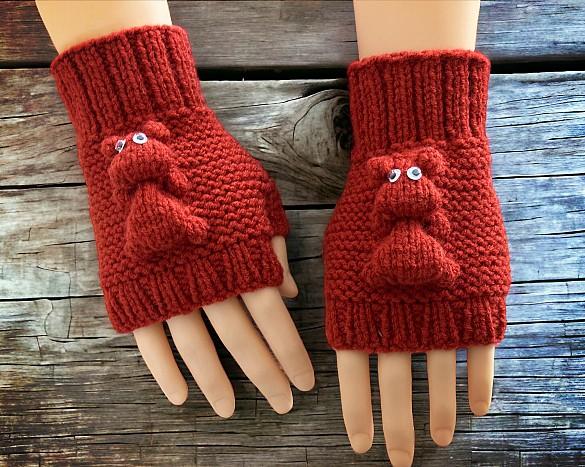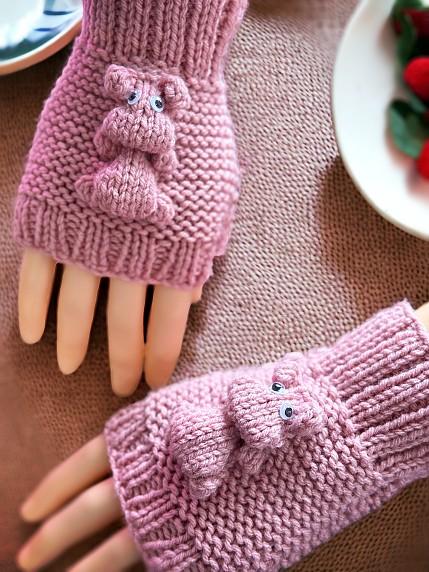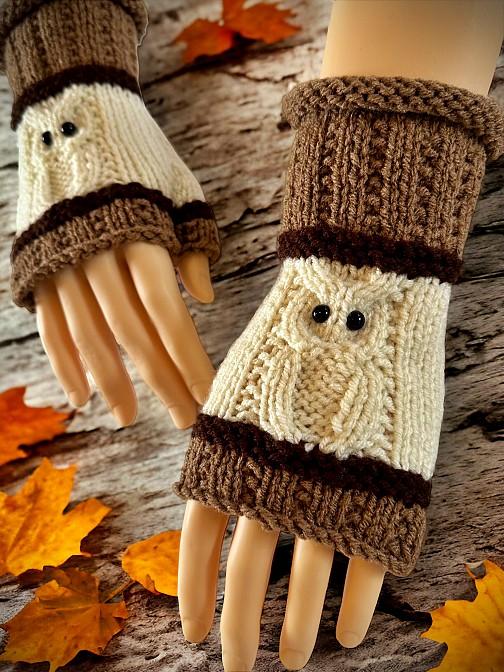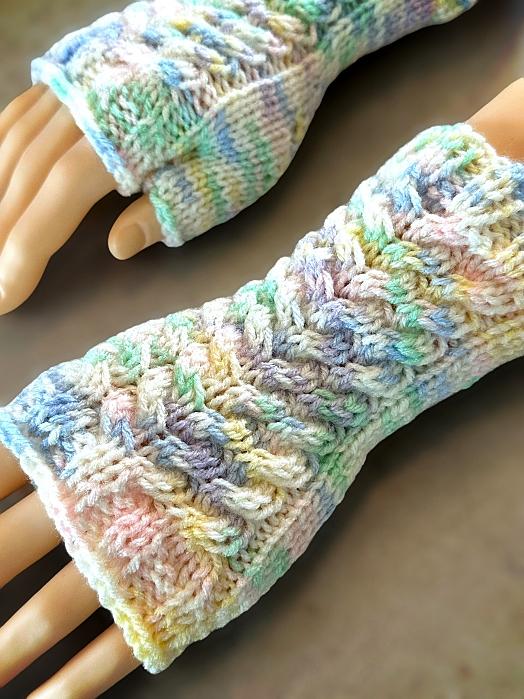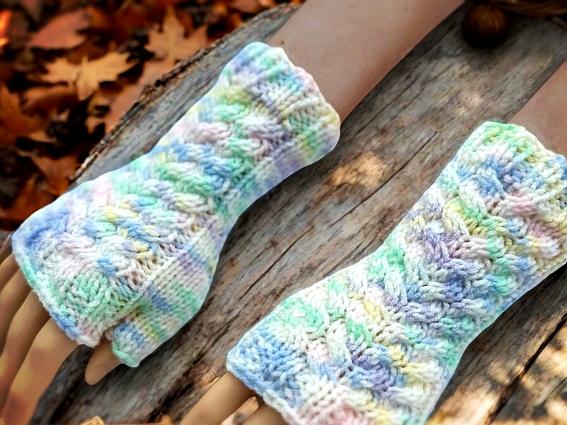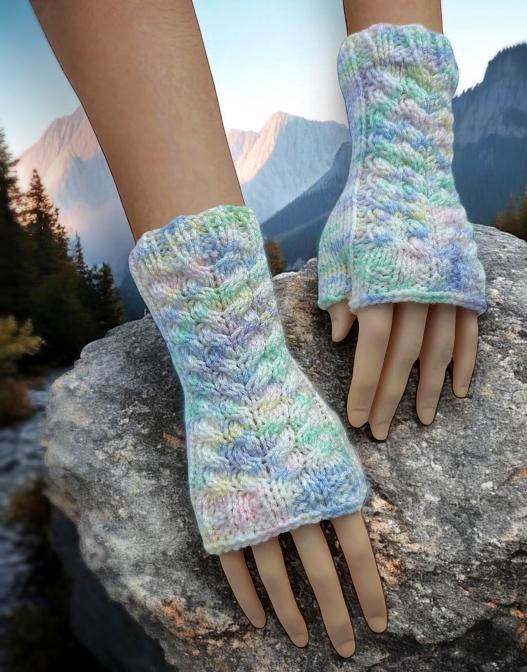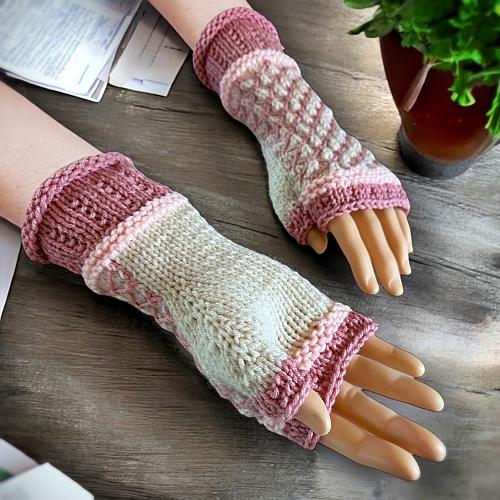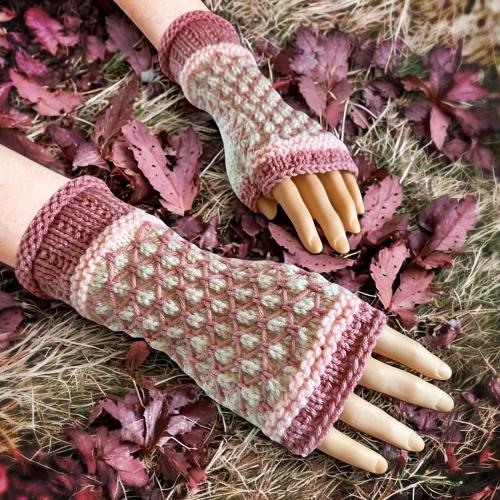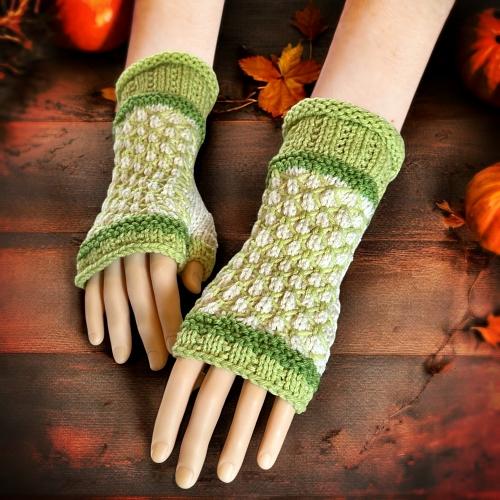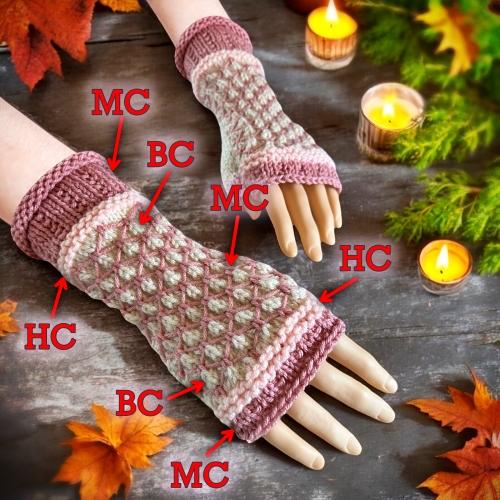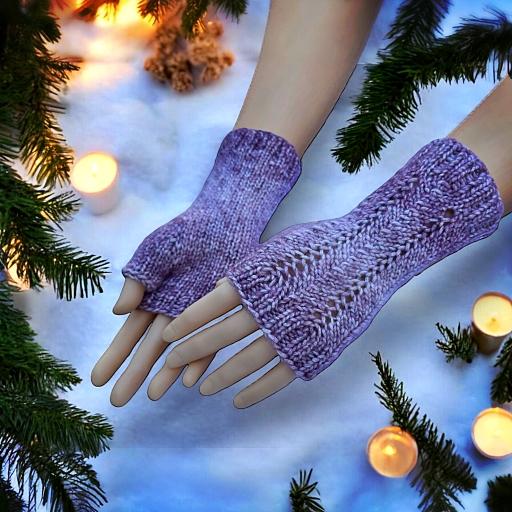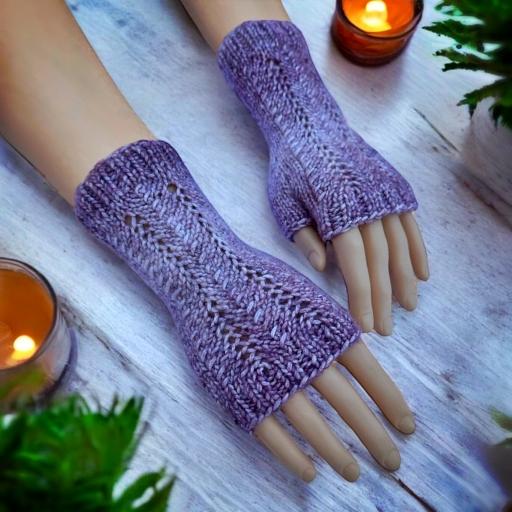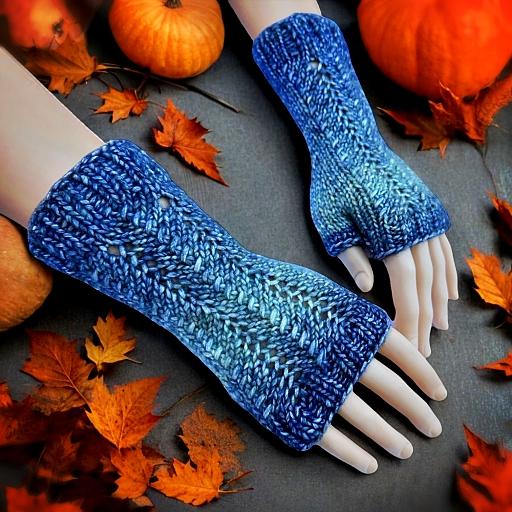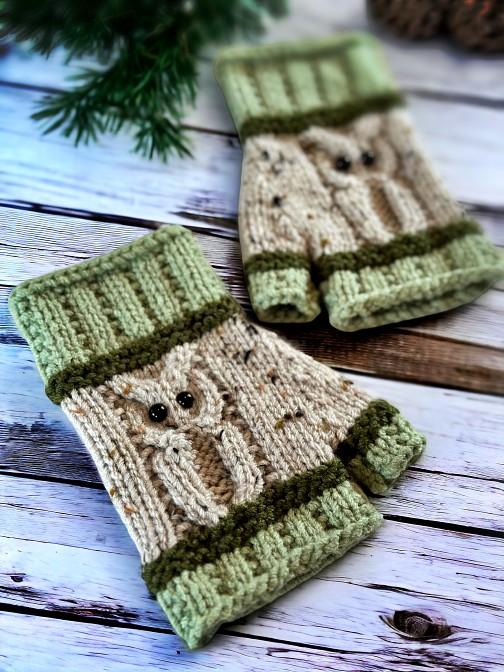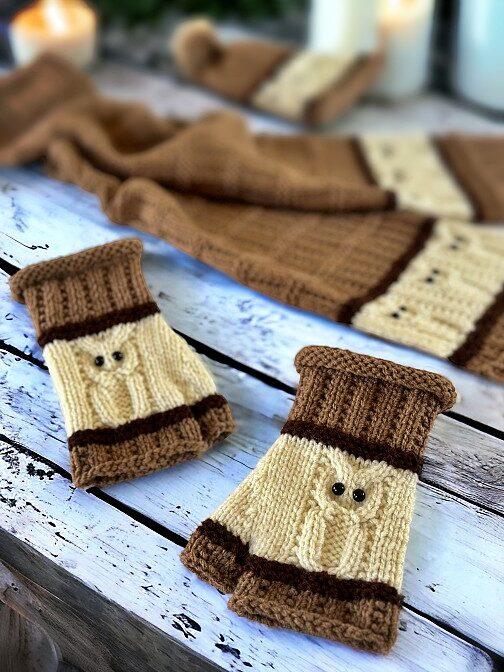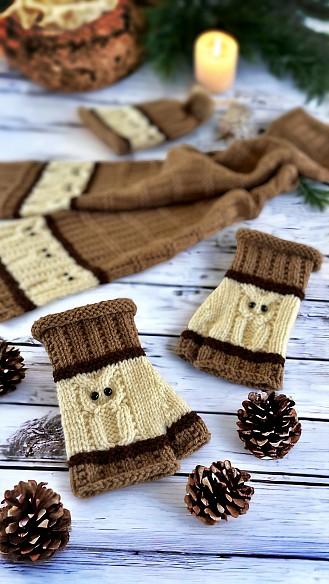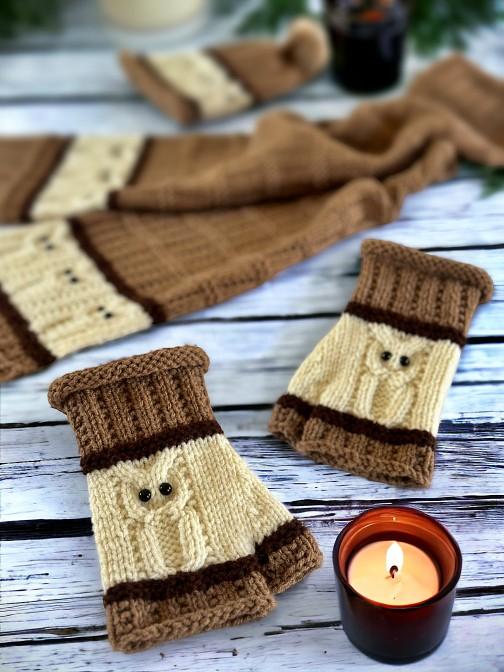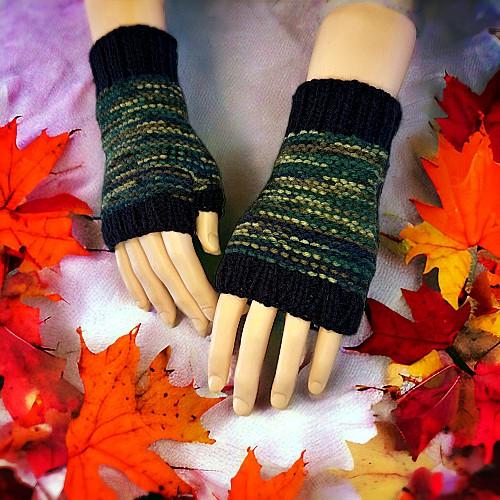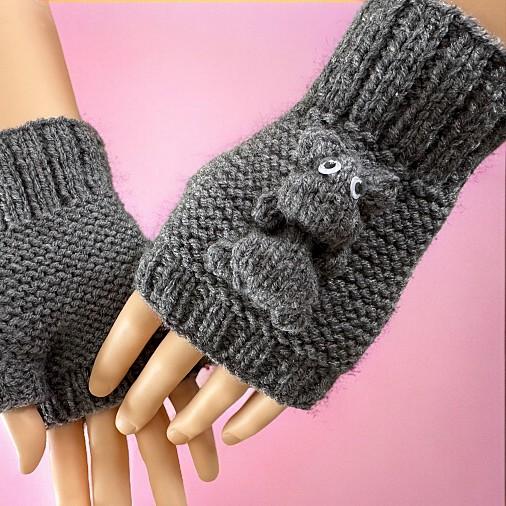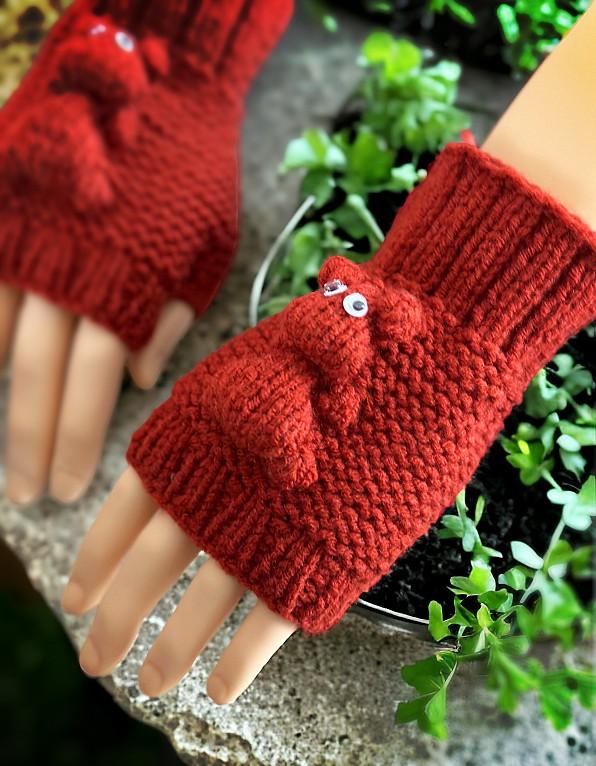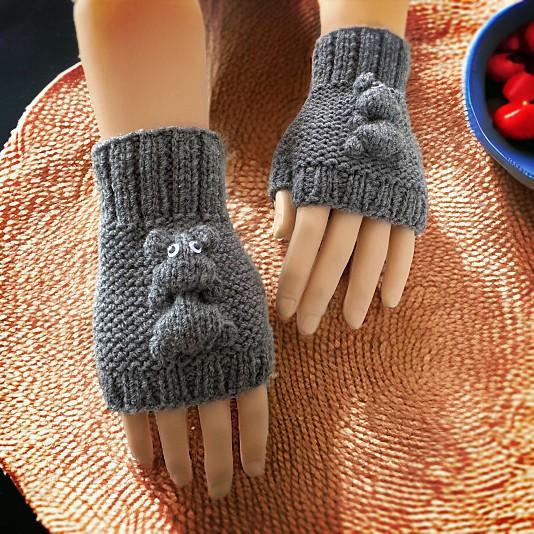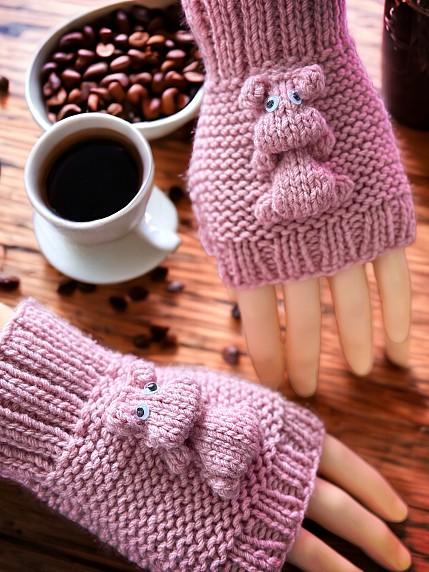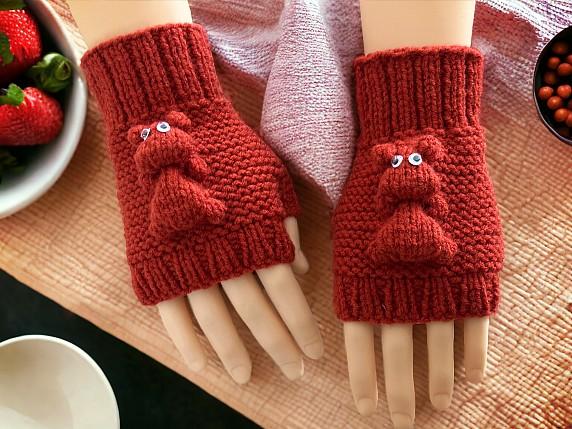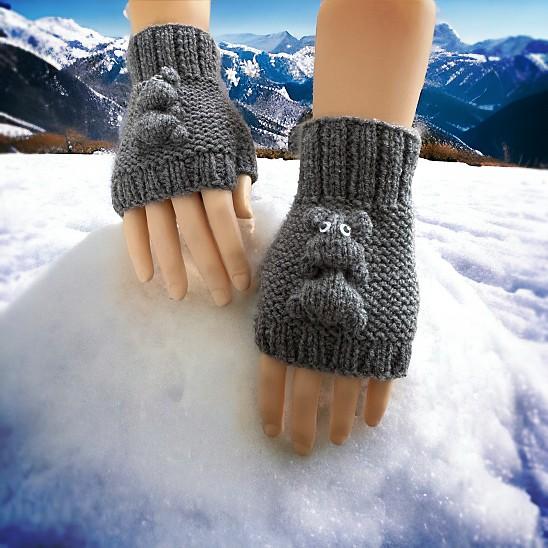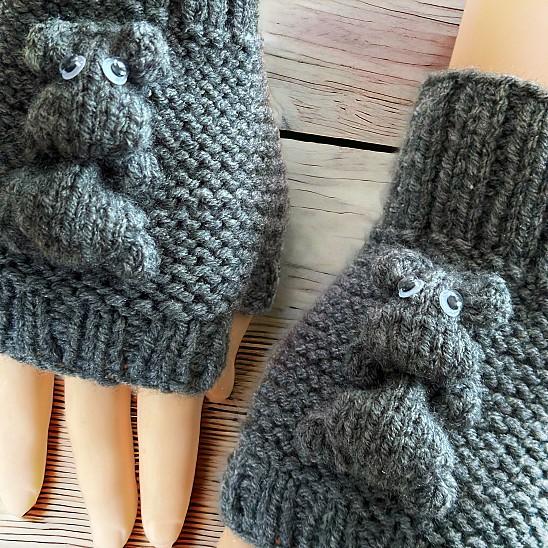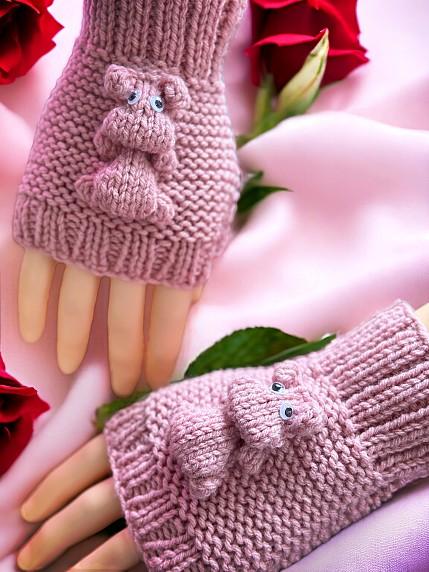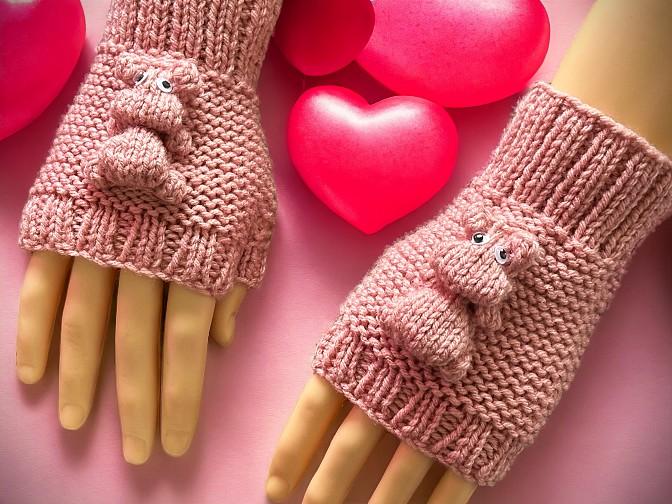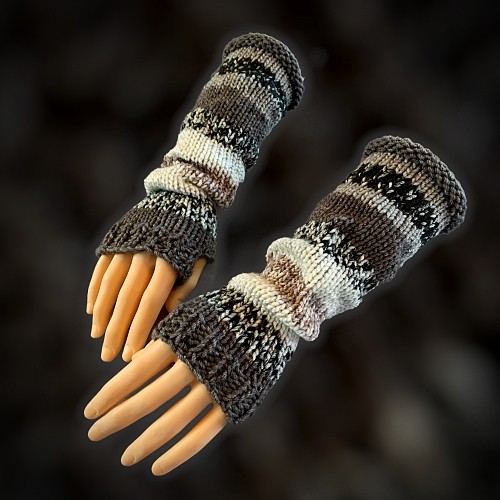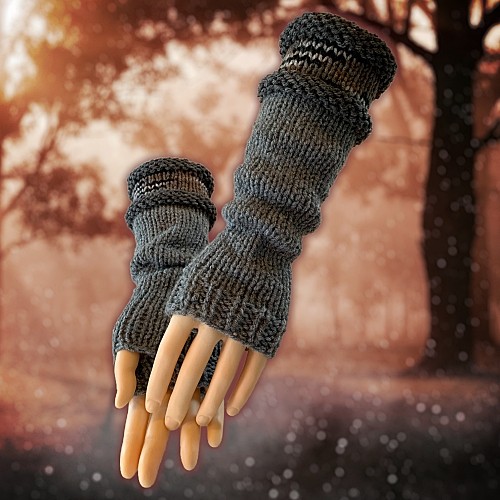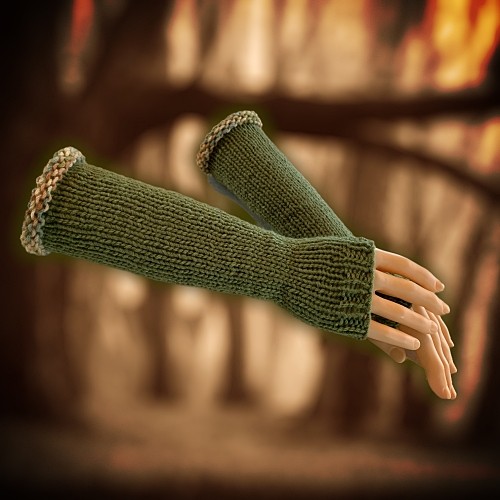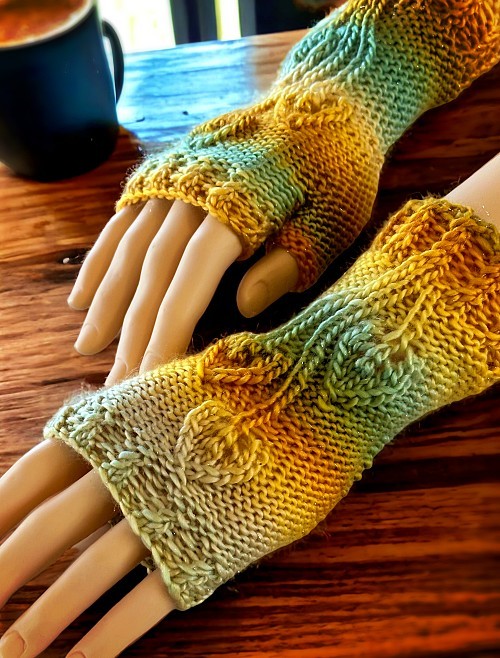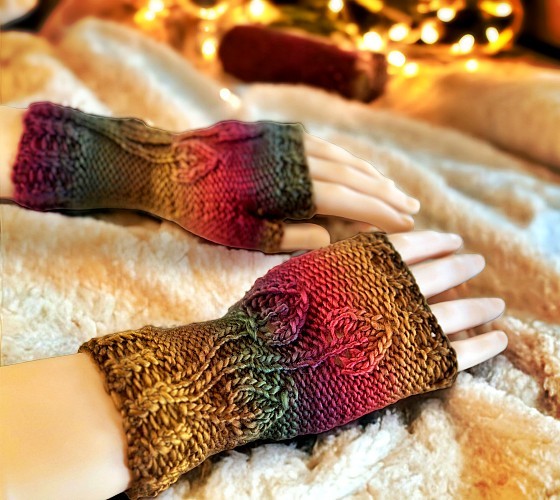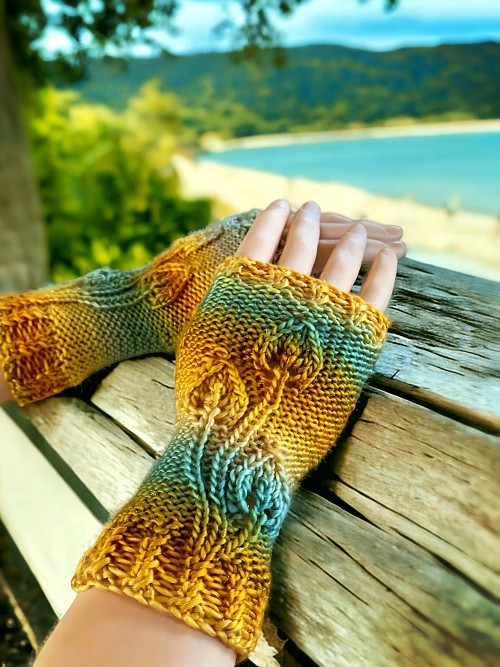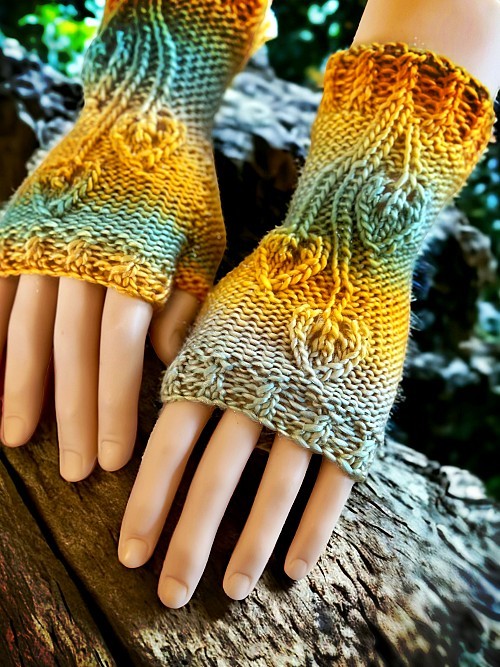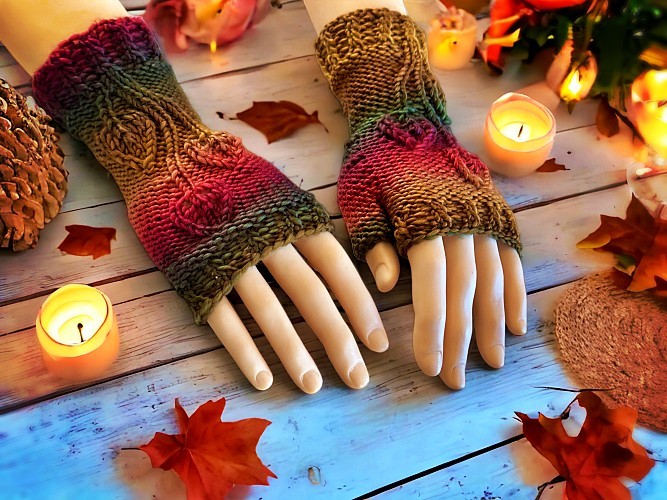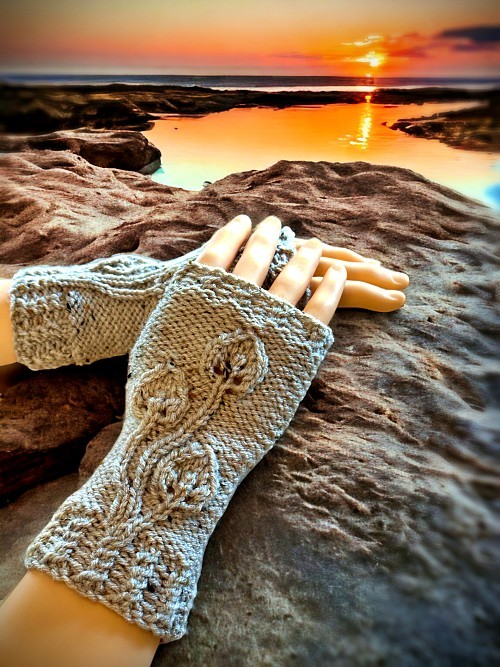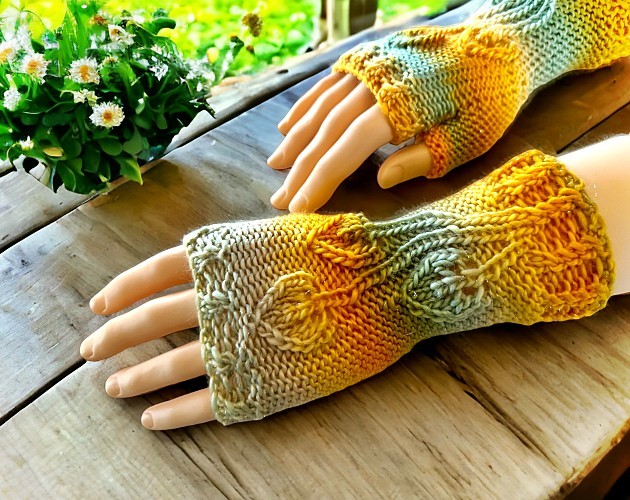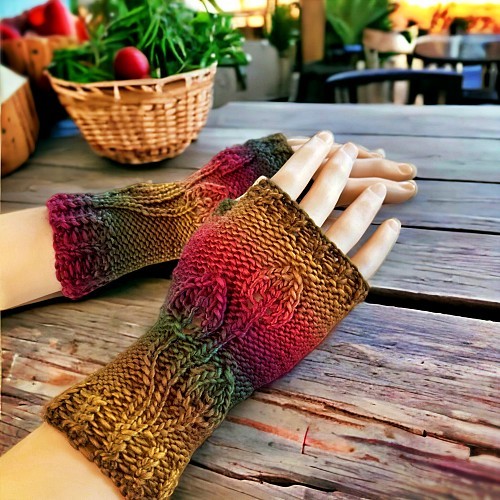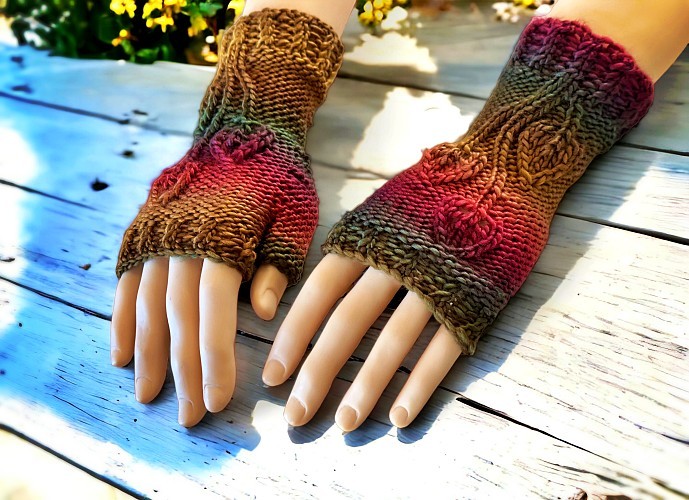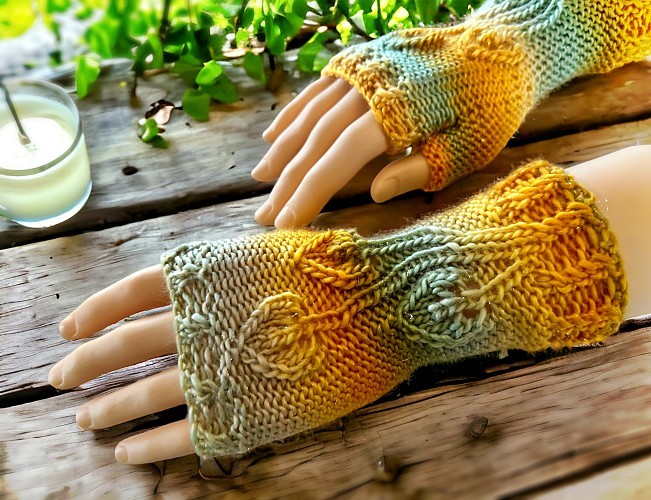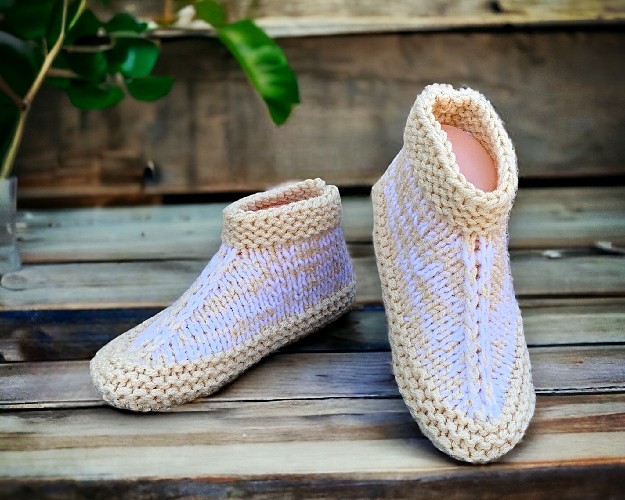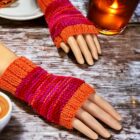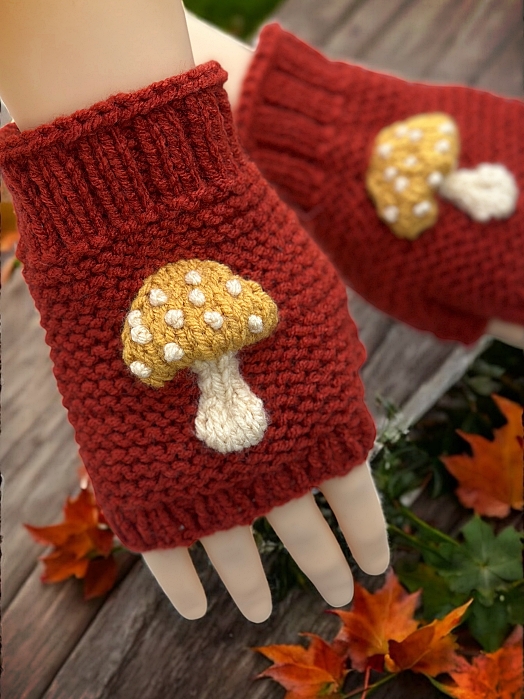
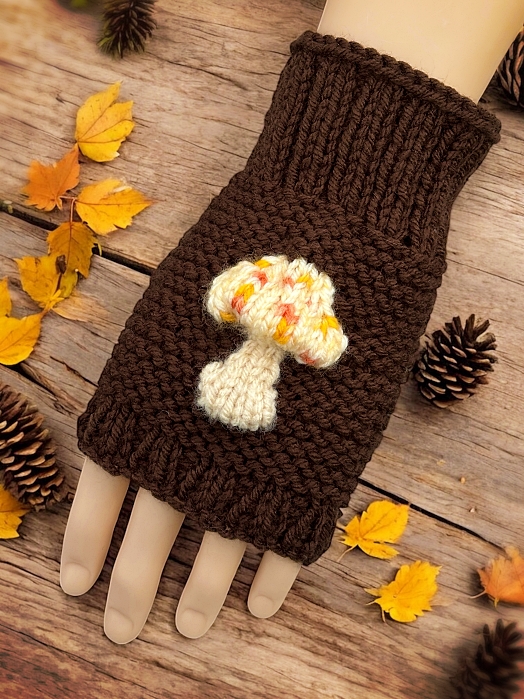
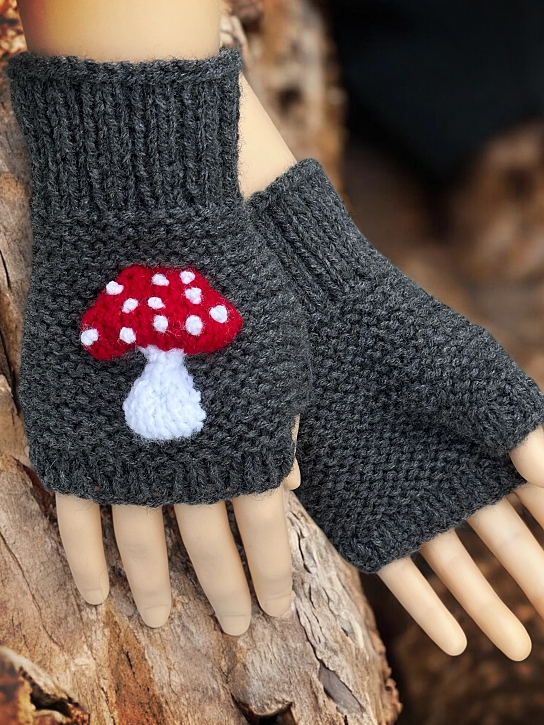
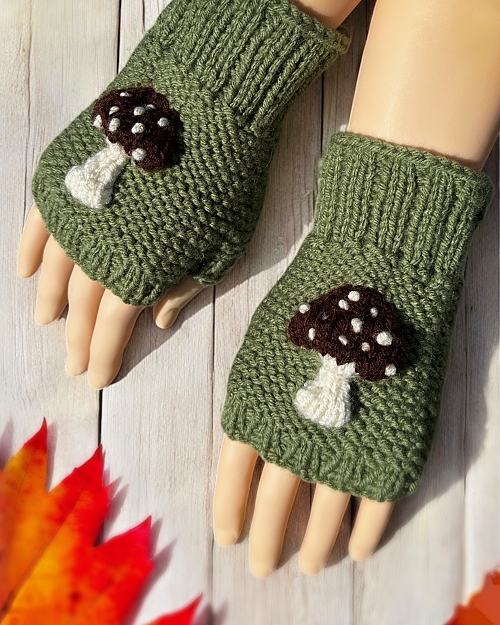
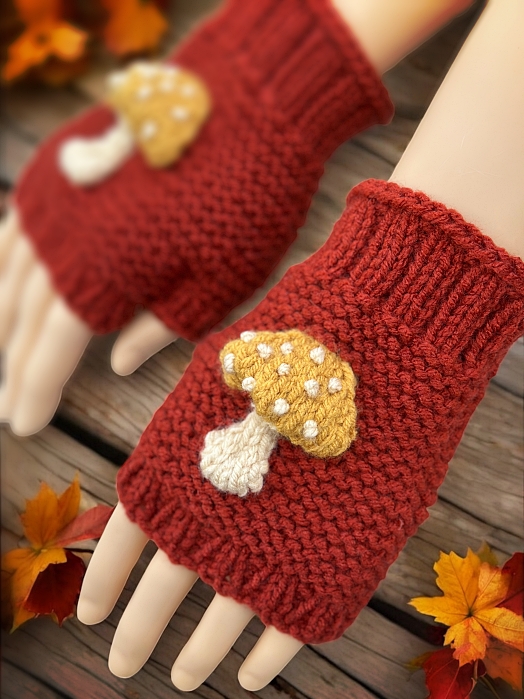
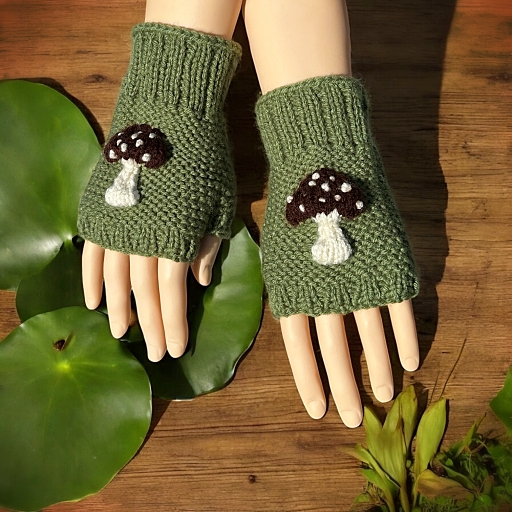
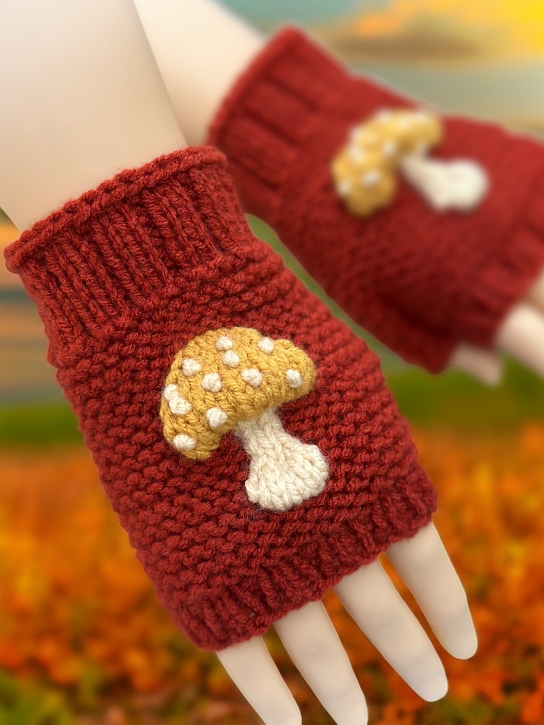
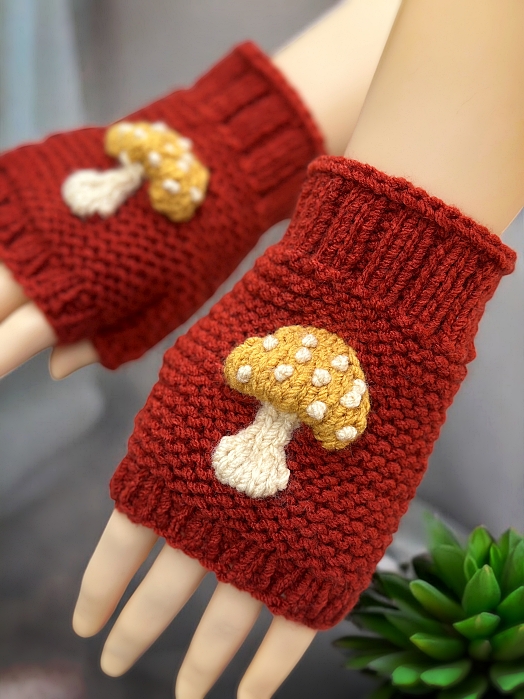
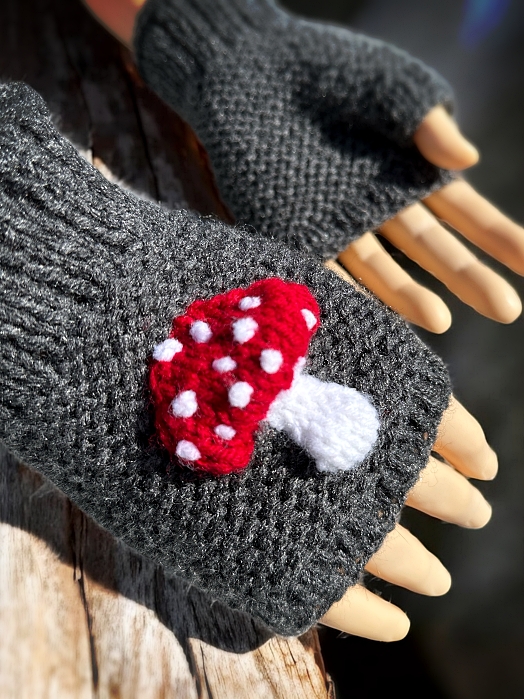
Add a little forest magic to your wardrobe with these cozy mushroom fingerless gloves! Featuring a charming toadstool motif, this whimsical knitting pattern is perfect for fall walks, cottagecore vibes, or just showing off your love of fungi. Knit flat on two needles, it’s a fun project for anyone comfortable with the basics—and there’s a helpful step-by-step video tutorial to guide you through each row. Grab your yarn and let’s get a little spore-tacular!
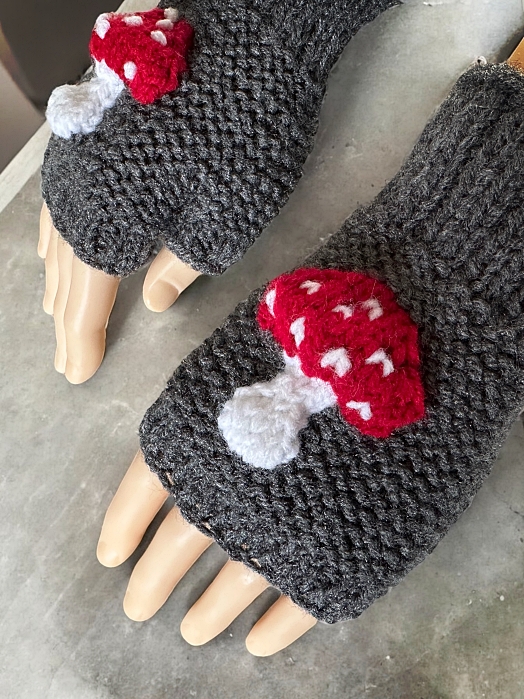

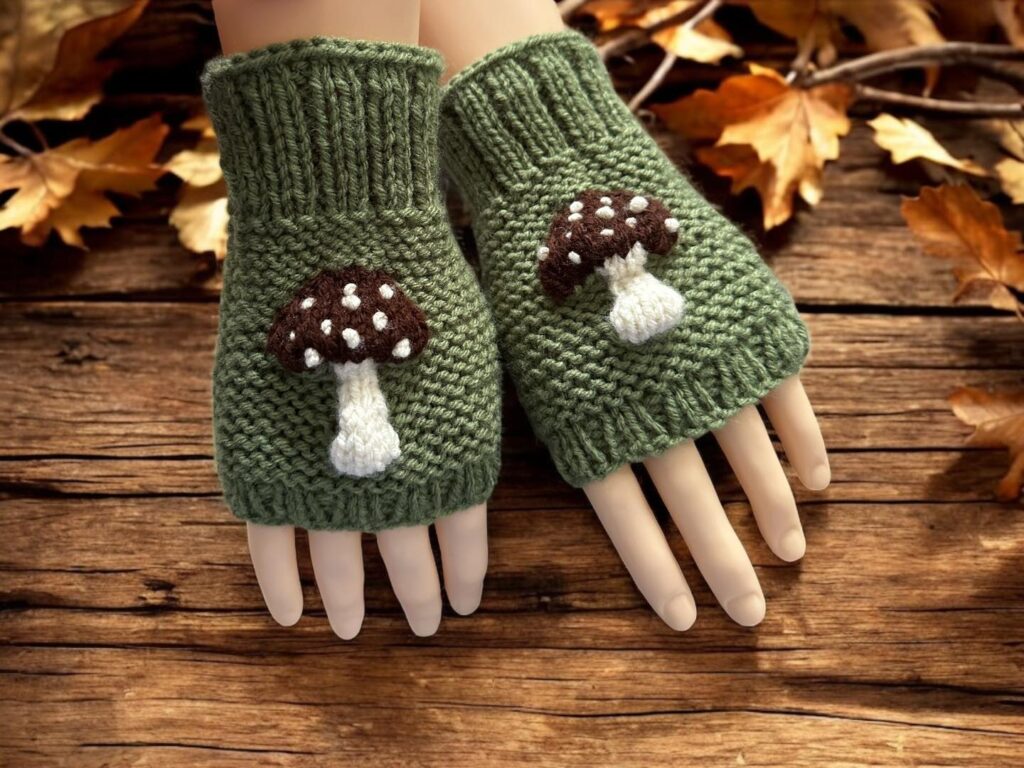
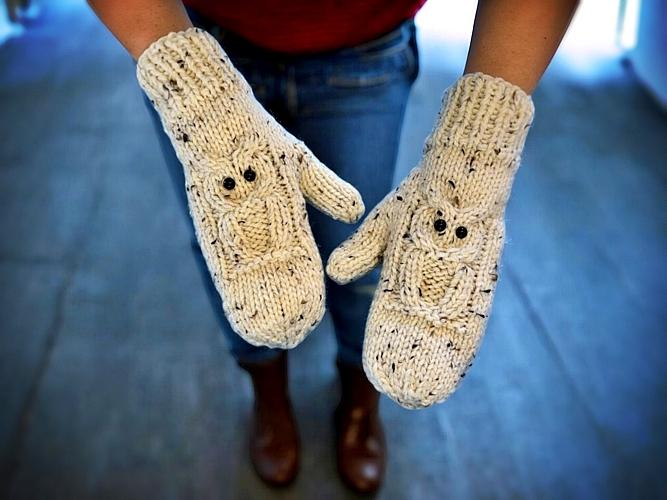
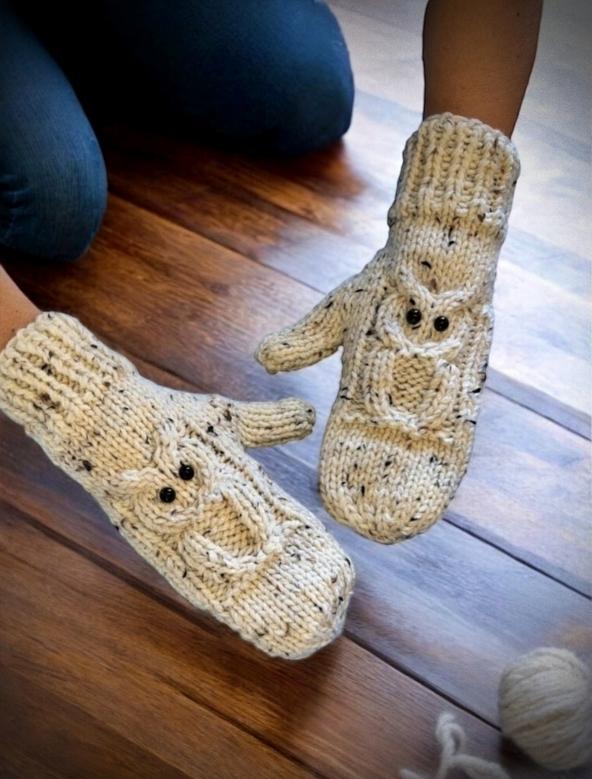
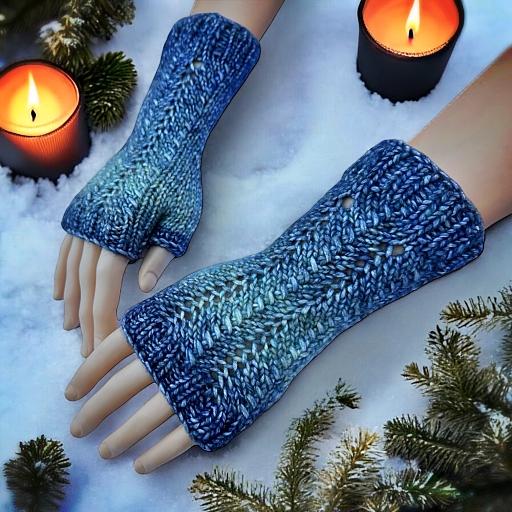
If you stumbled upon this pattern but don’t know how to knit, have no fear! I have finished granny gloves available to purchase in my Etsy shop. Use this link o buy a pair 👉🏼 CUSTOM MADE Hand Knit Mushroom Granny Gloves
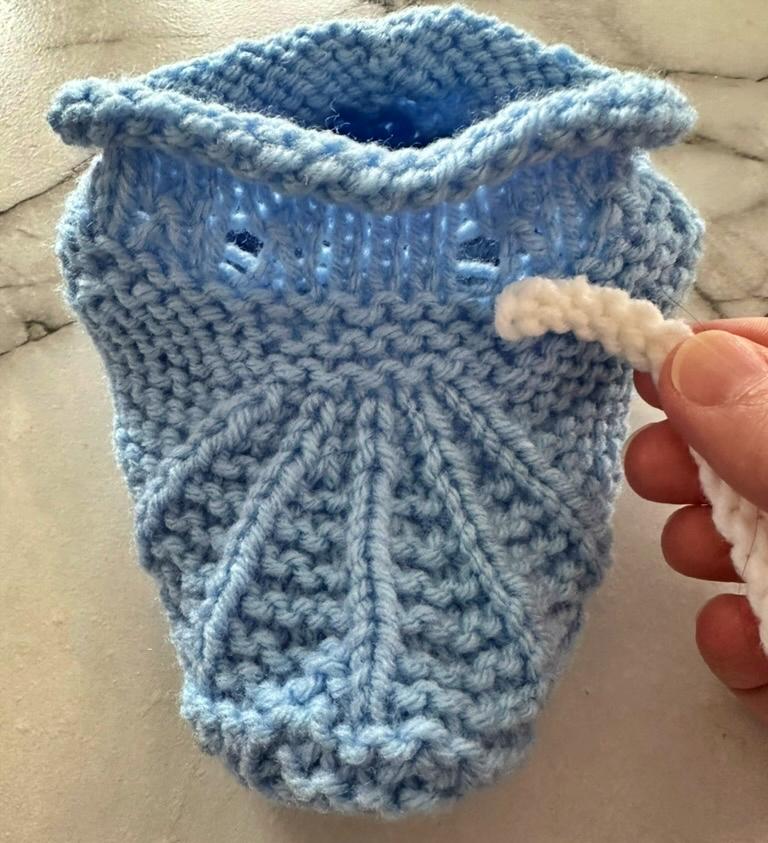
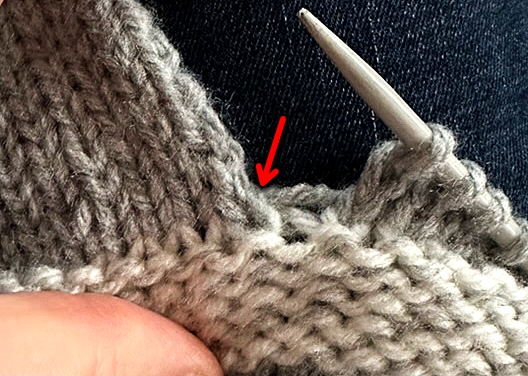
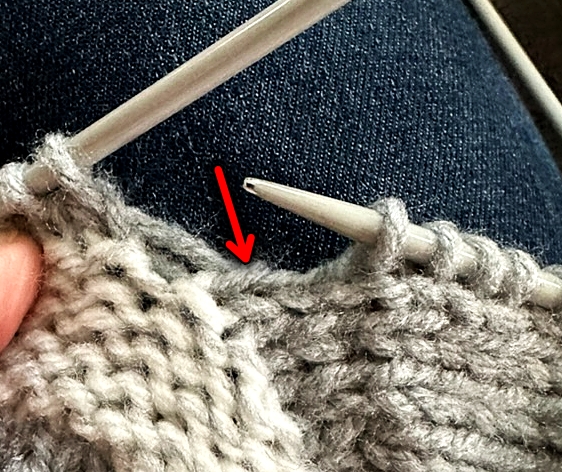
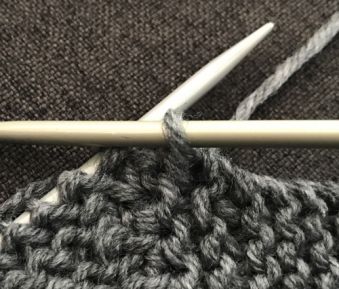
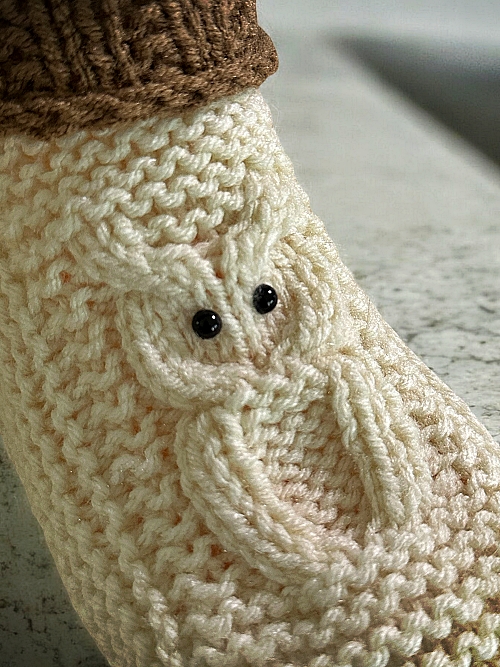
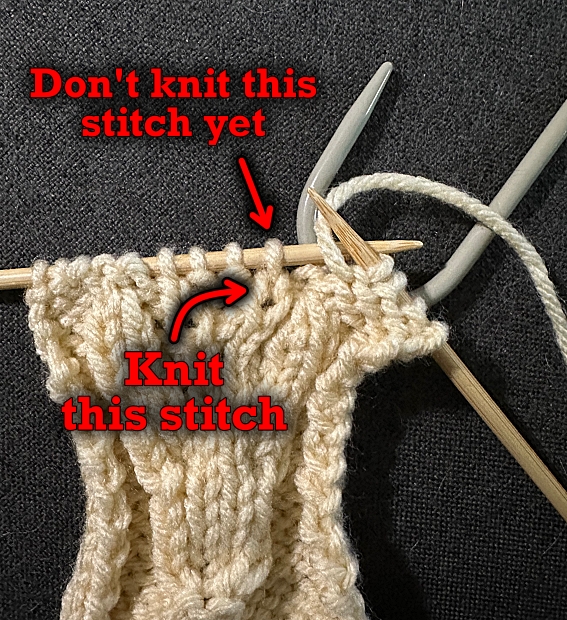
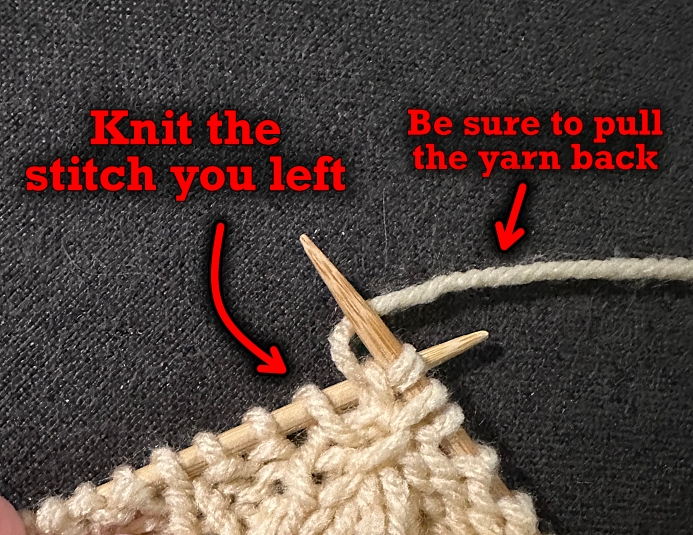
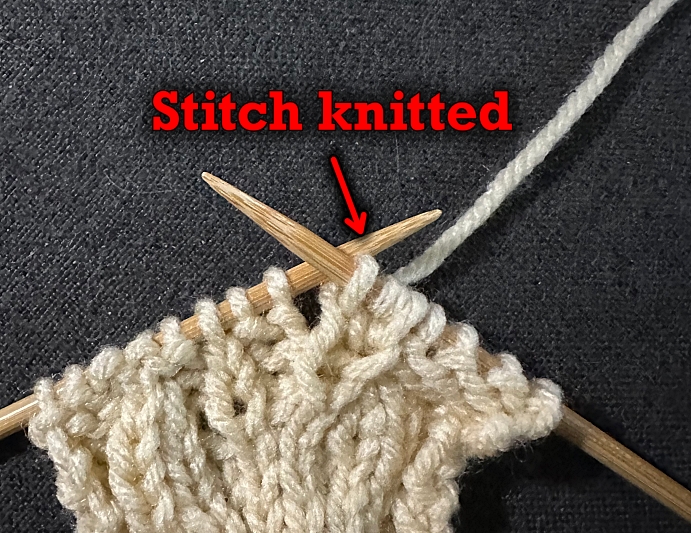
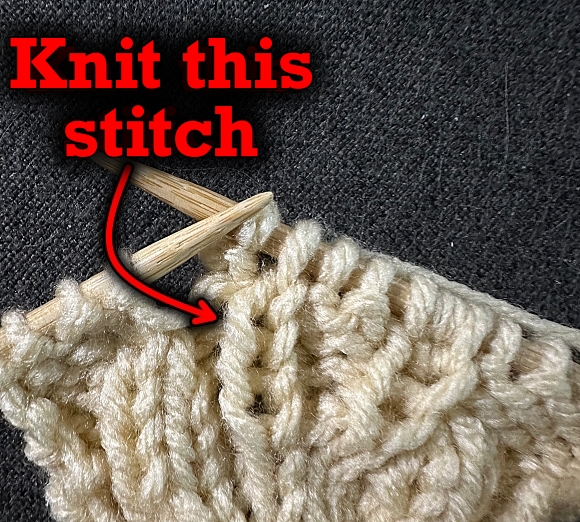
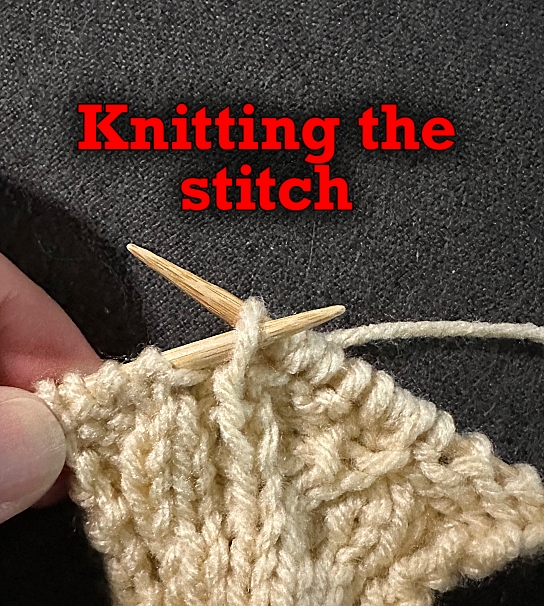
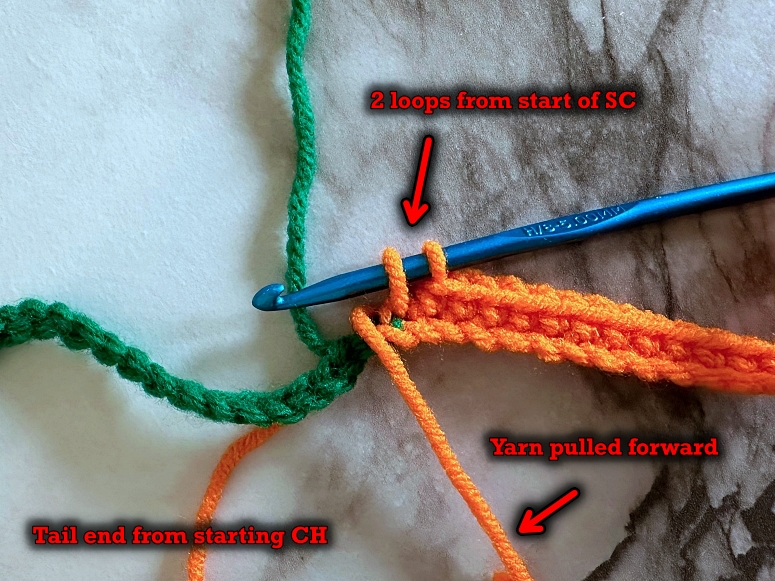
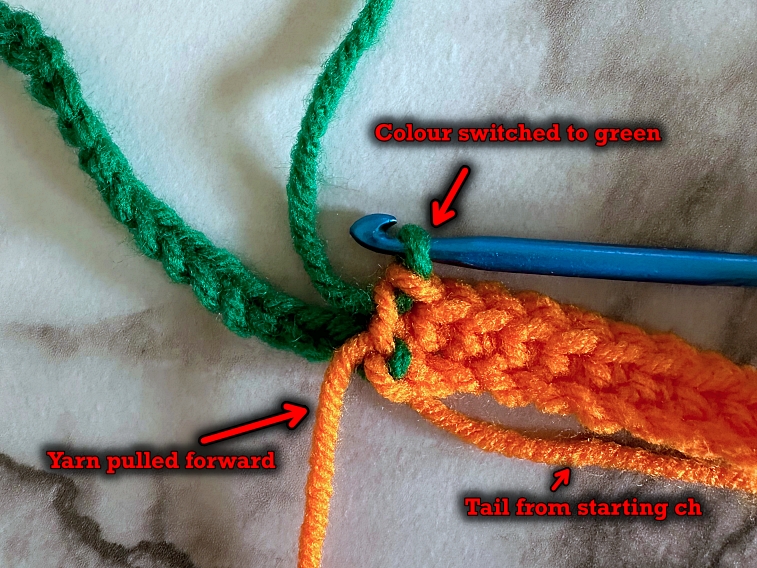
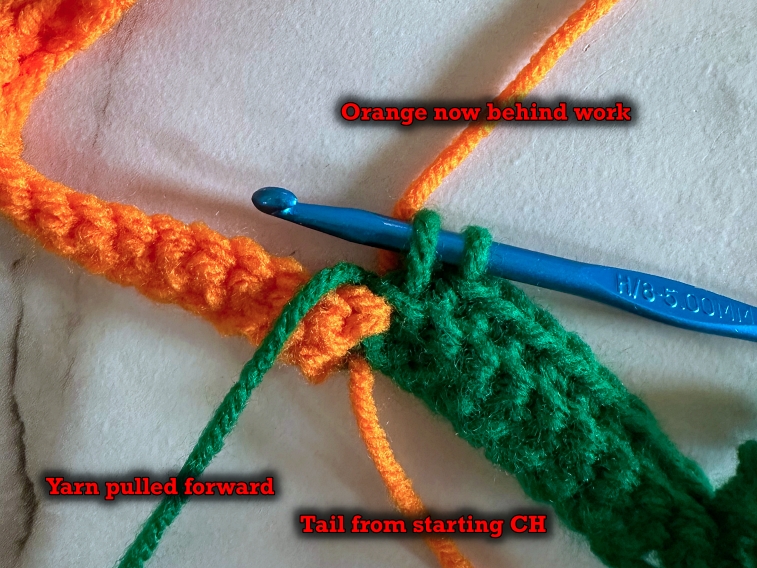
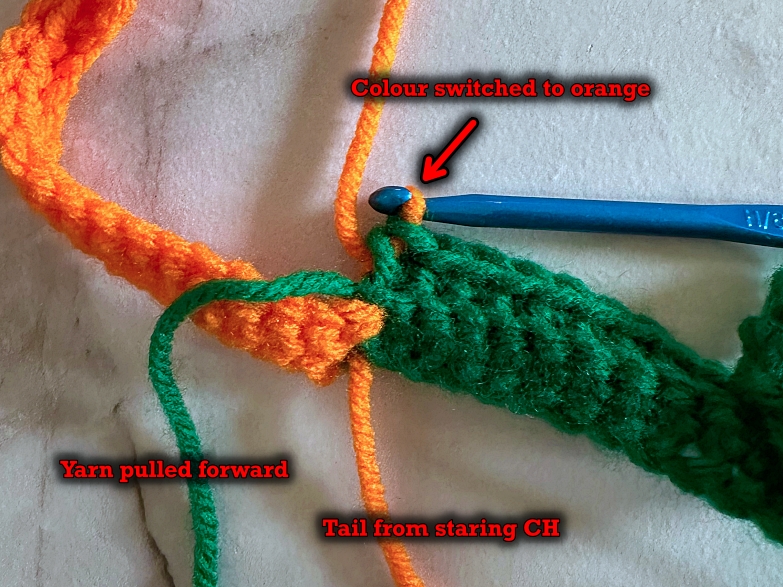
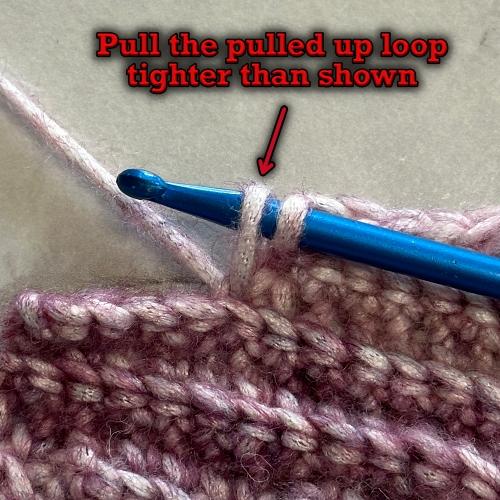
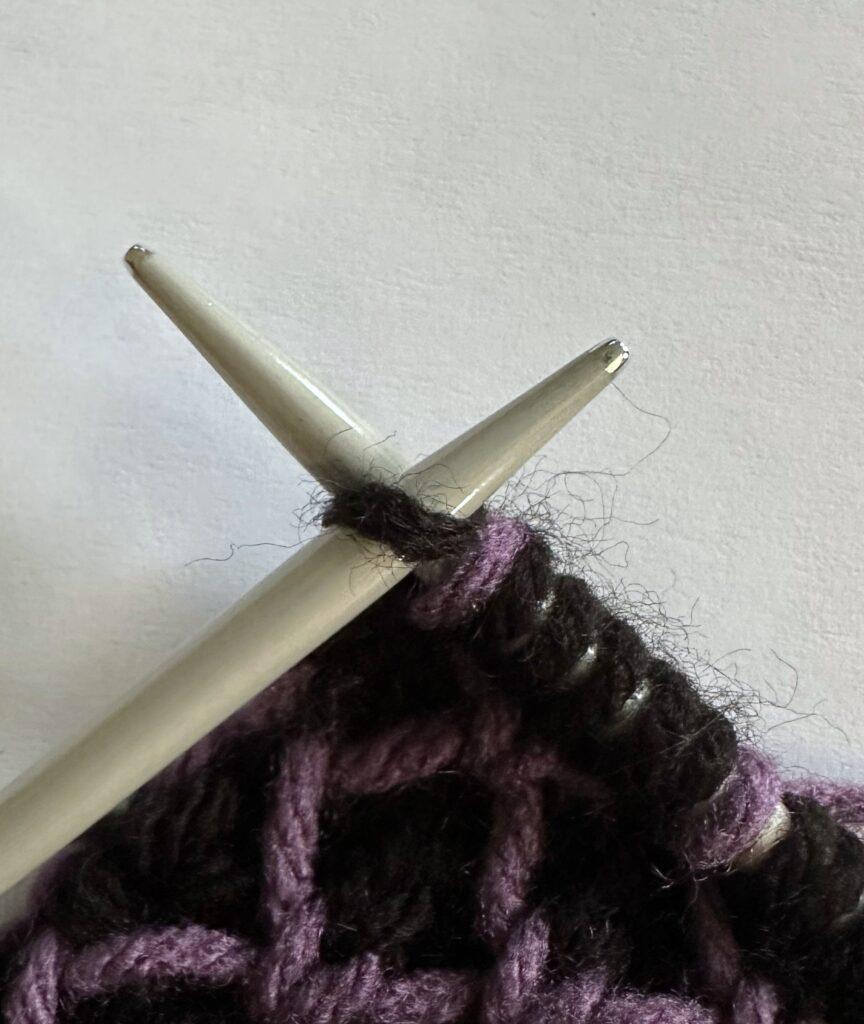
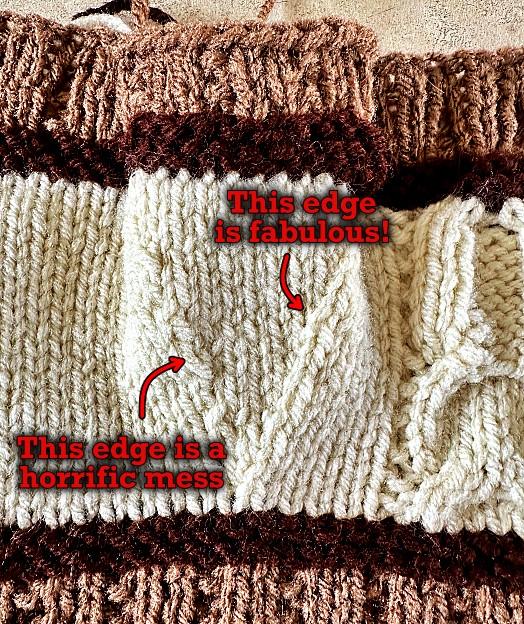
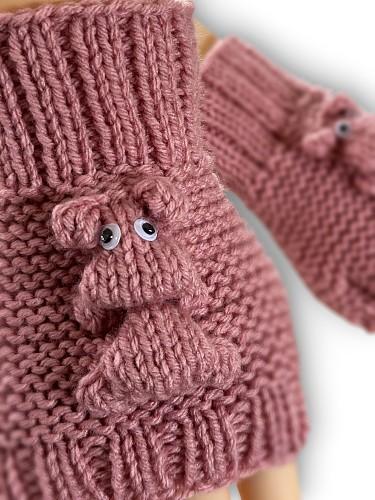
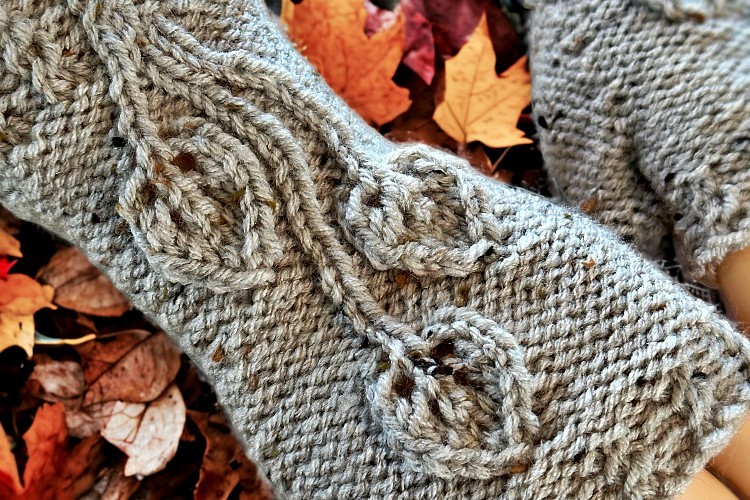
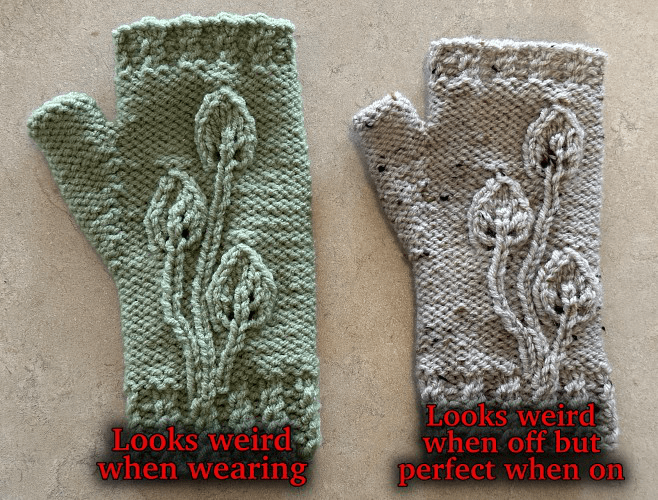
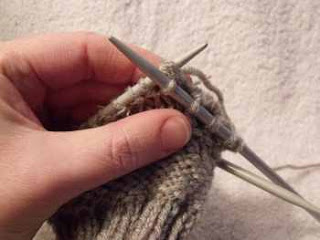
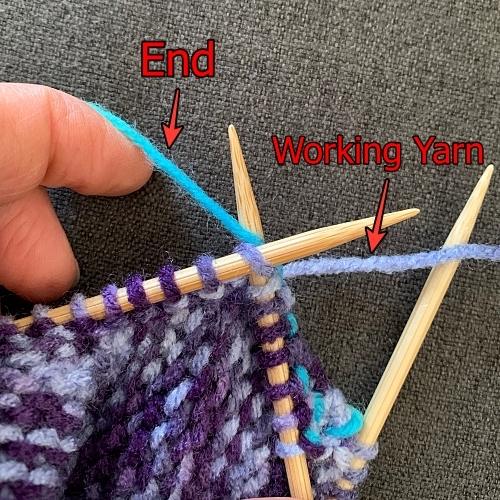
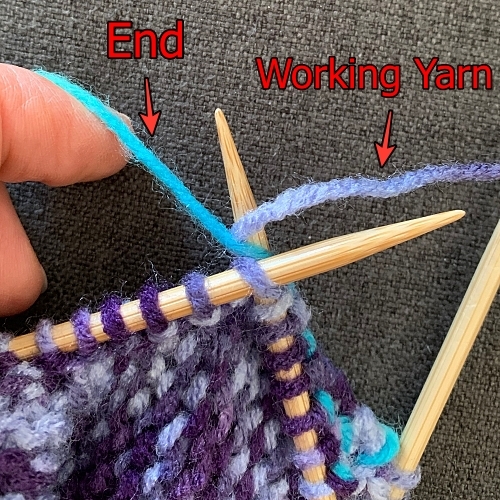
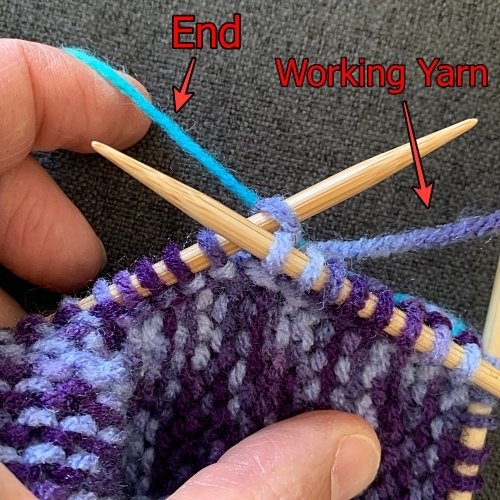
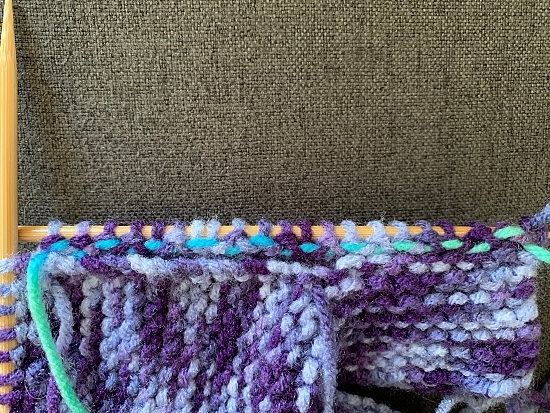
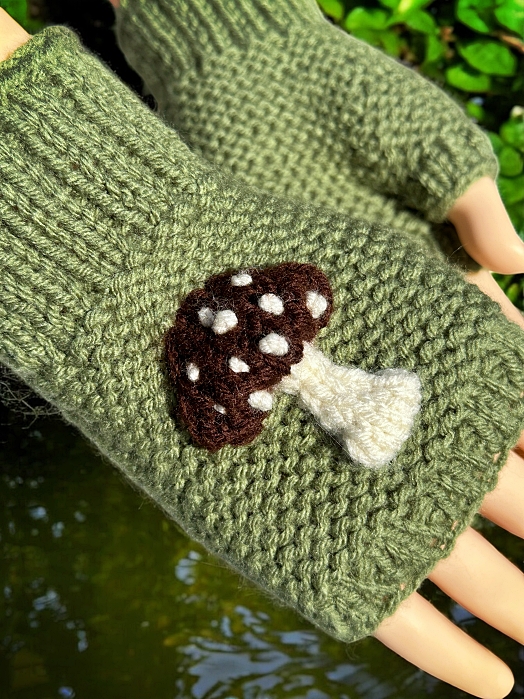
For this pattern, you’ll need to pull the stitches together so the mushroom stands out from the background. To do this, pass the yarn behind your work and catch it when knitting on the right side. It’s done the same way you do any colour work when knitting. Only with this, pull it snug – tighter than you normally would if making a flat colour motif. The video shows how to do this. Please watch them to make sure you are doing it correctly.
The video is queued to the right spot for each row as you knit the mushroom. I only added the video to the right hand. If you need to see how to make a stitch when making the left hand, you can easily go back to the same numbered row in the right hand.
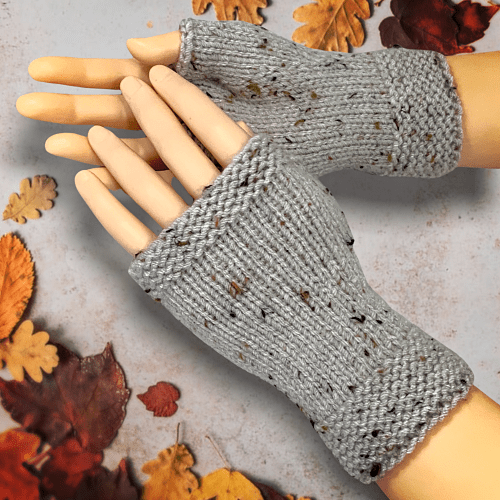
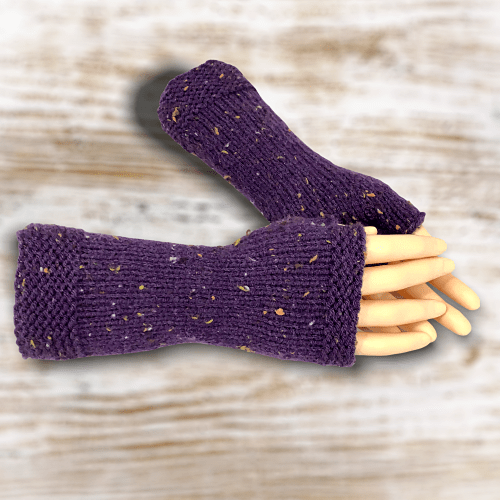
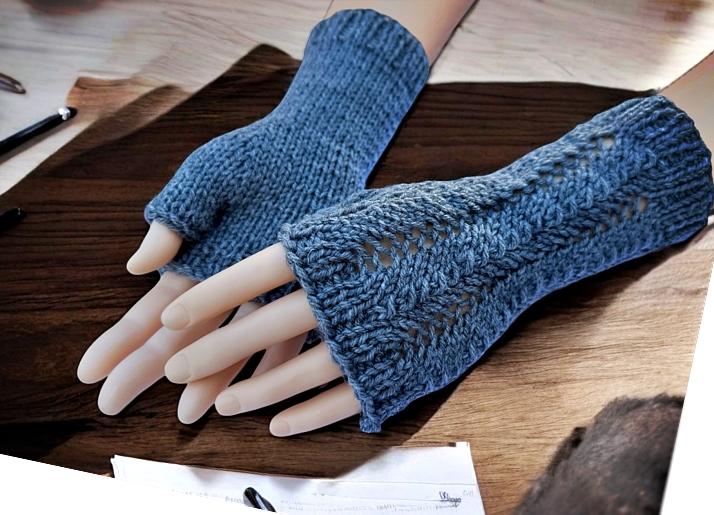
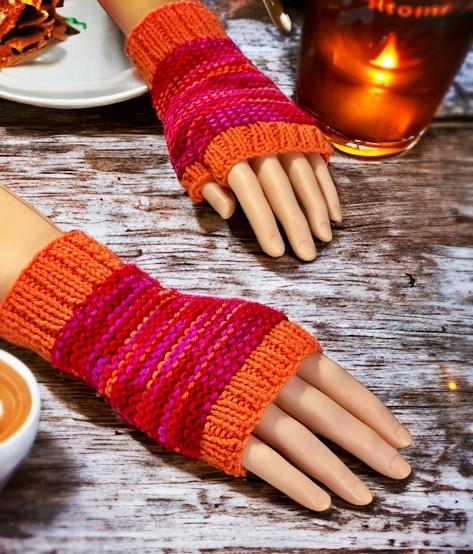
If you have never made fingerless gloves from the fingers to the cuff, you may want to practice with the basic pattern first. If you would like to, click this link or tap the photo.
If you would to prefer to support my work and have access to a printable, ad-free version of this pattern, I offer that too. To get the downloadable pattern for a small fee you can get it in my Etsy Shop, Ravelry, LoveCrafts, Buy Me A Coffee and from the shop section on this website – KweenBee.com.
If you would prefer to order a Kindle or printed paperback version from Amazon, you can now do so! Shipping is free if you are an Amazon Prime member. Make sure you select the country you are in to take advantage of the free shipping. Click the following link for your country – United States, United Kingdom, Canada, and Australia. The Kindle download and paperback versions are available in English only. Links for this coming soon!
Another way to avoid ads and pop-ups, get instant, PRINTABLE downloads of this pattern and others, is by becoming a Member. When you become a Website Supporter at $4/month, you’ll gain access to exclusive member only posts on Buy Me A Coffee. You can download as many patterns as you like for the same $4 each month. You can go to this page to learn more, become a member and support my work… Exclusive Member Area
Things You Need
Worsted weight yarn in three colours:
- Main Colour (MC): approx. 50 g
- Stem Colour (SC): small amount
- Cap Colour (CC): approx. 15 g
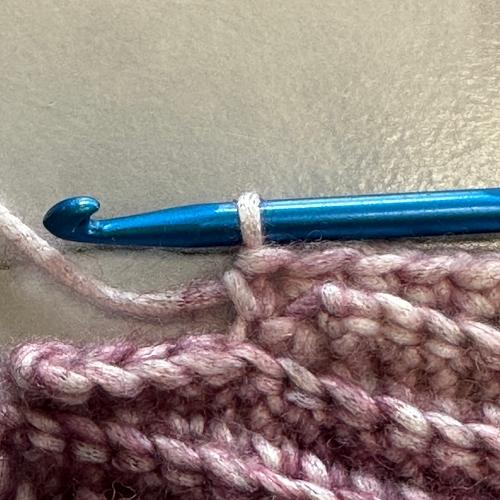
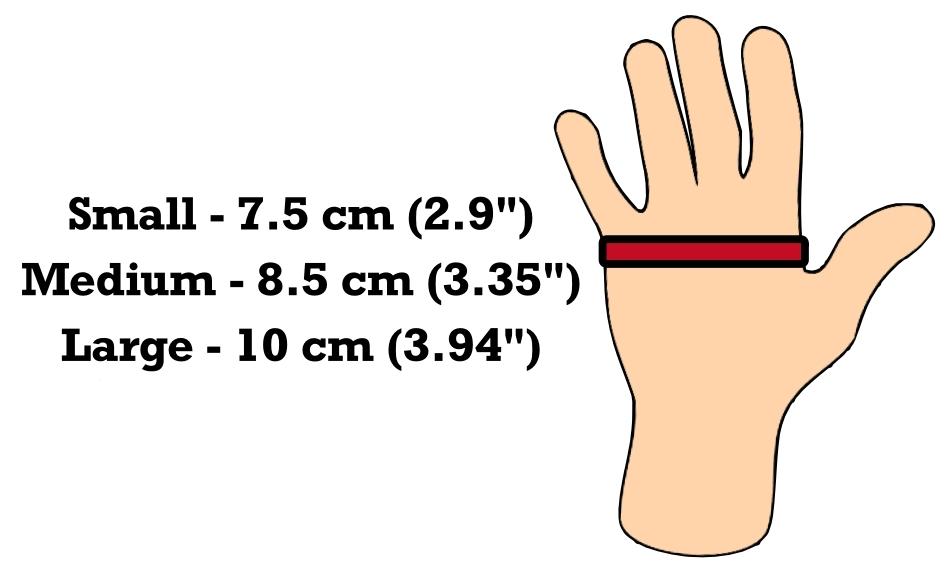
1 set of single pointed knitting needles – See notes on sizing for knitting needles required.
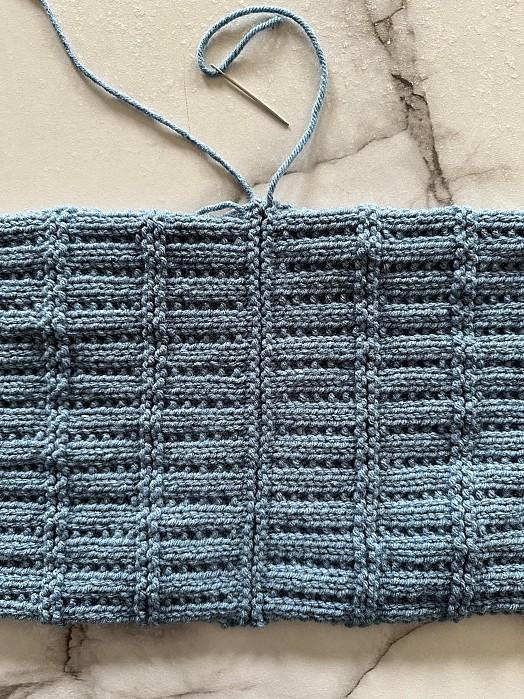
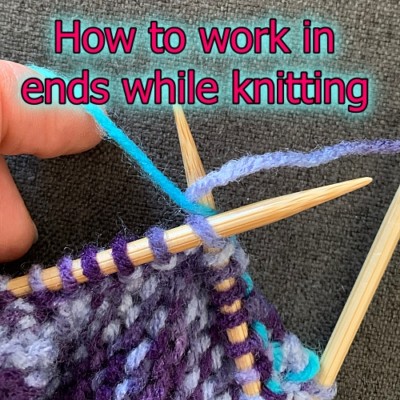
Tapestry needle – to sew the seam and work in the ends.
Gauge
In stockinette stitch
Small
size 3.5 mm (US size 4) single pointed needles
11 stitches every 2 inches (5 cm)
16 rows every 2 inches (5 cm)
Medium
size 4 mm (US size 6) single pointed needles
10 stitches every 2 inches (5 cm)
14 rows every 2 inches (5 cm)
Large
size 5 mm (US size 8) single pointed needles
9 stitches every 2 inches (5 cm)
12 rows every 2 inches (5 cm)
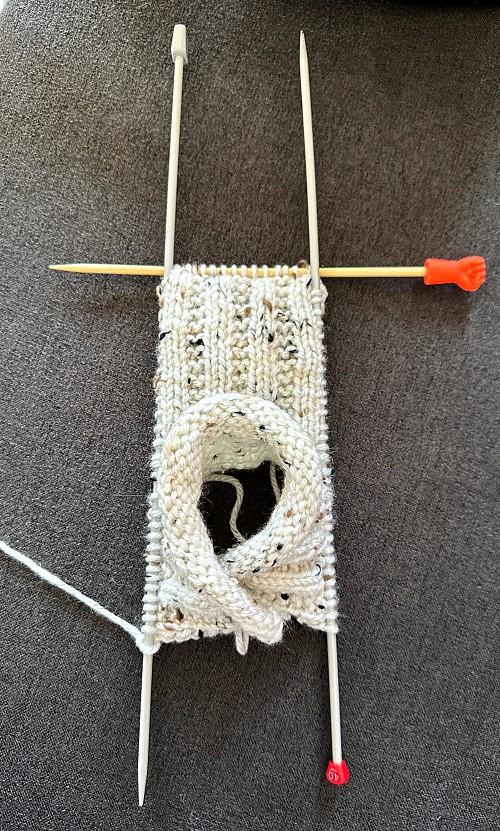
RIGHT Hand
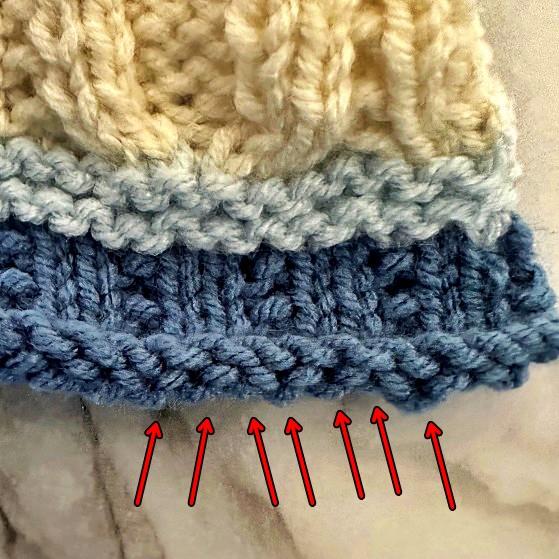
With MC, cast on 34.
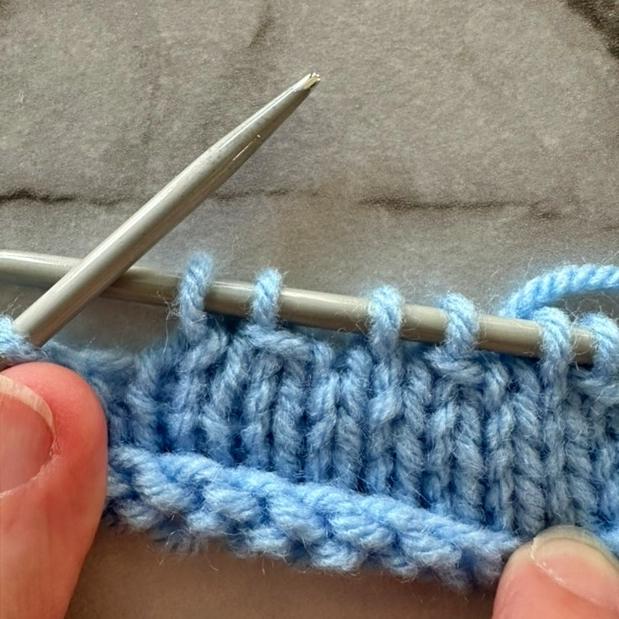
Row 1: With MC (P1 K2). Repeat to the last st. P1.
Row 2: (K1 P2) Repeat to the last st. K1.
Repeat these 2 rows for a total of 4 rows.
Row 5 – 12: Knit across
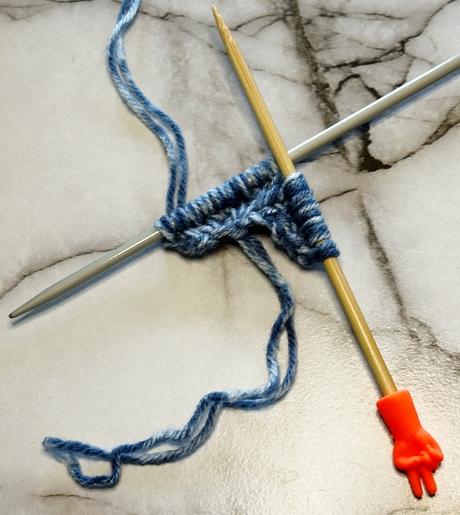
Row 13: K14 Cast on 13 sts. K20. (47 sts) Click this link if you need help with casting on. For this pattern, only cast on 13 sts.
Row 14: Knit across.
Row 15: K35. With SC K1 M1 K1 M1 K1,Turn. Leave remaining sts unworked. P5. Turn. K5. Turn. P5. Turn. K5. With MC K9. (49 st)
Row 16: K9. With SC P5. With MC K35.
Row 17: K14 K2tog K9. K2tog K8. With SC TWK2tog. K1. K2tog. With MC K9. (45 sts)
Row 18: K9. With SC P3. With MC K33.
Row 19: K33. With SC K3. With MC K9.
Row 20: As row 18.
Row 21: K14. K2tog K7 K2tog K8. With SC K3. With MC K9. (43 sts)
Row 22: K9. With SC P3. With MC K31.
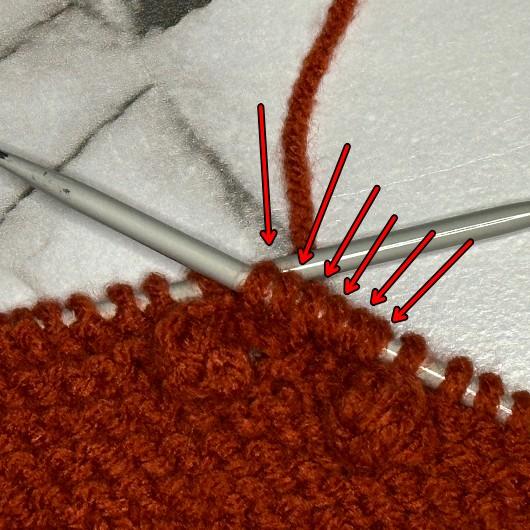
Row 23: K29. With CC K1 M1 K1 M1 K1 M1 K1 M1 K1 M1 K1 M1 K1. Turn. Leave remaining sts unworked. P13. Turn. K13. Turn. P13. Turn K13. With MC K7. (49 sts)
Row 24: K7. With CC. P2tog P9 TBLP2tog. With MC K29. (47 sts)
Row 25: K14. K2tog K5 K2tog K6. With CC TWK2tog K7 K2tog. With MC K7. (43 sts)
Row 26: K7. With CC P2tog P5 TBLP2tog. With MC K27. (41 sts)
Row 27: K26 M1 K1. With CC TWK2tog K3 K2tog. With MC K1 M1 K6. (41 sts)
Row 28: K8. With CC P5.With MC K28.
Row 29: K14 K2tog K3 K2tog K20. (39) sts
Row 30 – 32: Knit across.
Row 33: K14 K2tog K1 K2tog K20. (37 sts)
Row 34 – 36: Knit across.
*Row 37: (P1 K2). Repeat to the last st. P1.
Row 38: (K1 P2) Repeat to the last st. K1.*
Repeat from * to * for a total of 12 rows.
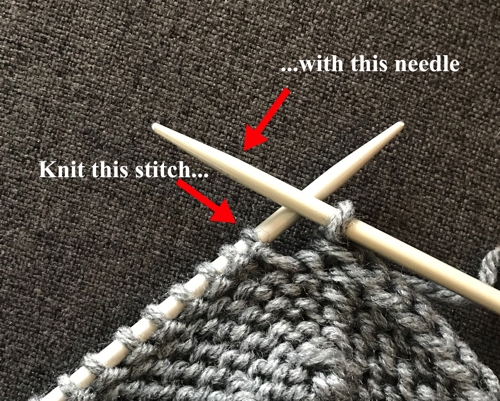
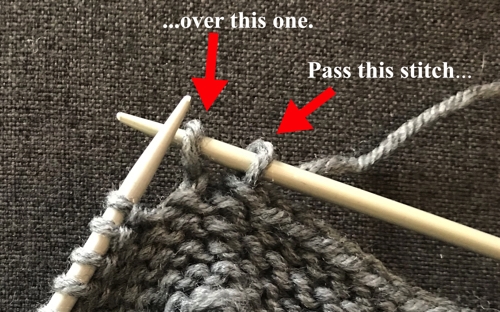
Cast off.
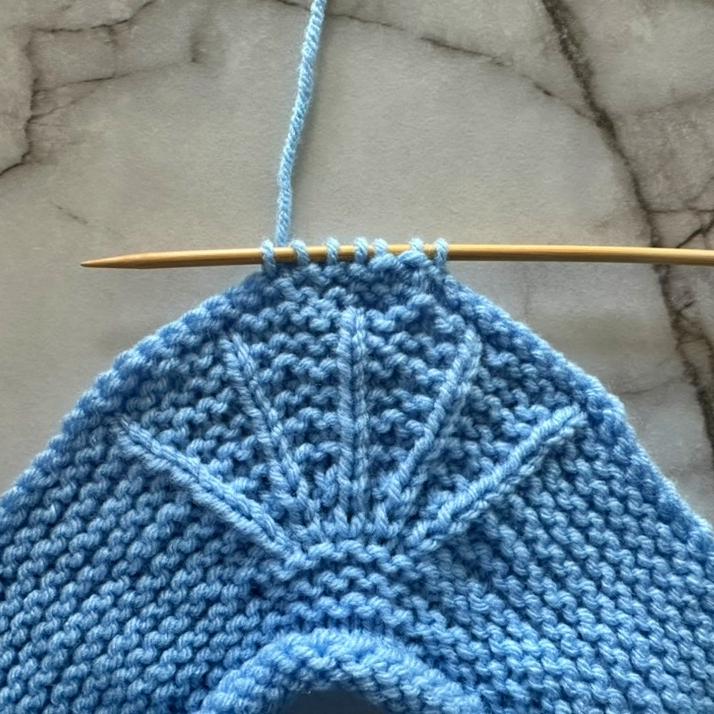
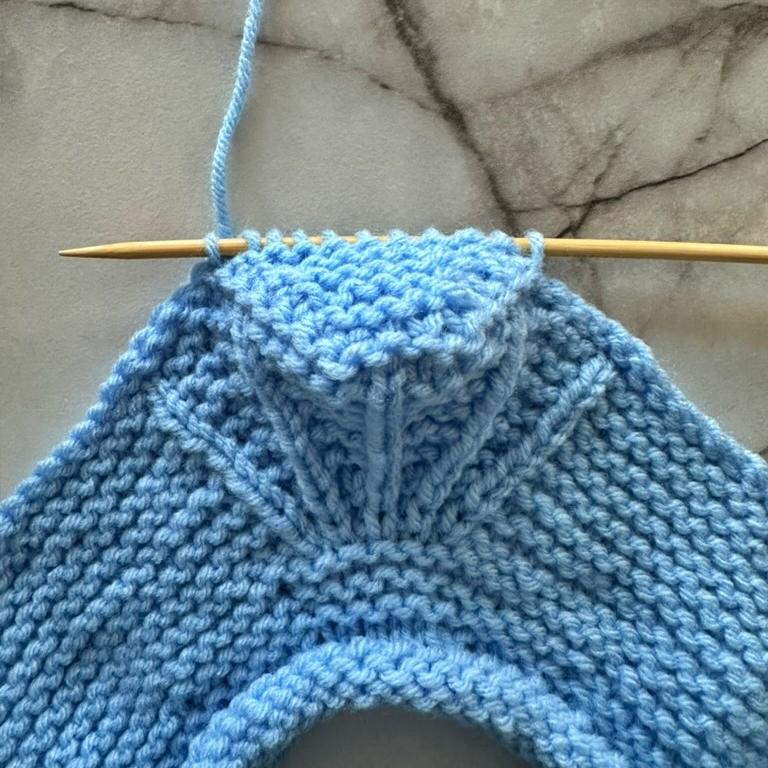
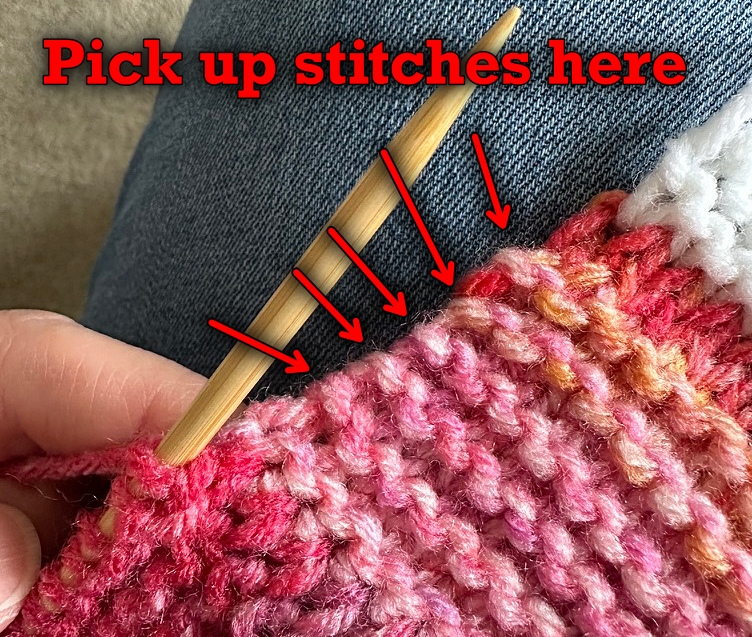
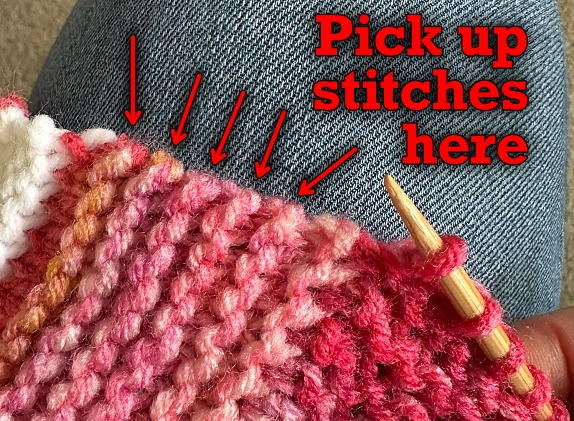
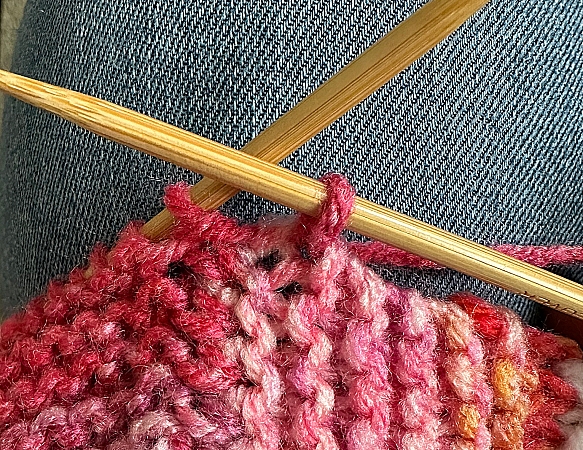
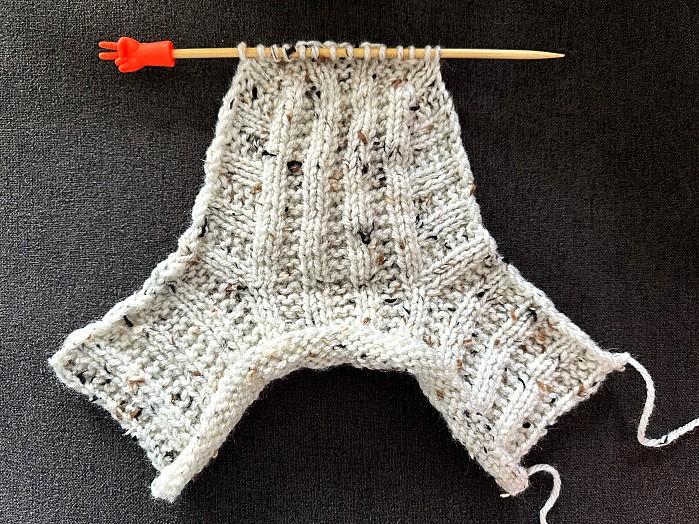
Make the Thumb
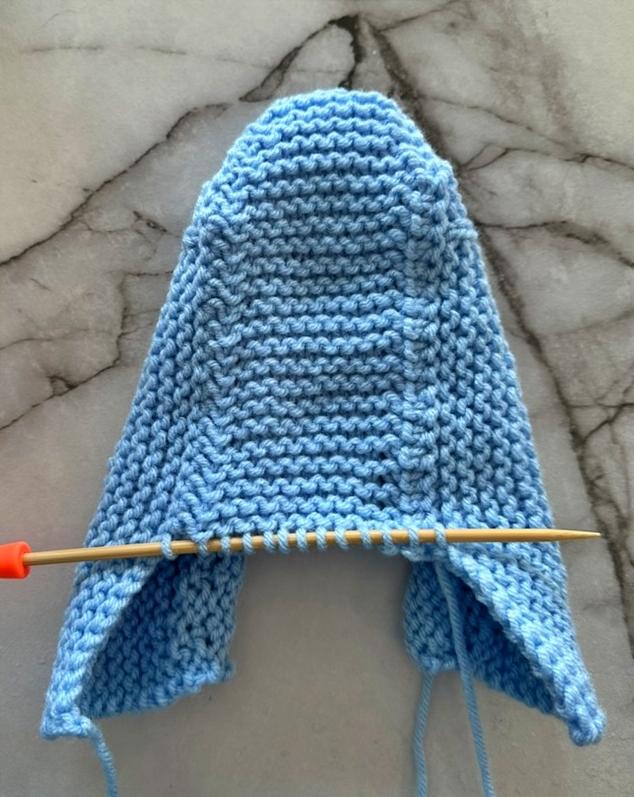
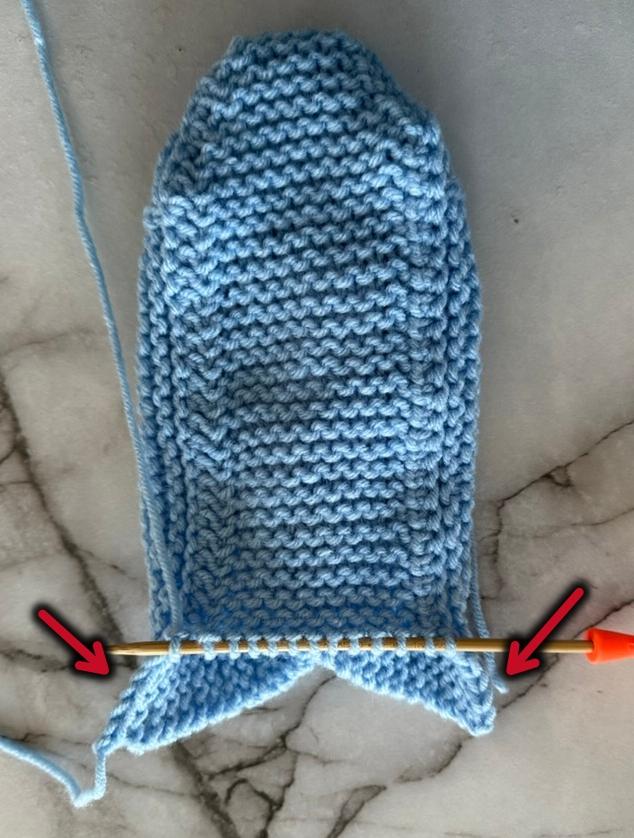
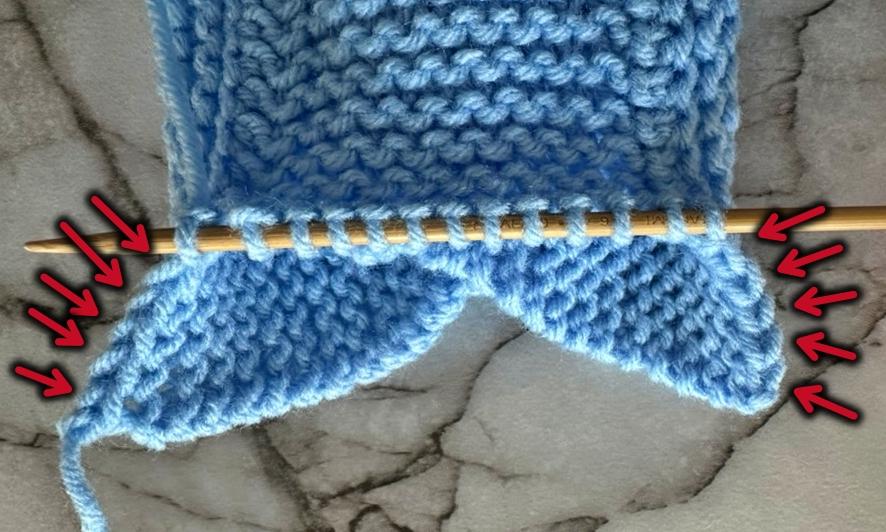
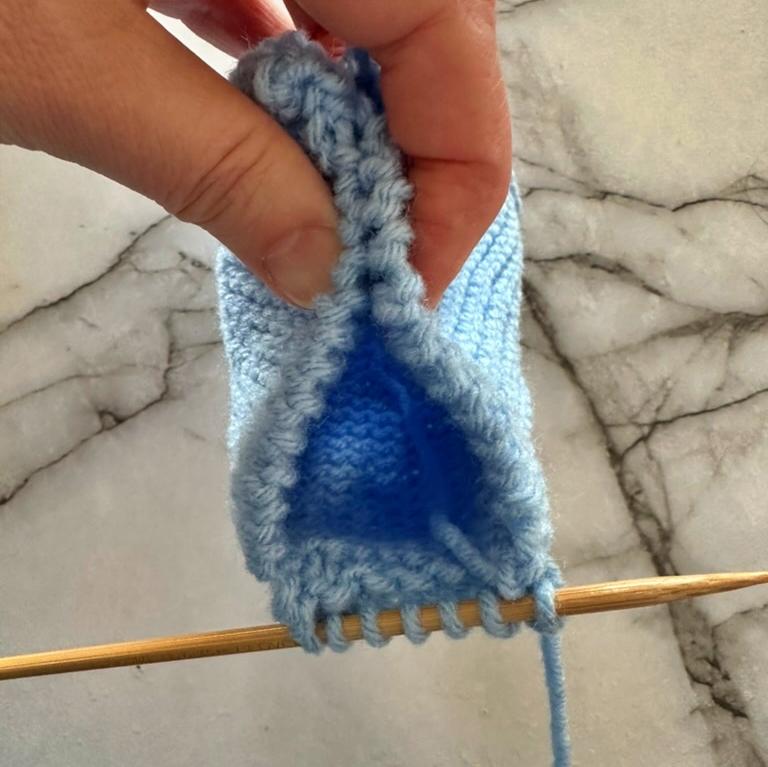
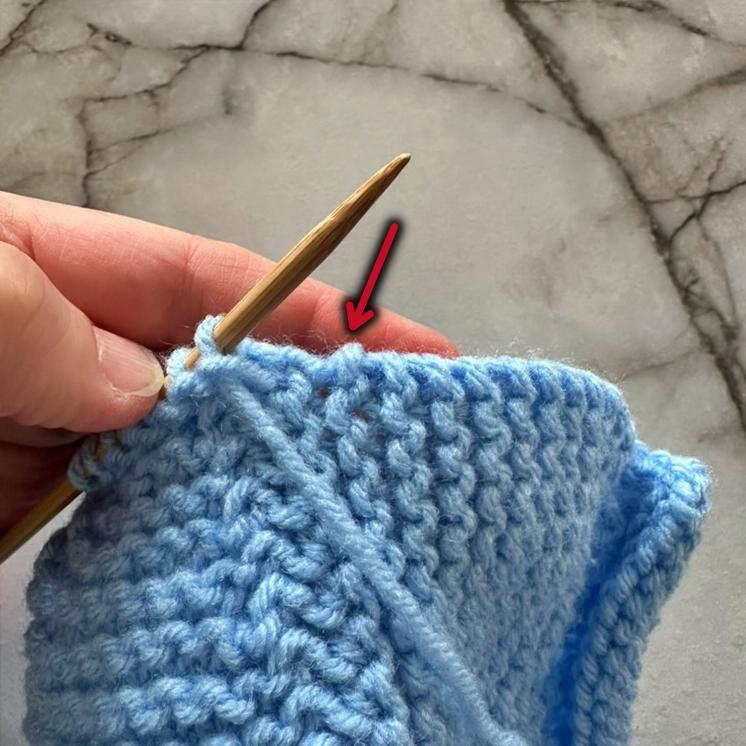
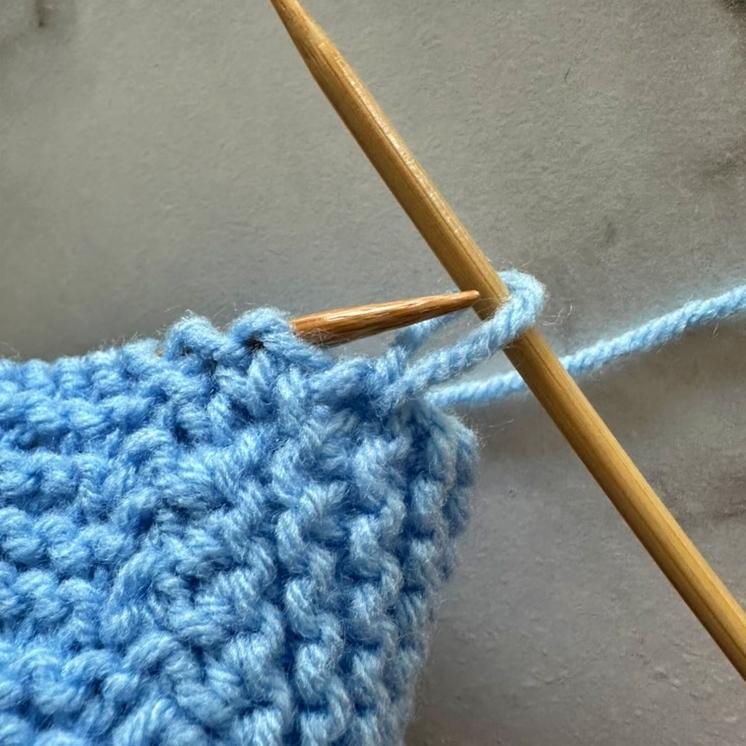
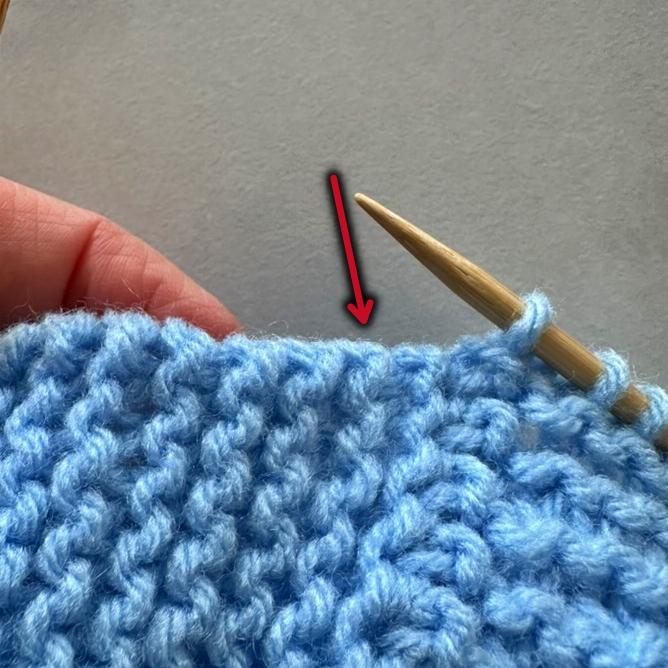
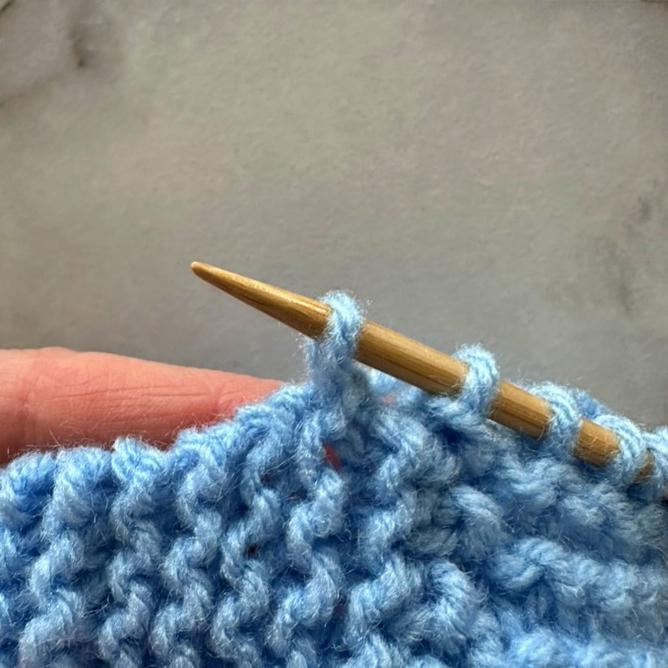
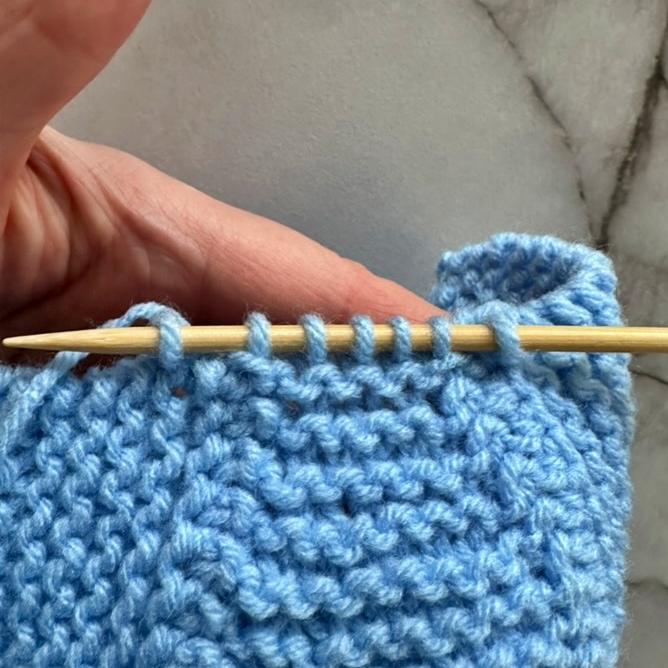
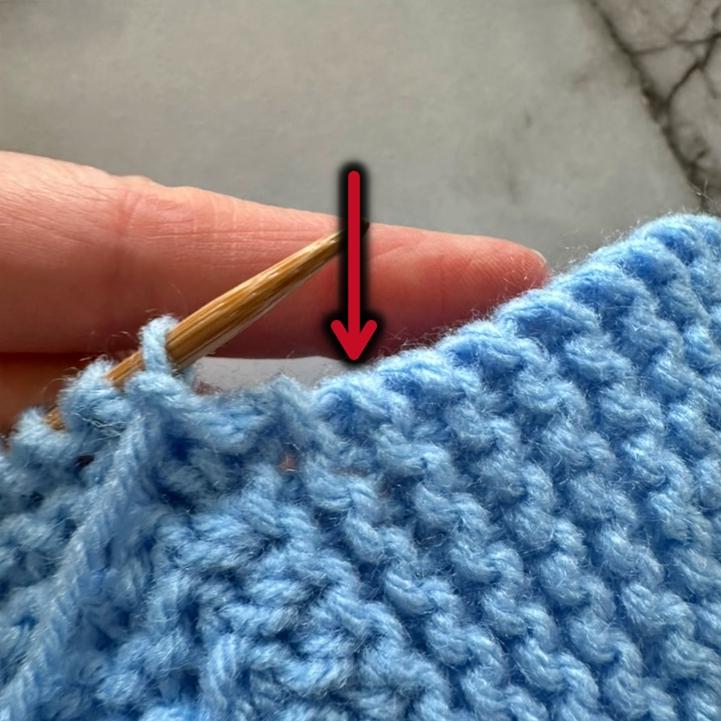
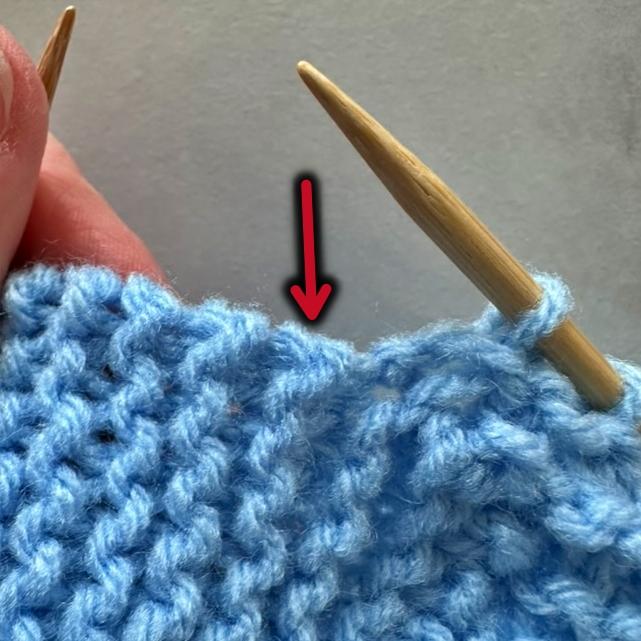
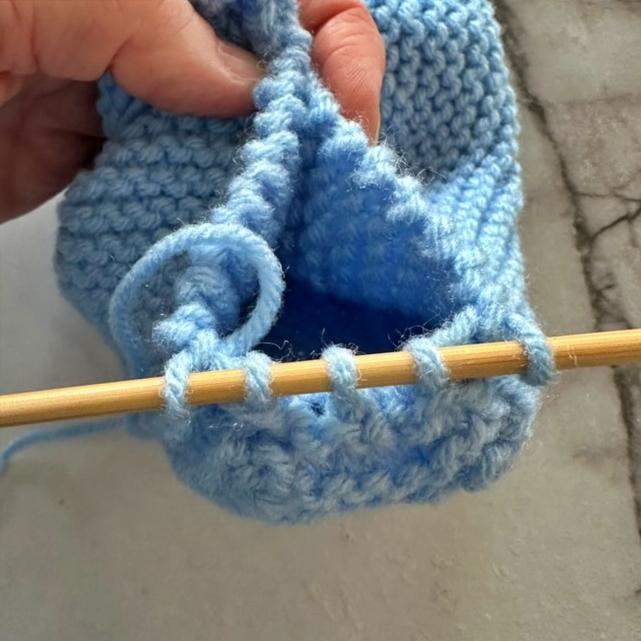
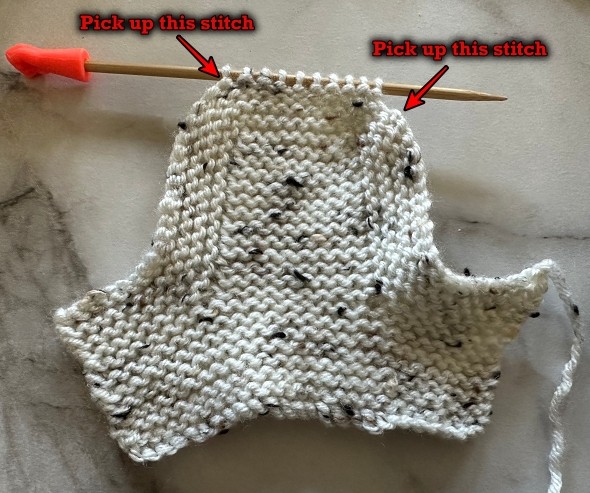
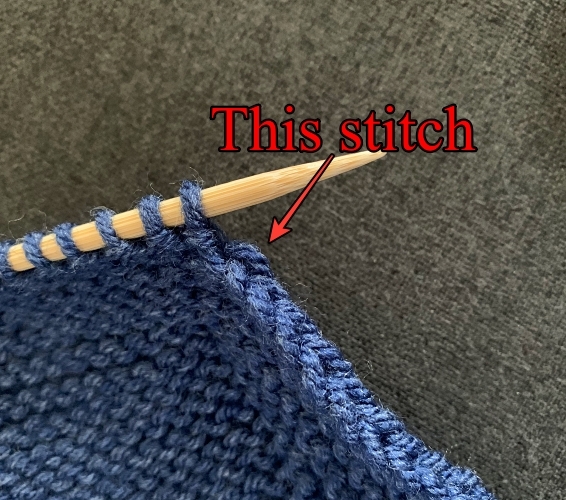
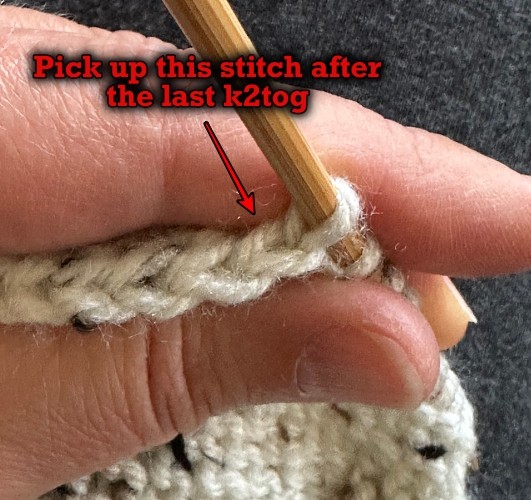
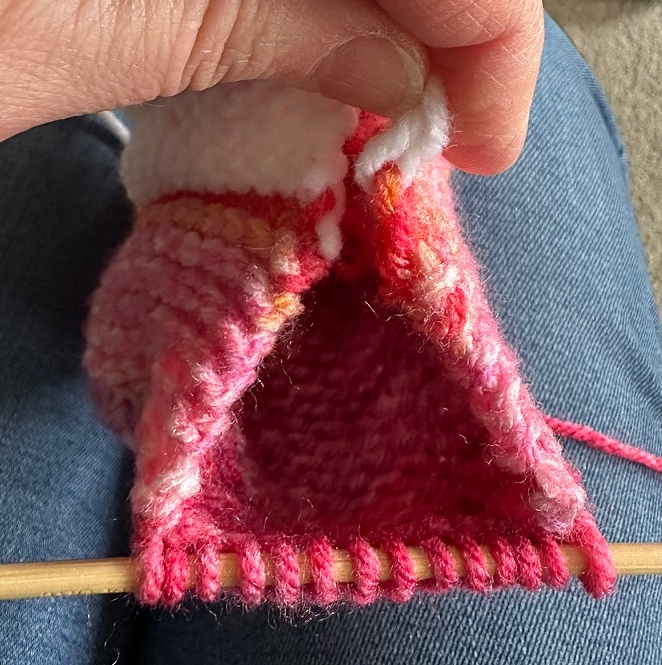
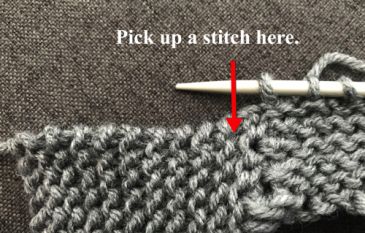
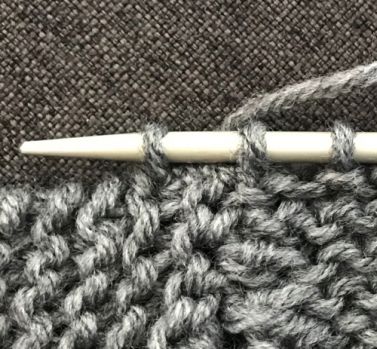
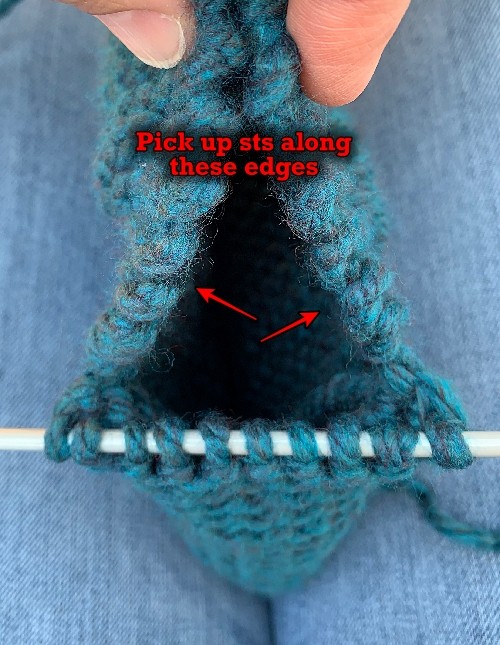
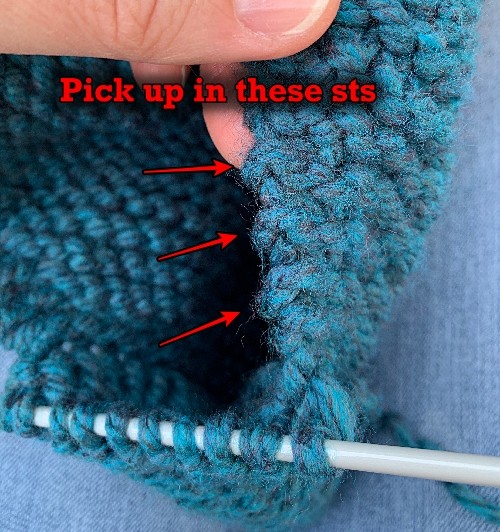
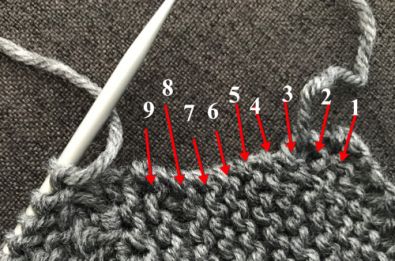
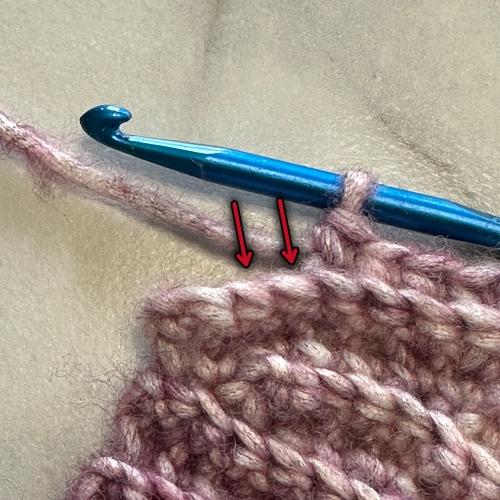
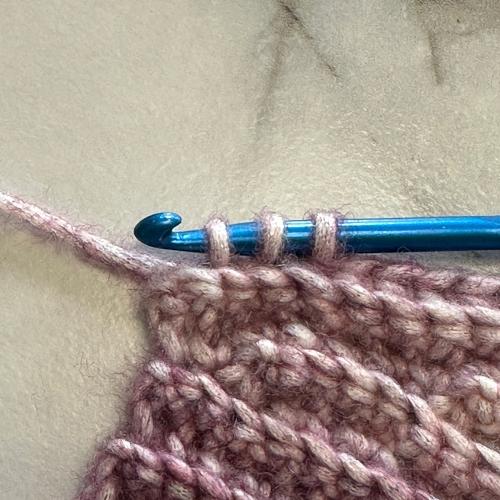
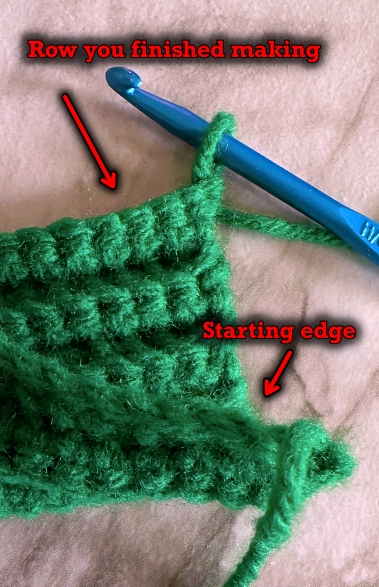
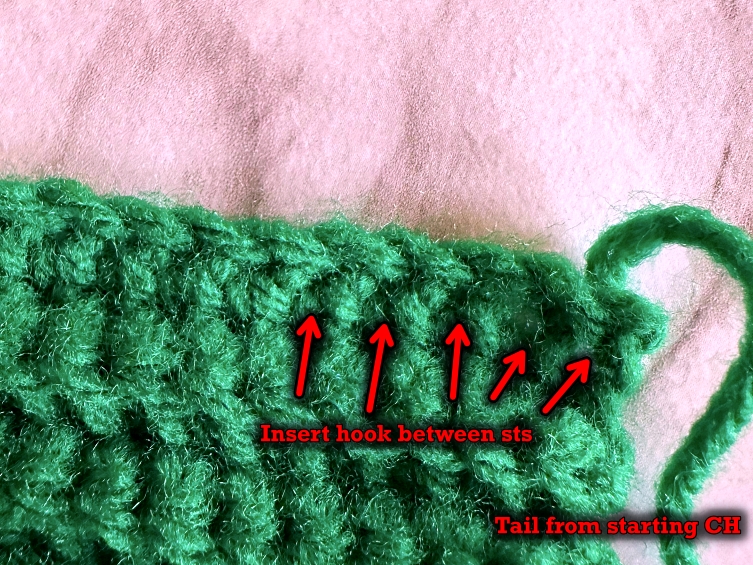
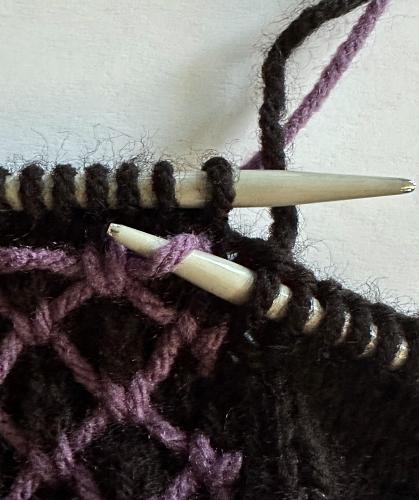
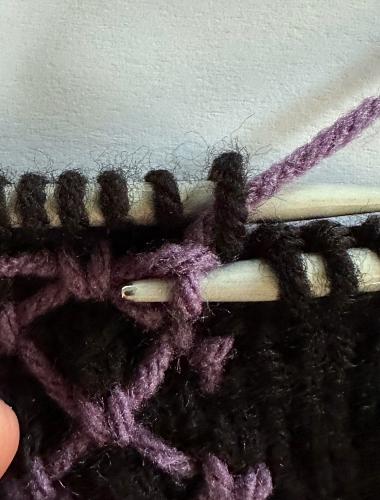
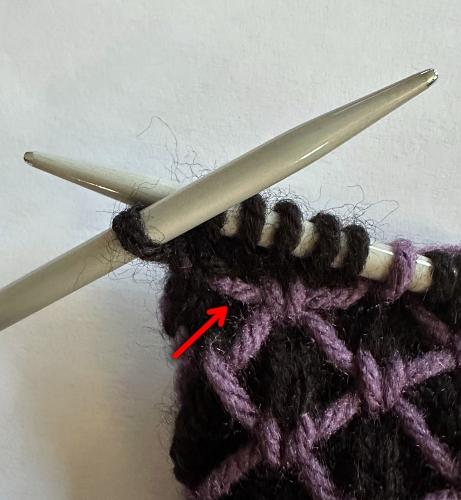
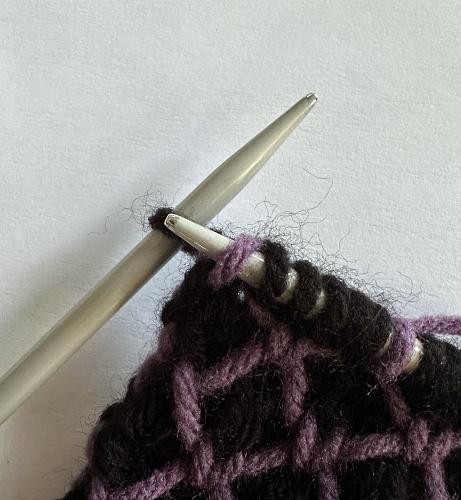
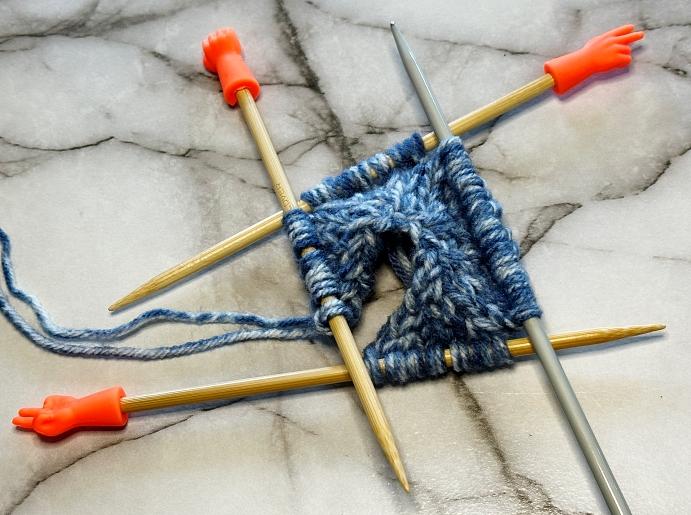
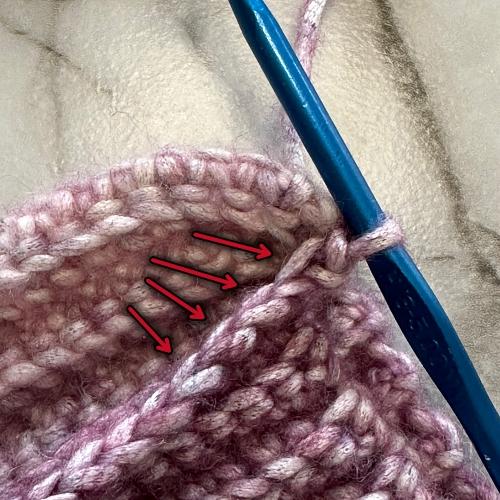
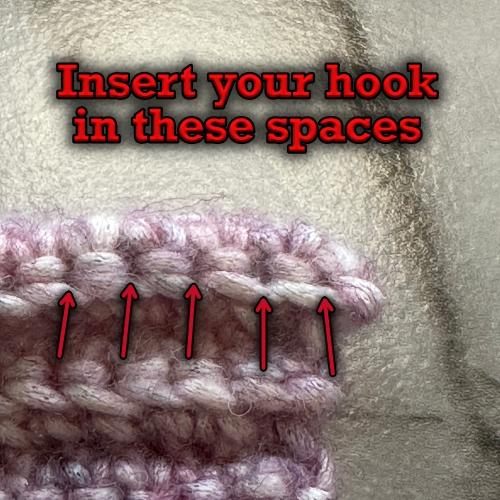
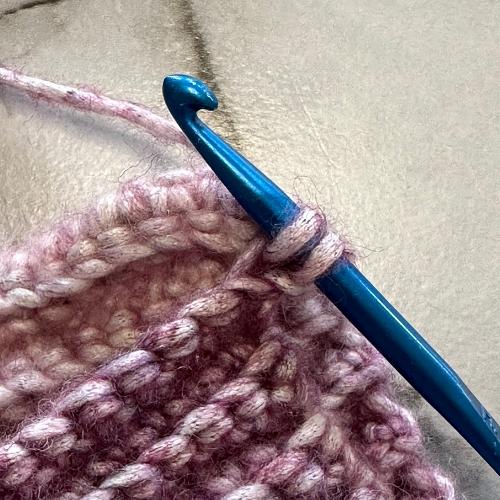
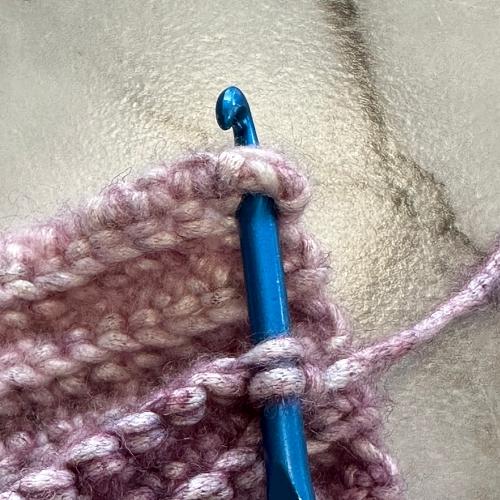
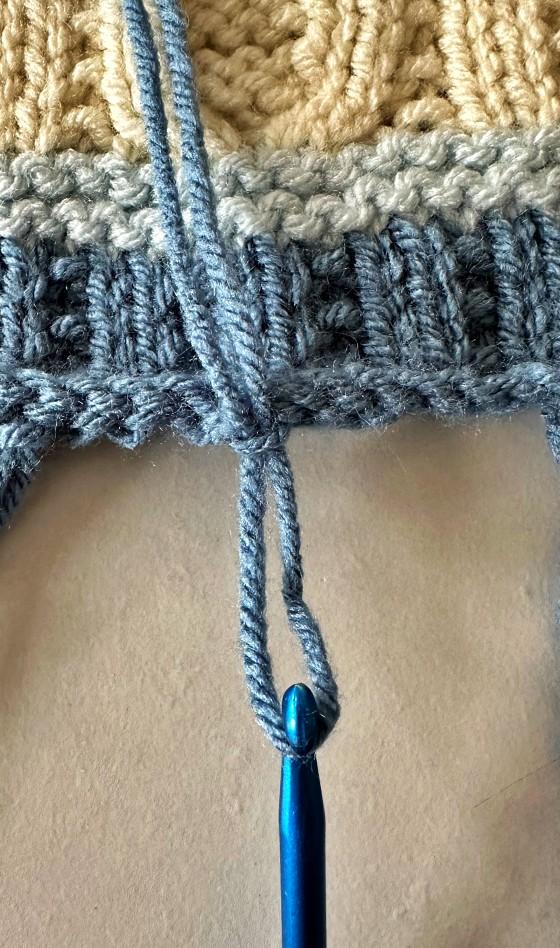
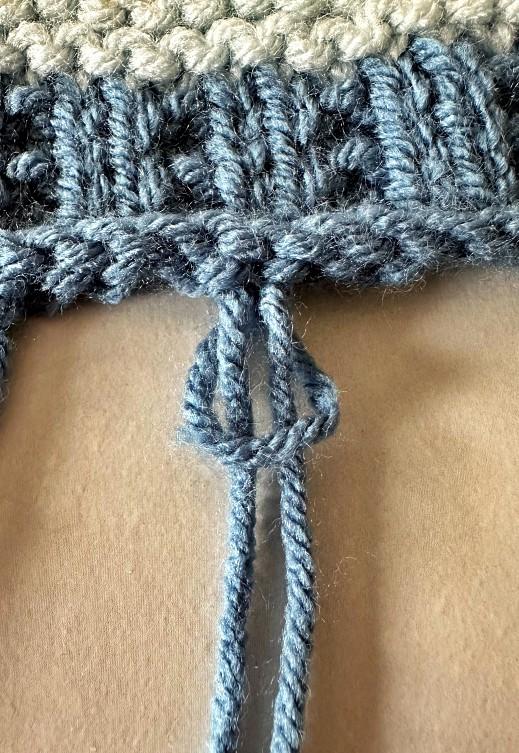
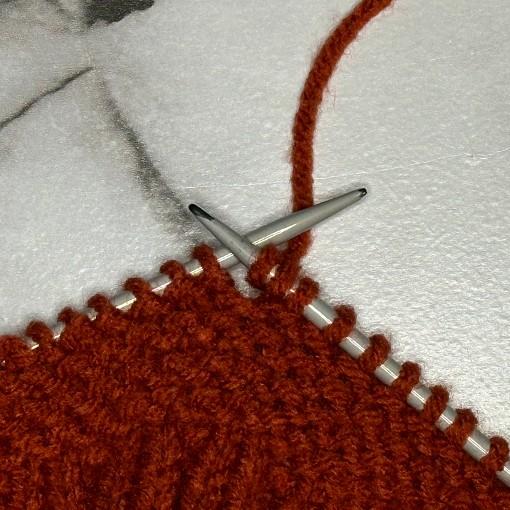
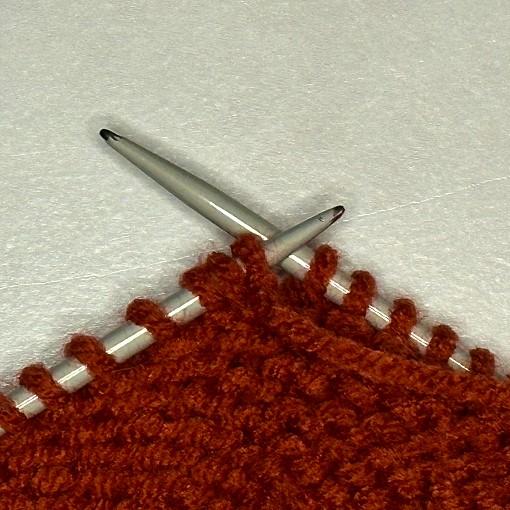
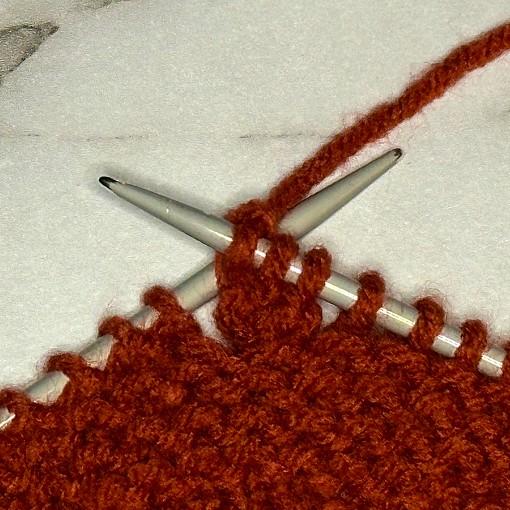
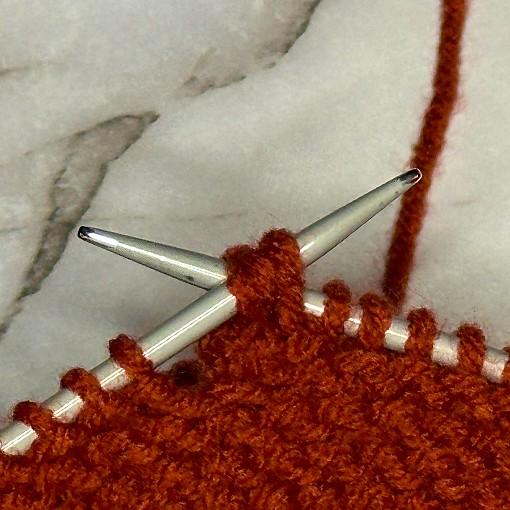
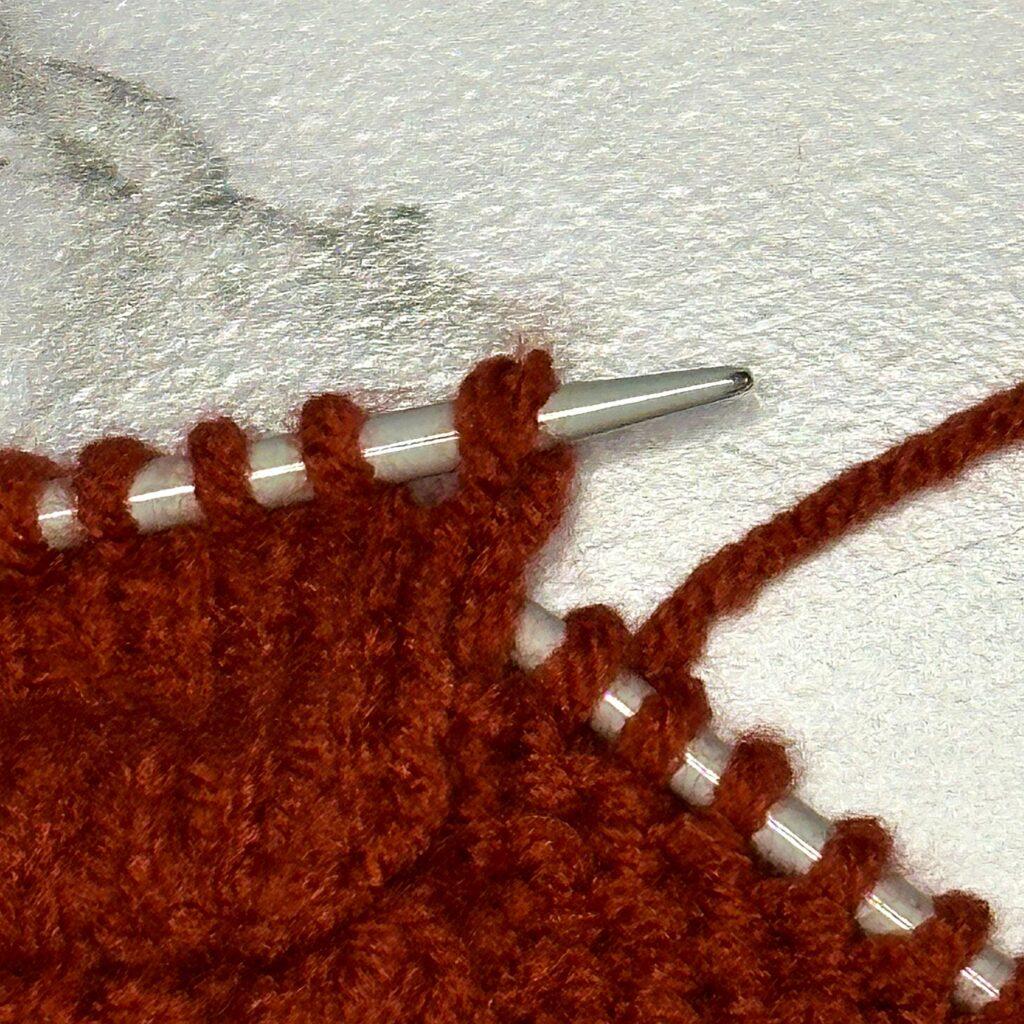
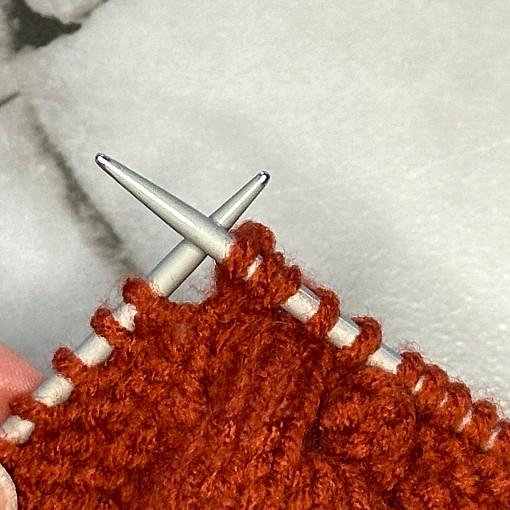
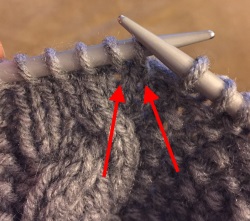
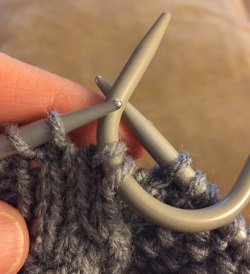
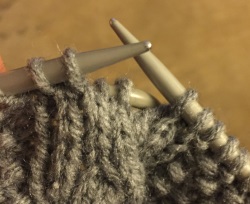
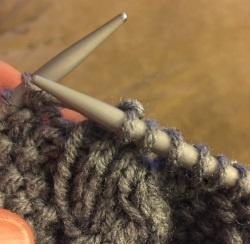
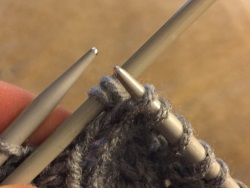
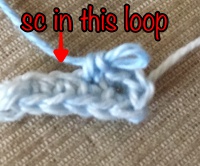
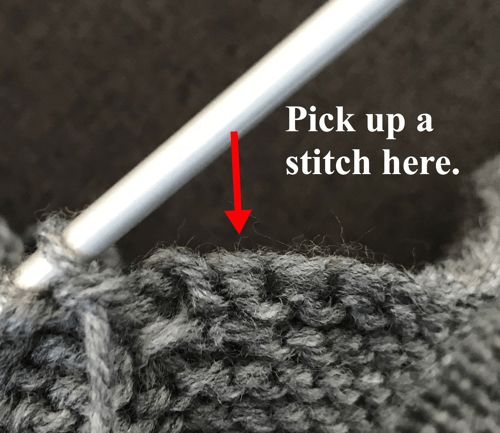
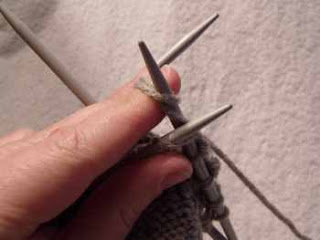
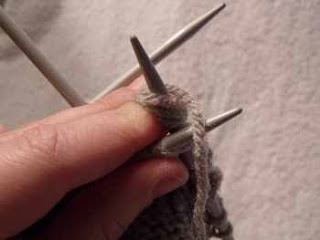
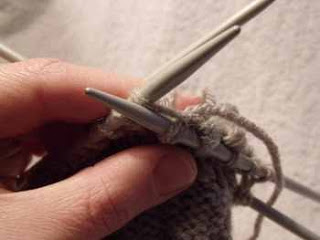
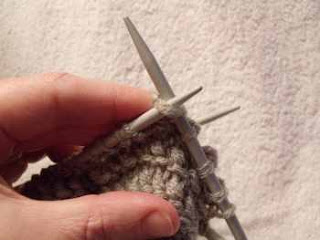
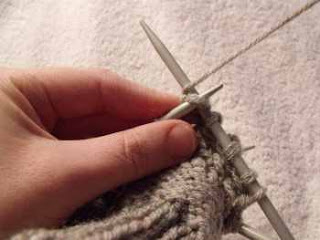
With the RIGHT side facing, Pick up 13 sts from the additional sts you cast on in Row 13. Pick up the st in the twist formed from casting on. If you need help you can click this link – Pick up Thumb Stitches.
With the WRONG side facing
Row 1: (K1 P2) Repeat to the last st. K1.
Row 2: (P1 K2) Repeat to the last st. P1.
Row 3: Repeat row 1
Cast off.
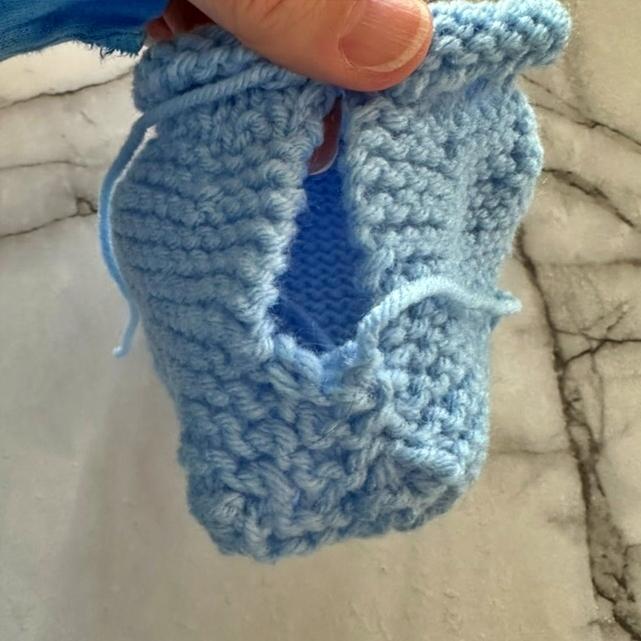
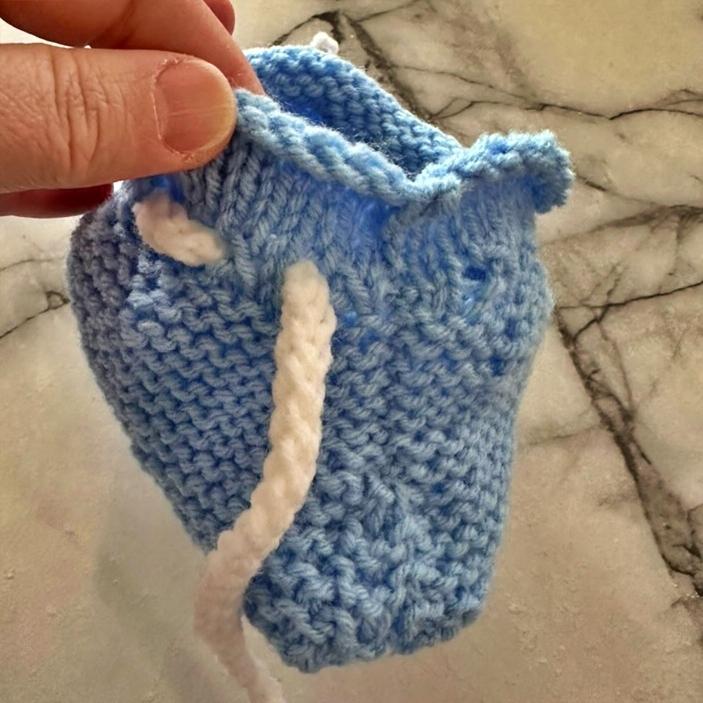
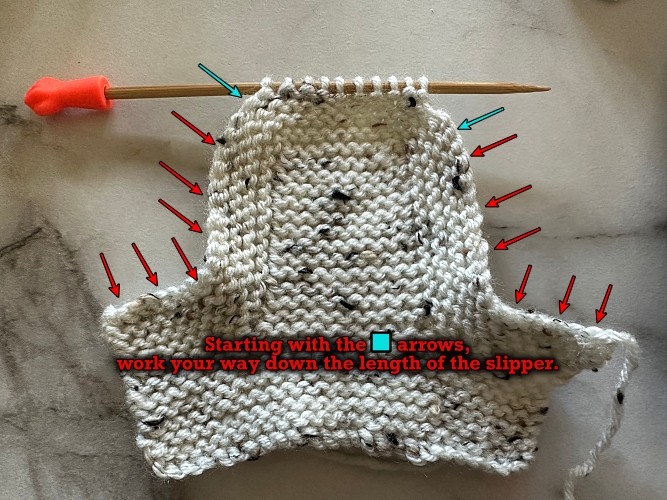
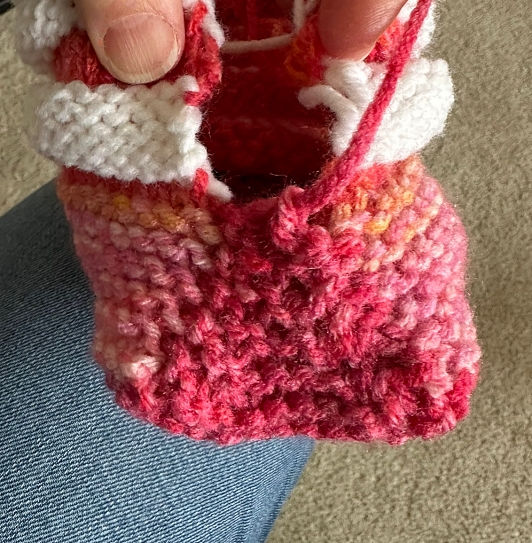
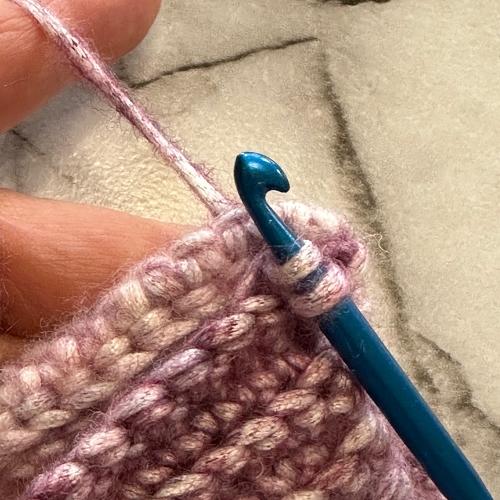
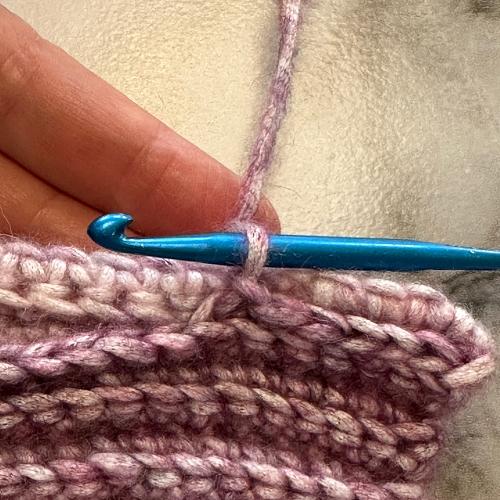
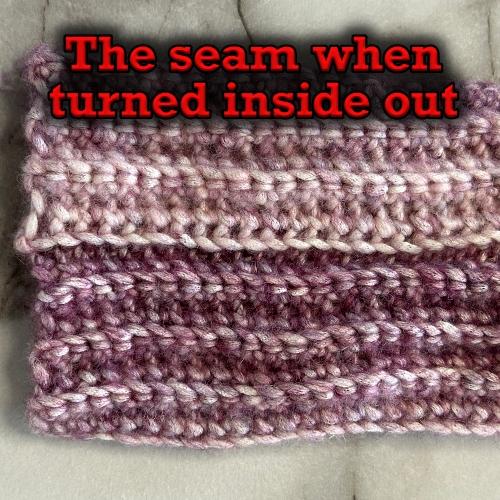
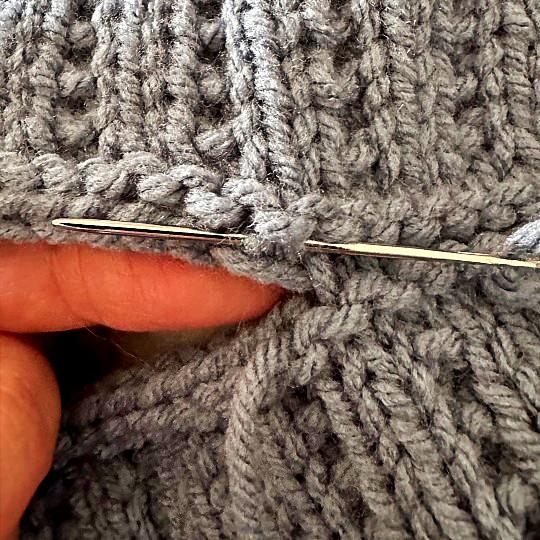
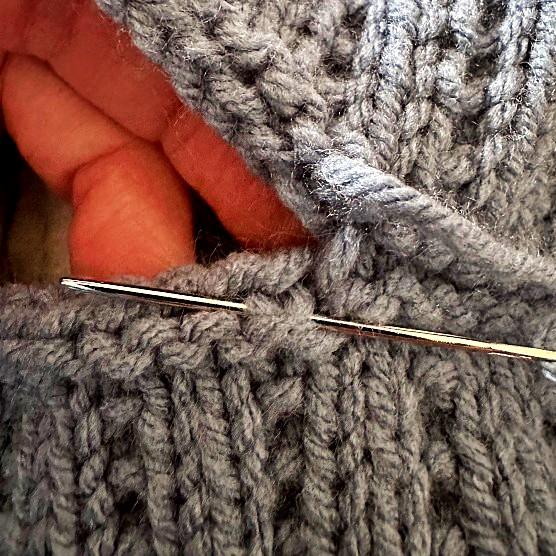
Sew the seams on the thumb and side of the glove.
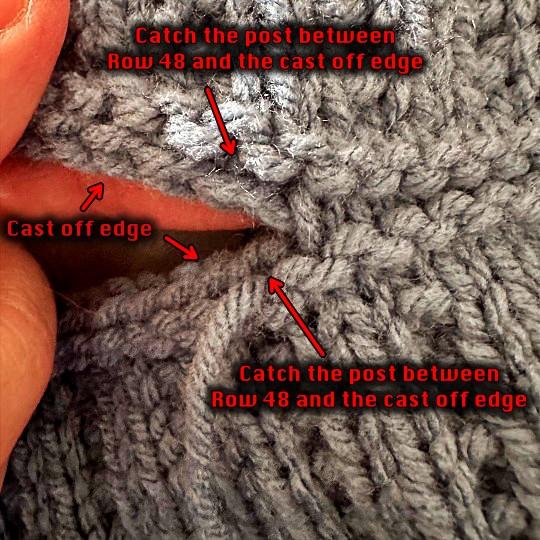
Watch the video below for help on finishing and catching any loose stitches.
More of My Stuff On Etsy
You can make a widget like this for your blog or website, too.
Instructions are on my website here: How to Display Etsy Items on Your Website
Left Hand
With MC, cast on 34.
Row 1: With MC (P1 K2). Repeat to the last st. P1.
Row 2: (K1 P2) Repeat to the last st. K1.
Repeat these 2 rows for a total of 4 rows.
Row 5 – 12: Knit across
Row 13: K20 Cast on 13 sts. K14. (47 sts)
Row 14: Knit across.
Row 15: K9. With SC K1 M1 K1 M1 K1,Turn. Leave remaining sts unworked. P5. Turn. K5. Turn. P5. Turn. K5. With MC K35. (49 st)
Row 16: K35. With SC P5. With MC K9.
Row 17: K9. With SC TWK2tog. K1. K2tog. With MC K8 K2tog K9 K2tog K14. (45 sts)
Row 18: K33. With SC P3. With MC K9.
Row 19: K9. With SC K3. With MC K33.
Row 20: As row 18.
Row 21: K9. With SC K3. With MC K8 K2tog K7 K2tog K14. (43 sts)
Row 22: K31. With SC P3. With MC K9.
Row 23: K7. With CC K1 M1 K1 M1 K1 M1 K1 M1 K1 M1 K1 M1 K1. Turn. Leave remaining sts unworked. P13. Turn. K13. Turn. P13. Turn K13. With MC K29. (49 sts)
Row 24: K29. With CC. P2tog P9 TBLP2tog. With MC K7. (47 sts)
Row 25: K7. With CC TWK2tog K7 K2tog. With MC K6 K2tog K5 K2tog K14. (43 sts)
Row 26: K27. With CC P2tog P5 TBLP2tog. With MC K7. (41 sts)
Row 27: K6 M1 K1. With CC TWK2tog K3 K2tog. With MC K1 M1 K26. (41 sts)
Row 28: K28. With CC P5.With MC K8.
Row 29: K20 K2tog K3 K2tog K14. (39) sts
Row 30 – 32: Knit across.
Row 33: K20 K2tog K1 K2tog K14. (37 sts)
Row 34 – 36: Knit across
*Row 37: (P1 K2). Repeat to the last st. P1.
Row 38: (K1 P2) Repeat to the last st. K1.*
Repeat from * to * for a total of 12 rows.
Cast off.
Make the Thumb
Make the thumb like you did for the right hand
Sew the seams on the thumb and side of the glove.
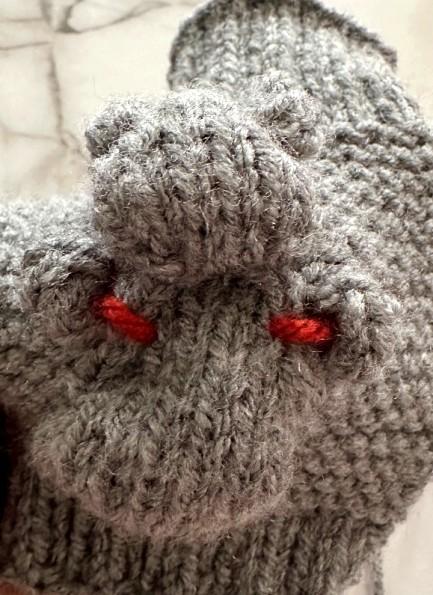
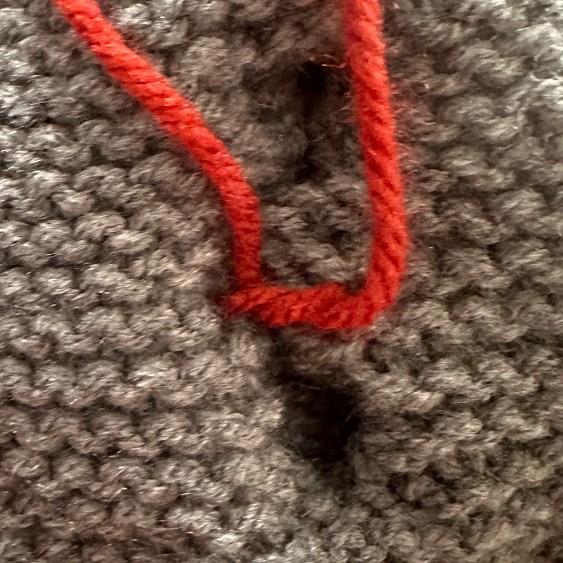
How to Make the Dots (French Knots)
If you need tips on finishing the glove and working in the ends, that video is at the end of the RIGHT hand.
Abbreviations
st – stitch
sts – stitches
sl – slip the stitch
K – knit
P – purl
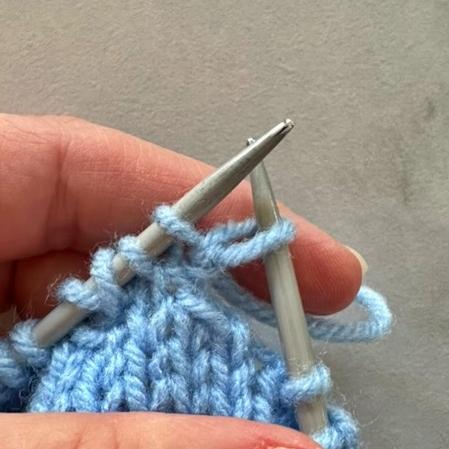
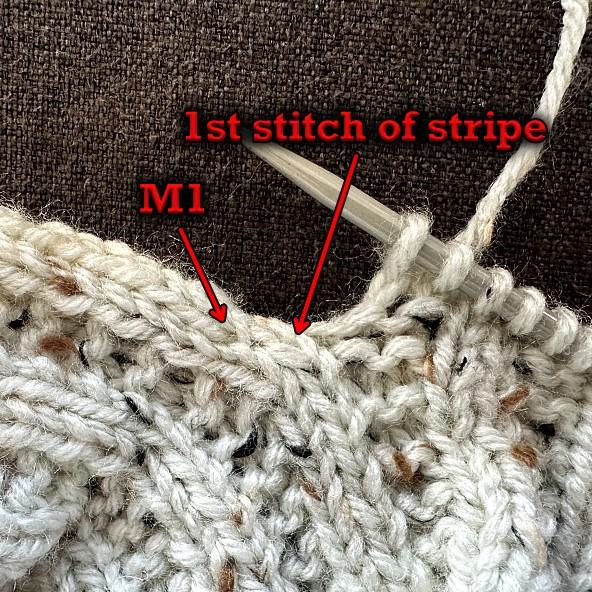
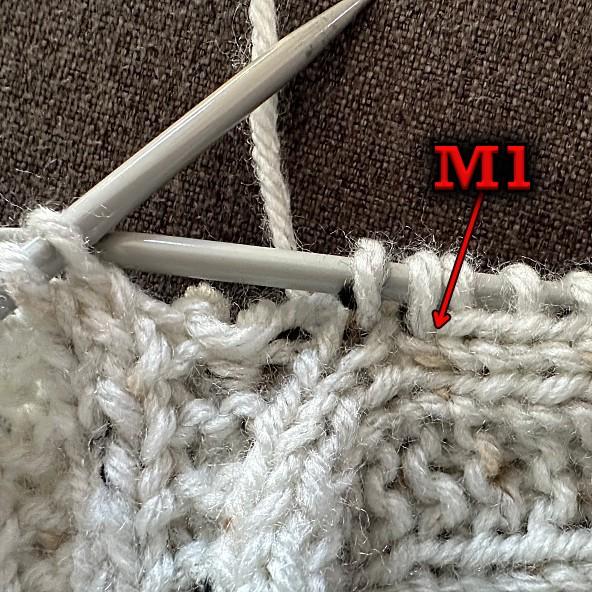
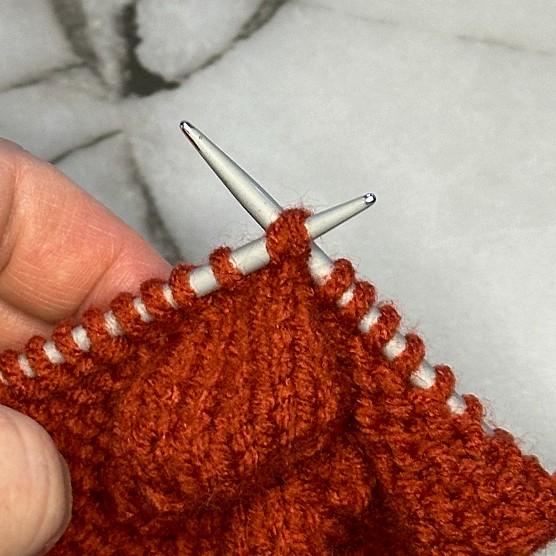
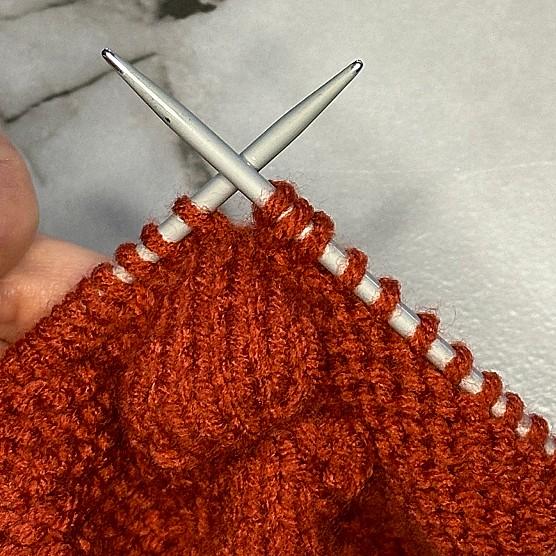
M1 – Make one (knit wise). Increase one stitch between the stitches. Pick up the yarn between the stitches. Twist it slightly and place it on your non-working needle. Knit the stitch. Watch this video on How to M1 or Make 1 to see how.
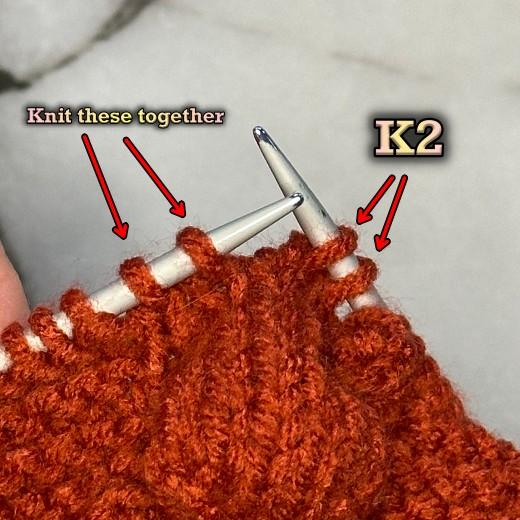
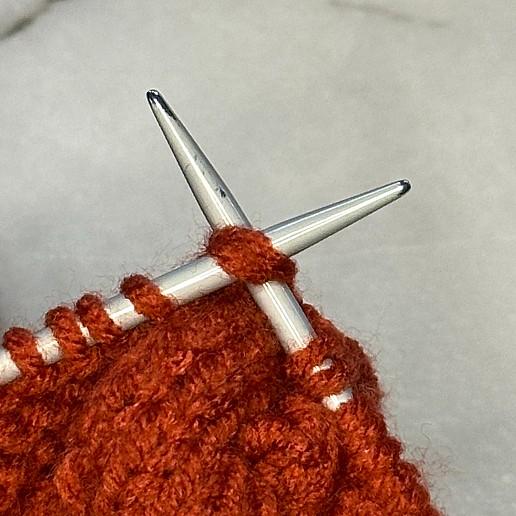
K2tog – knit 2 stitches together
P2tog – purl 2 stitches together
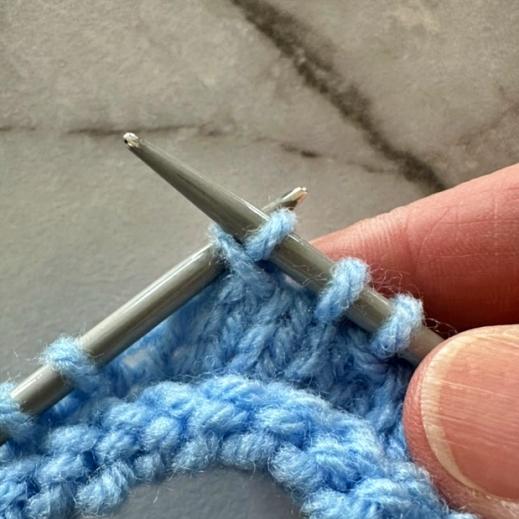
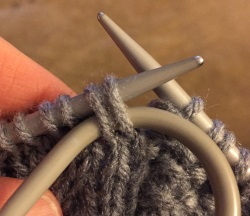
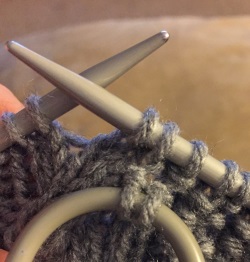
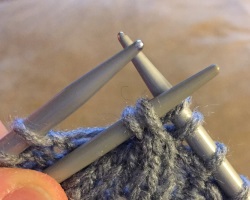
TWK2tog – (Twist and Knit 2 sts together) – Pick up a stitch as if to knit. Twist the stitch and place it back on your non-working needle. Knit the 2 stitches together from right to left.
TBLP2tog – (Through the Back Loop, Purl 2 sts together) – Purl 2 together through the back loop from left to right.