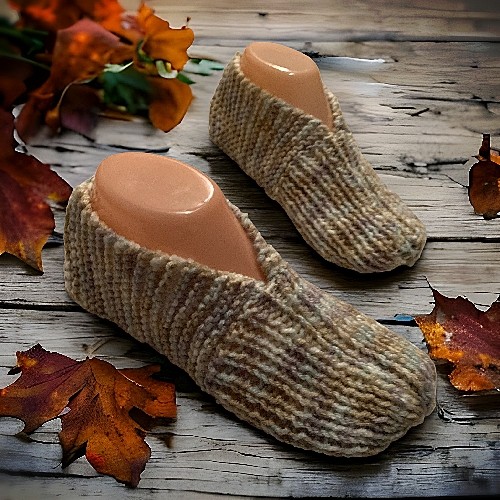
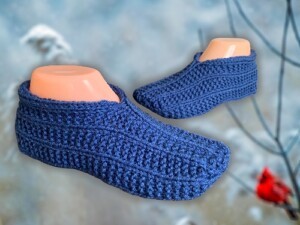
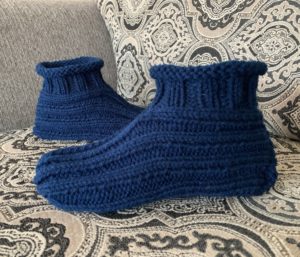
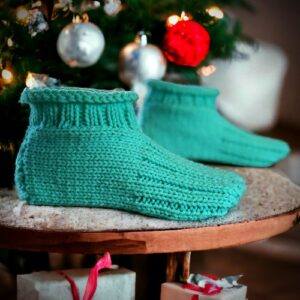
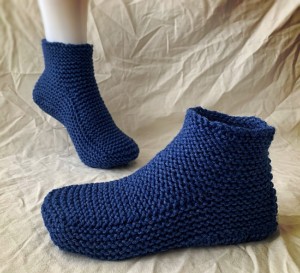
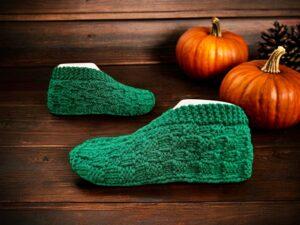
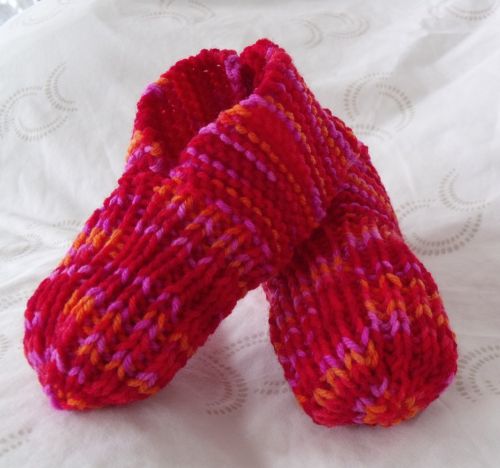
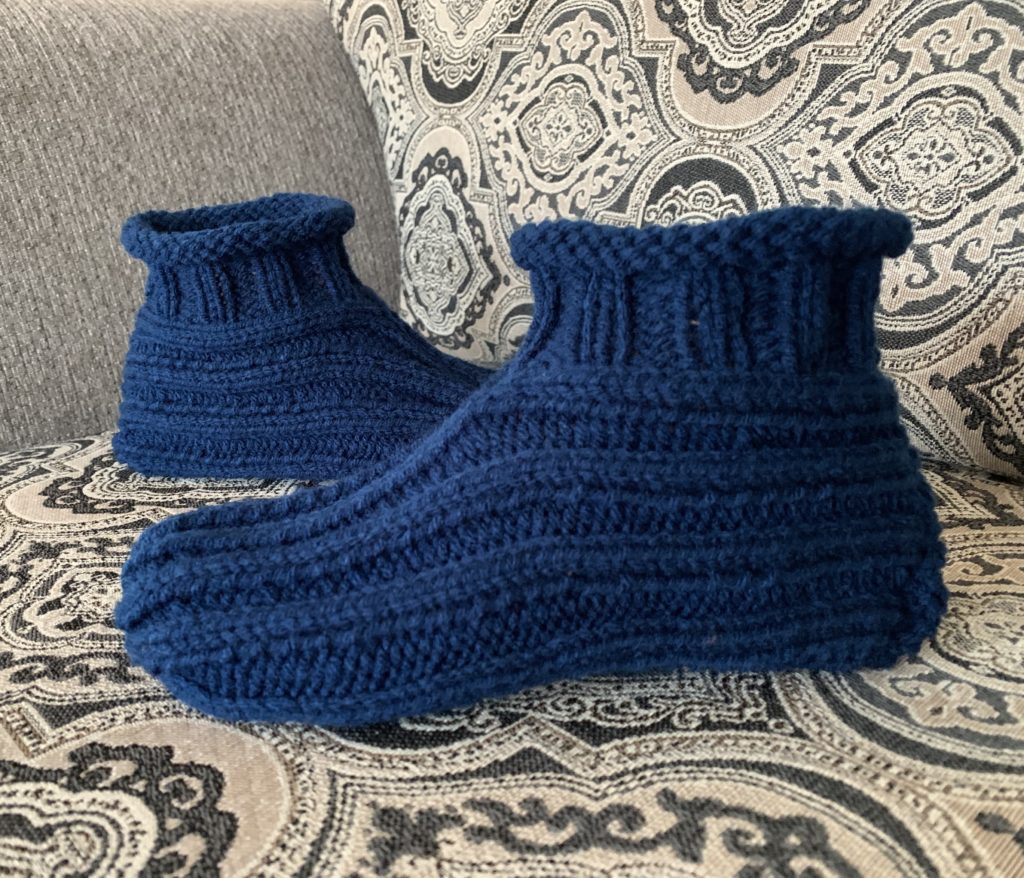
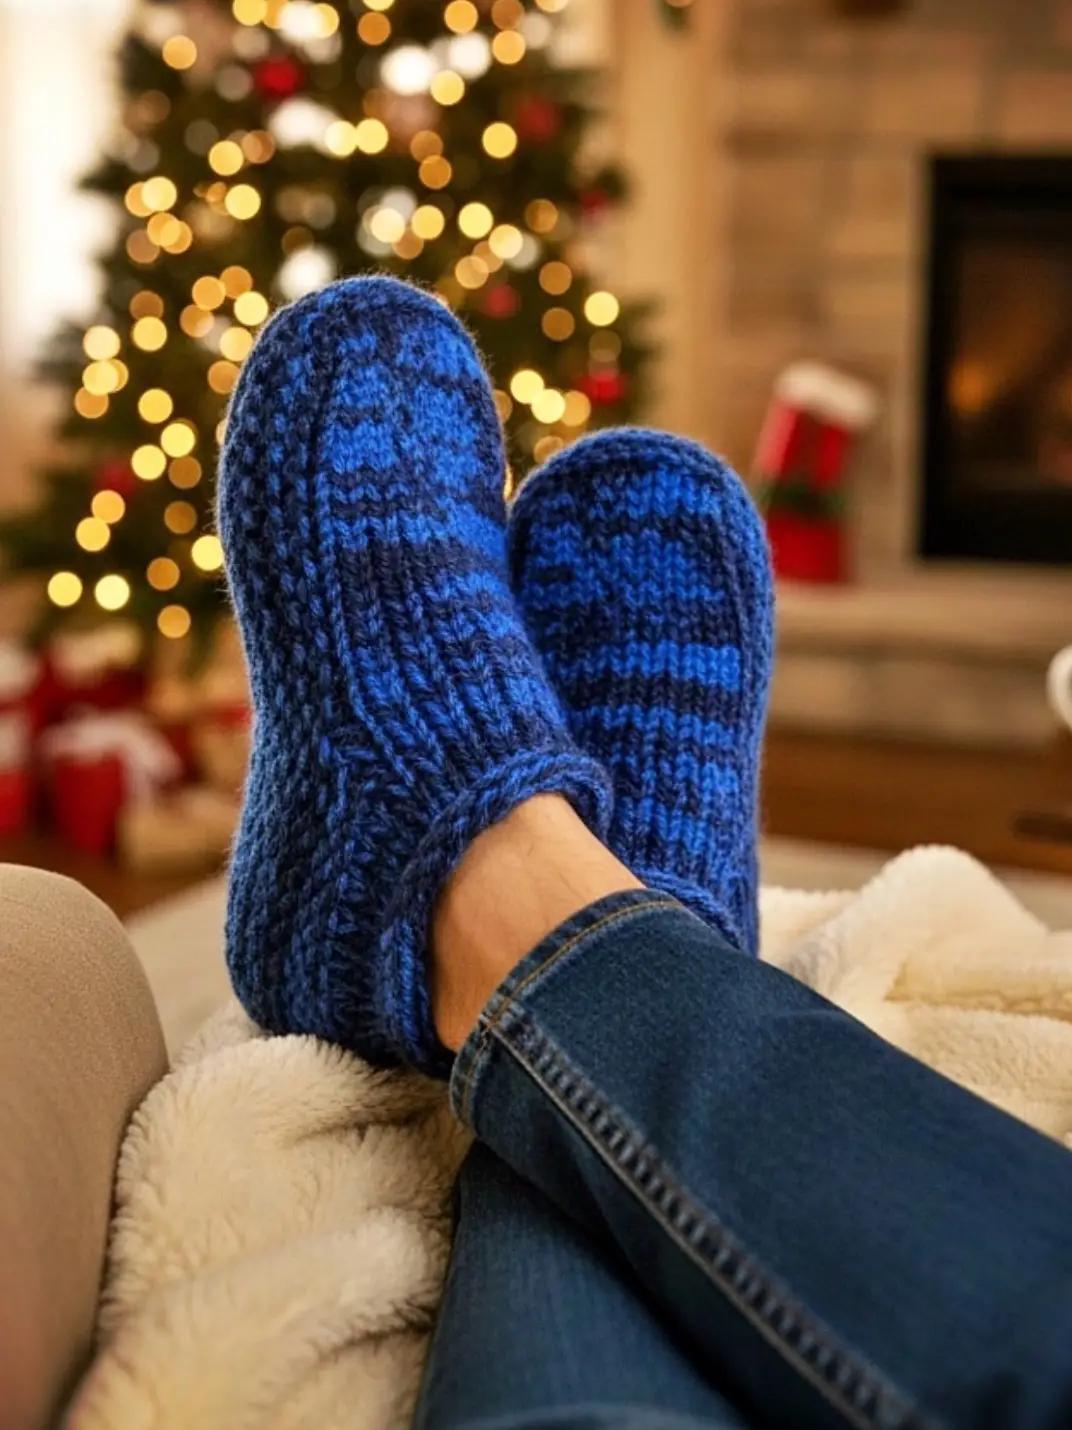
Looking for an easy beginner knitting pattern for adult slippers? This traditional knitted slipper pattern is a simple project for new knitters and a great way to make a cozy pair of slippers for yourself or as a handmade gift. You’ll use basic knitting techniques to create a classic pair of adult knitted slippers, with several sizes included.

This free knitting pattern is available to read online and includes a full how-to knitting video that walks you through the pattern step by step. If you’re new to knitting slippers, the video makes it easy to follow along and see exactly how the slippers are made. Grab your yarn and knitting needles and learn how to knit slippers with this beginner-friendly pattern!
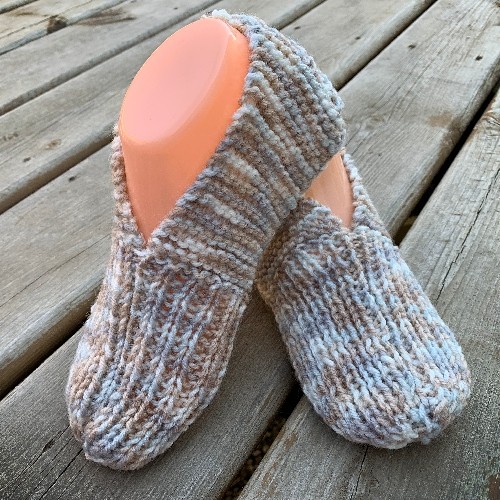
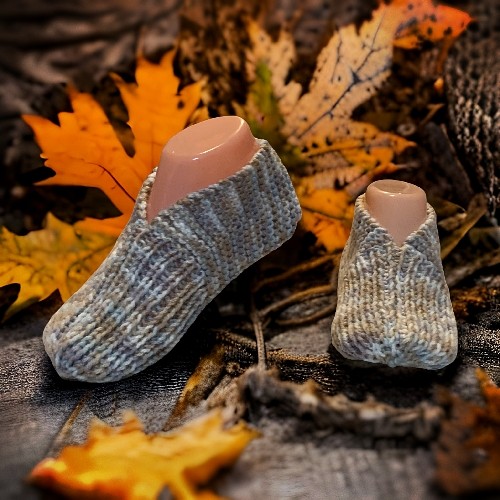
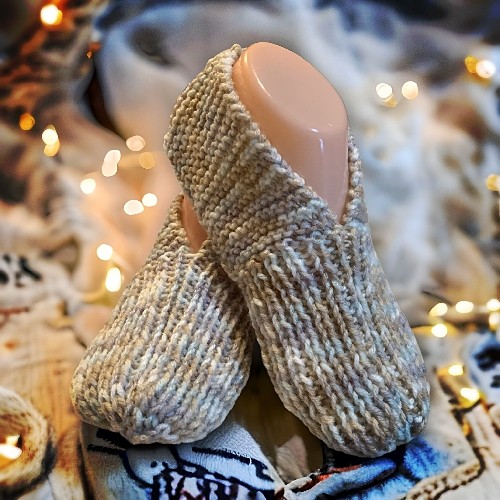
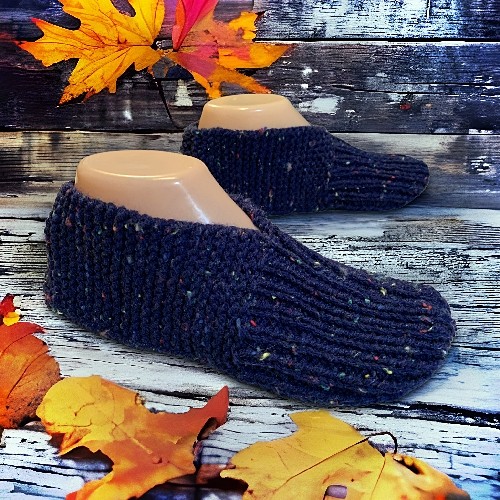
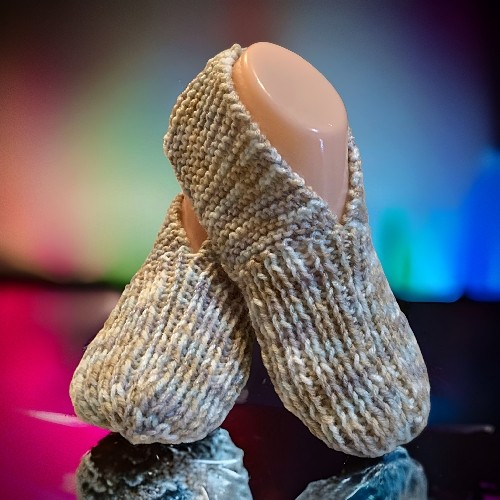
If you’re not a fan of being online, you can also download the ad free PDF version of the pattern directly from my Shopify shop – How to Knit Adult Slippers. If that is too much of a hassle, you can also find it in my Etsy shop or Ravelry for the same small fee. If you are a supporter of mine on Buy Me A Coffee, this pattern is included in the over 80 patterns you can download and print with your small monthly fee here: How to Knit Adult Bootie Slippers Pattern with Step-by-Step Video Links. You can learn more below.
Another way to avoid ads and pop-ups, get instant, PRINTABLE downloads of this pattern and others, is by becoming a Member. When you become a Website Supporter at $4/month, you’ll gain access to exclusive member only posts on Buy Me A Coffee. You can download as many patterns as you like for the same $4 each month. You can go to this page to learn more, become a member and support my work… Exclusive Member Area
As my latest addition, I’ve also converted this pattern to children’s sizes. You can use this link to see my FREE children’s knitted slippers pattern. Both of these patterns are great to practice if you are a new knitter. Make sure you maintain the correct gauge! The sizing for the slippers is based on it. If you match your gauge to mine then the sizing should work out correctly.
I’ve also added all of the the videos for the necessary knitting stitches you’ll need to make these slippers.You can watch them right on this site by clicking this link – Basic Knitting Stitches. I’ve also embedded the complete step-by-step video showing how to make these. Scroll down or click here to the end of the page to watch it right here. FYI – all the links on this page open in a new page so you won’t lose this one.
I’ve also added links to the specific stitches that you need within the pattern itself. For example, if you forget how to gather stitches to form the toe, there’s a link right there to go to the video.
Things you will need:
200 gr of worsted weight yarn (this is an estimate. One large ball from any retailer will do. You will have a lot leftover.)
Set of size 5 (US size 8) knitting needles or whatever size to obtain correct gauge.
Darning needle to sew the seams.
Gauge:
12 rows stockinette = 2″
9 stitches stockinette = 2″
Be sure to check your gauge to obtain correct sizing!
Slippers are given for a woman’s size 7-8 (9-10, 11-12) or a man’s sizes 6-7 (8-9, 10-11). The foot lengths of a man’s size 6-7 are about the same as that of a woman’s size 7-8 and so on.
The Complete How- to Video:
The Pattern:
Cast on 40 sts
Row 1: Knit across.
Row 2: K13 P1 K12 P1 K13
Repeat rows 1 and 2 for 36 (42, 48) more times TOTAL.
Shape toe:
Next Row: With right side of work facing you P1 *(K1 P1) Repeat from * 5 more times K14 *(P1 K1) Repeat from * 5 more times. P1 {This is K1 P1 Ribbing.}
Next Row: With wrong side facing you *(K1 P1) Repeat from * 6 more times K12 *(P1 K1) Repeat from * 6 more times.
Repeat these 2 rows for 22 (26, 30) more rows. 24 (28, 32) rows ribbed TOTAL.
Next Row: With right side facing K2tog 12 times. K1. K2tog 7 times P1. 21 stitches remaining.
Next Row: P8 K6 P7
Next Row: K2tog 10 times. K1. 11 stitches.
Next Row: P5 K3 P3.
Last Row: Draw yarn through loops (AKA gather stitches) and pull together to form toe. Sew seam up to start of ribbed stitches.
More of my stuff on Etsy
To form back flap of heel:
With right side of work facing you pick up 14 stitches between the fold lines that mark the sole of the slipper. A lot of people have messaged me over the years not knowing how to do this. I made a video! It’s actually for another pattern but is exactly the same as this. Here’s the link to the video – Picking up Stitches for the Heel
Row 1: Knit across.
Row 2: Knit across.
Row 3: K2tog K10 K2tog. 12 stitches
Row 4: Knit across.
Row 5: Knit across.
Row 6: K2tog K8 K2tog. 10 stitches.
Row 7: Knit across.
Please share this page!
More FREE patterns
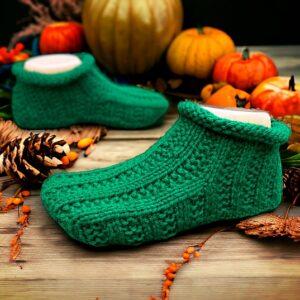
Click the pic to read online!!













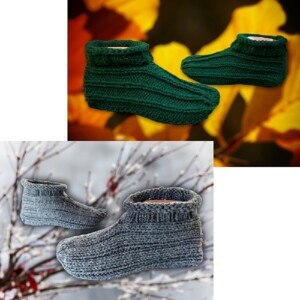
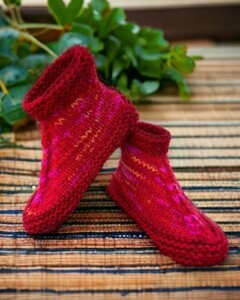


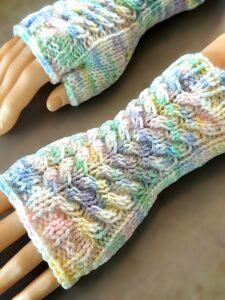
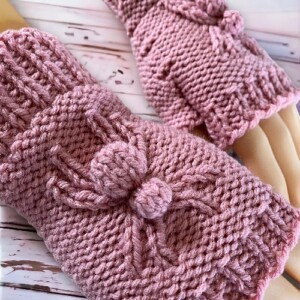
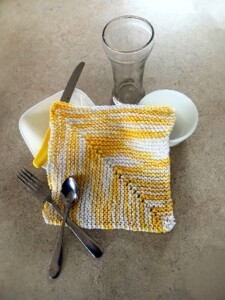
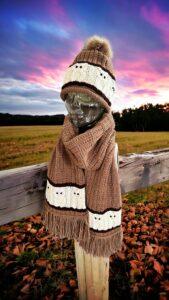
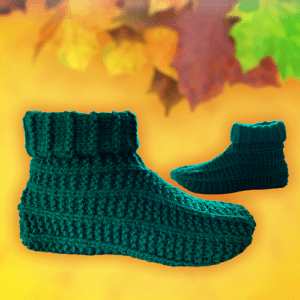
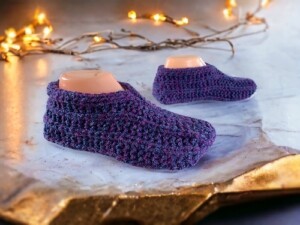
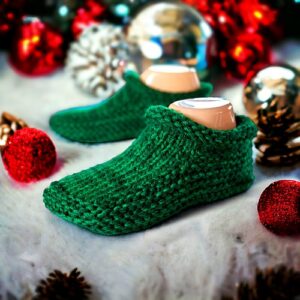



FREE Knitting Graph Paper for Colorwork Knitting



Row 8: Knit across.
Row 9: K2tog K6 K2tog. 8 stitches
Row 10: Knit across.
Row 11: Knit across.
Row 12: K2tog K4 K2tog. 6 stitches.
Row 13: Knit across.
Row 14: Knit across.
Row 15: K2tog K2 K2tog. 4 stitches
Row 16: Knit across.
Row 17: Knit across.
Row 18: K2tog twice. 2 stitches.
Row 19: Knit across.
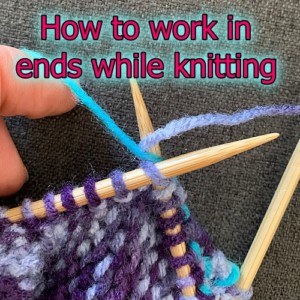
Sew up seems for heel flap. Work in ends. Make another to match.
Like all of my patterns you have my permission to sell and/or give away the slippers that you make using this pattern. You are NOT permitted to reprint this pattern in any form, physical or digital, unless you have obtained my written permission to do so. If you would like to link back, that always awesome and feel free to do so. Happy knitting!!

I also had a hard time understanding the shaping of the toe. The explanation now makes since. I was very frustrated at first, maybe it should of been explained s little clearer. I’m going to keep on with the pattern?
Hi there, thank you very much for this pattern. Am I correct in thinking I should have 48 rows TOTAL after doing the first step (for the biggest size)? Rather than repeating rows 1&2 for 48 more times as the pattern states?
Yes it should say TOTAL. It’s been fixed accordingly. Thank you for pointing it out.
Hello! I’m very new to knitting and am excited to see a pattern for my big siZe 11 foot! I’m also still not too bright with reading patterns, but I see that you do offer this pattern for my shoe size. I don’t see different numbers to follow for different siZes? Am I missing it?
Thank you!
Very useful info
Hello, first I love your tutorials I’ve knitted quite few of your bootie slippers. I’m now knitting these adult slippers and I’m starting to shape the toe but the stitches don’t match I have 40 on my needle but the start of the shaping the toe only total 36, can you clarify? Thanks Monica
I have no idea why you’d be short 4 stitches. You may have dropped stitches??? But what I can recommend is that you knit 2 together for how ever many stitches you have. Always K2tog by putting your needle through the knit stitch first and then the Purl stitch. It will maintain the ribbing.
Are you misreading the pattern again? Make the (k1 p1) once and then repeat it again 5 more times. (K1 p1) 6 times total. Since it’s where you ran into trouble the first time it seems to be the most likely cause.
HI I cast on 40 stitches & knit the two rows for 36 time, when I do next row I’m left with four stitches on the end & the next row when I work it out in my head it’s for 36 stitches, what am I doing wrong??
I can’t be sure but I would think it’s because you’re missing one of (K1 P1) repeats on each side of the 14 stitches. It sounds like your doing it 5 times total; not once and then repeating it 5 times more as it’s written.
Ah makes total sense now thanks!!
where do find the directions????
??? What do you mean? If you’re posting this comment you scrolled past the pattern…