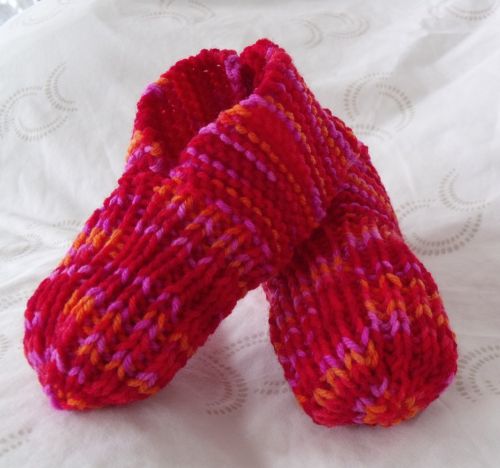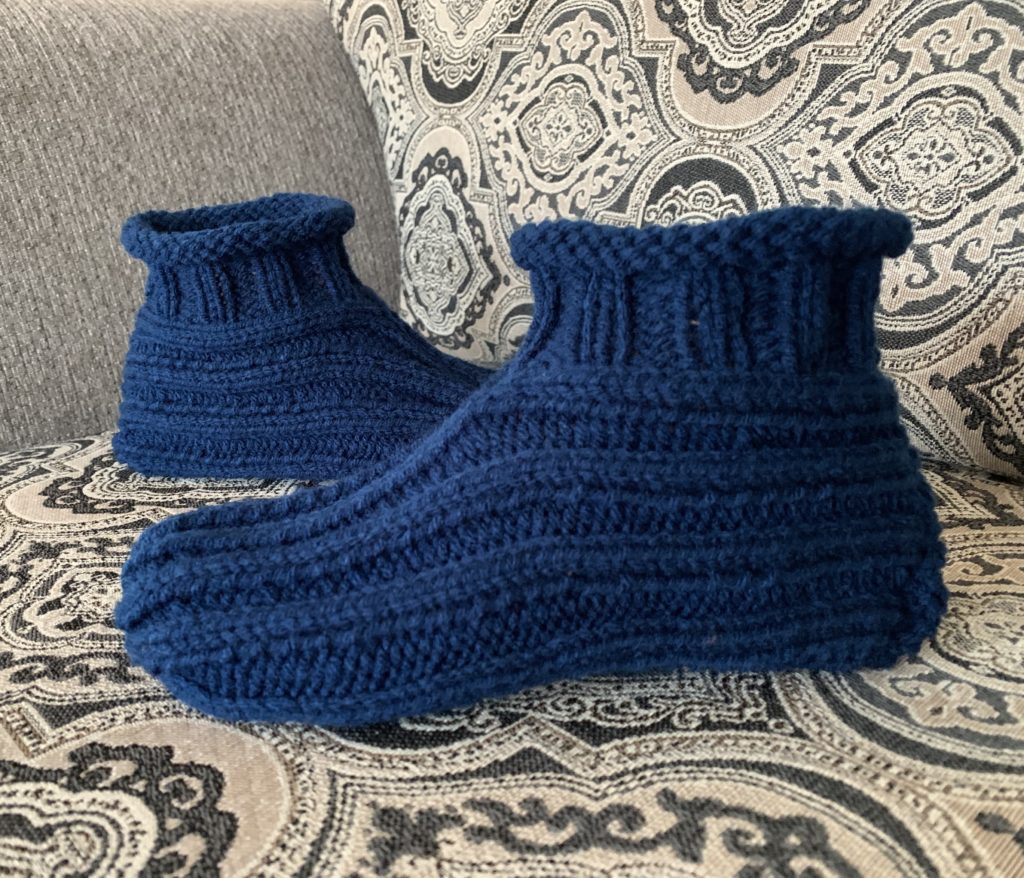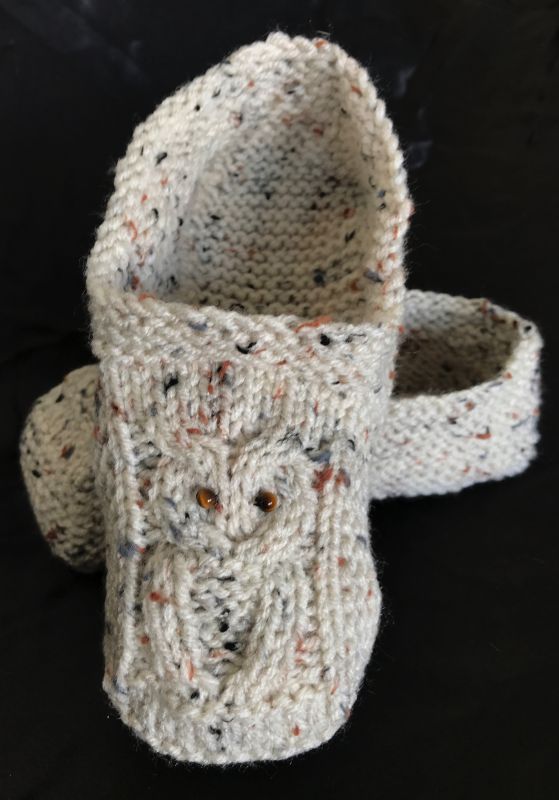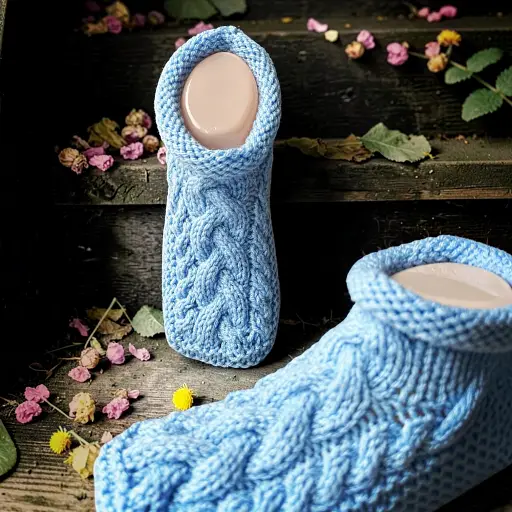
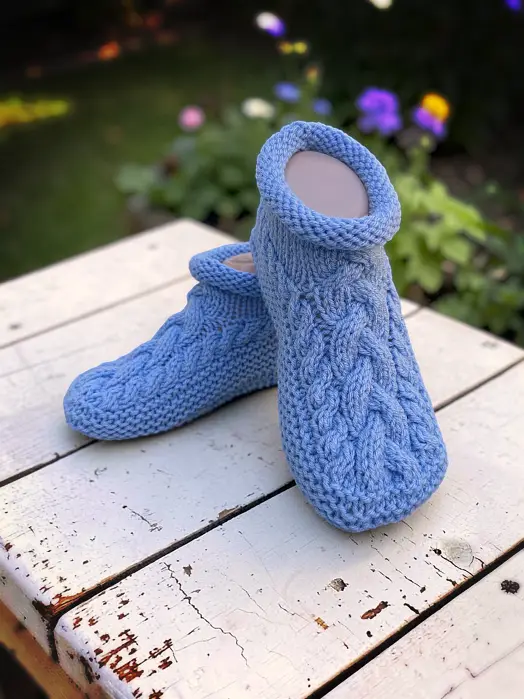
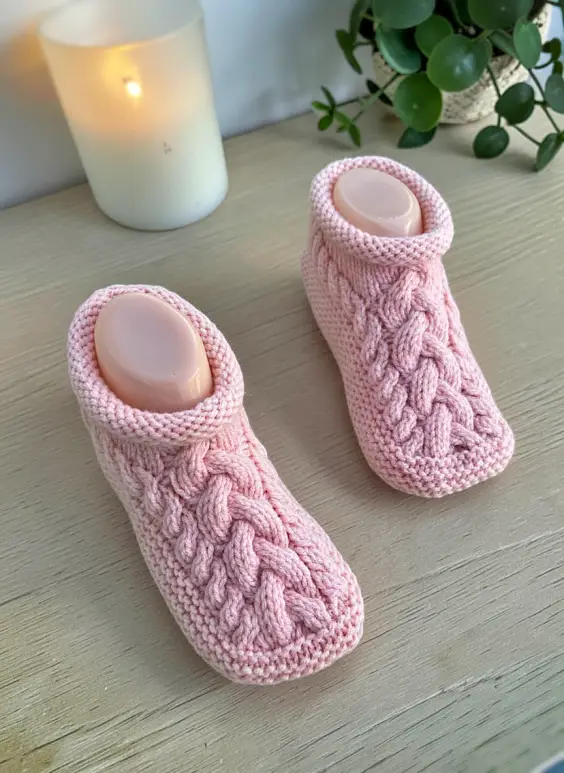
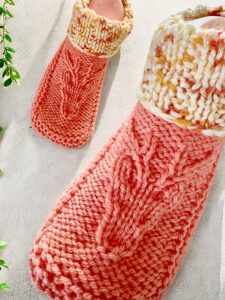
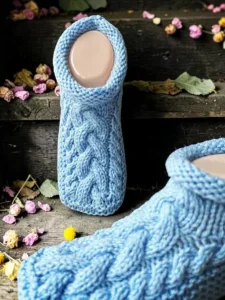
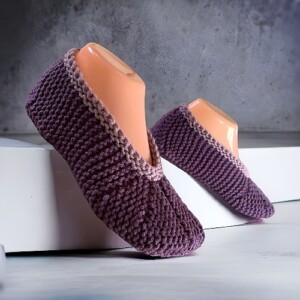
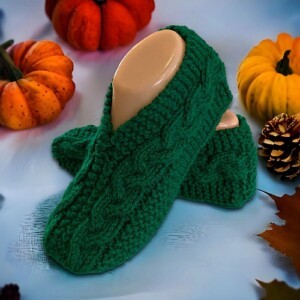
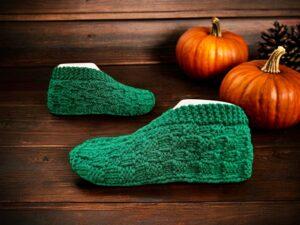
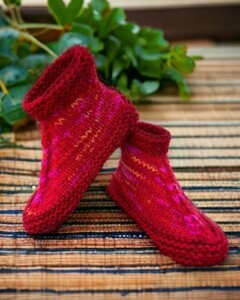
If you love cozy handmade slippers and are ready to take on a knitting project with a little more detail, this cable slipper knitting pattern is a beautiful challenge.

These adult knitted slippers feature a classic cable design that adds texture, warmth, and a handmade touch. This pattern is not designed for beginners, but if you are comfortable following a pattern and want to build your skills, it’s a rewarding project to try.
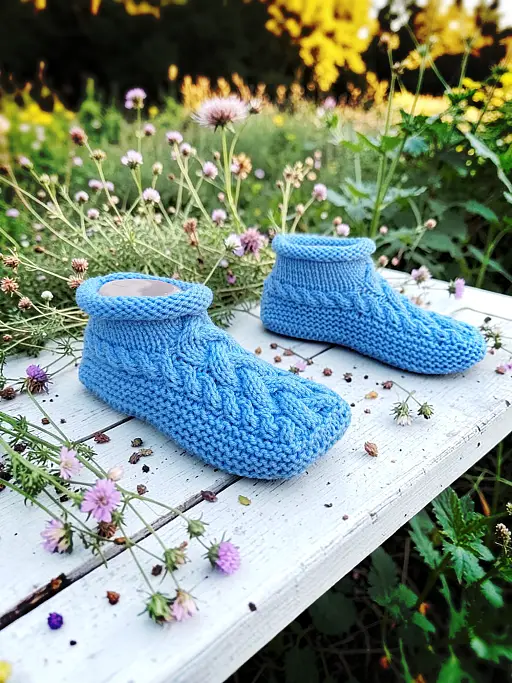
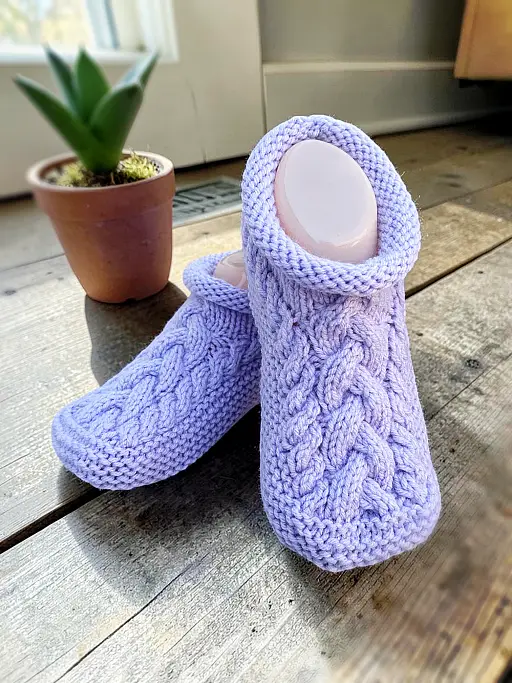
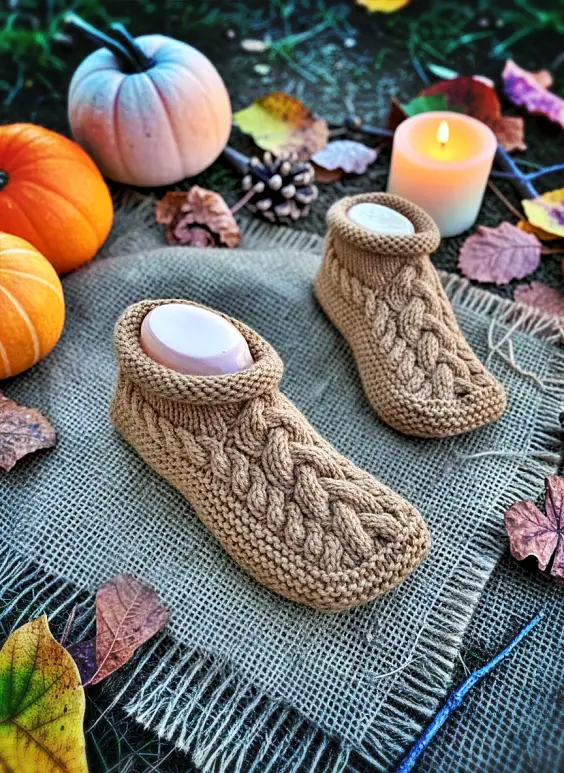
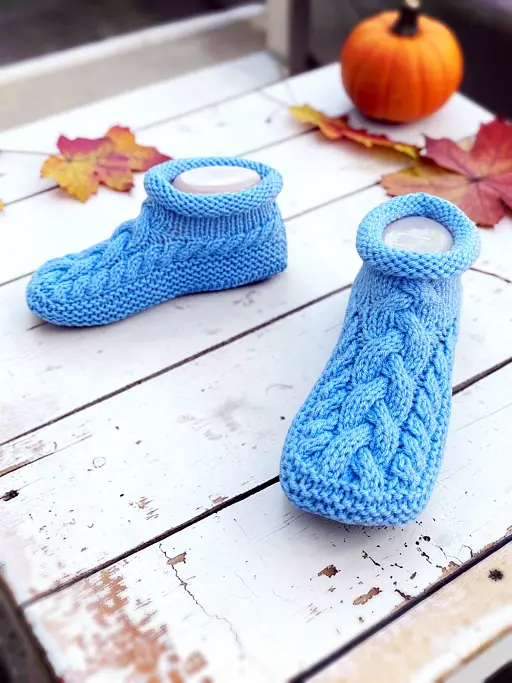
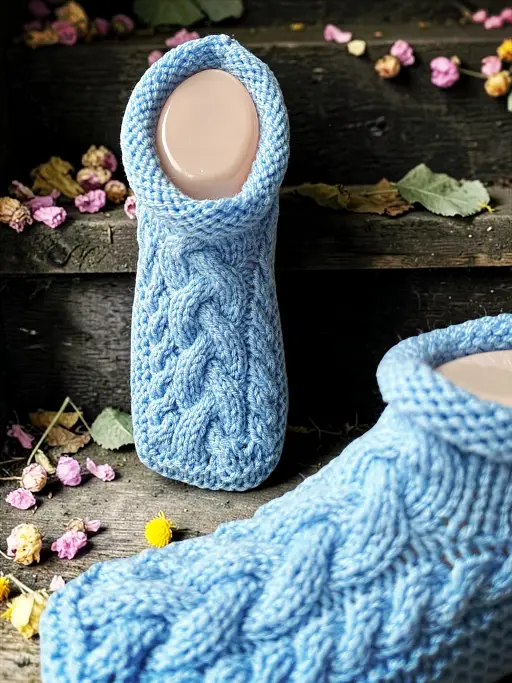
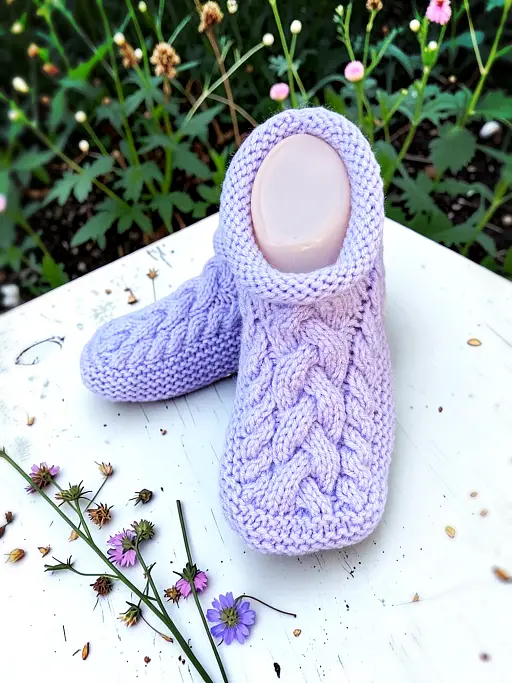
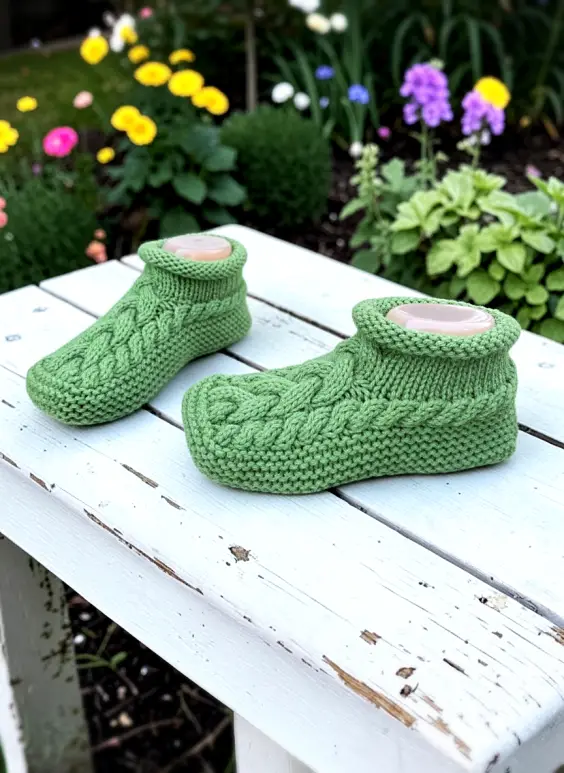
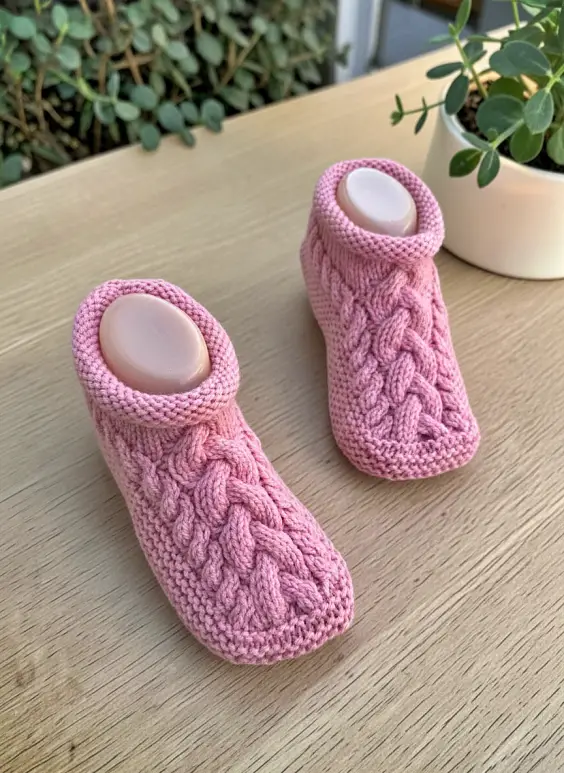
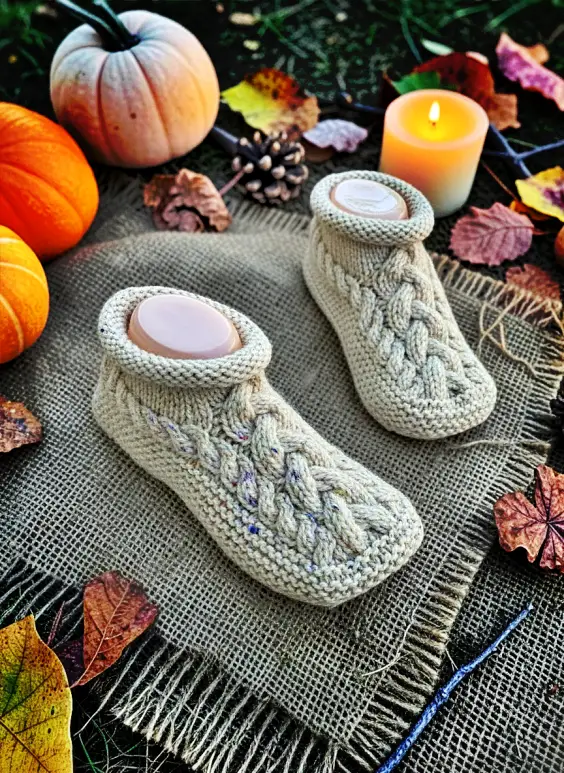
To help you along the way, I’ve included step-by-step photos and video tutorials for the trickier sections of the pattern. You’ll have extra guidance as you work through the cable details and shape these cozy slippers.
Grab your favorite yarn, settle in, and enjoy creating a pair of warm, comfortable knitted slippers that you’ll love wearing or gifting.
You can download it from a number of places. In particular, my Shopify site here – Cozy Cable Slippers. You can also get it at a number of other online book retailers such as Ravelry, and Etsy. I also have versions available on Amazon as a paperback and for Kindle. Click the area you are in if you’d like to get the paperback – United States, United Kingdom, Canada, Australia.
☺️ Don’t forget, it’s on Buy Me A Coffee, too!
Another way to avoid ads and pop-ups, get instant, PRINTABLE downloads of this pattern and others, is by becoming a Member. When you become a Website Supporter at $4/month, you’ll gain access to exclusive member only posts on Buy Me A Coffee. You can download as many patterns as you like for the same $4 each month. You can go to this page to learn more, become a member and support my work… Exclusive Member Area
If you enjoy this pattern and my other free online knitting patterns, please consider making a small donation or helping me out by visiting my Help Support My Work page. If that’s not possible, that’s totally fine too! Even sharing this page on your social media helps me out immensely. You can use the buttons below to do so easily.
Things you need
Worsted weight yarn
2 sets of size 4 mm (US size 6) single pointed needles
Cable needle
Stitch holder
Tapestry needle ( to work in ends)
Gauge
With size 4 mm (US size 6) needles or whatever size you need to obtain the correct number of stitches and rows. Be sure to check your gauge otherwise the sizing won’t be correct.
In garter st
17 sts = 4 inches or 10 cm
34 rows = 4 inches or 10 cm
Sizes (are written as such)
Women’s 6-7 (8-9, 10-11, 12-13)
Men’s 5-6 (7-8, 9-10, 11-12)
Top of Toe
Cast on 21
Row 1: P1 K4 P1 K9 P1 K4 P1
Row 2 (and all even rows for the toe): K1 P4 K1 P9 K1 P4 K1
* Row 3: P1 C4F P1 C6F K3 P1 C4B P1
Row 5: as row 1
Row 7: P1 C4F P1 K3 C6B P1 C4B P1
Row 9: as row 1
Row 10: as row 2 * Repeat from * to * 2 (2, 2, 3) times more
Next row: repeat row 3
Side Cables
With the wrong side facing you
Next row: K1 P4 K1. Transfer the remaining 15 sts onto a stitch holder (You can also leave the sts on your needle and leave the sts unworked for this and any other st transfers). Turn.
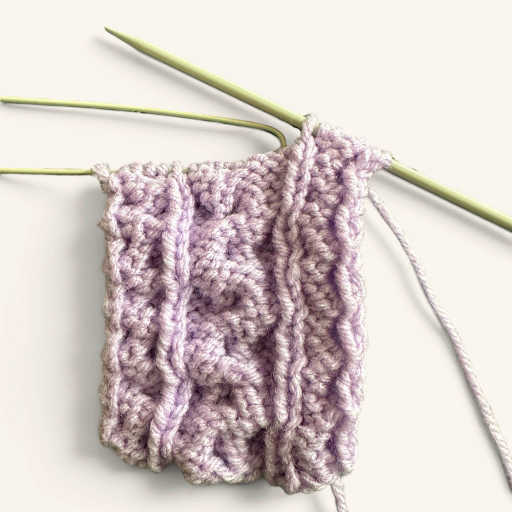
Next row: Working on the the 6 sts remaining on your needle, P1 K4 P1
Next row: K1 P4 K1
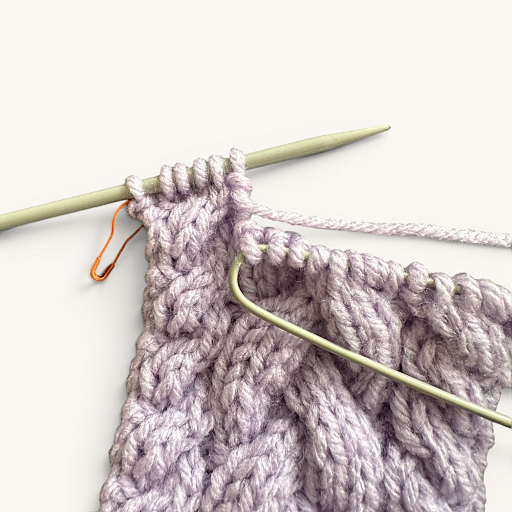
to know how many repeats you’ve done
♦ Next row: P1 C4B P1
Please share this page!
More FREE patterns
Click the pic to read online!!






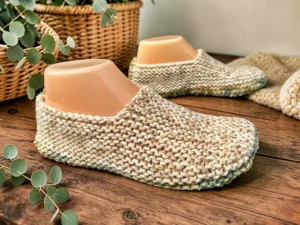
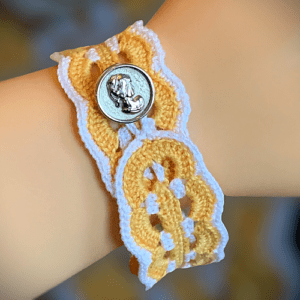
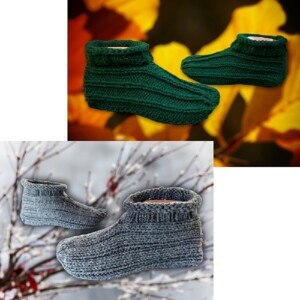





FREE Knitting Graph Paper for Colorwork Knitting






















Next row: K1 P4 K1
Next row: P1 K4 P1
Next row: K1 P4 K1 ♦ Repeat from ♦ to ♦ 4 (5, 6, 6) times more.
Next row: P1 C4B P1
Next row: K1 P4 K1.
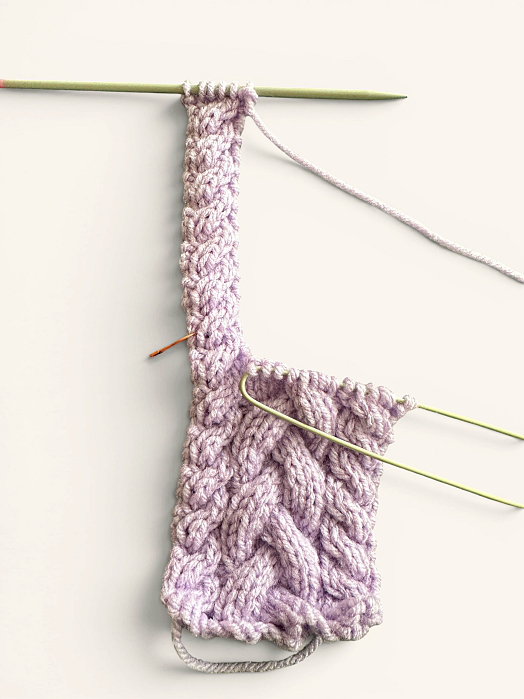
Cast off these 6 sts. Break yarn.
Transfer the sts from the st holder back onto your needle.
Next row: With the WRONG side facing you, P9 K1 P4 K1
Next row: P1 K4 P1. Transfer the next 9 sts back on to your st holder. Turn.
Next row: Working on the the 6 sts remaining on your needle, K1 P4 K1
♥ Next row: P1 C4F P1
Next row: K1 P4 K1.
Next row: P1 K4 P1
Next row: K1 P4 K1 ♥ Repeat from ♥ to ♥ 4 (5, 6, 6) times more.
Next row: P1 C4F P1
Next row: K1 P4 K1.
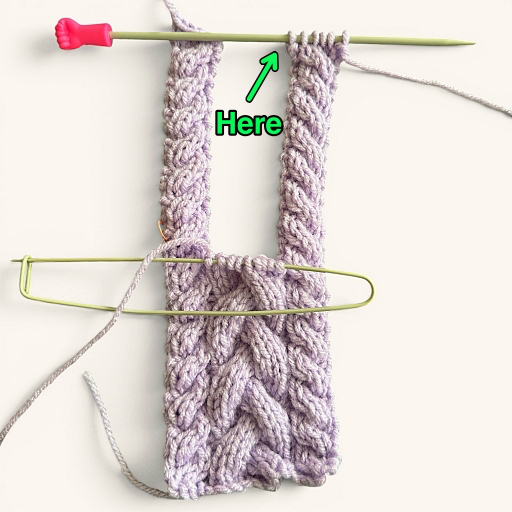
You’ll end with a single st at the arrow.
Cast off these 6 sts. Do NOT Break yarn. Leave the single st on the needle and pick up sts along the first edge as instructed.
Top Edging
With the right side facing you, pick up 13 (15, 17, 19) sts evenly along the top edge of the cable strip. There is now 14 (16, 18, 20) sts on your needle. Transfer the middle 9 sts back onto a needle. Knit these 9 sts. Pick up 14 (16, 18, 20) sts evenly along the top edge of the cable strip on the other side. (37, 41, 45, 49 sts)
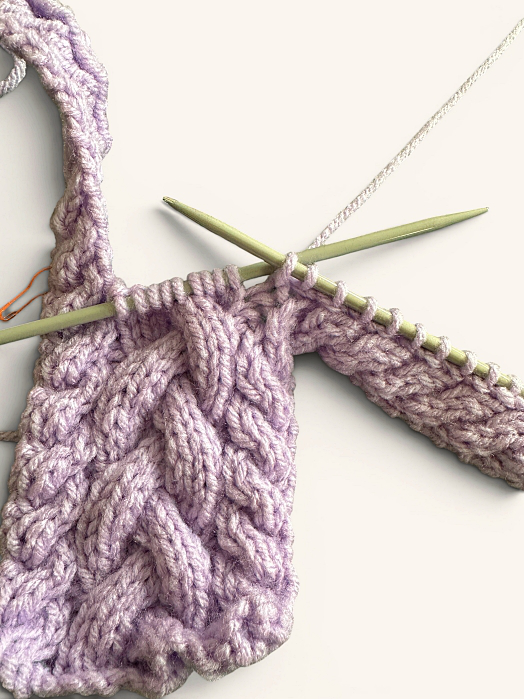
Sts transferred back to a needle.
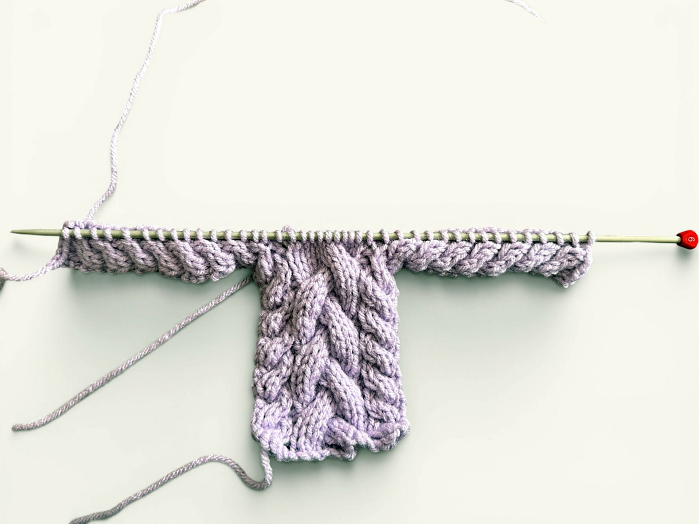
Next row: (wrong side facing): P across.
Next row: K17 (19, 21, 23), C6B K14 (16, 18, 20).
Next row: P across.
Next row: K across.
Next row: P across.
Next row: K14 (16, 18, 20), C6F K K17 (19, 21, 23).
♠ Next row: P across.
Next row: K across. ♠ Repeat from ♠ to ♠ 4 times more for a total of 10 rows.
With the WRONG side facing you, cast off loosely. Break yarn.
Making the Sides of the Slipper
This is where you’re going to need the extra set of knitting needles. You’ll be knitting back and forth in rows but the turn around the toe is too tight to use circular needles. For this, you’ll put the 14 toe flap stitches on one of your extra needles. It’s a little unconventional, but it works.
Next row: With the RIGHT side facing you, pick up 32 (34, 36, 38) sts evenly along the bottom edge of the cable strip. With the second needle, pick up 14 along the bottom edge of the the cables. With another needle, pick up 32 (34, 36, 38) sts evenly along the bottom edge of the cable strip on the other side.
You should now have 3 needles holding stitches with all the points pointing as shown below when laid flat. You also have one spare needle to knit with. You are now going to knit in rows, back and forth with these three needles. Once you finish knitting all the stitches on one needle, move on to the next needle (the point of the needle is right there) until you complete the row.
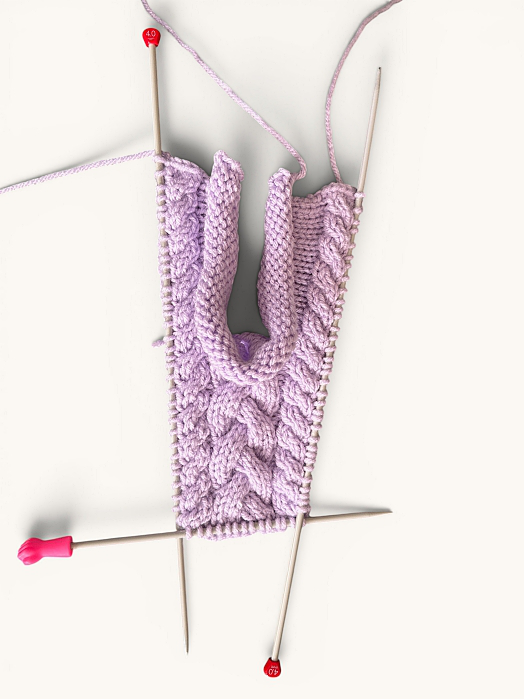
I used a capped double pointed needle to pick up my 14 stitches for the toe only because it was handy. A regular needle works!
Next row: K32 (34, 36, 38) stitches on the first needle. KNIT all the sts on the toe flap (middle) needle. K32 (34, 36, 38) stitches on the third needle.
Next row: (right side facing you) Knit the next 8 (10, 12, 14) rows
There are now 4 (5, 6, 7) ridges on the tip of the toe.
The photo below shows the 5 ridges for the women’s size 8 – 9 or men’s size 7 – 8.
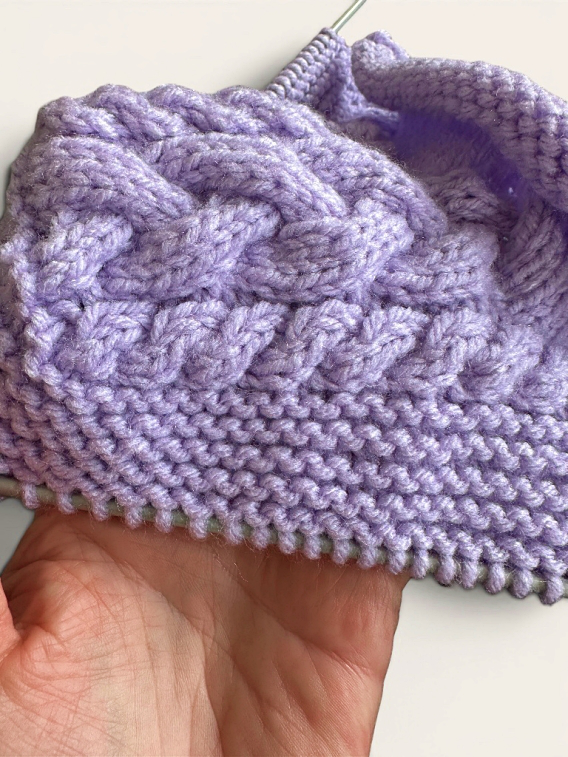
Next row: With WRONG side facing. Cast off all the stitches from the first needle loosely. You’ll need to pass the last stitch from the first needle over the first stitch of the toe flap stitches (second needle).
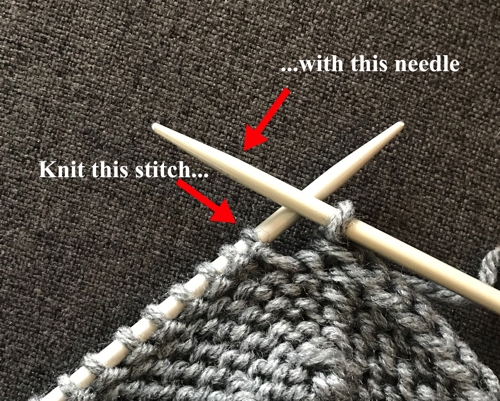
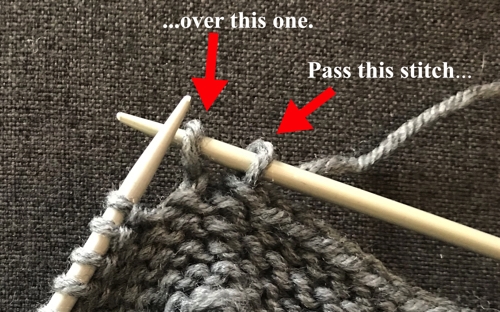
Using the same needle that now has one stitch, knit the remaining 13 stitches of the toe flap. Cast off all the stitches from the third needle loosely. Break yarn.
Making the Sole
If you need more help than the photos provide, you can watch the how-to video
Next Row: With the RIGHT side facing, attach yarn and knit the first stitch of the cast off stitches by the toe flap (cast off stitch on the right by the point of the needle).
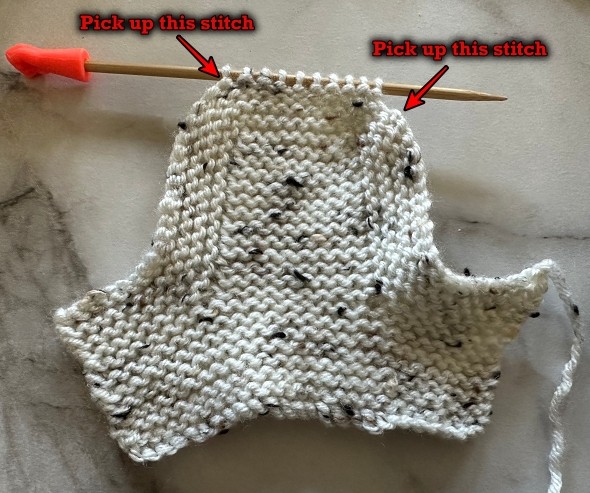
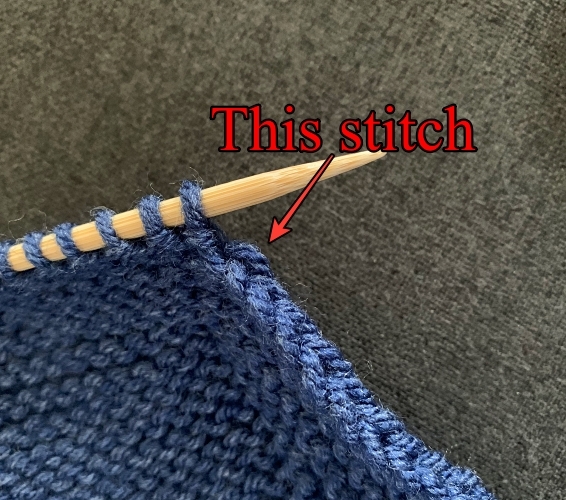
K2tog. Knit to the last 2 stitches K2tog. Pick up the cast off stitch by the point of your needle. (14 stitches).
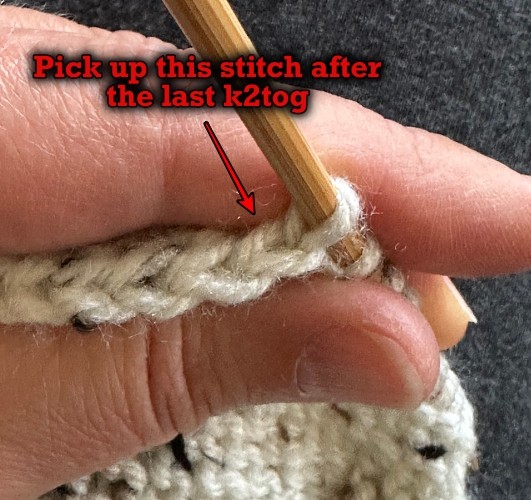
Quick tip – wrap the yarn counterclockwise around your needle and turn it down to pull the yarn through the cast off stitch on the right. If you have a hard time doing this, you can also use a crochet hook to pull the loop through and place that loop on your working needle.
You now are working back and forth along the bottom of the foot picking up one cast off stitch on each side as you go.
Next row: Knit across.
ʤ Next row: Pick up the next stitch of the cast off stitches. K2tog. Knit to the last 2 stitches K2tog. Pick up the cast off stitch on the other side of the slipper by the point of your needle. (14 stitches).
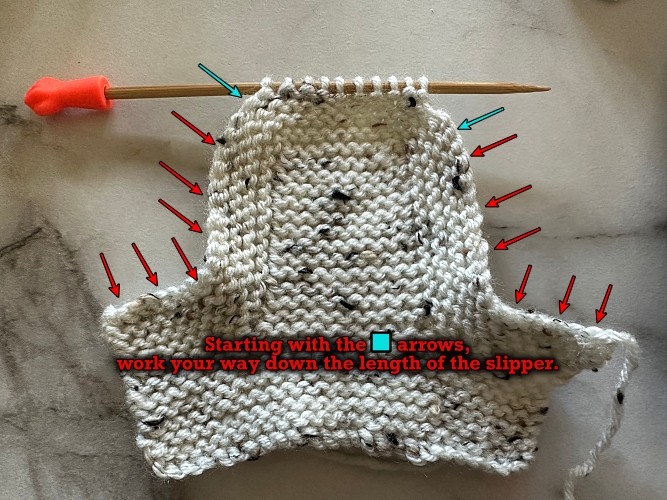
Next row: Knit across ʤ
Repeat from ʤ to ʤ down the entire length of the foot. There are equal number of cast off stitches along each side. How many rows varies depending on the size of slipper you’re making. Be sure to end with a completed knit across row.
More of My Stuff On Etsy
Making the Heel
You’re now going to make a small triangle to fit in the back of the heel. You’re going to fill this space in the slipper. Use this video below that show to make this triangle It’s for different styles of slippers but it is done the same way.
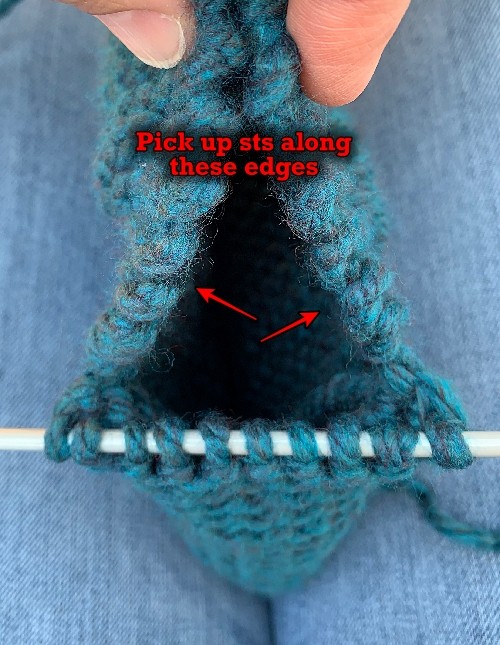
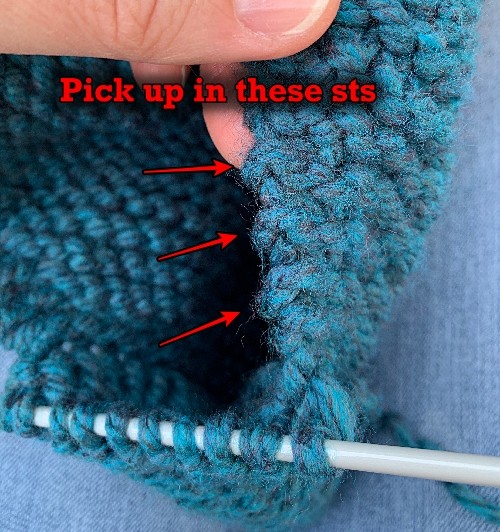
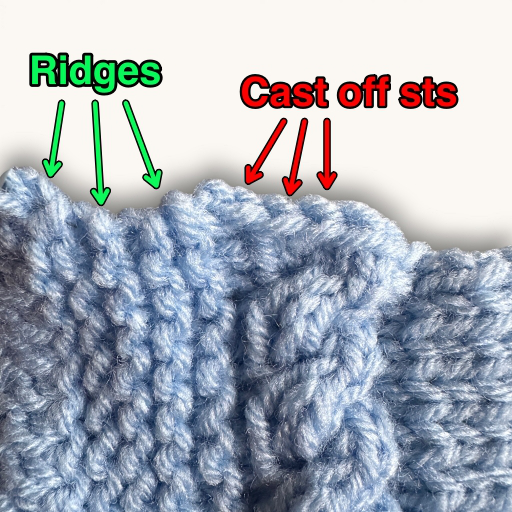
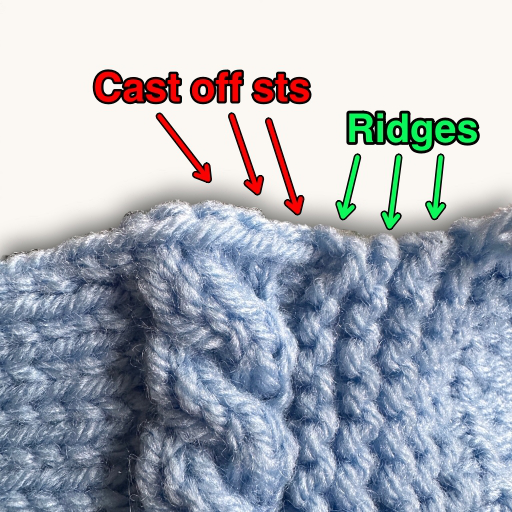
♪ Next row: With the RIGHT side facing, pick up a stitch in the row closest to the sole of the slipper. Count how many ridges it is for the size you are making. K2tog. K10. K2tog . Count down the same number of ridges on the other side and pick up a stitch in the space beneath it. (14 stitches).
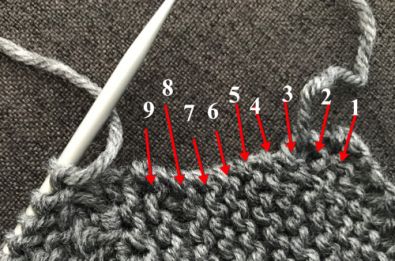
These are rows you knit to form the edges of the slipper.
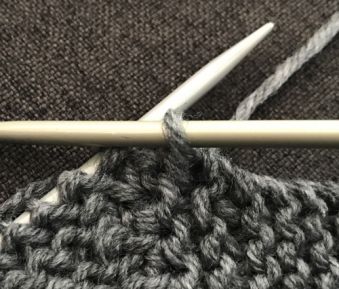
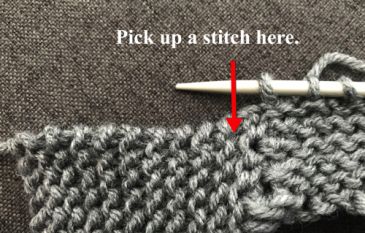
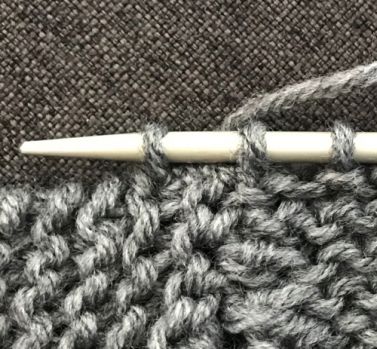
Next row: K across ♪ Repeat from ♪ to ♪ 0 (0, 1, 2) more times
Next row: Pick up a st. K2tog twice K6 K2tog twice. Pick up a st. (12 sts)
Next row: K across
Next row: Pick up a st. K2tog twice K4 K2tog twice. Pick up a st. (10 sts)
Next row: K across
Next row: Pick up a st. K2tog twice K2 K2tog twice. Pick up a st. (8 sts)
Next row: K across
Next row: Pick up a st. K2tog 4 times. Pick up a st. (6 sts)
Next row: K across
Next row: Pick up a st. K2tog 3 times. Pick up a st. (5 sts)
Next row: K across
Next row: Pick up a st. K2tog K1 K2tog. Pick up a st. (5 sts)
Next row: K across
Next row: Pick up a st. K2tog K1 K2tog. Pick up a st. (5 sts)
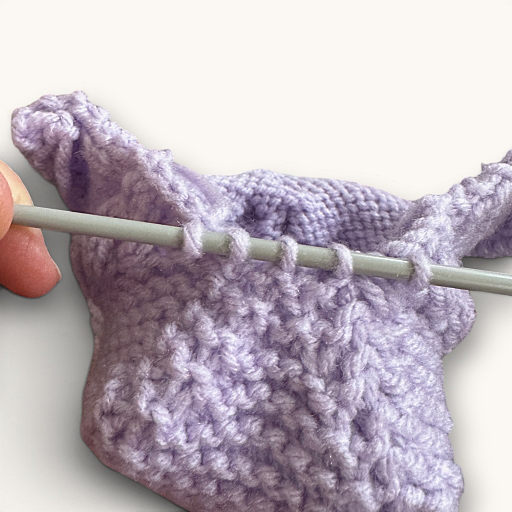
Next row: K2tog K1 K2tog.
Next row: K3tog. Pull through.
Break yarn. Sew remaining open seam. Knit another slipper.
As you get farther along in making the heel, and depending on the size you’re making, you’re going to run out of ridges. Switch to picking up sts in the cast off sts of the side cables.
Hints and Tips
You can make the top of the slipper as long as you like. If you purl wrong side and knit right side it will always roll. To make it stand up, switch to any kind of ribbing like K2 P2.
I mentioned this in the pattern, but you don’t have to put the stitches onto a stitch holder. You can leave them on your needle unworked if you are comfortable doing that. I showed it with the stitch holder in case that’s what you prefer.
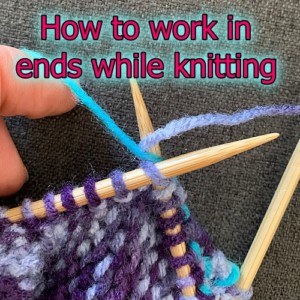
I made a video showing how I catch the yarn ends as I knit so they’re worked in automatically while you go. No going back later trying to weave in a hundred little tails. If you do it correctly, there are only 2 ends left to sew in when you’re done. The cast on tail and the yarn tail left after sewing the seam. You can watch how to do that here
Abbreviations
k – knit
p – purl
st – stitch
sts – stitches
sts – stitches
k3tog – knit 3 sts together
k2tog – knit 2 sts together. Watch this video to see how. How to K2tog or Knit 2 Together
Side note:
I use both versions of the terminology when it comes to cable stitches. I’ve been corrected that I’m using the wrong one for both occasions so it’s a no win for me. What I mean is that C4F is the same technique as C2F. Just like how C2B is the same as C4B. Do you think of it as the just the stitches you’re pulling or the number of stitches you’re using in total when you do it? It’s a personal choice, I guess.
C4F – Pick up the next 2 stitches with your cable needle. Pull the stitches to the FRONT of your work. Knit the next 2 stitches on your non-working needle. Knit the 2 stitches from the cable needle. Watch this video to see how. How to C4F or Cable 4 Forward
C4B – Pick up the next 2 stitches with your cable needle. Pull the stitches to the BACK of your work. Knit the next 2 stitches on your non-working needle. Knit the 2 stitches from the cable needle. Watch this video to see how. How to C4B or Cable 4 Back
C6F – This is made the same way as a C4B but is made over 6 sts. Pick up the next 3 stitches with your cable needle. Pull the stitches to the FRONT of your work. Knit the next 3 stitches on your non-working needle. Knit the 3 stitches from the cable needle.
C6B – This is made the same way as a C4B but is made over 6 sts. Pick up the next 3 stitches with your cable needle. Pull the stitches to the BACK of your work. Knit the next 3 stitches on your non-working needle. Knit the 3 stitches from the cable needle. Watch this video to see how.
Like all of my patterns you have my permission to sell and/or give away the physical items that you make using this pattern. You are NOT permitted to reprint this pattern in any form unless you have obtained my written permission to do so.