Looking for a free knitting pattern that makes the most of your yarn leftovers? This easy scrap yarn project transforms small amounts of yarn into a colorful mosaic-inspired scarf using only knit stitches, purl stitches, and simple short rows. It’s a relaxing way to use your stash while creating a one-of-a-kind accessory.
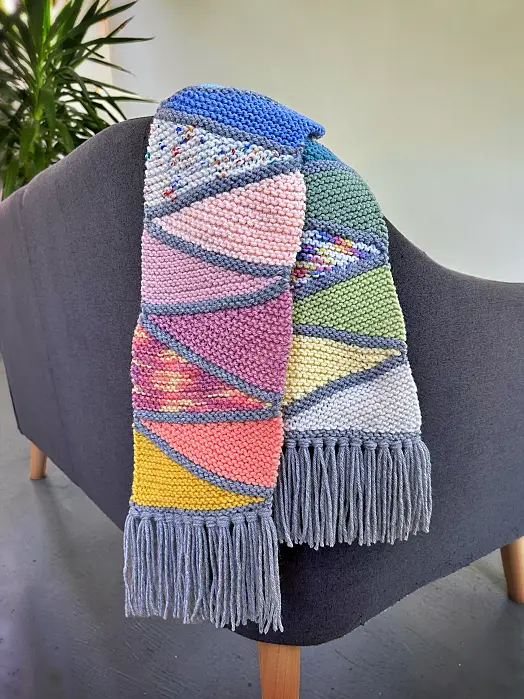
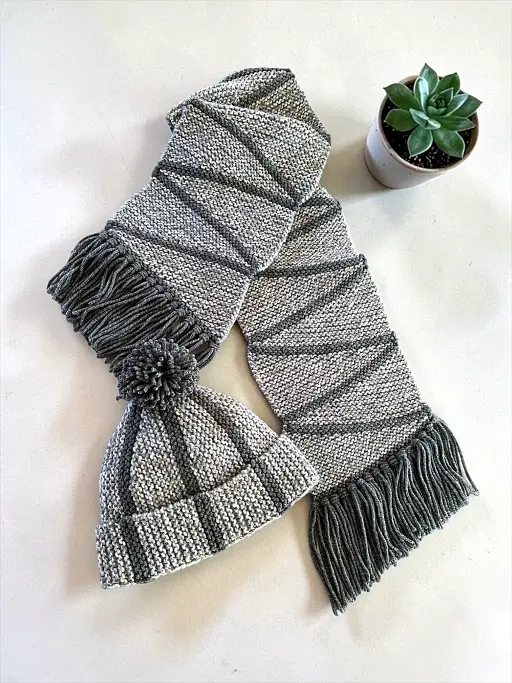
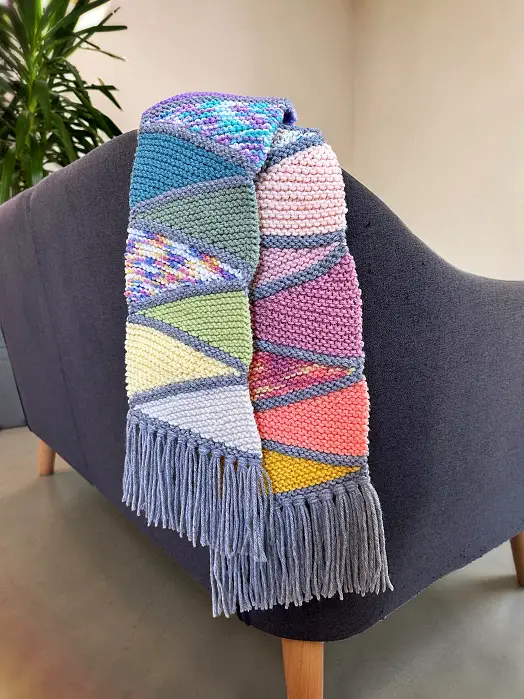

Whether you’re knitting for yourself, making thoughtful handmade gifts, adding to your craft market inventory or an easy charity knitting project, this quick scarf is as practical as it is beautiful. No two scarves will ever be exactly alike, making every project a unique reflection of the yarn you already have on hand.
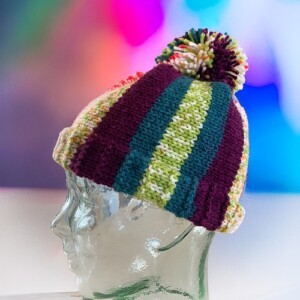
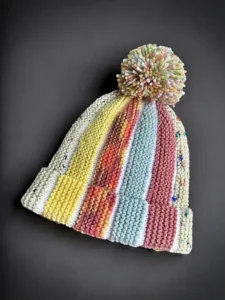
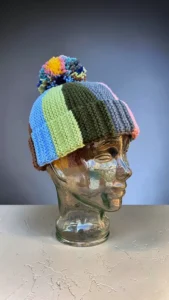
And if you’re in the mood, this is a part of a set! You can also make the matching winter beanie 😊 It’s free to read on this website. Tap the photo or button to start reading it now.
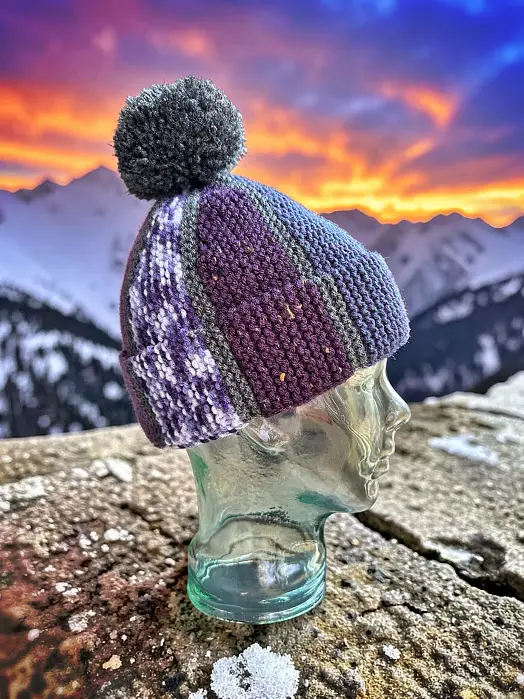
Mosaic Scrap Yarn Beanie Knitting Pattern
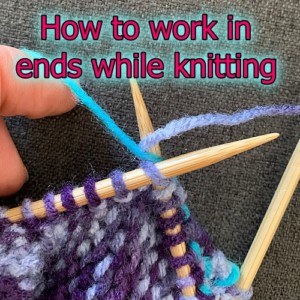
Will there be ends to sew in? Not if you catch the ends as you knit! I have a video that shows you how to do it when making knit stitches. That video is here. I added how to catch the ends when purling in a photo tutorial in the Hints and Tips section at the end of this post. Check the Table of Contents for the link. Keep scrolling.
If you would prefer the printable version of the pattern (it includes the matching hat pattern), I have a number of online retailers you can buy it from including online at KweenBee on Shopify, Etsy and Buy Me A Coffee. I also have the paperback booklet and Kindle versions available on Amazon. You can find it here – United States, Canada, United Kingdom, and Australia.
Another way to avoid ads and pop-ups, get instant, PRINTABLE downloads of this pattern and others, is by becoming a Member. When you become a Website Supporter at $4/month, you’ll gain access to exclusive member only posts on Buy Me A Coffee. You can download as many patterns as you like for the same $4 each month. You can go to this page to learn more, become a member and support my work… Exclusive Member Area
Don’t forget to share this pattern with anyone you think may like it on your social media accounts. It’s free for everyone to use and it’s a great way to support my work without paying a single cent. I even included the handy share button right here 👇🏼
Scrap Scarf Pattern (Set Width)
Things You Will Need
Set of 4 mm (6 US) single pointed needles
Tapestry needle to sew the seams and work in ends
Worsted weight yarn scraps or 2 coordinated colours. Any standard ball of yarn bought at a big box store will be enough.
The amount of scrap yarn you’ll need for each section will differ depending on the size you make. For the largest size, the scrap ball needs to be the size of a bottom of a pop or soda can. There will be a bit leftover.
Sizing
There is no sizing for this. Make it as long or as wide (or narrow as you like).
Gauge
In garter stitch. Gauge is not overly important for this. The garter stitch used makes it very stretchy.
size 4 mm (US size 6) single pointed needles
9 stitches every 2 inches (5 cm)
16 rows every 2 inches (5 cm)
Colour Notations
I had to use something to delineate between colour changes. You will have more colours than what I list here if using scrap yarn.
OC – other colour (scrap yarn colours or main colour)
HC – highlight colour (colour between sections)
Please note: This scarf can easily be made wider or narrower. I wrote the pattern again without specific st counts after the main pattern.
Cast on 25 sts
Row 1 and 2: HC K across
* Row 3: With HC K1. OC K to end of row.
Row 4: K to last st. Leave HC st unworked. Turn
Row 5: With HC K2. Wth OC K to end of row.
Row 6: K to last 3 st. Leave 3 HC st unworked. Turn
Row 7: With HC K2. Wth OC K to end of row.
Row 8: K to last 5 st. Leave 5 HC st unworked. Turn
Row 9: With HC K2. Wth OC K to end of row.
Row 10: K to last 7 st. Leave 7 HC st unworked. Turn
Row 11: With HC K2. Wth OC K to end of row.
Row 12: K to last 9 st. Leave 9 HC st unworked. Turn
Row 13: With HC K2. Wth OC K to end of row.
Row 14: K to last 11 st. Leave 11 HC st unworked. Turn
Please share this page!
More FREE patterns
Click the pic to read online!!
















FREE Knitting Graph Paper for Colorwork Knitting





Row 15: With HC K2. Wth OC K to end of row.
Row 16: K to last 13 st. Leave 13 HC st unworked. Turn
Row 17: With HC K2. Wth OC K to end of row.
Row 18: K to last 15 st. Leave 15 HC st unworked. Turn
Row 19: With HC K2. Wth OC K to end of row.
Row 20: K to last 17 st. Leave 17 HC st unworked. Turn
Row 21: With HC K2. Wth OC K to end of row.
Row 22: K to last 19 st. Leave 19 HC st unworked. Turn
Row 23: With HC K to end of row.
Row 24: K to last 21 st. Leave 21 HC st unworked. Turn
Row 25: With HC K2. Wth OC K to end of row.
Row 26: K to last 23 st. Leave 23 HC st unworked. Turn. If changing to a new colour, break OC now. If making the scarf 2 colours do NOT break.
Row 27: With HC K2.
Row 28: K across
Row 29: P across
More of My Stuff On Etsy
Row 30: P1 With OC P to the end of the row.
Row 31: P to last st. Leave HC st unworked. Turn
Row 32: With HC P2. Wth OC P to end of row.
Row 33: P to last 3 st. Leave 3 HC st unworked. Turn
Row 34: With HC P2. Wth OC P to end of row.
Row 35: P to last 5 st. Leave 5 HC st unworked. Turn
Row 36: With HC P2. Wth OC P to end of row.
Row 37: P to last 7 st. Leave 7 HC st unworked. Turn
Row 38: With HC P2. Wth OC P to end of row.
Row 39: P to last 9 st. Leave 9 HC st unworked. Turn
Row 40: With HC P2. Wth OC P to end of row.
Row 41: P to last 11 st. Leave 11 HC st unworked. Turn
Row 42: With HC P2. Wth OC P to end of row.
Row 43: P to last 13 st. Leave 13 HC st unworked. Turn
Row 44: With HC P2. Wth OC P to end of row.
Row 45: P to last 15 st. Leave 15 HC st unworked. Turn
Row 46: With HC P2. Wth OC P to end of row.
Row 47: P to last 17 st. Leave 17 HC st unworked. Turn
Row 48: With HC P2. Wth OC P to end of row.
Row 49: P to last 19 st. Leave 19 HC st unworked. Turn
Row 50: With HC P to end of row.
Row 51: P to last 21 st. Leave 21 HC st unworked. Turn
Row 52: With HC P2. Wth OC P to end of row.
Row 53: P to last 23 st. Leave 23 HC st unworked. Turn. If changing to a new colour, break OC now. If making the scarf 2 colours do NOT break.
Row 54: With HC P2.
Row 55: P across
Row 56: K across * Repeat from * to * for as many sections as you like.
End with Row 28 complete. Cast off with the RIGHT side of the work facing you.
General Scarf Pattern for ANY Width
You can easily convert the pattern as follows:
Cast on as many ODD number of sts as you like.
Row 1 and 2: With HC K across
* Row 3: With HC K1. With OC K to end of row.
Row 4: K to last st. Leave HC st unworked. Turn
♥ Row 5: With HC K2. Wth OC K to end of row.
Row 6: K all OC coloured sts. Leave remaining HC st unworked. Turn ♥ Repeat from ♥ to ♥ ending with HC K2. If changing to a new colour, break OC now. If making the scarf 2 colours do NOT break.
☺ Next row: K across
Next row: P across
Next row: With HC P1. With OC P to end of row.
Next row: P to last st. Leave HC st unworked. Turn
♦ Next row: With HC P2. Wth OC P to end of row.
Next row: P all OC coloured sts. Leave remaining HC st unworked. Turn ♦ Repeat from ♦ to ♦ ending with HC P2. If changing to a new colour, break OC now. If making the scarf 2 colours do NOT break.
Next row: P across
Next row: K across * Repeat from * to * for as many sections as you like.
End with row marked with ☺ complete. Cast off with the RIGHT side of the work facing you.
Hints And Tips
When making my scarf some of the yarn scraps were thicker than others. I did adjust my tension to account for this. If the yarn was thicker, I made my tension tighter. If it was thinner, it was less tight. It’s up to you if you want to do this.
When cutting the fringe, hold it steady with a book at the edge of your counter or table. Press down and cut along the edge of the book for an even edge.
How to Work in the Ends When Purling


Abbreviations
K – knit
P – Purl
st – stitch
sts – stitches

Thank you so much for the scrap scarf pattern. I thought it would take ages and I’d be bored, but I loved it and finished in just a few days.
Glad you enjoyed it!