Do you need a spider beanie? No. Do you want a spider beanie? Heck, ya!

There’s definitely a little Halloween spirit baked into this one, but why should Halloween have all the fun? If you’re a spider lover, a fan of creepy-crawly things, or just someone who likes a winter hat with a bit more personality, you can happily wear your spider all winter long.
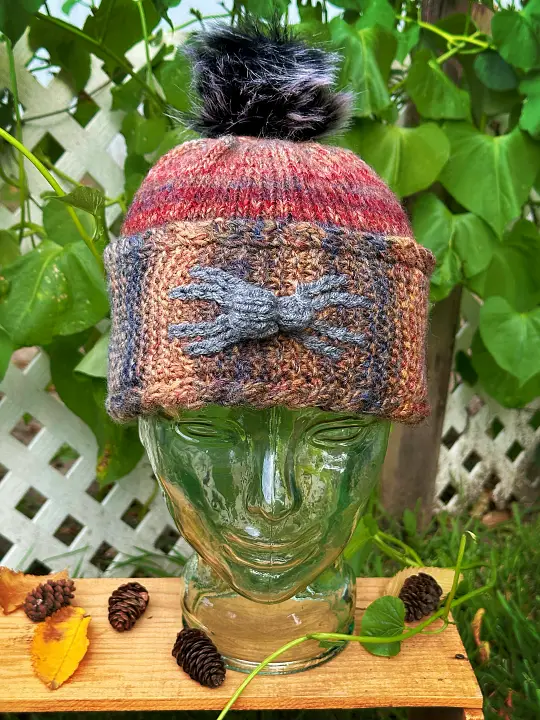
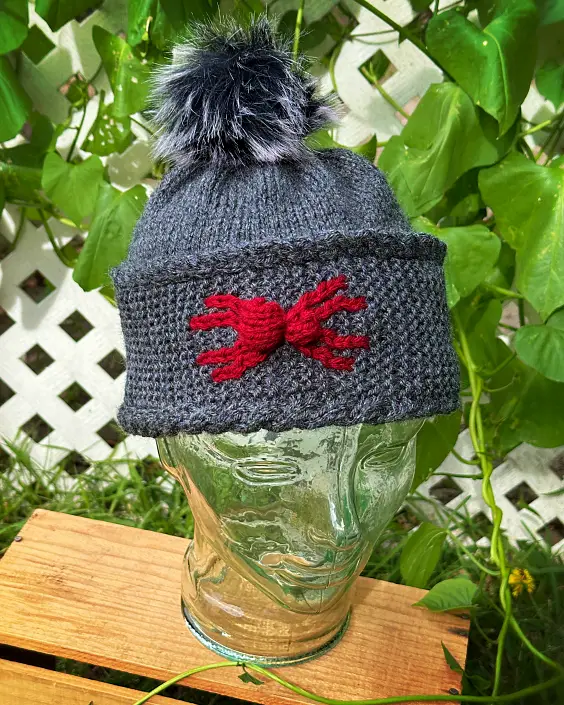
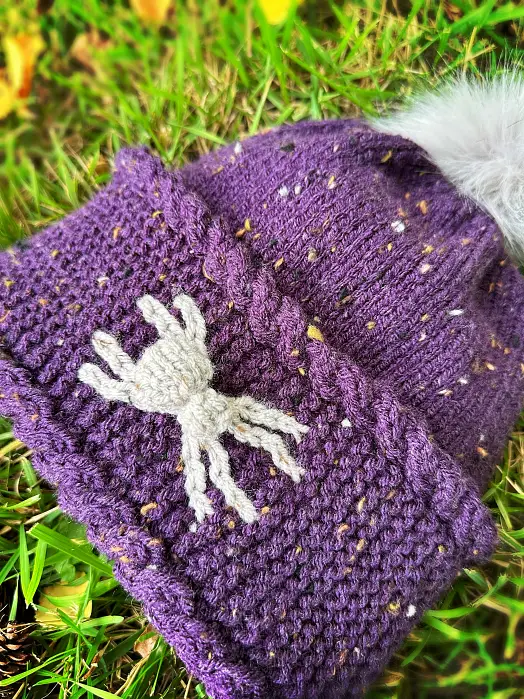
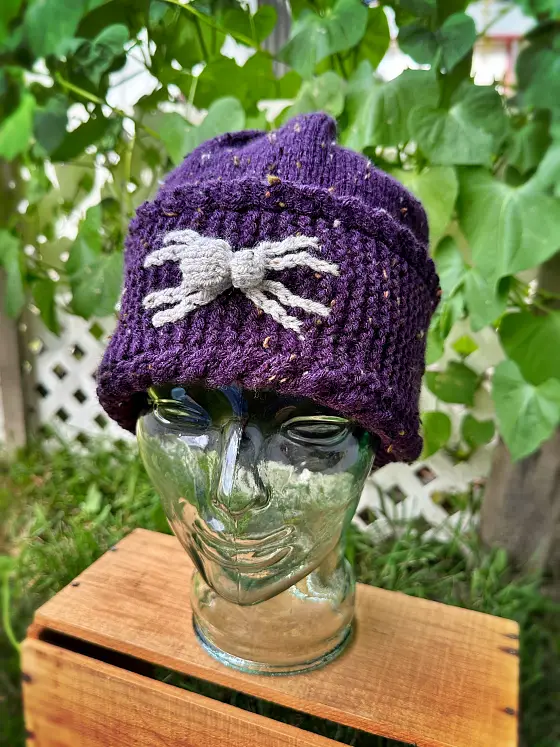
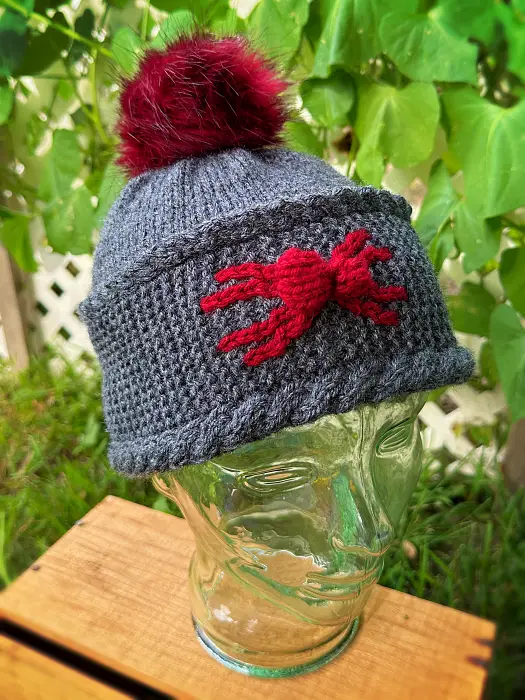
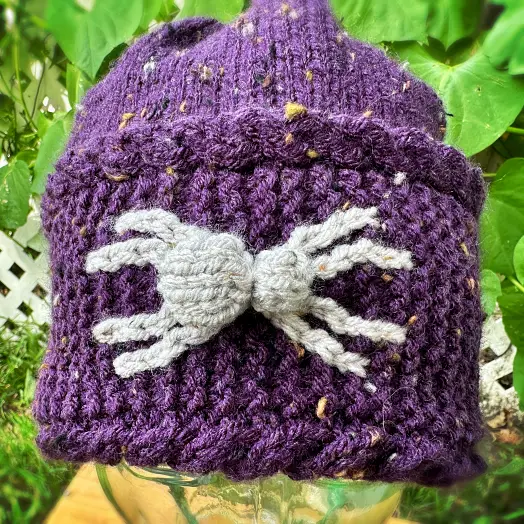
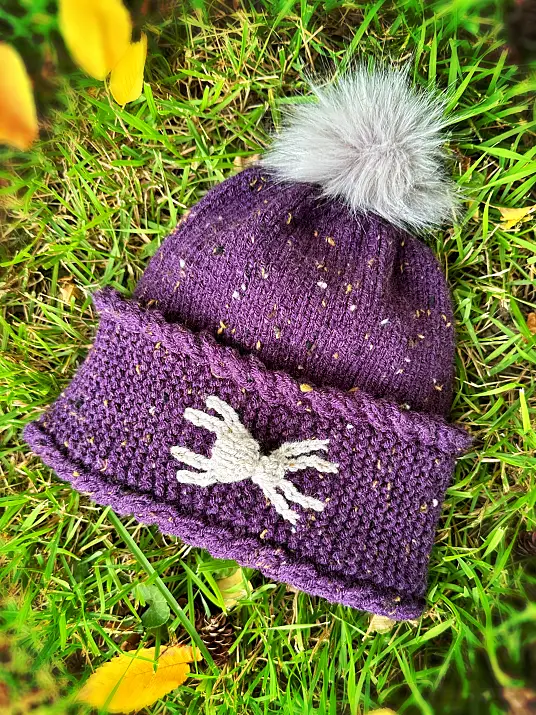
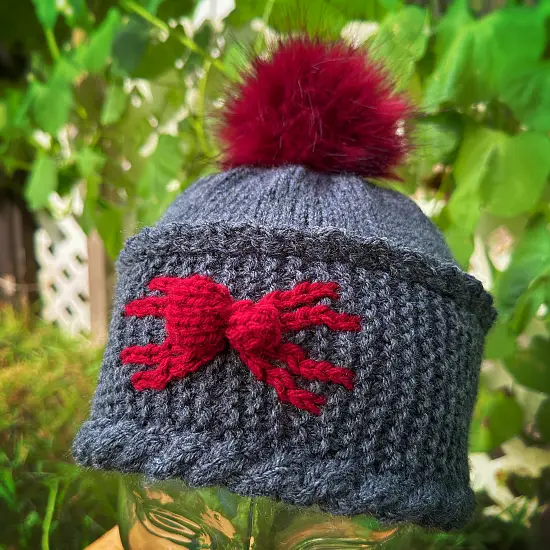
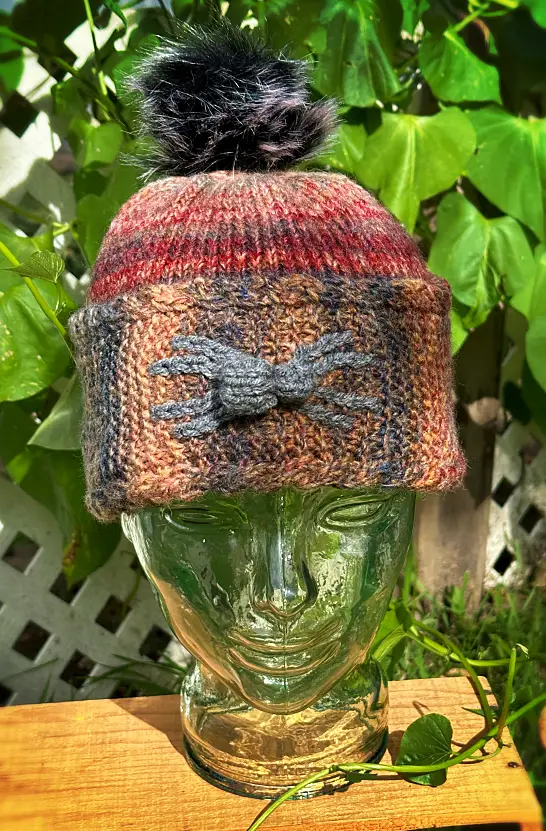
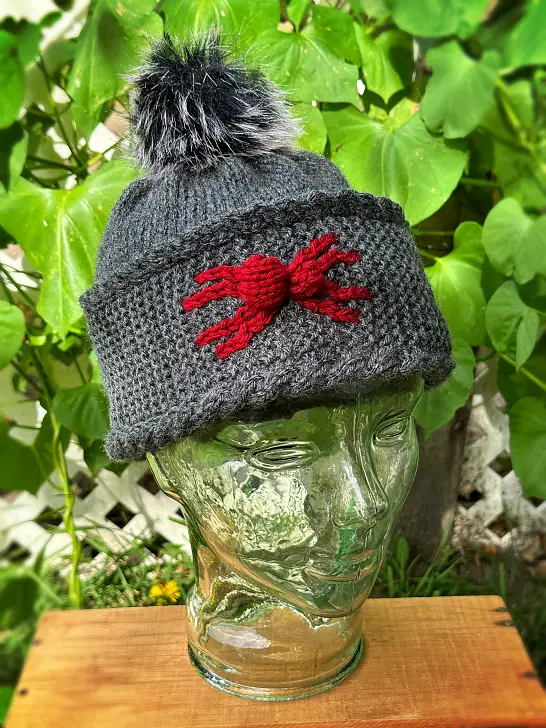
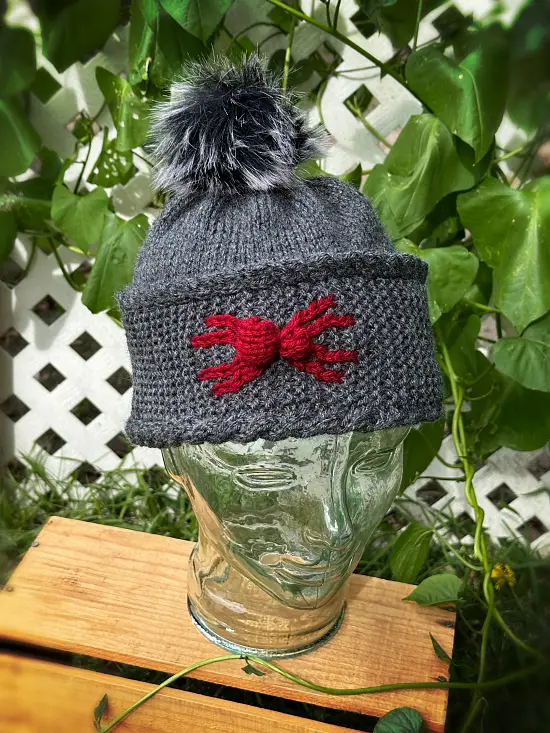
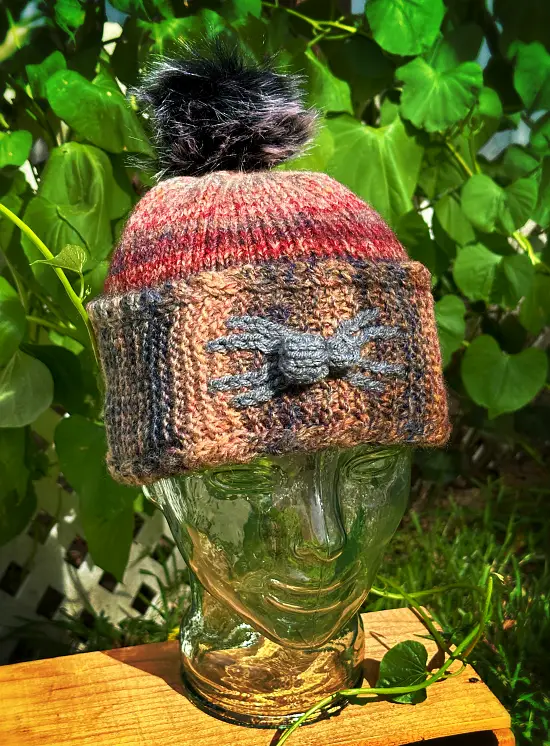
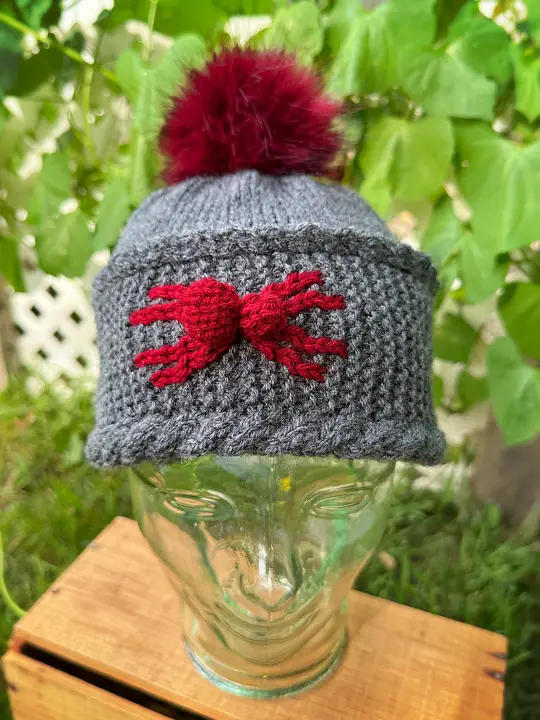
This spider winter hat is a fun winter hat with a big, bold spider that really stands out thanks to the simple colour work. It’s knit flat on straight needles, so there’s no knitting in the round, and while this isn’t a beginner knitting pattern, the colour work is easier than it looks.
I’ve included helpful videos in the Abbreviations section for some of the trickier stitches too, so you can see exactly how they’re done instead of sitting there wondering what the heck is going on.
Don’t forget to help a lady out and share this pattern if you like it. It’s one of the easiest ways you can support my work.
If you prefer to print your patterns, you can download it from a number of places. In particular, my Shopify shop here – Knit a Pair of Spider Fingerless Gloves – now with VIDEOS! You can also get it at a number of other online book retailers such as Ravelry, LoveCrafts, and Etsy. And the paperback version is also available on Amazon! It’s available to order in most countries. If you are a paid supporter of mine over on Buy Me A Coffee, this pattern (and many more) are included with your monthly fee. You can see that here – Fingerless Gloves with SPIDERS! – Knit Flat on 2 Needles – with How-to Video Links. Links for all are coming soon! 😊
Another way to avoid ads and pop-ups, get instant, PRINTABLE downloads of this pattern and others, is by becoming a Member. When you become a Website Supporter at $4/month, you’ll gain access to exclusive member only posts on Buy Me A Coffee. You can download as many patterns as you like for the same $4 each month. You can go to this page to learn more, become a member and support my work… Exclusive Member Area
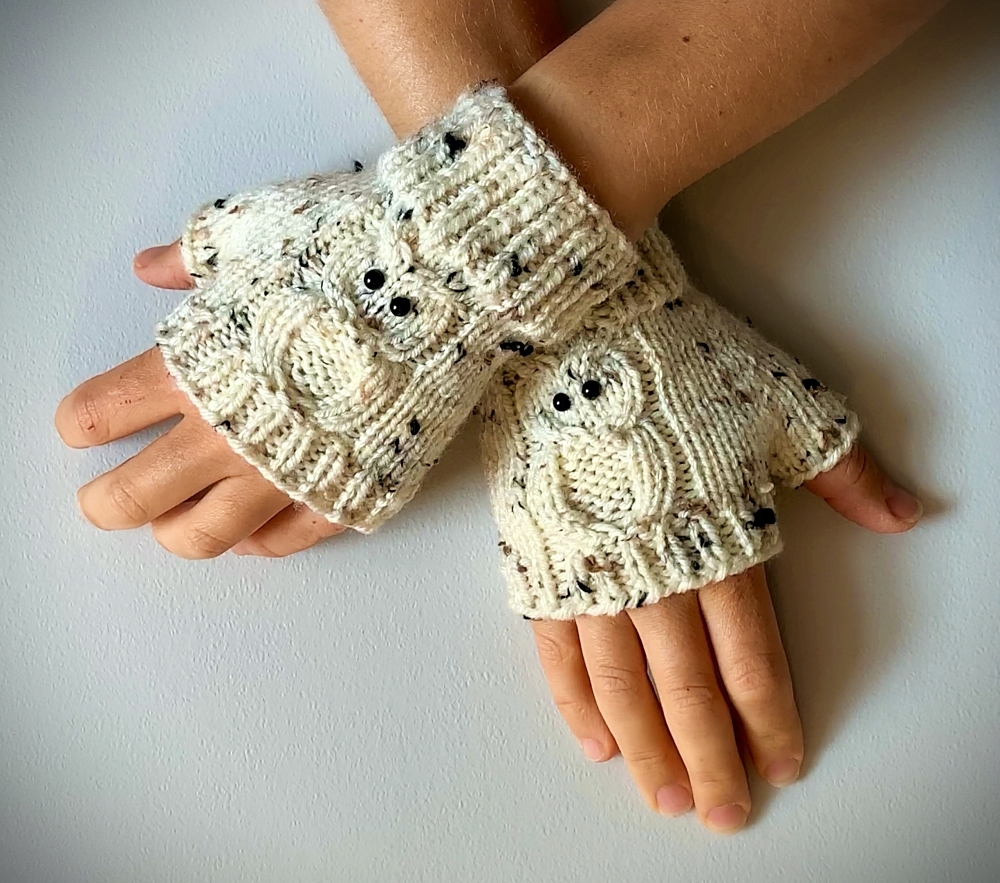
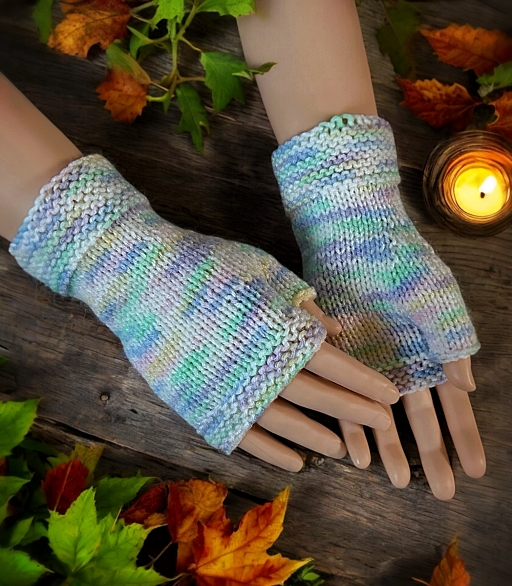
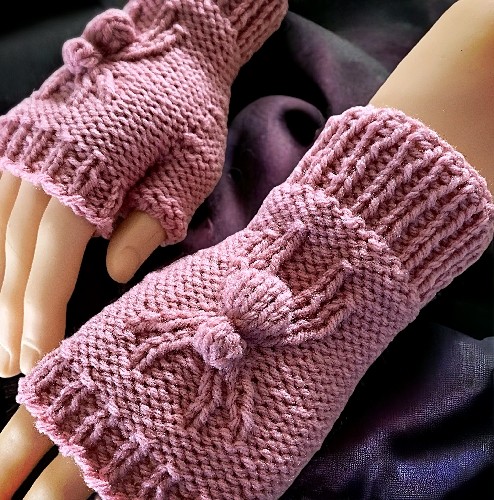
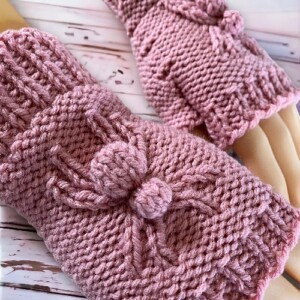
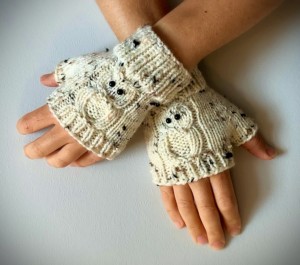
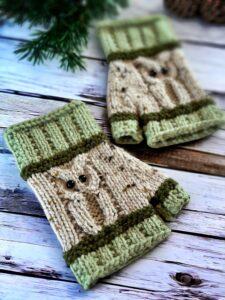
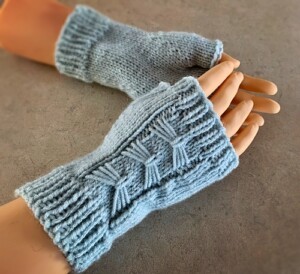
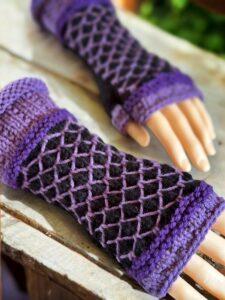
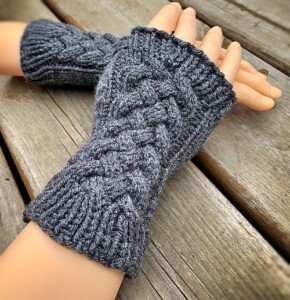
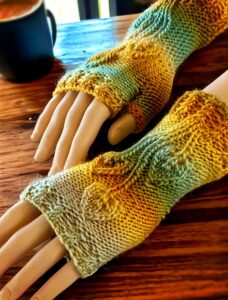
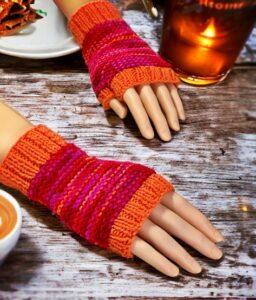
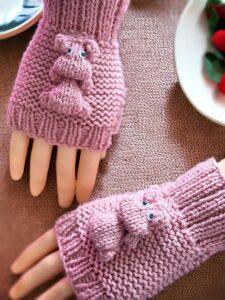
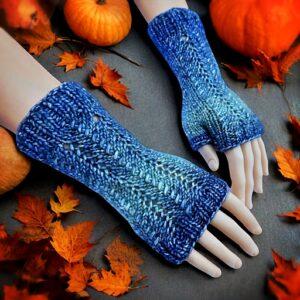
One more thing before we move on to the pattern, there is a matching set of fingerless gloves you can make. If you want to make a pair of those, click the pic below to read it here on this website.
Things You Need
Worsted weight yarn in 2 colours:
Main Colour (MC): approx. 175 g (one standard ball of big box store yarn will be enough).
Spider Colour (SC): small amount. If the ball is the size of the bottom of soda or pop can, it will be more than enough.
1 set of 4 mm (US 6) single pointed knitting needles
Cable Needle
Tapestry needle – to sew the seam and work in the ends.
Gauge
If you’re off a bit, don’t worry the garter st in the band will help adjust to make it fit around the head.
In garter st
17 sts = 4 inches or 10 cm
34 rows = 4 inches or 10 cm
Sizing is written as such: (though there really isn’t much in this pattern)
sm/med (lg/xlg)
Band
Cast on 27 with MC
♥ Row 1: K2 P2 K4 P1 K13 P1 K4
Row 2: P4 K15 P4 K4
Row 3: K2 P2 C4F P1 K13 P1 C4B
Row 4: as row 2 (and all even rows not a part of the spider motif) ♥ Repeat from ♥ to ♥ 8 (9.5) inches.
End with Row 2
Making the Spider
Next row: K2 P2 C4F P1 K4 with SC K1 with MC K3 with SC K1 with MC K4 P1 C4B
Next row: P4 K5 with SC P1 with MC K3 with SC P1 with MC K5 P4 K4
Next row: K2 P2 K4 P1 K2 with SC K1 with MC K1 with SC K1 with MC K3 with SC K1 with MC K1 with SC K1 with MC K2 P1 K4
Next row: P4 K3 with SC P1 with MC K1 with SC P1 with MC K3 in SC P1 with MC K1 With SC P1 with MC K3 P4 K4
Next row: K2 P2 C4F P1 K2 with SC K1 with MC K1 with SC K1 with MC K3 with SC K1 with MC K1 with SC K1 with MC K2 P1 C4B
Next row: P4 K3 with SC P1 with MC K1 with SC P1 with MC K3 in SC P1 with MC K1 With SC P1 with MC K3 P4 K4
Next row: K2 P2 K4 P1 K2 ♦ With the cable needle, pick up and pull the st FORWARD. In MC K the st on the non-working needle. In SC K the st on the cable needle. ♦ Repeat from ♦ to ♦ once. In MC K1 ♪ With the cable needle, pick up the next st with the cable needle. Pull the st BACK. In SC K the st on the non-working needle, In MC K the st on the cable needle. ♪ Repeat from ♪ to ♪ once. K2 P1 K4.
Next row: P4 K4 ■ with SC P1 with MC K1 ■ Repeat from ■ to ■ 3 times more. With MC K3 P4 K4.
Please share this page!
More FREE patterns
Click the pic to read online!!


















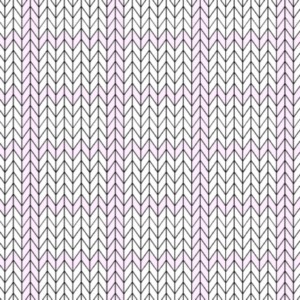
FREE Knitting Graph Paper for Colorwork Knitting










Next row: K2 P2 C4F P1 K3. With the cable needle, pick up and pull the st FORWARD. With MC K1 the st on the non-working needle. With SC K1 on the cable needle. With SC K1 With MC K1 with SC K1. With the cable needle, pick up and pull the st BACK. With SC K1 the st on the non-working needle. With MC K1 on the cable needle. K3 P1 C4B.
Next row: P4 K5 with SC P2 with MC K1 with SC P2 with MC K5 P4 K4
Next row: K2 P2 K4 P1 K4. With SC TWK2tog. Bobble 6 (K6 into one stitch by alternating knitting into the front and back of the stitch, turn. Working the following rows into the 6 stitches in the one stitch, P6, turn, K6, turn, P6, turn, K6, turn, P6, turn, K6, turn, P6, turn, TWK2tog. K2tog twice (do NOT turn). Pass the middle stitch over the stitch closest to the tip of the needle. Two bobble stitches remain. Pass the second bobble stitch over the stitch closest to the tip of the needle. (The bobble is now 1 stitch again on your needle.) K2tog. With MC K4 P1 K4.
Next row: P4 K5 with SC P3 with MC K5 P4 K4
Next row: K2 P2 C4F P1 K4. With SC INC. Bobble 5 (K5 into one stitch by alternating knitting into the front and back of the stitch, turn. Working the following rows into the 5 stitches in the one stitch, P5, turn, K5, turn, P2tog P1, TBLP2tog, turn, K3 (do NOT turn). Pass the middle stitch over the stitch closest to the tip of the needle. Two bobble stitches remain. Pass the second bobble stitch over the stitch closest to the tip of the needle. (The bobble is now 1 stitch again on your needle). With SC INC. With MC K4 P1 C4B.
Next row: P4 K5 with SC P2 with MC P1 with SC P2 with MC K5 P4 K4
Next row: K2 P2 K4 P1 K3. With the cable needle, pick up and pull the st BACK. With SC K1 the st on the non-working needle. With MC K1 on the cable needle. With SC K1 With MC K1 with SC K1. With the cable needle, pick up and pull the st FORWARD. With MC K1 the st on the non-working needle. With SC K1 on the cable needle. With MC K3 P1 K4.
Next row: P4 K4 ▲with SC P1 with MC K1▲Repeat from ▲ to ▲ 3 times more. With MC K3 P4 K4.
Next row: K2 P2 C4F P1 K2. ☻With the cable needle, pick up and pull the st BACK. With SC K1 the st on the non-working needle. With MC K1 on the cable needle.☻ Repeat from ☻ to ☻ once. With MC K1 * With the cable needle, pick up and pull the st FORWARD. With MC K1 the st on the non-working needle. With SC K1 on the cable needle.* Repeat from * to * once. With MC K2 P1 C4B.
Next row: P4 K3 With SC P1. With MC K1 with SC P1 with MC K3 with SC P1 with MC K1 With SC P1 with MC K3 P4 K4.
Next row: P4 K5 with SC P1 with MC K3 with SC P1 with MC K5 P4 K4. Break SC.
Remainder of the Band
Next row: K2 P2 C4F P1 K13 P1 C4B
Next row: as row 2
♥ Next row: K2 P2 K4 P1 K13 P1 K4
Next row: as row 2
Next row: K2 P2 C4F P1 K13 P1 C4B
Next row: as row 2 ♥ Repeat from ♥ to ♥ 8 (9.5) inches.
Cast off.
More of My Stuff on Etsy
Hat Top
With the RIGHT side of the hat facing you (the garter stitches at the top), pick up stitches along the edge. Pick up one stitch in the nub of each garter “ridge”, and for every group of five stitches picked up, pick up an extra stitch between the nubs.
If you need a little help with picking up the stitches, the video is cued up to the right spot in the video to help you out by clicking this link How to Pick up stitches on the Easy Beanie or scanning the QR code below.
Work your way down the length picking up a st in every 5 nubs, and picking up a st between the nubs. Knit whatever remaining sts remain after picking up between the ridge nubs (ie 4, 3, 2 or 1 st). The number of sts picked up will vary depending on the size. The number isn’t overly important. It’s still just knitting and stretches, after all. More detail is in the Hints and Tips section further down the page.
♥ Next row: Knit across
Next row: Purl across ♥ Repeat from ♥ to ♥ for the length of 7 (8) inches
The measurement includes the stockinette AND the 2 st garter section along the edge of the brim.
♦ Next row: K2tog across. Knit any single remaining sts.
Next row: Purl across
Next row: Knit across.
Next row: Purl across.♦ Repeat from ♦ to ♦ until you have 12 sts or less. End when you complete the K2tog row with the correct number of sts.
Break the yarn. Leave a length of yarn long enough to sew the seam. Draw through all remaining sts. Sew seam.
Hints and Tips
You will ALWAYS have the same number of sts at the end of the row when making the spider.
You don’t have to centre the spider perfectly in the middle of the forehead if you know you want to wear it to the right or left side. Make the band longer than instructed, make the spider, then shorter on the other side of the band, or vice versa. The spider itself measure approximately 3.5 inches long. The band needs to measure 19 inches for the sm/med and 22 inches for lg/xlg when done.
You don’t need to add the spider at all if it’s not your style. There’s no law that says you can make it a cable edged garter band.
Make the hat taller by making it longer than instructed. You can also make it shorter. It really is up to you.
The pom pom is optional. Make it match the hat or the spider.
Abbreviations
K – Knit
P – Purl
sts – stitches
st – stitch
INC – A basic knitting increase. Knit in the front and back of the st.
k2tog – knit 2 sts together. Click the video below to watch this video to see how.
C4F – Pick up the next 2 stitches with your cable needle. Pull the stitches to the FRONT of your work. Knit the next 2 stitches on your non-working needle. Knit the 2 stitches from the cable needle. Watch this video to see how.
C4B – Pick up the next 2 stitches with your cable needle. Pull the stitches to the BACK of your work. Knit the next 2 stitches on your non-working needle. Knit the 2 stitches from the cable needle. Watch this video to see how.
TWK2tog – (Twist and Knit 2 sts together) – Pick up a stitch as if to knit. Twist the stitch and place it back on your non-working needle. Knit the 2 stitches together from right to left. The video is for a different pattern but is done the exact same way.
TBLP2tog – (Through the Back Loop, Purl 2 sts together) – Purl 2 together through the back loop from left to right.