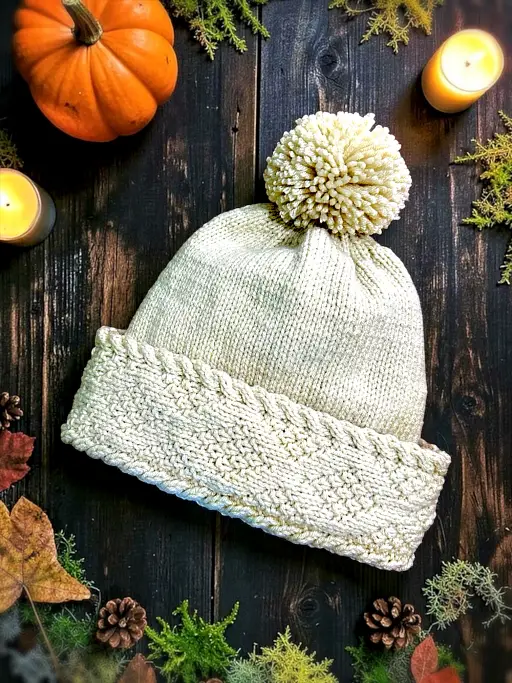
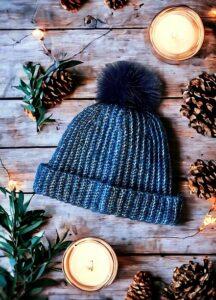
Looking for a cozy knit hat with a little extra texture? The Diamond Brim Bobble Beanie is a warm, stylish knitting pattern for a beanie with a double-thick brim, a delicate diamond cable design, and an optional bobble on top.

This knitted hat pattern uses simple knit and purl stitches to create the diamond detail, with decorative cables along the edges. Video tutorials are included to help you master the cable stitches, making this a great cable knitting pattern for confident beginners ready to learn a new skill.
With sizes for children 5 years through adults, this bobble beanie is a lovely handmade hat for the whole family. Choose your favourite yarn, make the bobble or leave it off, and create a cozy knitted winter hat with beautiful texture and a snug, double-layered brim.
Don’t forget to help a lady out and share this pattern if you like it. It’s one of the easiest ways you can support my work.
If you prefer to print your patterns, you can download it from a number of places. In particular, my Shopify shop here – Diamond Brim Bobble Beanie. You can also get it at a number of other online book retailers such as Ravelry, LoveCrafts, and Etsy. If you are a paid supporter of mine over on Buy Me A Coffee, this pattern (and many more) are included with your monthly fee. You can see that here – Diamond Brim Bobble Beanie Hat. Links coming soon! 😊
Another way to avoid ads and pop-ups, get instant, PRINTABLE downloads of this pattern and others, is by becoming a Member. When you become a Website Supporter at $4/month, you’ll gain access to exclusive member only posts on Buy Me A Coffee. You can download as many patterns as you like for the same $4 each month. You can go to this page to learn more, become a member and support my work… Exclusive Member Area
Looking for even more hats? I got you covered. Click the pic below to read the pattern right here on the website for FREE!


Things You Need
Worsted weight (AKA – 4 or medium) yarn – one standard ball (515 yards / 471 m) will be more than enough with yarn left over.
1 set of size 4 mm (US size 6) single pointed needles
Cable needle
Tapestry needle (to work in ends)
Bobble or pom pom of your choice. You can make or purchase one.
Gauge
With size 4 mm (US size 6) needles or whatever size you need to obtain the correct number of stitches and rows. Be sure to check your gauge. It doesn’t need to be exact but the closer the better.
In garter st
17 sts = 4 inches or 10 cm
34 rows = 4 inches or 10 cm
Sizing Notes
First things first: let’s figure out how big to make the hat. When you’re going by age and gender, the measurements are only approximate – especially for kids. Adult sizes are more standardized: small, medium, large, and extra large.
If the person’s head is handy, measuring it directly is always best. That said, knitting isn’t an exact science. It stretches and contracts as needed, especially with the garter stitch inside the brim this hat uses.
Child Sizing
Data is based on World Health Organization and pediatric growth standards. You can also do an online search for sizing if you believe it to be inaccurate. Other organizations located in the USA, UK, etc give sizes as being slightly larger. A gentle reminder that this is knitting and it does stretch to accommodate close measurements. Close IS usually good enough in this case.
This design is for children (5 ish) and older. The band around the brim is quite thick and a heads any smaller than 20 inches (51 cm) will be too wide to fit comfortably on the forehead.

Adult Sizing
Small/Medium – 21 to 22 inches (53.5 – 56 cm)
Large/Extra Large – 23 to 24 inches (57 – 61 cm)
Band
Cast on 33
* Row 1: K10 P2 K4 P1 K1 P1 K1 P1 K3 P1 K1 P1 K1 P1 K4
Row 2: P4 K1 P1 K1 P1 K1 P3 K1 P1 K1 P1 K1 P4 K12
Row 3: K10 P2 C4F P2 K1 P1 K5 P1 K1 P2 C4B
Row 4: P4 K2 P1 K1 P5 K1 P1 K2 P4 K12
Row 5: K10 P2 K4 P1 K1 P1 K3 P1 K3 P1 K1 P1 K4
Row 6: P4 K1 P1 K1 P3 K1 P3 K1 P1 K1 P4 K12
Row 7: K10 P2 C4F P2 K3 P1 K1 P1 K3 P2 C4B
Row 8: P4 K2 P3 K1 P1 K1 P3 K2 P4 K12
Row 9: K10 P2 K4 P1 K3 P1 K1 P1 K1 P1 K3 P1 K4
Row 10: P4 K1 P3 K1 P1 K1 P1 K1 P3 K1 P4 K12
Please share this page!
More FREE patterns
Click the pic to read online!!








FREE Knitting Graph Paper for Colorwork Knitting





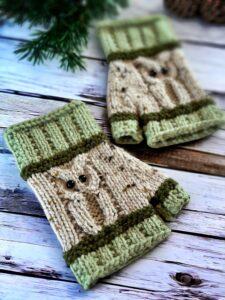
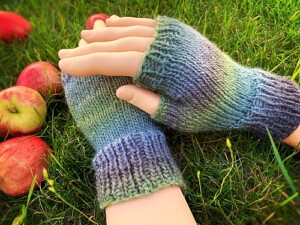
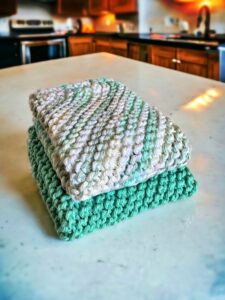
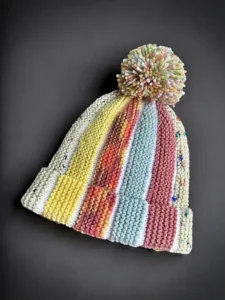











Row 11: K10 P2 C4F P1 K2 P1 K1 P1 K1 P1 K1 P1 K2 P1 C4B
Row 12: P4 K1 P2 K1 P1 K1 P1 K1 P1 K1 P2 K1 P4 K12
Row 13: As row 9
Row 14: As row 10
Row 15: As row 7
Row 16: As row 8
Row 17: As row 5
Row 18: As row 6
Row 19: As row 3
Row 20: As row 4 * Repeat from * to * until the diamond pattern portion of the band measures the length you desire based on previous measuring information. End with any EVEN row of the pattern complete. Cast off.
More of My Stuff On Etsy
Hat Top
With the RIGHT side of the hat facing you (the garter stitches at the top), pick up stitches along the edge. Pick up one stitch in the nub of each garter “ridge”, and for every group of five stitches picked up, pick up an extra stitch between the nubs.
If you need a little help with picking up the stitches, the video is cued up to the right spot in the video to help you out by clicking this link How to Pick up stitches on the Easy Beanie or scanning the QR code below.
Work your way down the length picking up a st in every 5 nubs, and picking up a st between the nubs. Knit whatever remaining sts remain after picking up between the ridge nubs (ie 4, 3, 2 or 1 st). The number of sts picked up will vary depending on the size. The number isn’t overly important. It’s still just knitting and stretches, after all. More detail is in the Hints and Tips section further down the page.
♥ Next row: Knit across
Next row: Purl across ♥ Repeat from ♥ to ♥ for the length calculated below.
Use the table below to determine the length you need. The measurement includes the stockinette AND the garter sections. This is a guide only. You can make the top as long or short as you like.
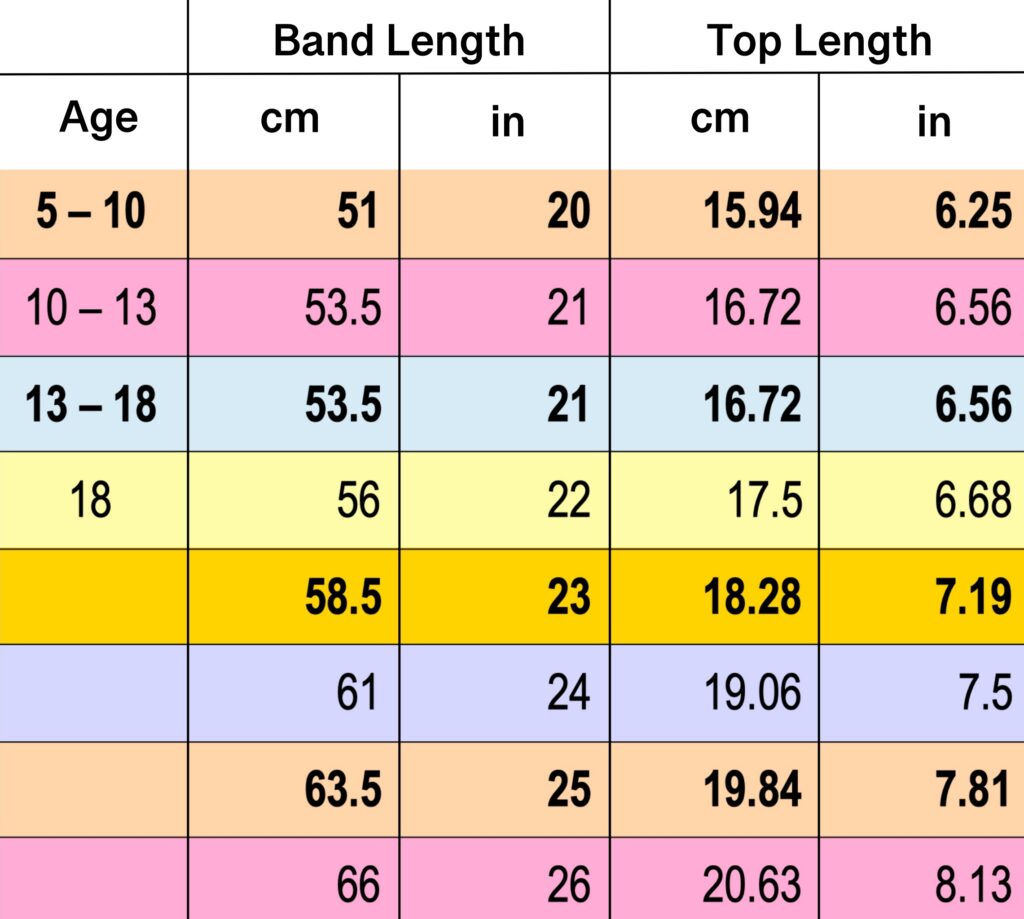
♦ Next row: K2tog across. Knit any single remaining sts.
Next row: Purl across
Next row: Knit across
Next row: Purl across.♦ Repeat from ♦ to ♦ until you have 12 sts or less. End when you complete the K2tog row with the correct number of sts.
Break the yarn. Leave a length of yarn long enough to sew the seam. Draw through all remaining sts. Sew seam.
Hints and Tips
Think of picking up the sts as this math equation. For every 5 sts you need one extra st. So for as many groups of 5 “ridges” you have of garter st for the band, that’s how many extra sts you need to pick up evenly.
If you want to make the hat more floppy on the top, have at it. Make it longer than what is given in the chart.
Abbreviations
K – Knit
P – Purl
sts – stitches
st – stitch
k2tog – knit 2 sts together. Click this video to see how.
Side note: I use both versions of the terminology when it comes to cable stitches. I’ve been corrected that I’m using the wrong one for both occasions so it’s a no win for me. What I mean is that C4F is the same technique as C2F. Just like how C2B is the same as C4B. Do you think of it as the just the stitches you’re pulling or the number of stitches you’re using in total when you do it? It’s a personal choice, I guess.
C4F – Pick up the next 2 stitches with your cable needle. Pull the stitches to the FRONT of your work. Knit the next 2 stitches on your non-working needle. Knit the 2 stitches from the cable needle. Watch this video to see how.
C4B – Pick up the next 2 stitches with your cable needle. Pull the stitches to the BACK of your work. Knit the next 2 stitches on your non-working needle. Knit the 2 stitches from the cable needle. Watch this video to see how.