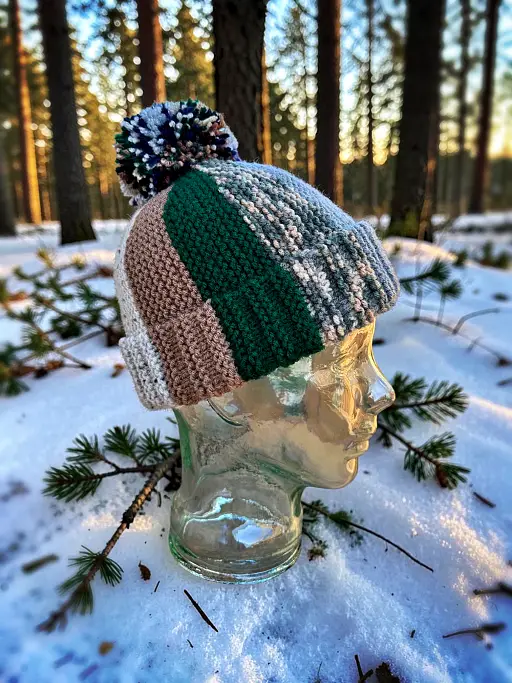
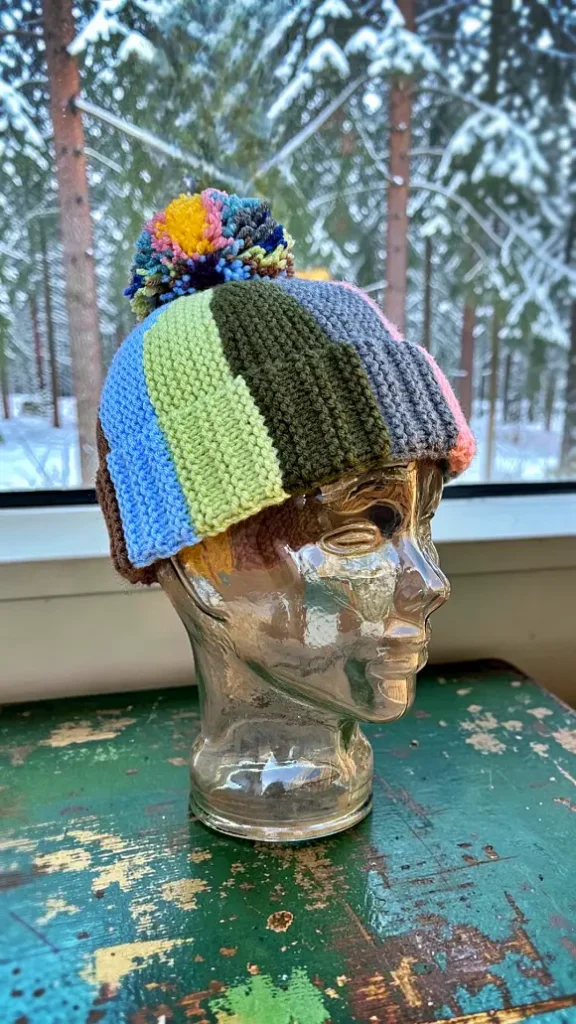
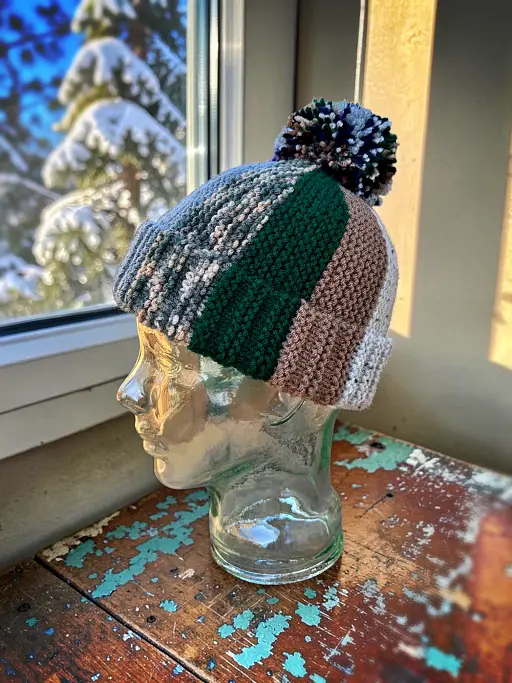
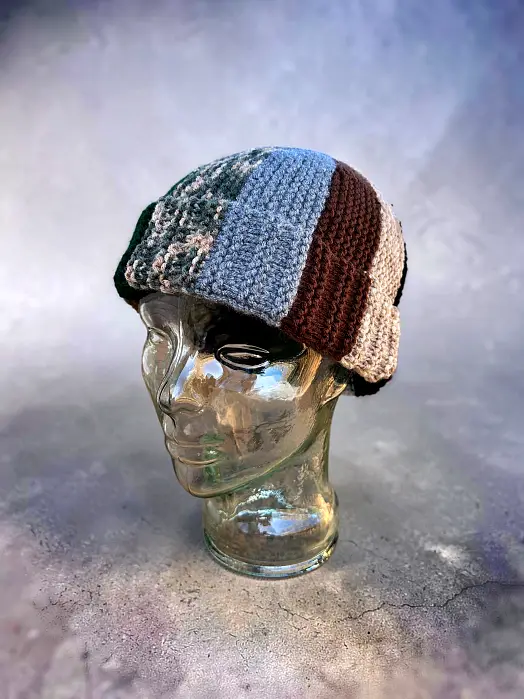
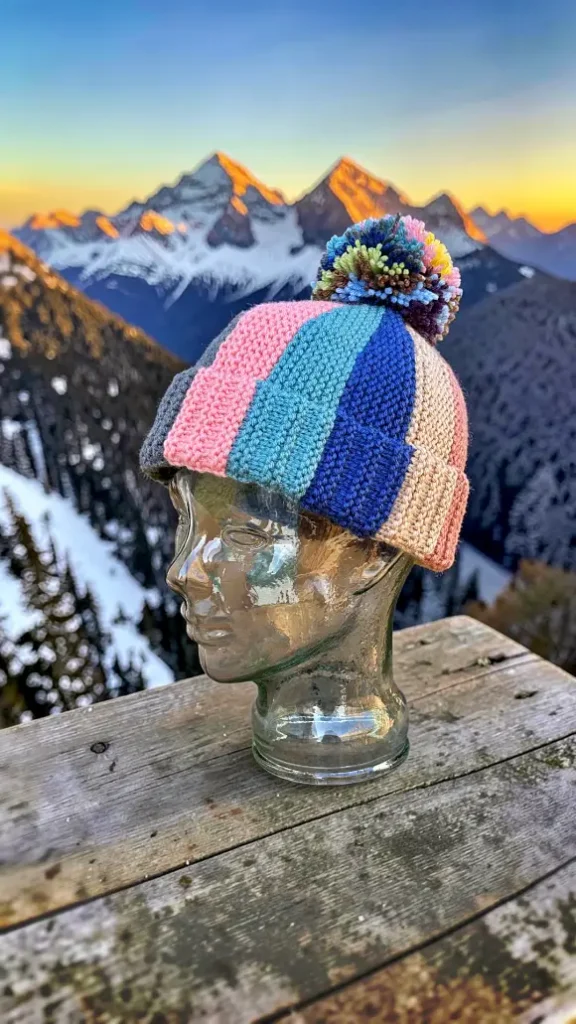
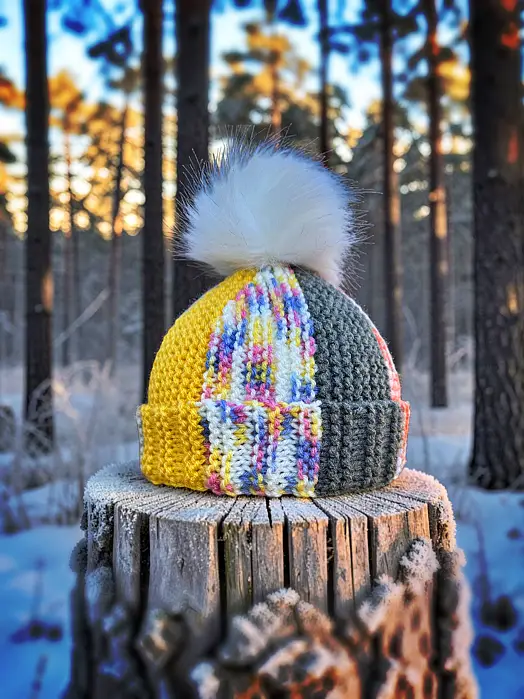
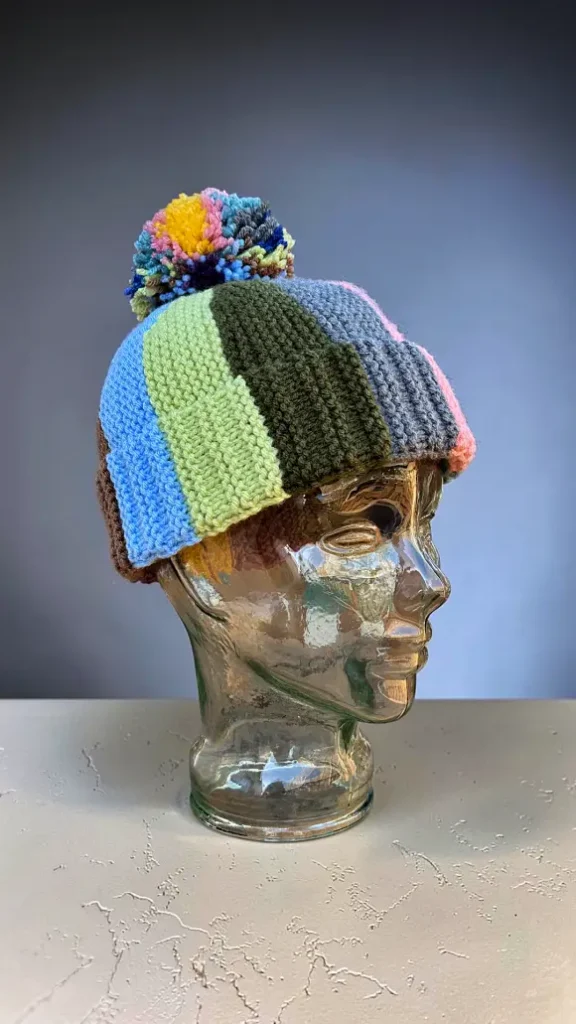
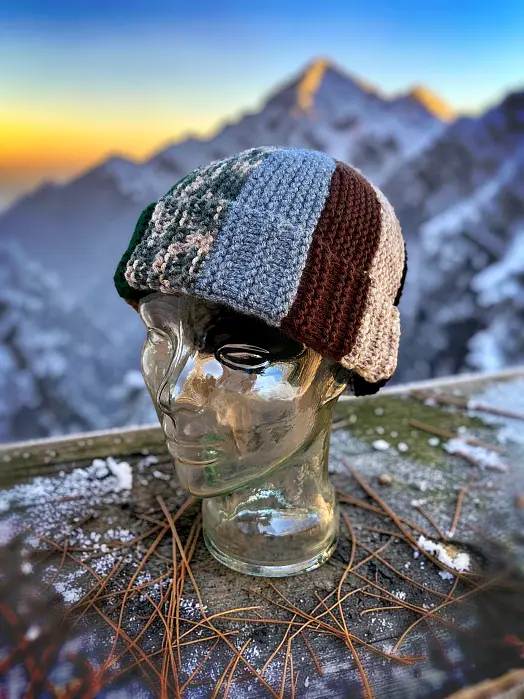
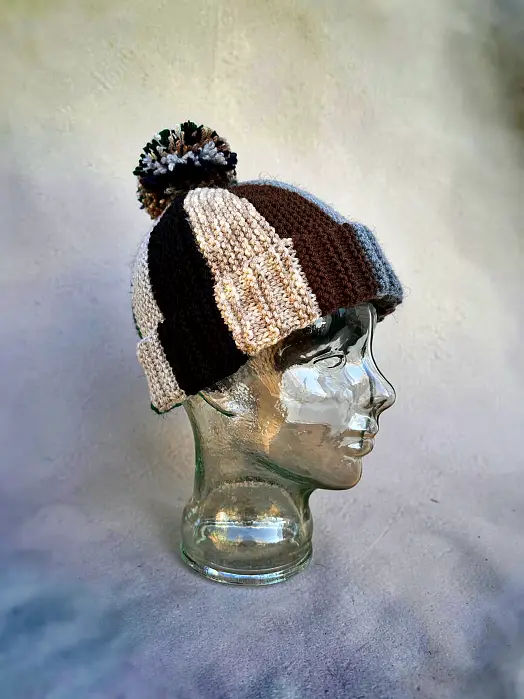
This easy bobble beanie knitting pattern is the perfect scrap yarn project for using up leftover yarn from bigger knits instead of letting it sit forgotten in a basket or closet forever. Knit flat on straight needles, this cozy winter hat can be made in sizes from children to adults and is a fun way to mix colours and create unique combinations with your yarn stash. No two hats ever turn out the same.

These scrap yarn beanies are great for gifting, craft sales, or charity knitting because they use yarn you already have on hand, making them an affordable and practical knit.
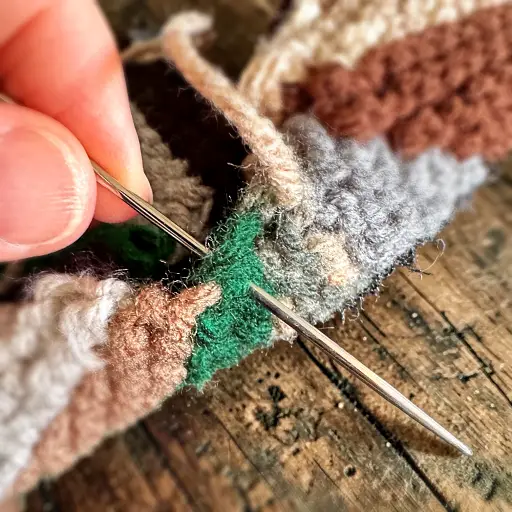
And before anyone says it… no, you won’t be stuck weaving in a million yarn ends afterward.
I made a tutorial showing how I work in yarn ends while knitting so they’re caught automatically as you go. If done correctly, there are only 2 ends left to sew in when the hat is finished – the cast on end and the end used to sew the seam. You can watch the full tutorial below.
If you would prefer the printable version of the pattern, I have a number of online retailers you can buy it from including online at KweenBee on Shopify, Etsy, Ravelry and Buy Me A Coffee. I also have the paperback booklet and Kindle versions available on Amazon. Links coming soon!
Another way to avoid ads and pop-ups, get instant, PRINTABLE downloads of this pattern and others, is by becoming a Member. When you become a Website Supporter at $4/month, you’ll gain access to exclusive member only posts on Buy Me A Coffee. You can download as many patterns as you like for the same $4 each month. You can go to this page to learn more, become a member and support my work… Exclusive Member Area
Don’t forget to share this pattern with anyone you think may like it on your social media accounts. It’s free for everyone to use and it’s a great way to support my work without paying a single cent. I even included the handy share button right here 👇🏼
This isn’t my first winter hat I’ve designed. It’s have many more including a crocheted version. Clicking any of the photos below will take you right to the FREE pattern to make it.

Make it in crochet.

Fits everyone! And has a full how to video.
I wrote another scrap hat. This one is even easier to make and looks a bit more refined.
Things You Will Need
Set of 4 mm (6 US) single pointed needles
Tapestry needle to sew the seams and work in ends
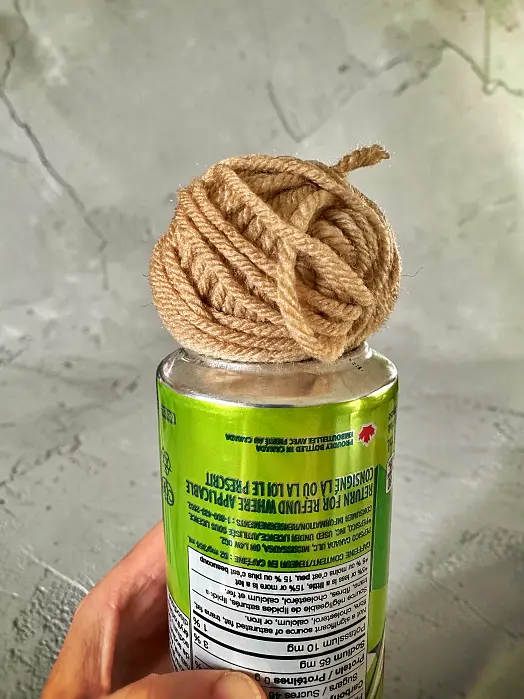
Worsted weight yarn scraps. The amount of yarn you’ll need for each section will differ depending on the size you make. For the largest size, the ball needs to be the size of a bottom of a pop or soda can. There will be a bit leftover.
Gauge
In stockinette stitch. Gauge is not overly important for this. The garter stitch used makes it very stretchy.
size 4 mm (US size 6) single pointed needles
10 stitches every 2 inches (5 cm)
14 rows every 2 inches (5 cm)
I had to use something to delineate between colour changes. You will have more colours than what I list here. Depending in the size, it could be 9 – 12 colours.
FC – first colour
NC – next colour
AOC – another colour
Sizing
Sizing is written as such: Small (Medium, Large, X-Large)
All age and sizing references in this pattern are estimates and based on the measurement around the head (circumference).
Small – Kids 1-5 years (18 inches or 46 cm)
Medium – Kids 6-10 (20 inches or 50 cm)
Large – Kids ages 11 to small adults (22 inches or 56 cm)
X-Large – People 24 inches or 61 cm and up
Please note, this is a VERY forgiving pattern with a LOT of stretch.
And here is the video on how to work in the ends as you knit, in case you missed it earlier 😊
The Pattern
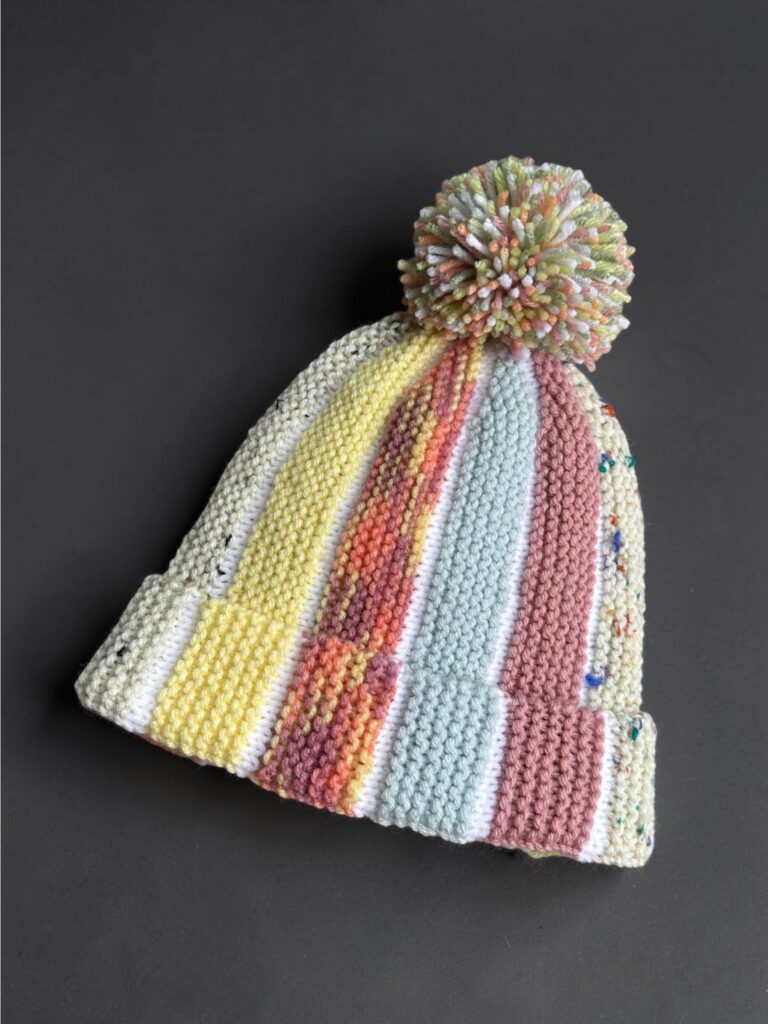
This beanie is made in sections that are knit from the crown of the head down toward the forehead, not in rows going around the head like a traditional beanie.
Cast on 38 (42, 45, 47) with FC
Please share this page!
More FREE patterns
Click the pic to read online!!


![]()
![]()


FREE Knitting Graph Paper for Colorwork Knitting


Row 1: With NC K1. FC K28 (31, 33, 34) P1 K8 (9, 10, 11)
Row 2: K37 (41, 44, 46). Turn. Leave last st unworked.
Row 3: With NC K2. FC K26 (29, 31, 32) P1 K8 (9, 10, 11)
Row 4: K35 (39, 42, 44). Turn. Leave remaining 3 sts unworked.
Row 5: NC K2. FC K24 (27, 29, 30) P9 (10, 11, 12)
Row 6: K33 (37, 40, 42). Turn. Leave remaining 5 sts unworked.
Row 7: NC K2. FC K22 (25, 27, 28) P1 K8 (9, 10, 11)
Row 8: K31 (35, 38, 40). Turn. Leave remaining 7 sts unworked.
Row 9: NC K2. FC K20 (23, 25, 26) P1 K8 (9, 10, 11)
Row 10: K29 (33, 36, 38). Turn. Leave remaining 9 sts unworked.
Row 11: NC K2. FC K18 (21, 23, 24) P9 (10, 11, 12).
Row 12: K27 (31, 34, 36). Turn. Leave remaining 11 sts unworked.
Row 13: NC K2. FC K16 (19, 21, 22) P1 K8 (9, 10, 11)
Row 14: K25 (29, 32, 34). Turn. Leave remaining 13 sts unworked.
Row 15: NC K2 FC K14 (17, 19, 20) P1 K8 (9, 10, 11)
Row 16: K23 (27, 31, 32). Turn. Leave remaining 15 sts unworked. Break FC.
Row 17: NC K14 (17, 19, 20) P9 (10, 11, 12)
Row 18: P8 (9, 10, 11) K30 (33, 35, 36).
More of My Stuff On Etsy
You can make a widget like this for your blog or website, too.
Instructions are on my website here: How to Display Etsy Items on Your Website
♥ Row 19: AOC K1. NC K28 (31, 33, 34) P1 K8 (9, 10, 11)
Row 20: K37 (41, 44, 46). Turn. Leave remaining 1 st unworked.
Row 21: AOC K2. NC K26 (29, 31, 32) P9 (10, 11, 12).
Row 22: K35 (39, 42, 44). Turn. Leave remaining 3 sts unworked.
Row 23: AOC K2. NC K24 (27, 29, 30) P1 K8 (9, 10, 11)
Row 24: K33 (37, 40, 42).Turn. Leave remaining 5 sts unworked.
Row 25: AOC K2. NC K22 (25, 27, 28) P1 K8 (9, 10, 11)
Row 26: K31 (35, 38, 40). Turn. Leave remaining 7 sts unworked.
Row 27: AOC K2. NC K20 (23, 25, 26) P9 (10, 11, 12)
Row 28: K29 (33, 36, 38). Turn. Leave remaining 9 sts unworked.
Row 29: AOC K2. NC K18 (21, 23, 24) P1 K8 (9, 10, 11)
Row 30: K27 (31, 34, 36). Turn. Leave remaining 11 sts unworked.
Row 31: AOC K2. NC K16 (19, 21, 22) P1 K8 (9, 10, 11)
Row 32: K25 (29, 32, 34). Turn. Leave remaining 13 sts unworked. Break NC yarn.
Row 33: AOC K16 (19, 21, 22) P9 (10, 11, 12).
Row 34: P8 (9, 10, 11) K30 (33, 35, 36) ♥ Repeat from ♥ to ♥ 7 (8, 9, 10) more times for a total of 9 (10, 11, 12) sections.
When making your last section, the K1 colour at the start of row 19 should be the same colour of your first section. Continue to make all the K2 sts that are not worked this colour as well.
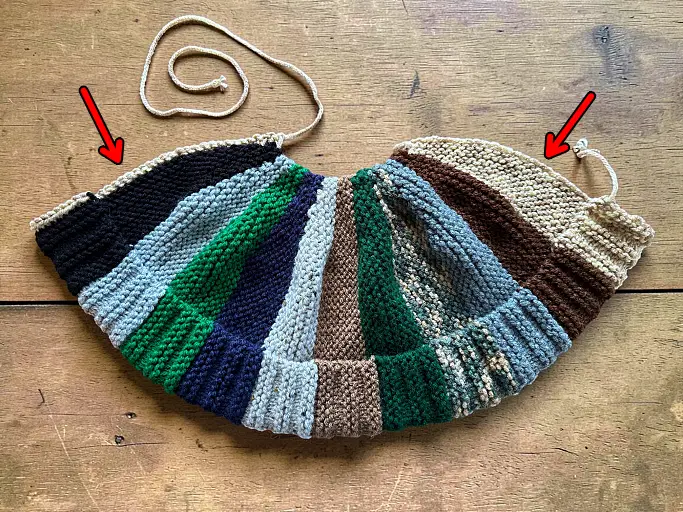
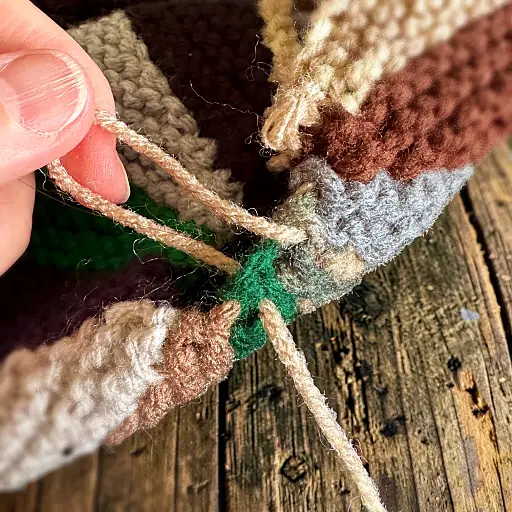
Also, end with row 33 completed. Cast off on the WRONG side. Leave a long length of yarn to draw the sections together at the top of the head and sew the seam.
Hints and Tips
Each section measures approximately 2 inches (5 cm) wide if your gauge is similar to what is given.
I designed this to be a fitted hat without any extra length at the top. If you would like it to fit taller, you can cast on more stitches and work more plain stitches between the unworked colour stitches and the P for the brim. For example, if making the small hat, instead of casting on 38 sts cast on 48 sts (and similar with the other sizes). When knitting the rows, always add on 10 extra knit stitches (or how many extra stitches you added). Row 1 would read – With NC K1. FC K38 (41, 43, 44) P1 K8 (9, 10, 11). Row 2 would change to – K47 (51, 54, 56). Turn. Leave last st unworked. Add the 10 stitches to the highlighted sections in every row that follows.
If making the hat taller, I would recommend that you make one less section than instructed. It needs to fit more snug to the head. Make a total of 8 (9, 10, 11) sections instead.
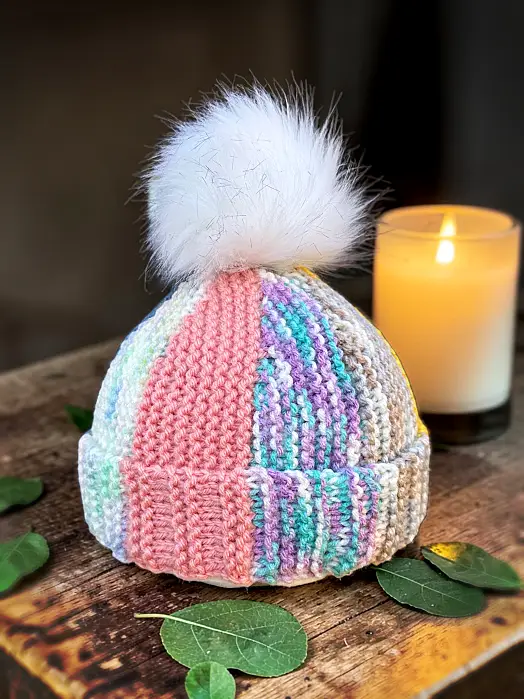
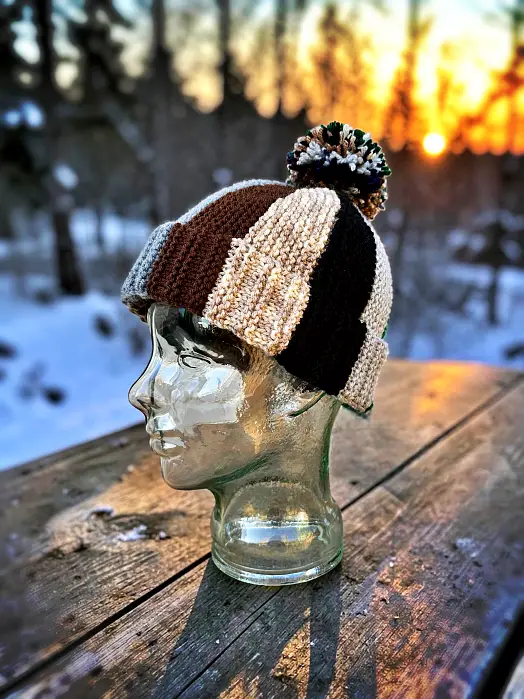
Use yarns with different textures and variegated colours to create truly unique beanies!
Make the pom pom from the same colours as the hat, or not! You can also use the fuzzy pre-made ones, but it you’re looking to use up the scraps from leftover projects, use what you have on hand.
Abbreviations
K – Knit
P – Purl
sts – stitches
st – stitch


You say the pattern is free but I cannot copy and paste the contents. It is not always possible to knit it online as I take my knitting with me where ever I go, and thus not have internet access sometimes. Would have loved to knit the beanie though.
Yes. You are correct. I have purposely blocked the ability to make illegal copies of my work. I don’t know about you, but my internet plan with my phone works just fine so I don’t understand why you couldn’t use this pattern “where ever (you) go”.
If you phone plan sucks, the other option is to buy the PDF through any of the retailers listed in the intro. It’s less than a ball of yarn and affordable for nearly everyone. The free online version is for those who honestly can’t afford to buy or who have no issues with online access, which incidentally, is thousands of people.
I suggest that you take your passive aggressive, poor me, attitude to another website and knit other patterns instead of mine. I don’t appreciate the accusation that this pattern isn’t free. It’s just not in a format you like. That is a YOU problem, not my problem.
Fabulous website. I am an Aussie What does NC mean please ? Judee Hawkins
It refers to the colour changes. They are written under the Gauge section