
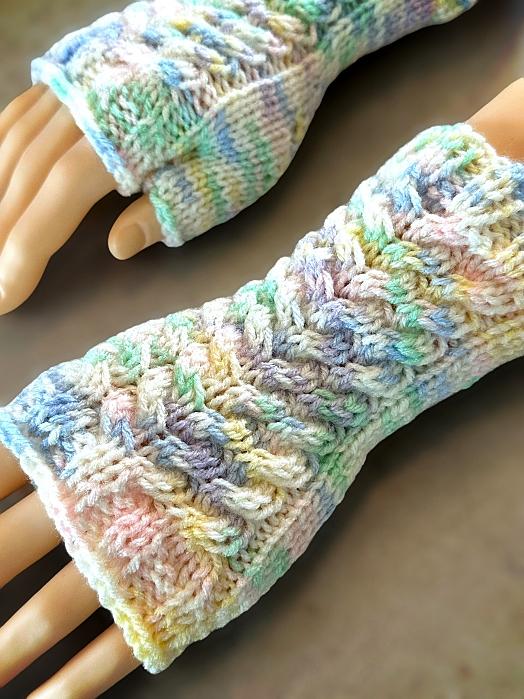

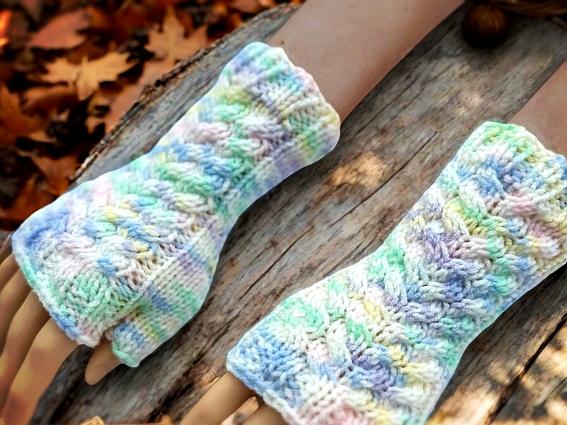
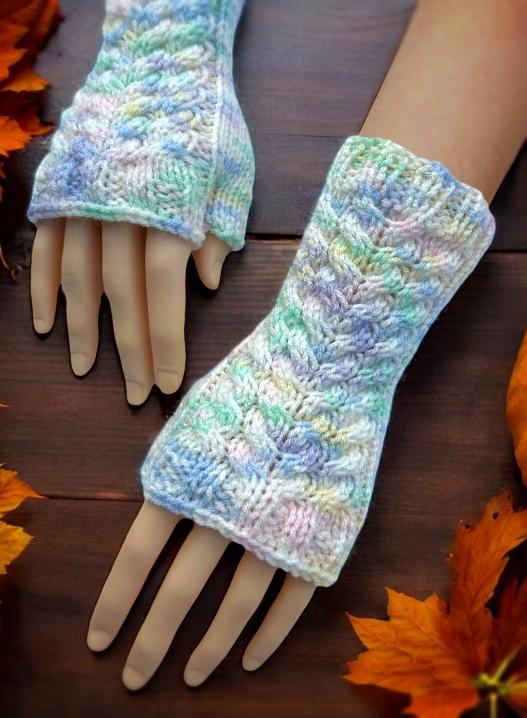
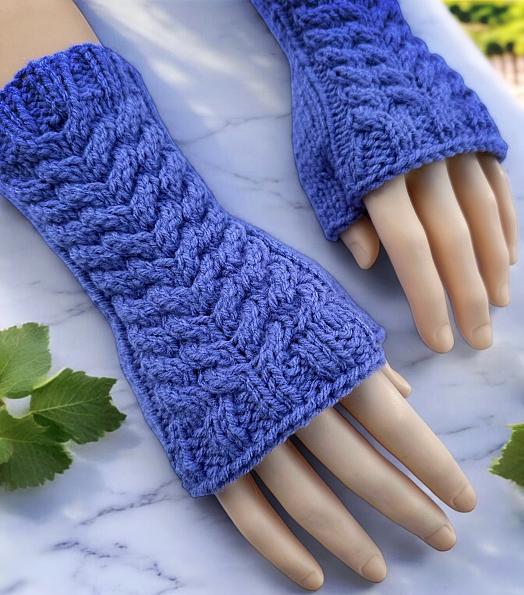
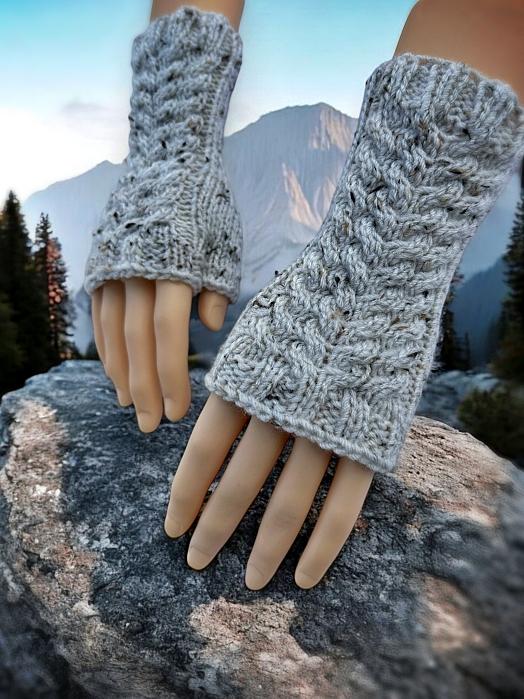
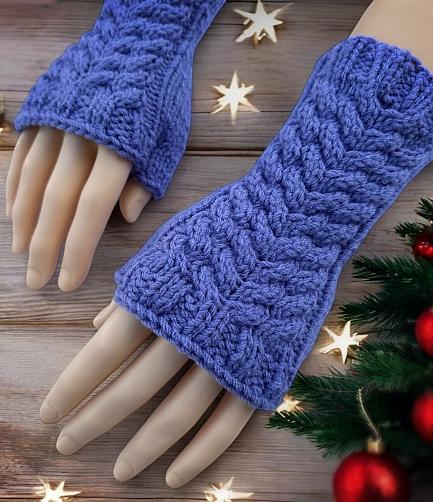
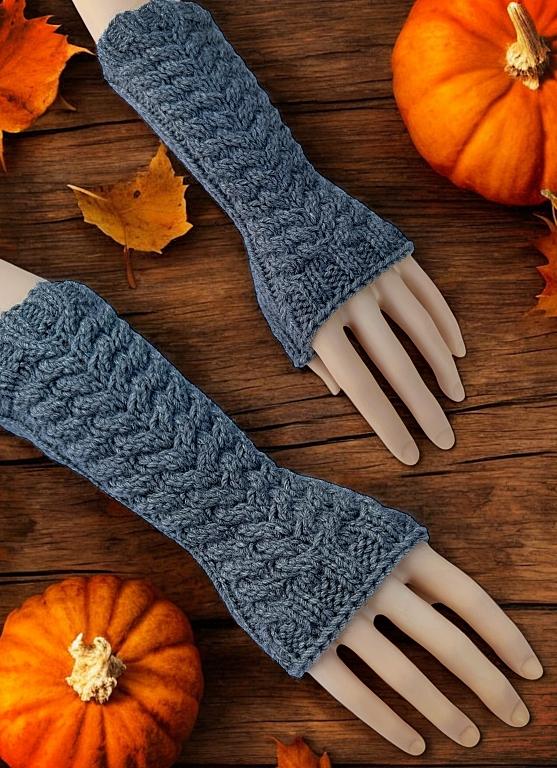
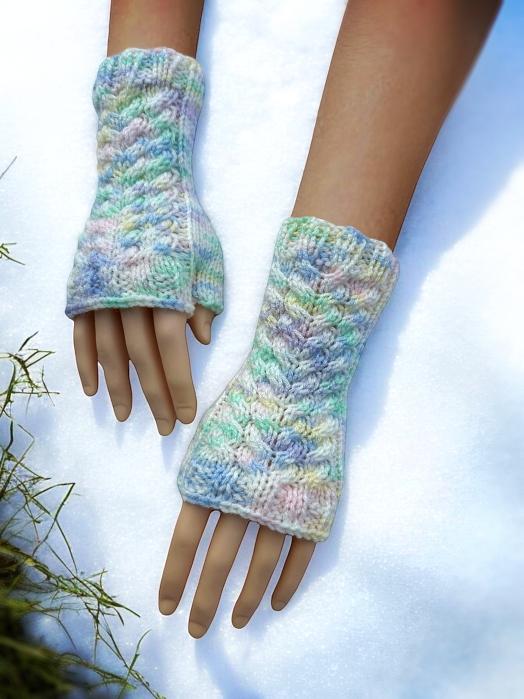
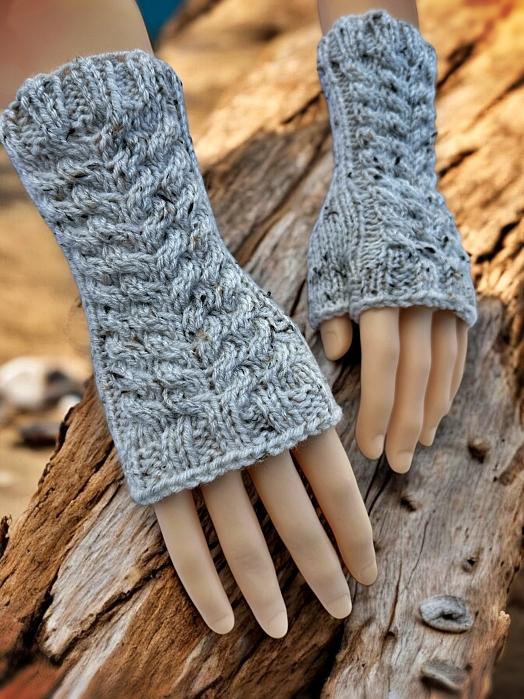
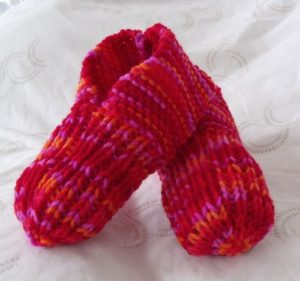
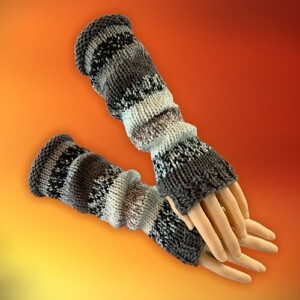
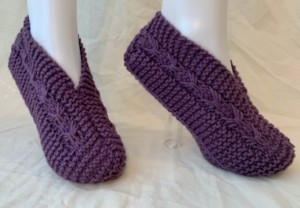
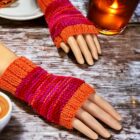
I’m thrilled to share my latest knitting pattern for fingerless mitts, and yes, my love for these cozy accessories shows no sign of stopping! This time around, I’ve added a twist—quite literally—with a unique cable pattern that elegantly winds its way down the back of the hand. It’s a design element that adds both texture and visual interest, making these mitts a true standout piece.
If you’re someone who’s mastered the basics and is looking to elevate your knitting game, this pattern is the perfect next step. It’s designed to bridge the gap between a beginner and an experienced knitter. And if cabling is new to you, don’t worry—this is the ideal project to dive in and learn something new! I’ve made sure to include video tutorials in the Abbreviations section to guide you through the cabling process, so you’ll have all the support you need.
But that’s not all! I’ve also added links to help you with any other potentially tricky parts of the pattern, like increasing for the thumb gusset. I want to ensure you feel confident and supported every step of the way. So, grab your needles, and let’s knit something beautiful together!
If you enjoy this pattern and my other free online knitting patterns, please consider making a small donation or helping me out by visiting my Help Support My Work page. If that’s not possible, that’s totally fine too! Even sharing this page on your social media helps me out immensely. You can use those buttons below to do so easily.
Things You Will Need
Worsted weight yarn (less than 100 grams was more than enough to make a pair of large knitted gloves as written. I know because I weighed them). I used Red Heart worsted weight yarn when designing the pattern but any kind will do.
Set of single pointed needles (see note on sizing)
Stitch holder
Tapestry needle to sew the seams and work in ends
Cable needle
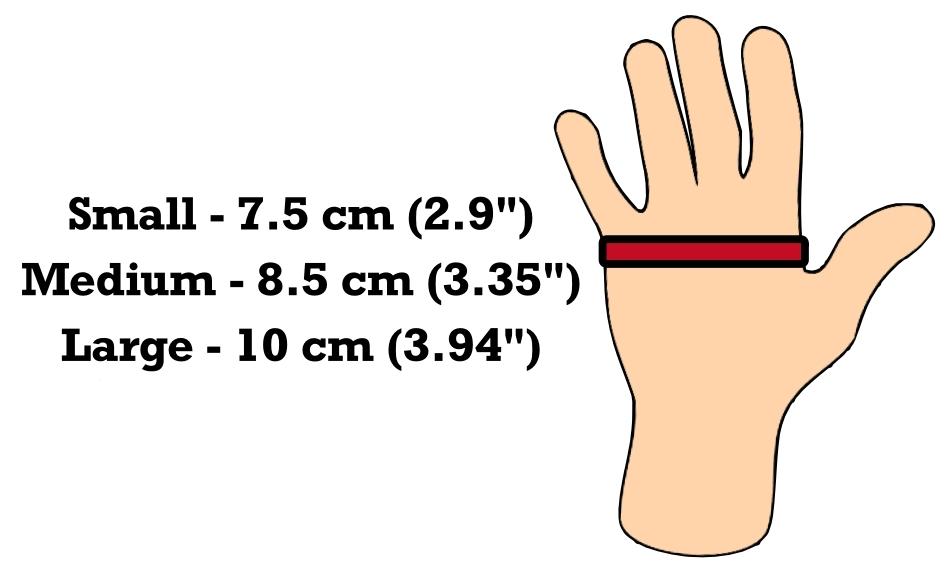
Sizing
Like my other fingerless gloves I’ve designed such as my owl fingerless gloves, I use the size of the needles to change the size of the mitt. This keeps the proportion of the design consistent to the size of the glove.
My standard for sizing was my hand and designed the knitting pattern according to what kind of rubber gloves fit me comfortably. I wear a medium sized rubber glove and the medium sized glove fits perfectly. You may need to use different sized needles to get the correct gauge.
Gauge
In stockinette stitch
Small
size 3.5 mm (US size 4) single pointed needles
11 stitches every 2 inches (5 cm)
16 rows every 2 inches (5 cm)
Medium
size 4 mm (US size 6) single pointed needles
10 stitches every 2 inches (5 cm)
14 rows every 2 inches (5 cm)
Large
size 5 mm (US size 8) single pointed needles
9 stitches every 2 inches (5 cm)
12 rows every 2 inches (5 cm)
Left Hand
Cast on 36
Row 1: P1 * K2 P2 * repeat from * to * to the last 3 sts. K2 P1
Row 2: K1 ✥ P2 K2 ✥ repeat from ✥ to ✥ to the last 3 sts. P2 K1
Repeat rows 1 and 2 for a total of 6 rows.
Row 7: K15 P1 K16 P1 K3
✰ Row 8: P3 K1 P16 K1 P15
❀ Row 9: K15 P1 K4 C4F C4B K4 P1 K3
Row 10: Repeat ✰ Row 8
Row 11: K15 P1 C4F K8 C4B P1 K3
Row 12: Repeat ✰Row 8 ❀ Repeat from ❀ to ❀ 3 times more. If you would like longer gloves, make more repeats.
Please share this page!
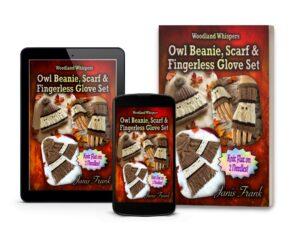
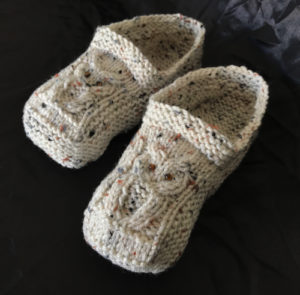
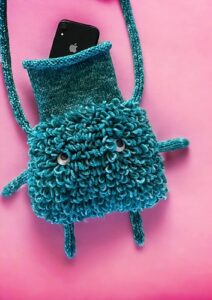
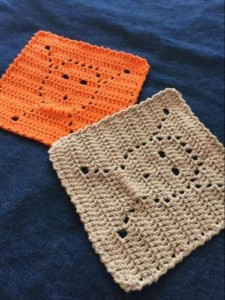
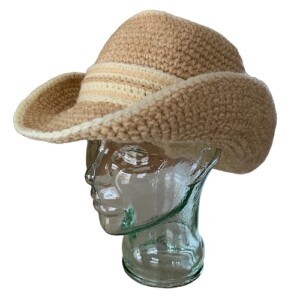
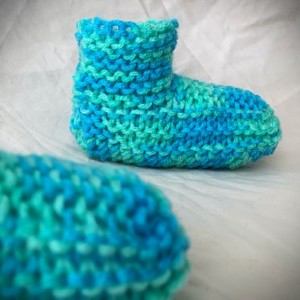
More FREE patterns
Click the pic to read online!!


![]()
![]()


FREE Knitting Graph Paper for Colorwork Knitting


Next row: K12 M1 K M1 K2 P1 K4 C4F C4B K4 P1 K3 (38 sts)
Next row: P3 K1 P16 K1 P17
Next row: K17 P1 C4F K8 C4B P1 K3
Next row: P3 K1 P16 K1 P3 PM1 P PM1 P13 (40 sts)
Next row: K19 P1 K4 C4F C4B K4 P1 K3
Next row: P3 K1 P16 K1 P19
Next row: K14 M1 K M1 K4 P1 C4F K8 C4B P1 K3 (42 sts)
Next row: P3 K1 P16 K1 P21
Next row: K21 P1 K4 C4F C4B K4 P1 K3
Next row: P3 K1 P16 K1 P5 PM1 P PM1 P15 (44 sts)
Next row: K23 P1 C4F K8 C4B P1 K3
Next row: P3 K1 P16 K1 P23
Next row: K16 M1 K M1 K6 P1 K4 C4F C4B K4 P1 K3 (46 sts)
Next row: P3 K1 P16 K1 P25
Next row: K25 P1 C4F K8 C4B P1 K3
Next row: P3 K1 P16 K1 P7 PM1 P PM1 P17 (48 sts)
Next row: K27 P1 K4 C4F C4B K4 P1 K3
Next row: P3 K1 P16 K1 P27
Next row: K12 Pass the next 13 sts onto a stitch holder K2 P1 C4F K8 C4B P1 K3 (35 sts)
❤ Next row: P3 K1 P16 K1 P14
Next row: K14 P1 K4 C4F C4B K4 P1 K3
Next row: Repeat row marked with ❤
✪ Next row: ♦ P2 K2 ♦ Repeat from ♦ to ♦ to last 3 sts P2 K1
Next row: P1 ☺ K2 P2 ☺ Repeat from ☺ to ☺ to the last 2 sts. K2 ✪ Repeat from ✪ to ✪ one more time.
Cast off
Thumb
Pass the 13 sts on the stitch holder back onto your knitting needle. With the RIGHT side facing,
Next row: K across
Next row: P across
Next row: K across
Next row: P across
Cast off
More of my Stuff on Etsy
You can make a widget like this for your blog or website, too.
Instructions are on my website here: How to Display Etsy Items on Your Website
Right Hand
Cast on 36
Row 1: P1 * K2 P2 * repeat from * to * to the last 3 sts. K2 P1
Row 2: K1 ✥ P2 K2 ✥ repeat from ✥ to ✥ to the last 3 sts. P2 K1
Repeat rows 1 and 2 for a total of 6 rows.
Row 7: K3 P1 K16 P1 K15
✰ Row 8: P15 K1 P16 K1 P3
❀ Row 9: K3 P1 K4 C4F C4B K4 P1 K15
Row 10: Repeat ✰ Row 8
Row 11: K3 P1 C4F K8 C4B P1 K15
Row 12: Repeat ✰ Row 8 ❀ Repeat from ❀ to ❀ 3 times more. If you would like longer gloves, make more repeats.
Next row: K3 P1 K4 C4F C4B K4 P1 K2 M1 K M1 K12 (38 sts)
Next row: P17 K1 P16 K1 P3
Next row: K3 P1 C4F K8 C4B P1 K17
Next row: P13 PM1 P PM1 P3 K1 P16 K1 P3 (40 sts)
Next row: K3 P1 K4 C4F C4B K4 P1 K19
Next row: P19 K1 P16 K1 P3
Next row: K3 P1 C4F K8 C4B P1 K4 M1 K M1 K14 (42 sts)
Next row: P21 K1 P16 K1 P3
Next row: K3 P1 K4 C4F C4B K4 P1 K21
Next row: P15 PM1 P PM1 P5 K1 P16 K1 P3 (44 sts)
Next row: K3 P1 C4F K8 C4B P1 K23
Next row: P23 K1 P16 K1 P3
Next row: K3 P1 K4 C4F C4B K4 P1 K6 M1 K M1 K16 (46 sts)
Next row: P25 K1 P16 K1 P3
Next row: K3 P1 C4F K8 C4B P1 K25
Next row: P17 PM1 P PM1 P7 K1 P16 K1 P3 (48 sts)
Next row: K3 P1 K4 C4F C4B K4 P1 K27
Next row: P27 K1 P16 K1 P3
Next row: K3 P1 C4F K8 C4B P1 K2 Pass the next 13 sts onto a stitch holder K12 (35 sts)
❤ Next row: P14 K1 P16 K1 P3
Next row: K3 P1 K4 C4F C4B K4 P1 K14
Next row: Repeat row marked with ❤
✪ Next row: K ♦ P2 K2 ♦ Repeat from ♦ to ♦ to last 2 sts P2
Next row: ☺ K2 P2 ☺ Repeat from ☺ to ☺ to the last 3 sts. K2 P1 ✪ Repeat from ✪ to ✪ one more time.
Cast off
Thumb
Pass the 13 sts on the stitch holder back onto your knitting needle. With the RIGHT side facing,
Next row: K across
Next row: P across
Next row: K across
Next row: P across
Cast off
Sew the seams of the thumbs and along the side of each hand. Work in the ends.
Hints and Tips
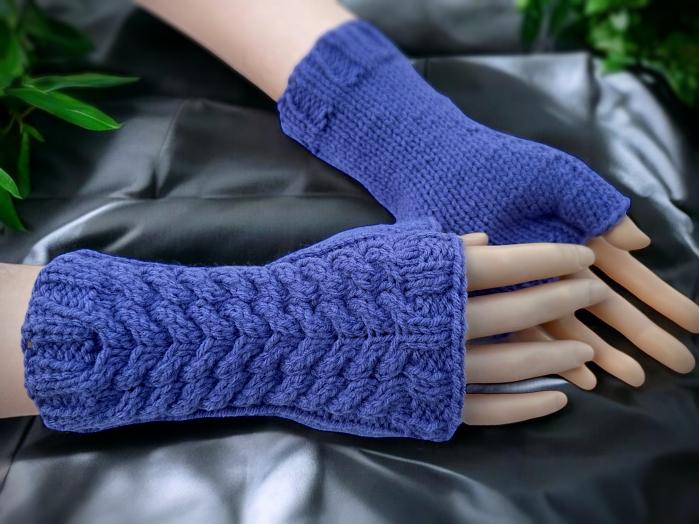
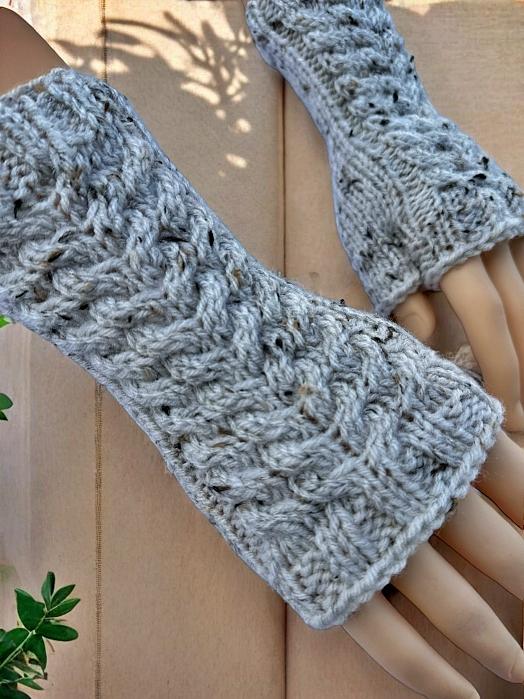
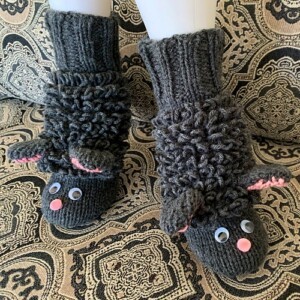
You can make the gloves as long or as short as you like. I made 3 repeats of the design. You could do less for a shorter version. The grey pair were repeated 7 times to give you an idea of what it looks like when longer.
Make the seam as narrow as you can when sewing it along the side. Less seam means less irritation. Make sure that it still looks good. If you don’t know how, there are a number of videos online that will show you how to do a blanket stitch.
Abbreviations
K – knit
P – Purl
Side note: I use both versions of the terminology when it comes to cable stitches. I’ve been corrected that I’m using the wrong one for both occasions so it’s a no win for me. What I mean is that C4F is the same technique as C2F. Just like how C2B is the same as C4B. Do you think of it as the just the stitches you’re pulling or the number of stitches you’re using in total when you do it? It’s a personal choice, I guess.
C4F – Pick up the next 2 stitches with your cable needle. Pull the stitches to the FRONT of your work. Knit the next 2 stitches on your non-working needle. Knit the 2 stitches from the cable needle. Watch this video to see how. How to C4F or Cable 4 Forward.
C4B – Pick up the next 2 stitches with your cable needle. Pull the stitches to the BACK of your work. Knit the next 2 stitches on your non-working needle. Knit the 2 stitches from the cable needle. Watch this video to see how. How to C4B or Cable 4 Back
M1 – Make one (knit wise). Increase one stitch between the stitches. Pick up the yarn between the stitches. Twist slightly. Place it on your non-working needle. Knit the stitch. Click this link to watch this video to see how. How to Make One or M1 – Increase between stitches
PM1 – Make one (purl wise). Increase one stitch between the stitches. Pick up the yarn between the stitches. Twist it slightly and place it on your non-working needle. Purl the stitch. Watch this video on How to PM1 or Purl Make 1 to see how.
Like all of my patterns you have my permission to sell and/or give away the physical items that you make using this pattern. You are NOT permitted to reprint this pattern in any form unless you have obtained my written permission to do so.
If you have any questions, please feel free to leave a comment or send me your questions at kweenbee_crafts@hotmail.ca.


Hiya I’m making the gloves but it says pm1 p pm1. I know the pm1 is make 1 purl wise but I don’t know what the p in-between the pm1 is. Also the k by itself as well
K14, m1, k, m1
Pm1,p,pm1 I hope you can help
I would say it’s just 1 stitch and the other is knit 1 stitch.