
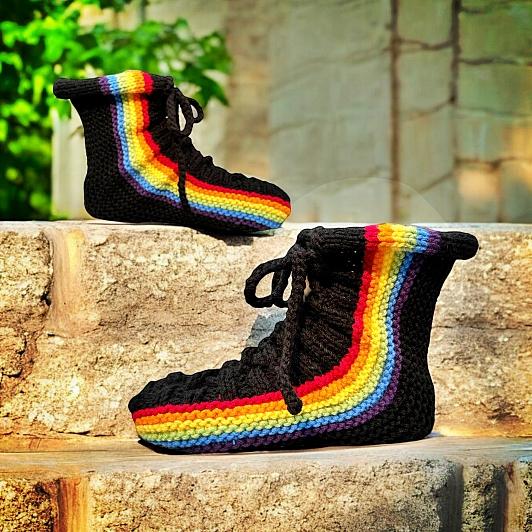
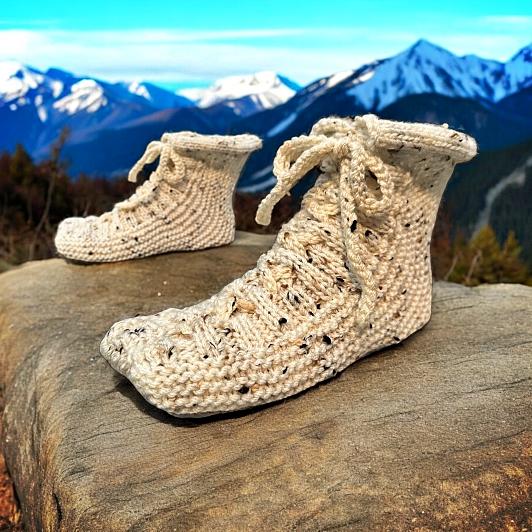
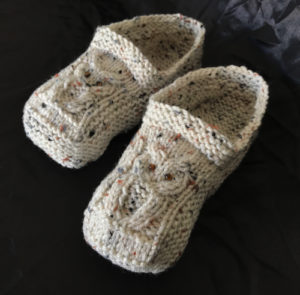
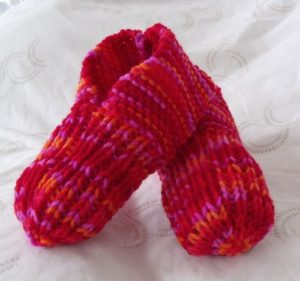
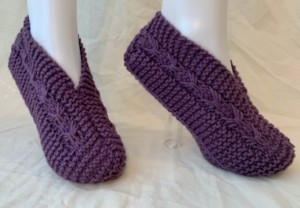
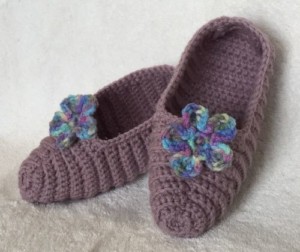
Perfect for new knitters, these slippers are knit flat on just two needles, making them an ideal project for beginners or anyone looking for a straightforward, relaxing knit.
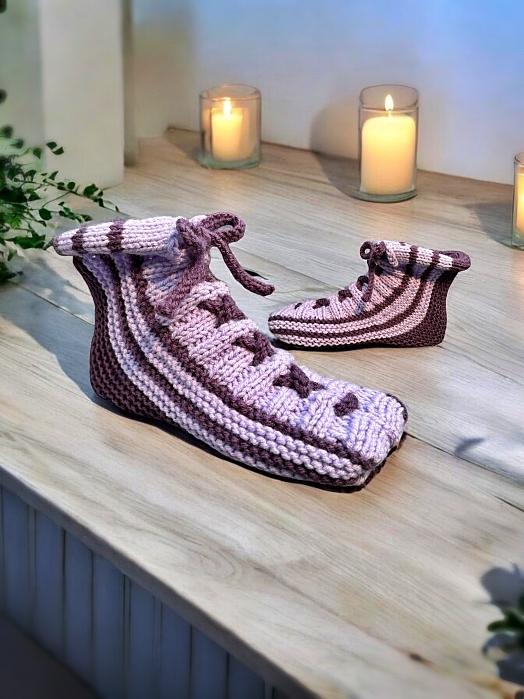
These charming slippers feature a lace-up design at the front, adding a delightful touch of customization and ensuring a snug fit. You can easily adjust the colours to match your personal style or to use up those leftover yarns in your stash.
Whether you’re knitting for yourself, a loved one, a thoughtful handmade gift, or to sell, these slippers are sure to bring warmth and comfort to any pair of feet. So, gather your materials, find a cozy spot, and let’s get started on creating your very own pair of Cozy Lace-Up Slippers!
If you are not a fan of ads or following a pattern online, I also have printable PDF version for sale for a small fee. You can purchase and download the pattern from this website – Cozy Knitted Lace Up Slippers, from my Etsy shop, Ravelry, LoveCrafts and the Kindle and paperback versions are available on Amazon.
Another way to avoid ads and pop-ups, get instant, PRINTABLE downloads of this pattern and others, is by becoming a Member on this website. When you become a Website Supporter for $3/month, you’ll gain access to exclusive member only posts. These posts contain one click downloads of the patterns. Simply click the Download & Print button. The PDF will automatically download to your computer or smart device. You can then read it on your device or print it at your leisure. You can download as many patterns as you like for the same $3 each month. You can go to this page to learn more, become a member and support my work… Exclusive Member Area
If you enjoy this pattern and my other free online knitting patterns, please consider making a small donation or helping me out by visiting my Help Support My Work page. If that’s not possible, that’s totally fine too! Even sharing this page on your social media helps me out immensely. You can use the buttons below to do so easily.
Things You Need
1 ball of worsted weight yarn (average 354 yard, 7 oz or 324 m, 198 gram ball will be more than enough to make single colour slippers).
Size 4 mm (US size 6) single point knitting needles.
Tapestry needle to sew in ends. If you are using multiple colours, you can also use this handy tutorial to show you how to work in the ends while knitting these slippers.
Gauge
With size 4 mm (US size 6) needles or whatever size you need to obtain the correct number of stitches and rows. Be sure to check your gauge otherwise the sizing won’t be correct.
In garter stitch
4” = 16 sts
4” = 40 rows
Sizes (are written as such)
Women’s size 6-7 (8-9, 10-11, 12)
Men’s size 6 (7-8, 9-10, 11-12)
The Pattern
Unlike most knitting patterns, this pattern’s right side and wrong side are reversed. All ODD numbered rows are the WRONG side and all the EVEN numbered rows are the RIGHT side.
If you need help with the M1, there is a video in the Hints and Tips section.
With lace up section colour, cast on 52 (60, 60, 68) sts. Leave a longer length to sew the top of the toe (about 18 inches).
Row 1 (wrong side): K8 (P2 K2) to the last 4 sts. P4
Row 2 (right side): K4 (P2tog YO K2) to last 8 sts. P8
Row 3: As row 1
Row 4: K4 (P2 K2) to last 8 sts. P8
Row 5: As row 1
Row 6: As row 4
Row 7: As row 1
Change to other colour – This is the 12 row section you can use to create your colour design. (ie. red, orange, yellow, green, blue, purple). See Hints and Tips section for more information.
♠ Row 8: K to last 8 sts. P8
Row 9: K across ♠ Repeat from ♠ to ♠ 5 more times or a total of 12 rows. (each colour is one repeat if making the rainbow colours)
Change to colour for heel section.
♦ ☺ Row 20: K to last 8 sts. P8
Row 21: K across ☺
Row 22: K to last 8 sts. M1 P8
Please share this page!
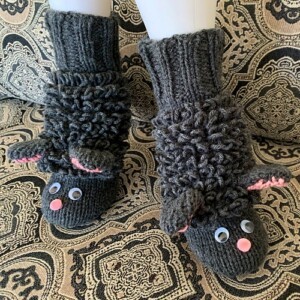
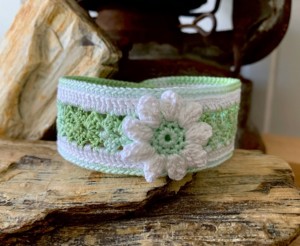
More FREE patterns
Click the pic to read online!!


![]()
![]()


FREE Knitting Graph Paper for Colorwork Knitting


Row 23: As row 21 ♦ Repeat from ♦ to ♦ 3 more times. (56, 64, 64, 72 sts)
Repeat from ☺ to ☺ 0 (1, 2, 3) times more for an additional 0 (2, 4, 6) rows.
♫ Next row: K to the last 8 sts. P8
Next row: K across
Next row: K to the last 10 sts. K2tog. P8
Next row: K across ♫ Repeat from ♫ to ♫ 3 more times. (52, 60, 60, 68)
Change to other colour – This is the 12 row section you can use to create your colour design. Remember to knit the rows in the reverse order you did originally (ie. purple, blue, green, yellow, orange, red)
♣ Next row: As row 8
Next row: As row 9 ♣ Repeat from ♣ to ♣ 5 more times or a total of 12 rows. (each colour is one repeat if making the rainbow colours)
Change to lace up section colour
Next row: K to the last 8 sts. P8
Next row: K8 (P2 K2) to the last 4 sts. P4
Next row: As row 4
Next row: As row 1
Next row: As row 4
Next row: As row 1
Next row: K4 (P2tog YO K2) to last 8 sts. P8 (As row 2)
Next row: Repeat row 1
Cast off
Make another slipper to match.
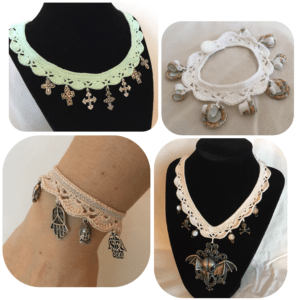
More of My Stuff On Etsy
You can make a widget like this for your blog or website, too.
Instructions are on my website here: How to Display Etsy Items on Your Website
Slipper Laces (make 2)
If you know how to crochet, you can use a size 5 mm (US size 8) and chain as many sts to make it 3 times the length of the slipper. Slip stitch in every chain. Tie off. Stretch out the lace when done.
If you want to knit it instead, cast on 140 (160, 1600, 180) sts. Cast off. Stretch out the lace when done.
You can also braid 3 lengths of yarn to form the lace. I’m not sure how long of lengths you’ll need to do this.
Hints and Tips
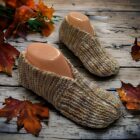
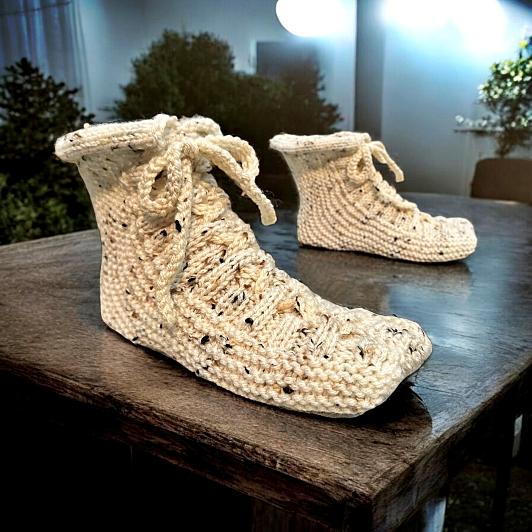
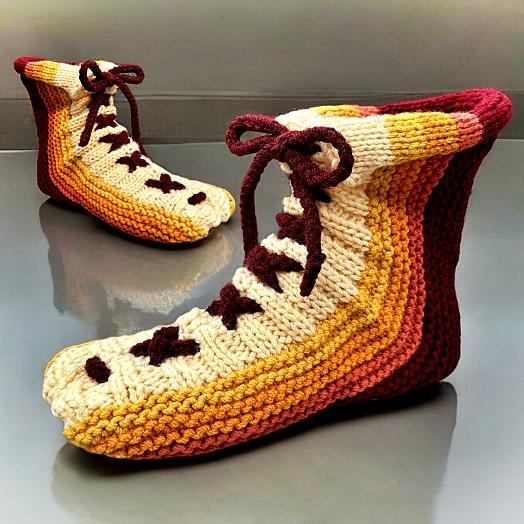
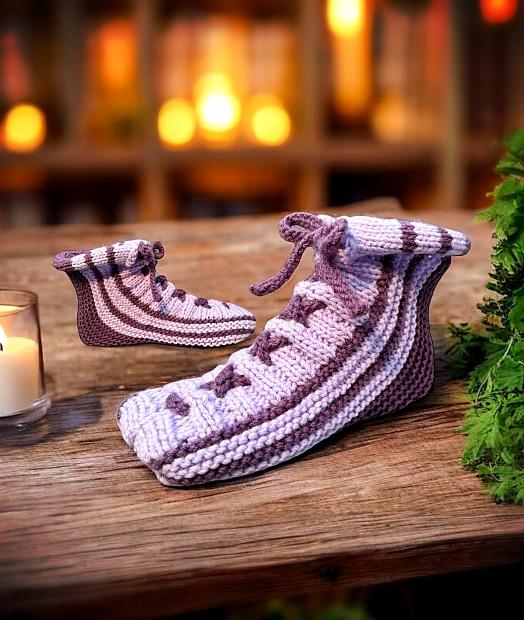
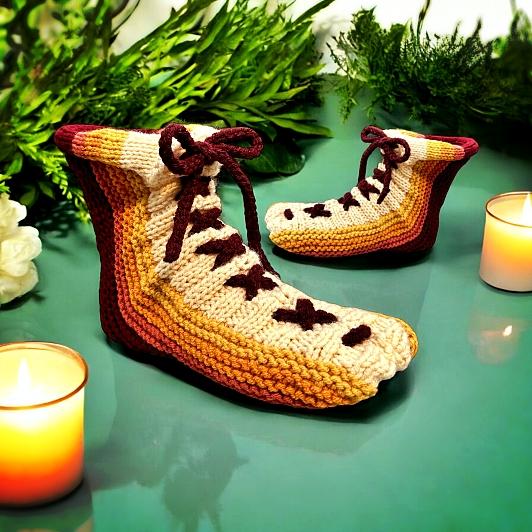
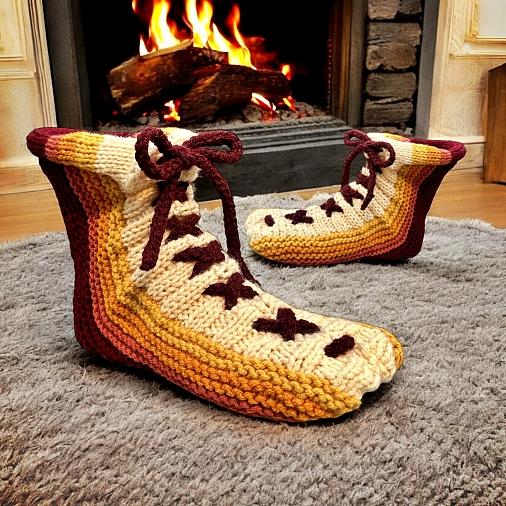
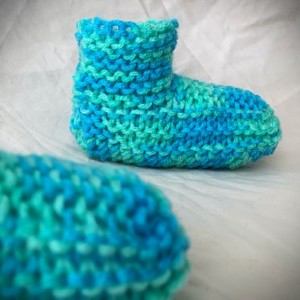
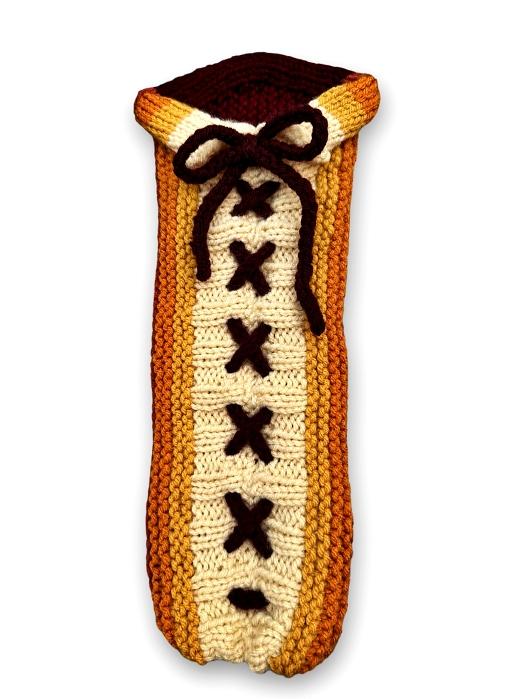
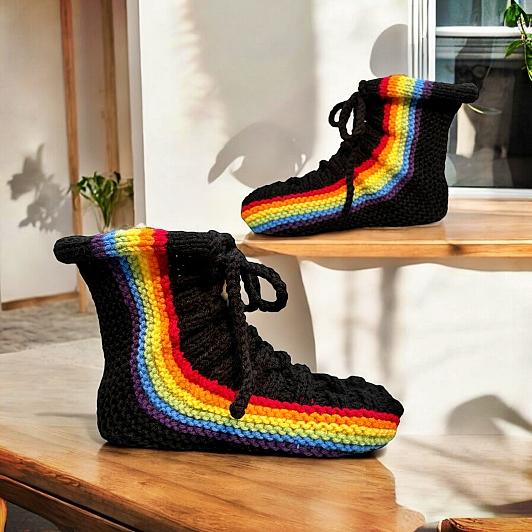
There are 12 rows (6 ridges) that form the pattern on the side of the slipper after the lace up area. You can change colours any way you would like for this section. I’ve shown a number of combinations: 1 colour (beige), 2 colour alternating (purple), 3 colour lighter to darker (browns), 6 colour (rainbow), but you may want to try something else.
To sew the seams, use a simple whip stitch for the toe and the lace up section. You don’t want thick seams for these slippers. And speaking of the lace up section, you don’t have to sew it all the way. Up part way, past the toes, will work. I sewed mine all the way up to the rolled cuff. I like how it fits, looks and feels when it’s sewn all the way. But that’s just my preference.
Use the whip stitch when sewing the toes. Draw the stitches together as tightly as you can to draw them together to give a rounder look. To have them draw together even tighter, when you are done with the whip stitch, pull the ends through each corner. Flip the slipper inside out. Weave in each end. When doing this pull the yarn ends even tighter and work the end back on itself to secure it.
Abbreviations
K – knit
P – purl
P2tog – purl to sts together.
M1 – Make one (knit wise). Increase one stitch between the stitches. Pick up the yarn between the stitches. Twist slightly. Place it on your non-working needle. Knit the stitch.
K2tog – knit 2 sts together.
YO – yarn over. With this pattern, when you go from making the purl st to the knit st, don’t pull the yarn to the back of your work. The YO is forming the hole to weave the lace through.
st – stitch
sts – stitches
Like all of my patterns you have my permission to sell and/or give away the physical items that you make using this pattern. You are NOT permitted to reprint this pattern in any form unless you have obtained my written permission to do so.
If you have any questions, please feel free to leave a comment or send me your questions at kweenbee_crafts@hotmail.ca.