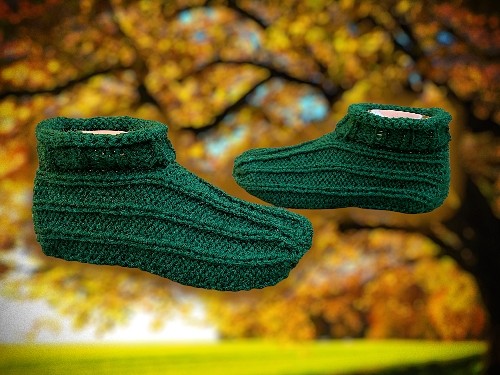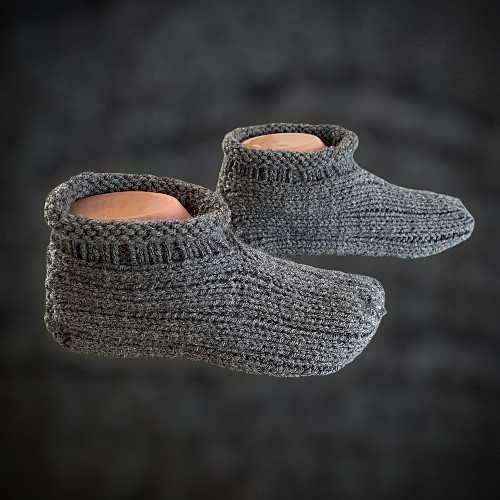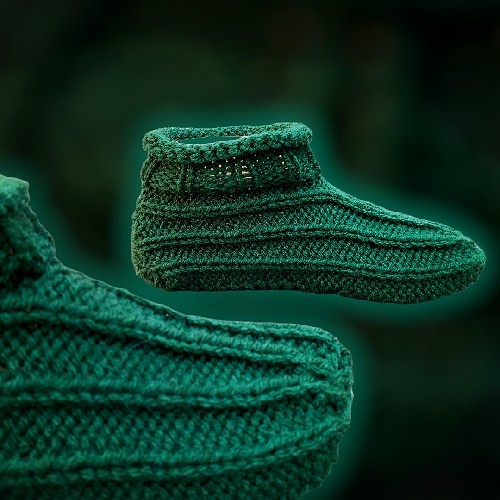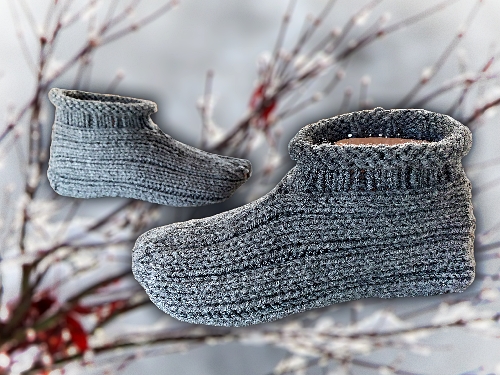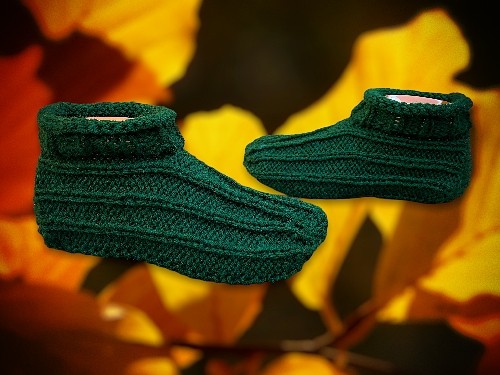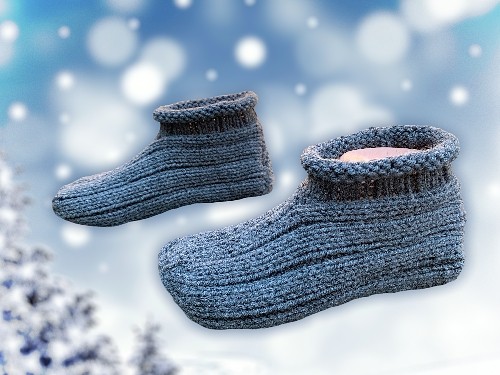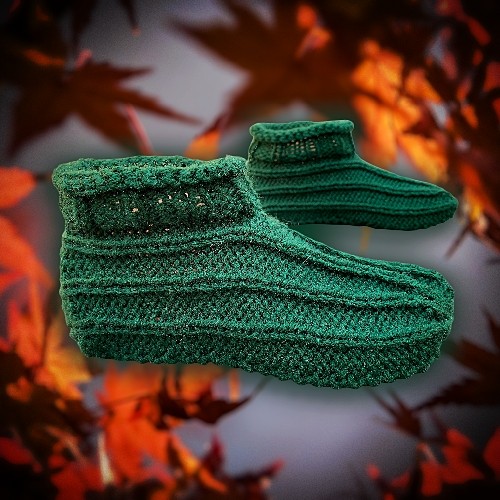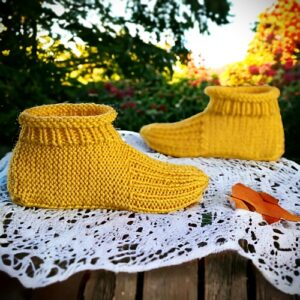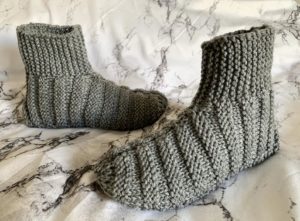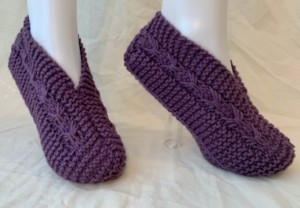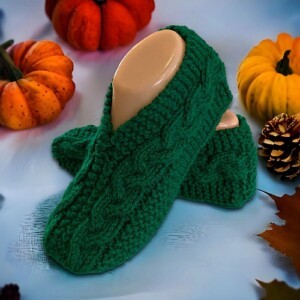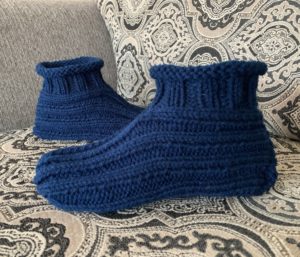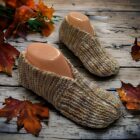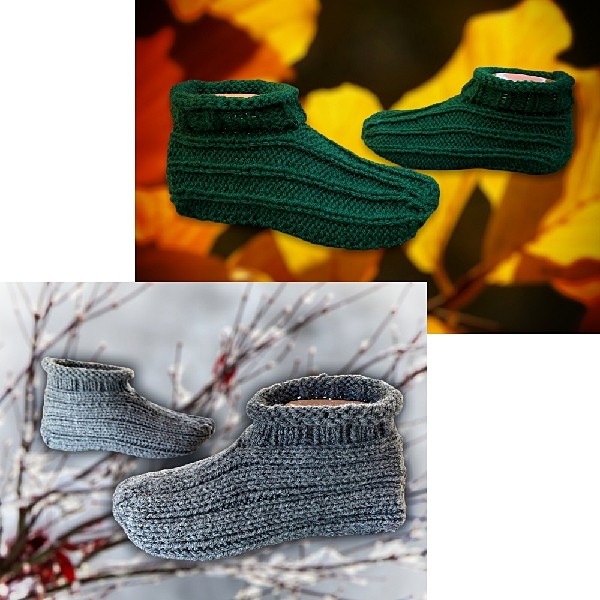
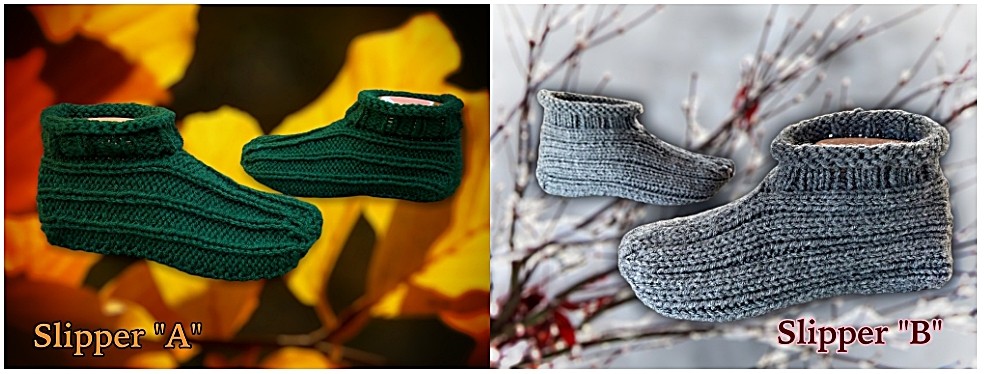
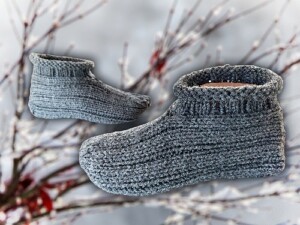
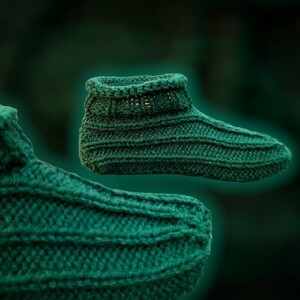
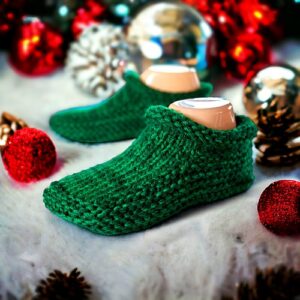
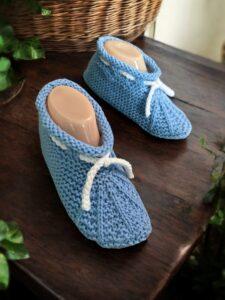
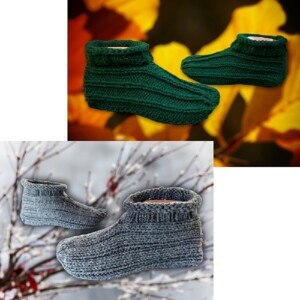
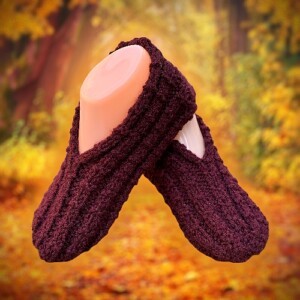
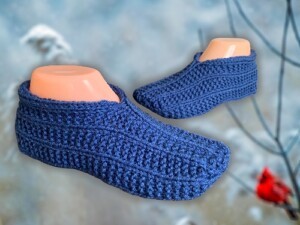
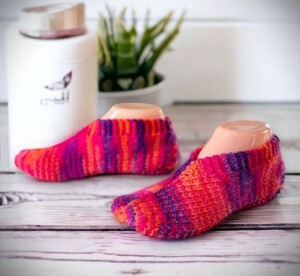
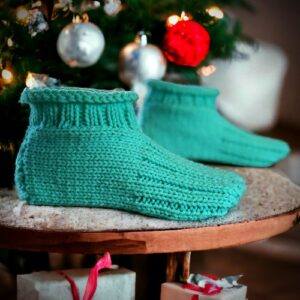
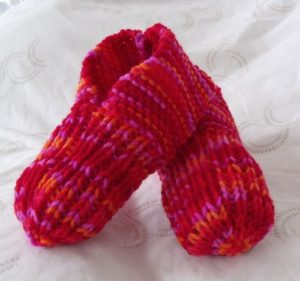
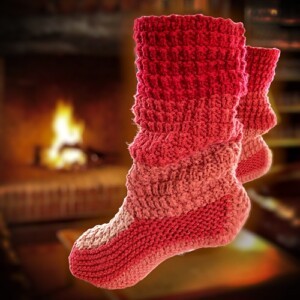
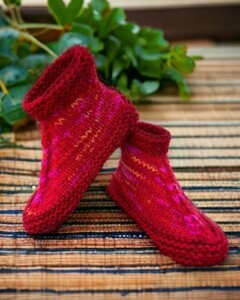
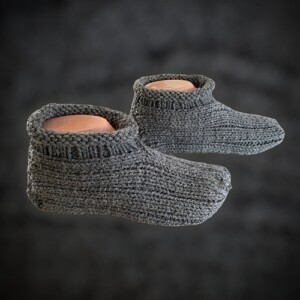
These two slipper styles are actually the same knitting pattern but showcase one side of the work or the other. They are easily made with the same basic knitting stitches and if you can make one style, you can make the other! The pattern is for slippers from a men’s size 6 to 13 and for a women’s 6 to 13. I’ve also provided direct links in the pattern to my YouTube videos demonstrating the knitting stitches required if you need a little help.
If you have never picked up stitches or knitted in the round, this is a great pattern to learn. I made a YouTube video showing how to do this for another pattern (you can read that pattern here – How to Knit Adult Booties), but the technique is similar. You can watch the video snippet right here – Picking up Stitches to Make the Heel the Cuff. The stitch pattern used this video is different, but would still look ok when done the final project.
If you’re loving the free patterns on this site, please consider a small donation to help with the hosting costs of the site. You can learn more about how you can help by going to my page Help Support My Work. If you’re not in the position to help financially, which is totally ok btw, please share this pattern with anyone you think may like it. You can use these handy links ?????? to share on social media or send it as an email to your friends and family.
And if you’re wanting to get off the internet and would prefer to have this on your phone, tablet or computer, you can download this pattern from my website here – Two Slipper Styles with One Pattern. You can also purchase this pattern through my Etsy shop or through Ravelry. The download is a PDF that you can read on any device or even print if you so desire.
Things you will need:
Click any of the links below to have everything you need to make these slippers sent right to your door.
200 grams of worsted weight yarn
Set of 2 size 5 mm ( US size 8) knitting needles or whatever size needed to obtain correct gauge.
Set of 4 size 5 (US size 8) double pointed knitting needles or whatever size needed to obtain the correct gauge.
Darning needle to sew up seams and work in ends.
Gauge:
12 rows stockinette = 2″
9 stitches stockinette = 2″
Be sure to check your gauge to obtain correct sizing!
The Pattern:
Cast on 42 sts.
Row 1: P3 K1 P3 K1 P3 K1 P3 K12 P3 K1 P3 K1 P3 K1 P3
Row 2: K3 P1 K3 P1 K3 P1 K3 K12 K3 P1 K3 P1 K3 P1 K3
Repeat these two rows until slippers measures as shown in the chart below. End with row 2.
| Shoe Size (North America) | Length |
|---|---|
| Men’s 6 – 7 | 8″ (20 cm) |
| Men’s 8 – 9 | 8 ½” (21 cm) |
| Men’s 10 – 11 | 9″ (22.5 cm) |
| Men’s 12 – 13 | 9 ½” (24 cm) |
| Women’s 6 – 7 | 7 ½” (18 cm) |
| Women’s 8 – 9 | 8″ (20 cm) |
| Women’s 10 – 11 | 8 ½” (21 cm) |
| Women’s 12 – 13 | 9″ (22.5 cm) |
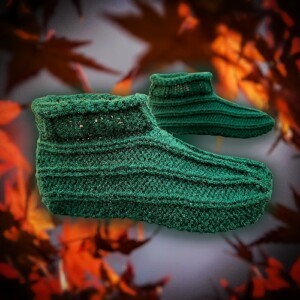
End Toe – Slipper “A”
Row 1: *(P2tog K2tog) repeat from * 3 times more. K2tog twice K1 K2tog 3 times *(P2tog K2tog) repeat from * 2 times more P2tog P1
Row 2: K2 *(P1 K1) repeat from * two more times. K7 *(K1 P1) repeat from * two more times. K1
Row 3: K2tog 11 times
Row 4: P11
Draw yarn through loops and pull tight.
End Toe – Slipper “B”
Row 1: K1 (K2tog) 10 times K1 (K2tog) 10 times.
Row 2: P8 K6 P8
Row 3: (K2tog) 5 times K1 (K2tog) 5 times K1
Row 4: P4 K3 P4
Draw yarn through loops and pull tight.
Heel and Cuff – Slipper “A”
With right side facing pick up 14 stitches.
Row 1: Knit across
Row 2: Knit across
Repeat the two rows one more time
Row 5: K2tog K10 K2 tog
Row 6: K12
Row 7: K12
Row 8: K2tog K8 K2tog
Row 9: K10
Row10: K10
Row 11: K2tog K6 K2 tog
Row 12: K8
Row 13: K8
Row 14: K2tog K4 K2tog
Row 15: K6
Row 16: K6
Please share this page!
More FREE patterns
Click the pic to read online!!

FREE Knitting Graph Paper for Colorwork Knitting











Row 17: K2tog K2 K2tog
Row 18: K4
Start Cuff:
With double pointed needles, pick up 18 sts over half of one side, 18 sts on the other, and transfer the 4 stitches created when making the heel. Pick up the stitches over the first half of the slipper and leave the rest for the toe. Fold the sides of the slipper together to give an approximate of where to start picking up stitches on the other side of the slipper. You can also count back 18 stitches along the edge for a starting point.
Row 1- 6: P3 K1 repeat 9 more times for total of 40 sts.
Rows 7 – 10: K around
Bind off loosely.
Sew seams and work in ends of the yarn.
Heel and Cuff – Slipper “B”
With right side facing pick up 14 stitches.
Row 1: Knit across
Row 2: Knit across
Repeat the two rows one more time
Row 5: K2tog K10 K2 tog
Row 6: K12
Row7: K12
Row 8: K2tog K8 K2tog
Row 9: K10
Row10: K10
Row 11: K2tog K6 K2 tog
Row 12: K8
Row 13: K8
Row 14: K2tog K4 K2tog
Row 15: K6
Row 16: K6
Row 17: K2tog K2 K2tog
Row 18: K4
Start Cuff:
With double pointed needles, pick up 18 sts over half of one side, 18 sts on the other, and transfer the 4 stitches created when making the heel. Pick up the stitches over the first half of the slipper and leave the rest for the toe. Fold the sides of the slipper together to give an approximate of where to start picking up stitches on the other side of the slipper. You can also count back 18 stitches along the edge for a starting point.
Row 1- 6: K3 P1 repeat 9 more times for total of 40 sts.
Rows 7 – 10: K around
Bind off loosely.
Sew seams and work in ends of the yarn.
Extra hints and tips:
When selecting your yarn, I recommend that you choose a lighter shade of a solid colour. A lighter colour with flecks also works quite well. You can use darker or variegated yarn, but the texture of the pattern won’t be as visible.
The “right side” of the slipper is the side you’ve chosen to be on the outside. For Slipper “A” it is the side that has a more striped appearance. Slipper “B” looks more ribbed. No one said that the heel and cuff had to match anyways, so you may want to switch them up!
Abbreviations:
K – Knit
P – Purl
K2tog – knit 2 together
P2tog – purl 2 together
sts – stitches
If you have any questions or comments you’d rather keep private, you can send me an email through my contact page.


