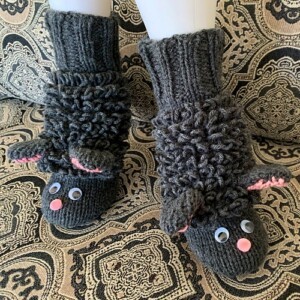
Whooo’s ready to knit some cozy mittens? These extra-thick owl mitts are the perfect project to keep your hands warm and your knitting fun! Knit flat on straight needles, with either 2 strands of worsted weight yarn or super bulky yarn, they’re a fast and easy make, even if you’re newer to knitting. The adorable owl motif adds a charming touch, while the simple construction makes them great for new knitters looking to tackle their first mitten project. Whether you’re making a pair for yourself or as a thoughtful gift, these mitts will fly off your needles in no time!


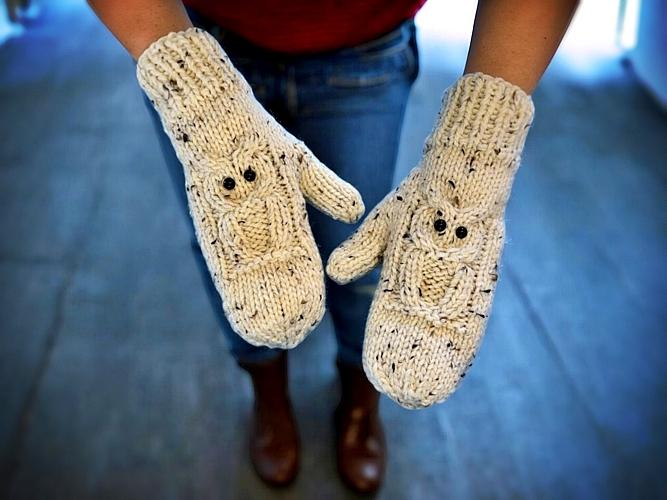
These owl mitts are designed to fit adult hands from small to large, so you can make a pair for just about anyone. Using super bulky yarn, they knit up quickly and create an extra-thick, cozy fabric that’s perfect for chilly weather. Plus, I’ve included helpful videos to guide you through making the owl motif, so even if you’re new to knitting with decorative details, you’ll have all the support you need to bring these charming mitts to life!
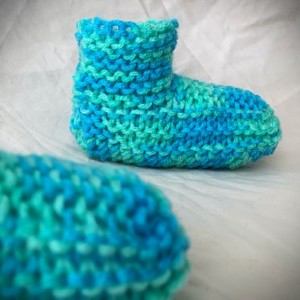
Not a fan of owls or want something in bigger sizes and more basic. I rewrote this pattern just for that! You can read that version here – Quick and Easy to Knit Mittens – Free Knitting Pattern
If you would to prefer to support my work and have access to a printable, ad-free version of this pattern, I offer that too. To get the downloadable pattern for a small fee you can get it in my Etsy Shop, Ravelry, LoveCrafts, Buy Me A Coffee and from the shop section on this website – KweenBee.com.
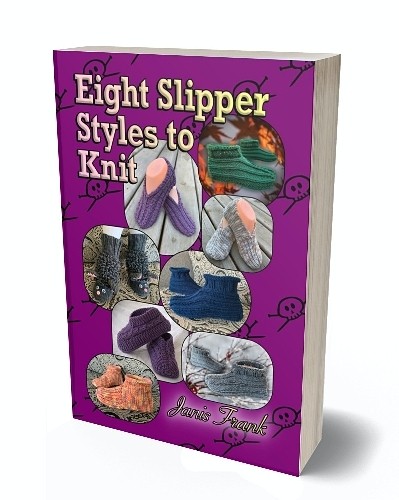
If you would prefer to order a printed paperback version from Amazon, you can now do so! Shipping is free if you are an Amazon Prime member. Make sure you select the country you are in to take advantage of the free shipping. Click the following link for your country – United States, United Kingdom, Canada, and Australia. The downloads and paperback versions are available in English only.
Another way to avoid ads and pop-ups, get instant, PRINTABLE downloads of this pattern and others, is by becoming a Member. When you become a Website Supporter at $4/month, you’ll gain access to exclusive member only posts on Buy Me A Coffee. You can download as many patterns as you like for the same $4 each month. You can go to this page to learn more, become a member and support my work… Exclusive Member Area
Love the free patterns? You can say thanks in a couple of ways. You can read more about how you can Support My Work by clicking that link or make a small donation and Buy Me a Coffee. 👈🏼 That is a website where you can make a one time donation as a thanks. If you don’t want or are unable to make a financial donation, sharing this pattern through social media is a great way to help out too! The links below are a super easy way for you to do so.
Things You Need
You can make the mittenss with either 2 strands of worsted weight yarn, or one strand of super bulky yarn. Take your pick. But please note, you don’t need both. Choose one or the other.
Worsted weight yarn – 2 (two) balls of yarn (215 yards/197 m). You’ll have leftover yarn.
or
Super Bulky yarn – (186 yards/170 m) like Bernat or Lion brand. Not all super bulky yarn is as thick as others. A Bulky yarn may also work if it’s on the thicker side. As long as your gauge is the same your sizing will be accurate.
5.5 mm (9 US) Small/Medium single point needles
or
6 mm (10 US) Large single point needles
Cable needle
Tapestry needle – to sew seams and work in ends
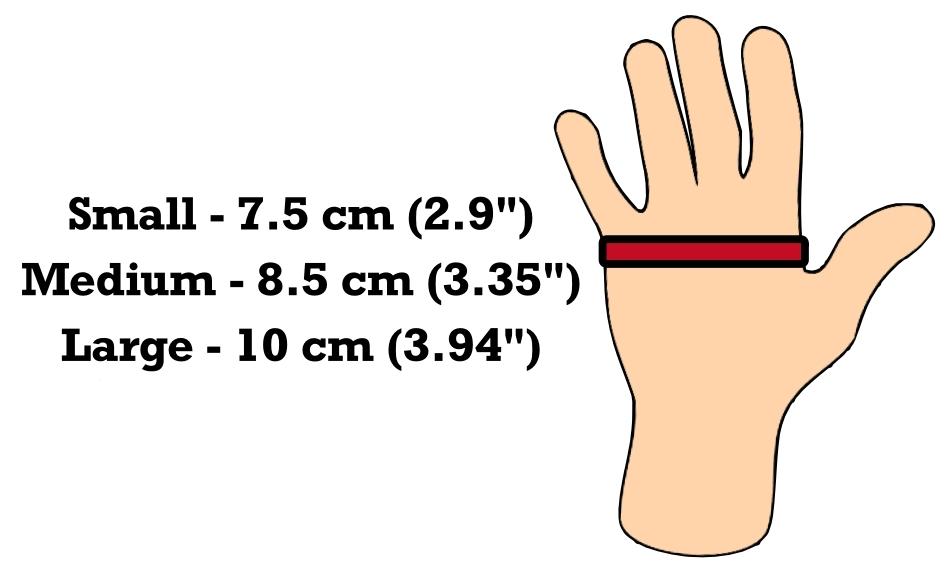
Sizing
Like my fingerless gloves I’ve designed, I use the size of the needles to change the size of the mitt. This keeps the proportion of the design consistent to the size of the mitten.
My standard for sizing was my hand and designed the knitting pattern according to what kind of rubber gloves fit me comfortably. I wear a medium sized rubber glove and the medium sized mitt of this pattern fits perfectly. You may need to use different sized needles to get the correct gauge and accurate sizing.
Gauge
In stockinette stitch
Small/Medium (this size will fit most hands comfortably)
Size 5.5 mm (US size 9) single pointed needles
13 stitches every 4 inches (10 cm)
22 rows every 4 inches (10 cm)
Large
Size 6 mm (US size 10) single pointed needles
12 stitches every 4 inches (10 cm)
18 rows every 4 inches (10 cm)
Choose Your Cuff
You have a choice of cuff to make with this mitten pattern. If you prefer a looser cuff with a more solid feel, you can make the first version. If you prefer a tighter, ribbed cuff you can follow the instructions for the K1 P1 version for 12 rows. Choose one or the other. Don’t do both. Once you choose your cuff, move on to row 13.
** If you need any help with any stitch or technique, there are videos at the end of the pattern to help you. **
Left Hand
Cast on 28
* Row 1: K across
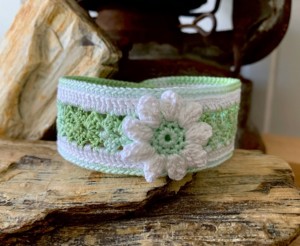
Row 2: K1 P2 across. K last st * Repeat from * to * for a total of 12 rows. The cuff looks like this when done.
If you would prefer a ribbed cuff, make the following for the 12 rows:
Row 1-12: ◊ K1 P1 ◊ Repeat from ◊ to ◊ across. It will look like this when done.
♠ Row 13: K across
Row 14: P across ♠ Repeat from ♠ to ♠ one more time.
Please share this page!
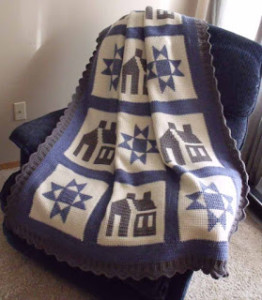
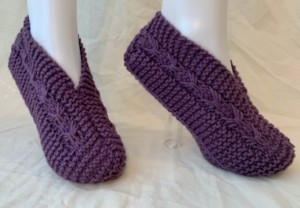
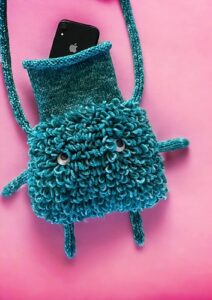
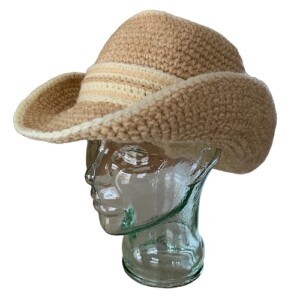
More FREE patterns
Click the pic to read online!!


![]()
![]()


FREE Knitting Graph Paper for Colorwork Knitting


Row 17: K11 M1 K1 M1 K16 (30 sts)
Row 18: P across
Row 19: K across
Row 20: P16 PM1 P3 PM1 P11 (32 sts)
Row 21: K across
Row 22: P across
Row 23: K11 M1 K5 M1 K16 (34 sts)
Row 24: P3 K1 P8 K1 P21
Row 25: K21 P1 C4F C4B P1 K3
Row 26: P3 K1 P8 K1 P3 PM1 P7 PM1 P11 (36 sts)
Row 27: K23 P1 K8 P1 K3
Row 28: P3 K1 P8 K1 P23
Row 29: K11 M1 K9 M1 K3 P1 K8 P1 K3 (38 sts)
Row 30: P3 K1 P8 K1 P25
Row 31: K25 P1 K8 P1 K3
Row 32: P3 K1 P8 K1 P25
Row 33: K11 Pass the next 11 sts onto your st holder. K3 P1 C4F C4B P1 K3 (27 sts)
Row 34: P3 K1 P2 K4 P2 K1 P3 PM1 (remake the st used for the thumb) P11 (28 sts)
Row 35: K15 P1 K2 P4 K2 P1 K3
Row 36: P3 K1 P2 K4 P2 K1 P15
Row 37: As row 35
Row 38: As row 36
Row 39: As row 35
Row 40: As row 36
Row 41: As row 35
Row 42: As row 36
Row 43: K15 P1 C4F C4B P1 K3
Row 44: P3 K10 P15
♦ Row 45: K across
Row 46: P across ♦ Repeat from ♦ to ♦ for a total of 12 rows.
Row 59: K2tog across (14 sts)
Row 60: P across
Row 61: K2tog across (7 sts)
Row 62: P across. Break yarn leaving about a foot of length to sew the seam. Draw yarn through.
Thumb
Pick up the 11 sts from the st holder and put them on you knitting needle.
▲ Row 1: K across
Row 2: P across ▲ Repeat for ▲ to ▲ for a total of 10 rows.
Row 11: K2tog across. K the last st.
Row 12: P across. Break yarn leaving about 6 inches of length to sew the seam. Draw yarn through.
More of My Stuff On Etsy
You can make a widget like this for your blog or website, too.
Instructions are on my website here: How to Display Etsy Items on Your Website
Right Hand
Cast on 28
* Row 1: K across
Row 2: K1 P2 across. K last st * Repeat from * to * for a total of 12 rows.
OR (choose the same as you did for the left hand)
If you would prefer a ribbed cuff, make the following for the 12 rows:
Row 1-12: ◊ K1 P1 ◊ Repeat from ◊ to ◊ across.
♠ Row 13: K across
Row 14: P across ♠ Repeat from ♠ to ♠ one more time.
Row 17: K16 M1 K1 M1 K11 (30 sts)
Row 18: P across
Row 19: K across
Row 20: P11 PM1 P3 PM1 P16 (32 sts)
Row 21: K across
Row 22: P across
Row 23: K16 M1 K5 M1 K11 (34 sts)
Row 24: P21 K1 P8 K1 P3
Row 25: K3 P1 C4F C4B P1 K21
Row 26: P11 PM1 P7 PM1 P3 K1 P8 K1 P3 (36 sts)
Row 27: K3 P1 K8 P1 K23
Row 28: P23 K1 P8 K1 P3
Row 29: K3 P1 K8 P1 K3 M1 K9 M1 K11 (38 sts)
Row 30: P25 K1 P8 K1 P3
Row 31: K3 P1 K8 P1 K25
Row 32: P25 K1 P8 K1 P3
Row 33: K3 P1 C4F C4B P1 K3 Pass the next 11 sts onto your st holder. K11 (27 sts)
Row 34: P11 PM1 (remake the st used for the thumb) P3 K1 P2 K4 P2 K1 P3 (28 sts)
Row 35: K3 P1 K2 P4 K2 P1 K15
Row 36: P15 K1 P2 K4 P2 K1 P3
Row 37: As row 35
Row 38: As row 36
Row 39: As row 35
Row 40: As row 36
Row 41: As row 35
Row 42: As row 36
Row 43: K3 P1 C4F C4B P1 K15
Row 44: P15 K10 P3
♦ Row 45: K across
Row 46: P across ♦ Repeat from ♦ to ♦ for a total of 12 rows.
Row 59: K2tog across (14 sts)
Row 60: P across
Row 61: K2tog across (7 sts)
Row 62: P across. Break yarn leaving about a foot of length to sew the seam. Draw yarn through.
Thumb
Pick up the 11 sts from the st holder and put them on you knitting needle.
▲ Row 1: K across
Row 2: P across ▲ Repeat for ▲ to ▲ for a total of 10 rows.
Row 11: K2tog across. K the last st.
Row 12: P across. Break yarn leaving about 6 inches of length to sew the seam. Draw yarn through.
Hints and Tips
Make the seam as narrow as you can when sewing it along the side. Less seam means less irritation. Make sure that it still looks good. If you don’t know how, there are a number of videos online that will show you how to do a blanket stitch.
If you find the fingers a little short, you can make extra rows after the owl. The pattern has 12 rows. They are a little longer than I would make for myself, but my fingers are a bit stubby. They should fit the majority of people as written.
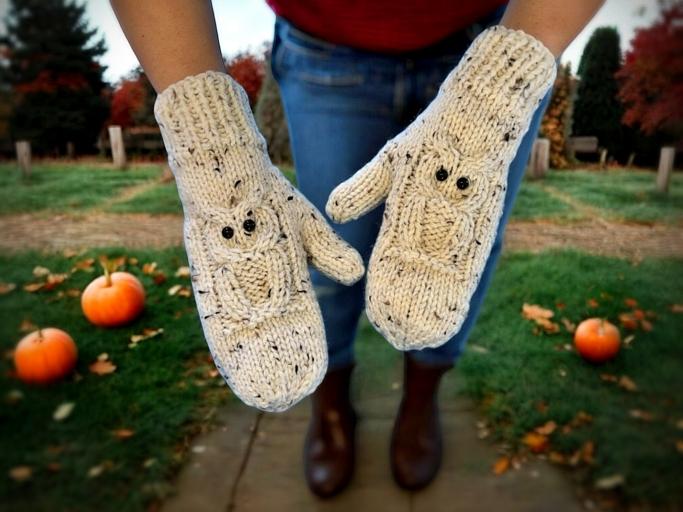
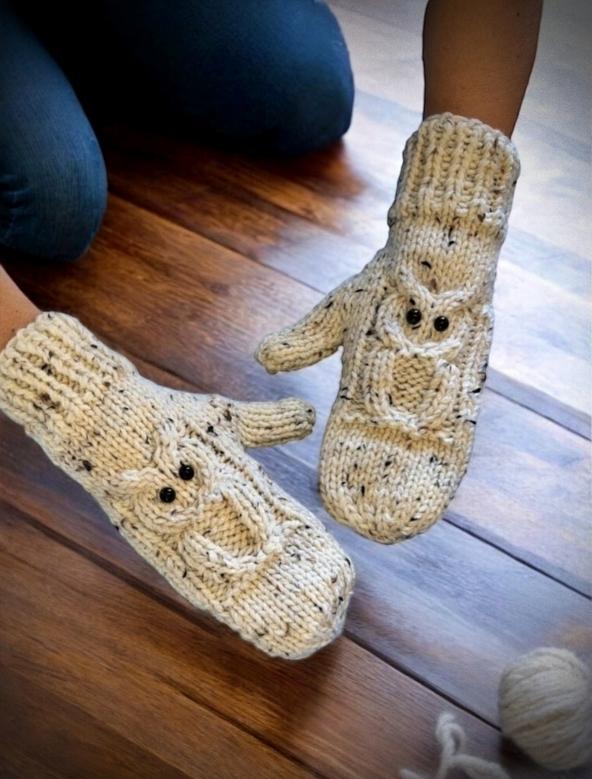
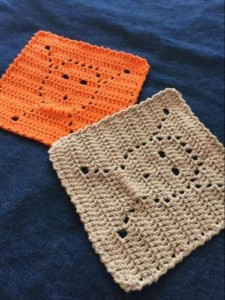
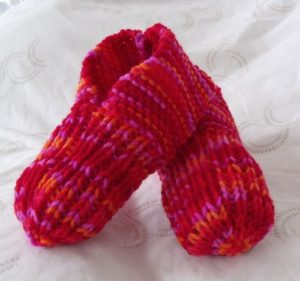
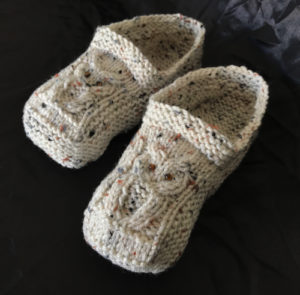
Try mixing a tweed yarn with a plain yarn for an interesting effect. I made the lighter owl with the specks using a tweed yarn and a beige yarn; both worsted weight. Any thing with a subtle fleck of colour will work. The pink/red owl is a bulky yarn with a single ply of white worked into the single large strand. It may be hard to make out the owl if you use a variegated yarn.
Abbreviations
k – knit
p – purl
st – stitch
sts – stitches
k2tog – knit 2 together
Side note: I use both versions of the terminology when it comes to cable stitches. I’ve been corrected that I’m using the wrong one for both occasions so it’s a no win for me. What I mean is that C4F is the same technique as C2F. Just like how C2B is the same as C4B. Do you think of it as the just the stitches you’re pulling or the number of stitches you’re using in total when you do it? It’s a personal choice, I guess.
C4F – Pick up the next 2 stitches with your cable needle. Pull the stitches to the FRONT of your work. Knit the next 2 stitches on your non-working needle. Knit the 2 stitches from the cable needle. Watch this video to see how. How to C4F or Cable 4 Forward.
C4B – Pick up the next 2 stitches with your cable needle. Pull the stitches to the BACK of your work. Knit the next 2 stitches on your non-working needle. Knit the 2 stitches from the cable needle. Watch this video to see how.
How to C4B or Cable 4 Back
M1 – Make one (knit wise). Increase one stitch between the stitches. Pick up the yarn between the stitches. Twist slightly. Place it on your non-working needle. Knit the stitch. Click this link to watch this video to see how.
How to Make One or M1 – Increase between stitches
PM1 – Make one (purl wise). Increase one stitch between the stitches. Pick up the yarn between the stitches. Twist it slightly and place it on your non-working needle. Purl the stitch. Watch this video on
How to PM1 or Purl Make 1
If you need some help with how to use a stitch holder when making the thumb, I have a video for that too 😊
If you aren’t sure how to draw the yarn through at the end of the fingers and thumbs, it’s pretty simple. You’re gathering the stitches together. Watch this video on
How to Gather Stitches.