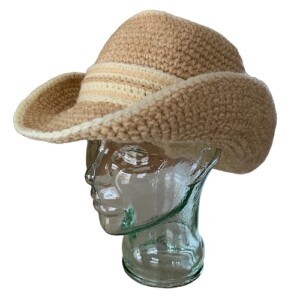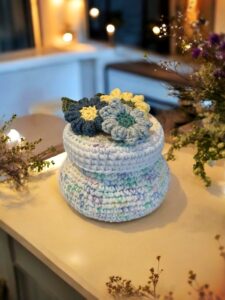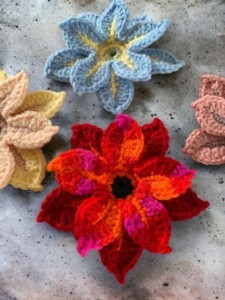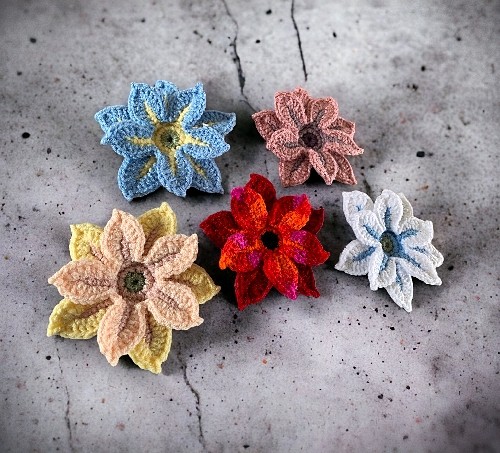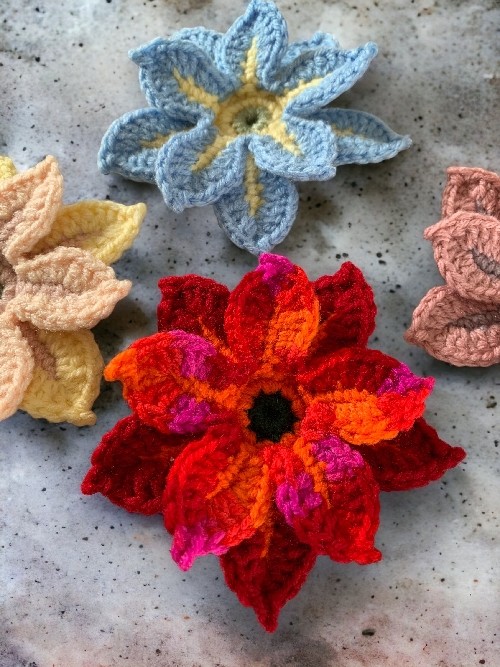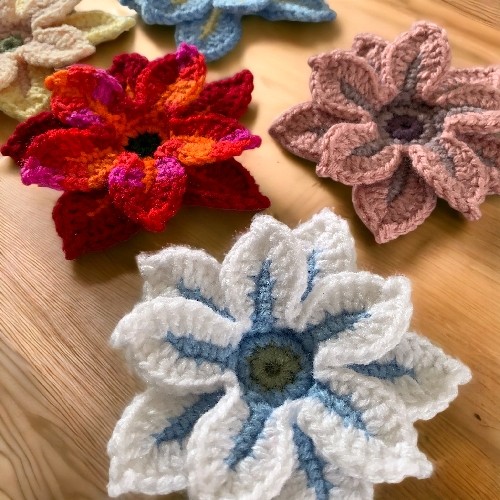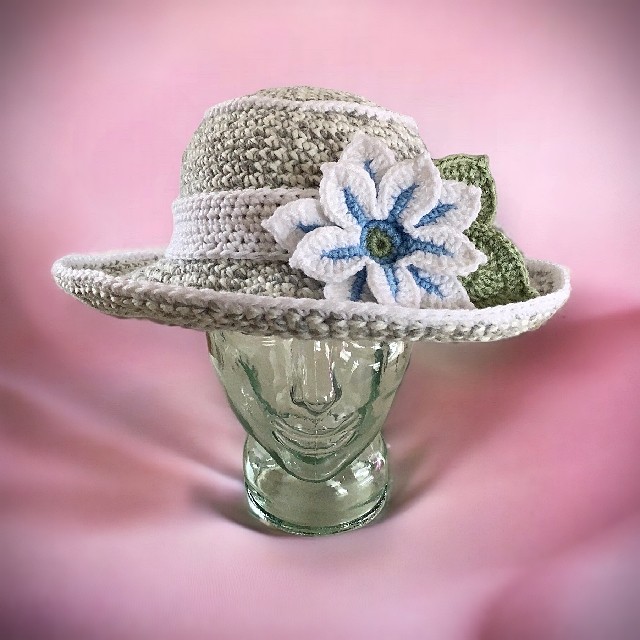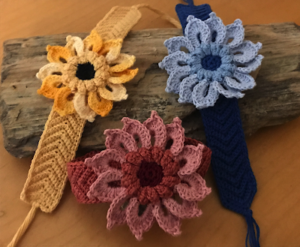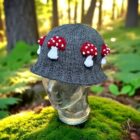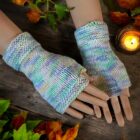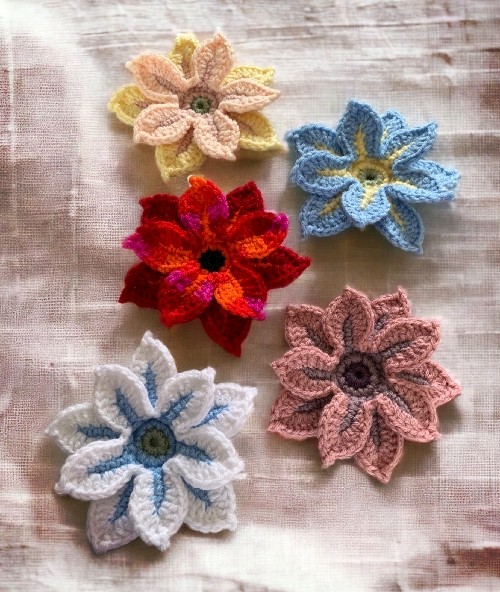
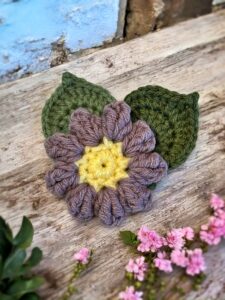
This flower is specifically designed to go with a crochet sun hat/bucket hat/cowboy/cowgirl hat that I’m making. The downloadable and printable version of this pattern is available in the pattern for the multi-hat. It was too much to add to the pattern for the hat on the website. It was easier to make its own page.
I have a number of tips and suggestions if you run into problems making the flower. Scroll down to the bottom of the page to read them or to leave a question in the comments.
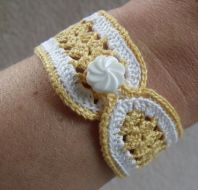
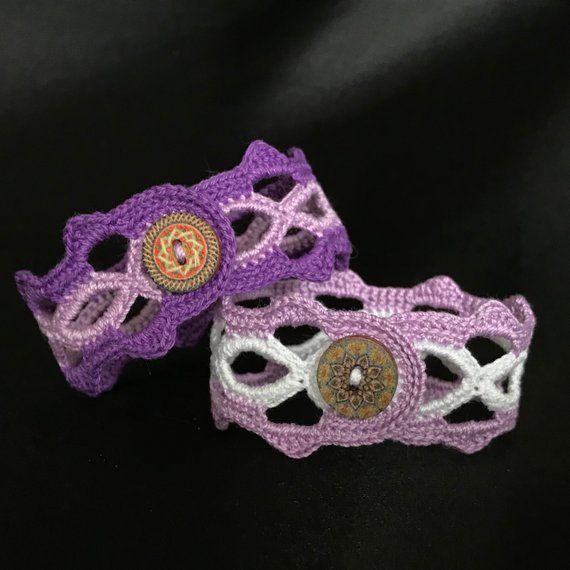
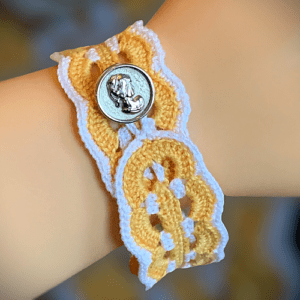
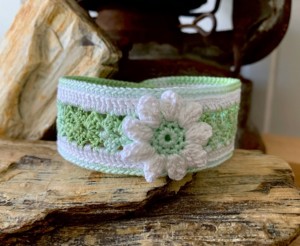
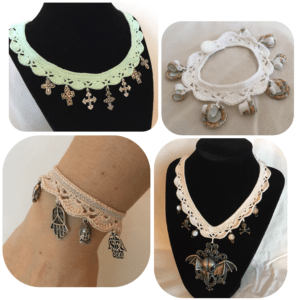
Though the flower is made with yarn in this example, I originally designed it to be made with crochet cotton thread and a small crochet hook. You can add it to a band and make a bracelet with it. I have a number of bracelet designs that it will work with Waves Bracelet, Fans Bracelet Pattern, Quick Crochet Bracelet and my Friendship Flower Bracelet. The last one has a flower already made for it but you could easily switch that flower out for this one.
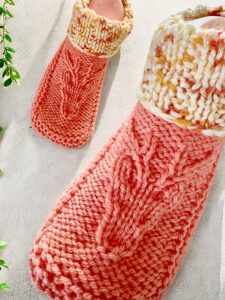
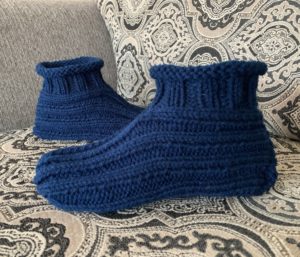
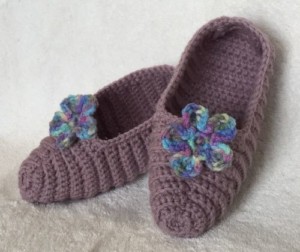
I’m not making any promises, but I do hope to post other flowers and leaves on my website. I have a number of different designs I’d like to get on there. At the moment I have two flowers (3 if you count the one included with my crocheted slippers) that you can take a look at. The flowers are done with crochet cotton thread and I’m not sure how large the final flower would be when made with yarn. I’ll leave that up to you. The one that would also work with the yarn is my Free Crochet Flower Pattern. It should be slightly smaller than the flower I designed to go with the hat.
If you know someone you think would like this post, by all means, share it! The more eyeballs on my work the better. If you are enjoying the free patterns, this is a great way to support my work. You can also Buy Me A Coffee or check out the other options when you check out the Help Support My Work page. If you’re looking for something new to share with your friends on your website or on social media, these links will help you do it.
Abbreviations
ch – chain
sc – single crochet
hdc – half double crochet
dc – double crochet
sl st – slip stitch
st – stitch
sts – stitches
More of my stuff on Etsy:
You can make a widget like this for your blog or website, too.
Instructions are on my website here: How to Display Etsy Items on Your Website
Things You Need
3 to 4 colours of worsted weigh yarn (all small amounts from your stash)
3 mm (US E or 4) crochet hook
Tapestry needle
The Pattern
With the colour you want for your centre…
Ch 2 (make the first chain large enough to fit in all the stitches for Round 1)
Round 1: 10sc in 2nd chain from hook. Join with sl st in first sc. Break yarn. Tie off.
Round 2: With the 2nd colour of your choice, join in any sc. 2sc in same st as join, 2sc around. Join with sl st to 1st sc of the round.
Round 3: Ch 1. Sc in same st as join. *Ch 4. Starting in 2nd ch from hook, sc in each chain. (3sc total). Join with sl st in the starting sc of the Ch 4. Sc in the next 2 stitches. Ch 5. Starting in 2nd ch from hook, sc in each chain. (4sc total). Join with sl st in the starting sc of the Ch 5. Sc in the next 2 stitches.* Repeat from * to * around, ending with 1sc instead of the 2sc. Join with sl st to 1st sc of the round. Break yarn. Tie off.
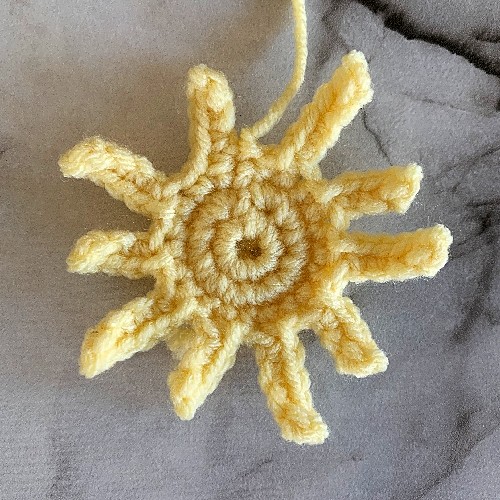
Round 4: Working in the Ch 4 petals only! And with your third colour choice…
Join with sl st in 1st sc before Ch 4 petal. *In the bottom loops of the chain from the previous round, sc, hdc in 1st loop. Hdc, dc in the 2nd loop, 2dc in the 3rd loop. In the top loop, 2dc, ch 2 sl st in 2nd chain from hook, 2dc. Working on the other edge of the petal, 2dc in the 1st st, dc, hdc in the 2nd st, hdc, sc in the 3rd st. Sl st in the sl st of the previous round. Hold the next Ch 5 petal back, sc in the next 2nd sc between the Ch 5 and the next Ch 4 petal.* Repeat from * to * around. Join with sl st in the 1st sc of the round. Break yarn. Tie off.
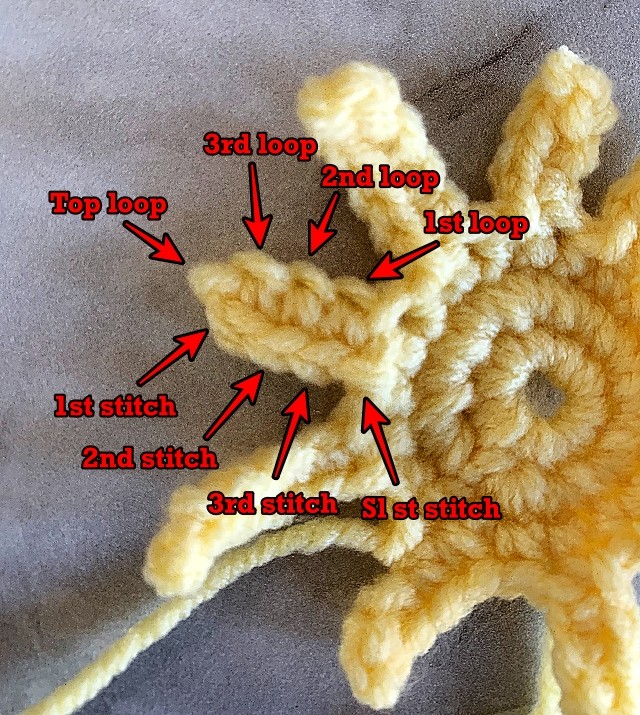
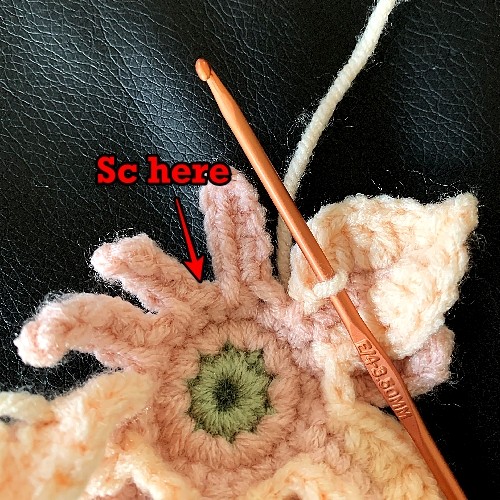
Round 5: Working in the Ch 5 petals only! And with your third (or fourth) colour choice…
Join with a sl st to the 1st loop of the chain. *2sc in the same loop, 2hdc in the 2nd loop, 2dc in the 3rd and 4th loops. In the top loop, 2dc, ch 2 sl st in 2nd chain from hook, 2dc. Working on the other edge of the petal, 2dc in the 1st and 2ndsts, 2hdc in the 3rd st, 2sc in the 4th st. Ch1. Hold the ch 4 petal forward and working in the next ch 5 petal.* Repeat from * to * around. Join with a sl st to the 1st sc of the round. Break yarn. Tie off.
Work in all the ends. Attach to the hat. Link coming soon!
Hints and Tips
Add extra embroidered details to the flowers as you see fit. I made the white/blue flower with one solid colour with the middle and inside leaves to see what it would look like. I didn’t like it so did some quick stitches around to make it green.
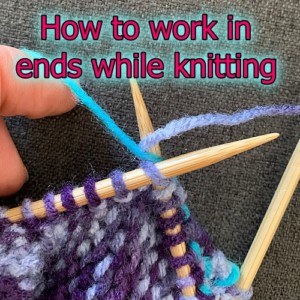
Advice for working in the ends of the flowers. It’s easier to hold the yarn to the back of your work and catch the yarn for 4 or 5 sts as you are making the flower. It works the ends in automatically and involves less to fix at the end.
As much as I wanted to avoid pressing anything, the flowers need to be pressed to have the petals lie flat. Be sure to do a test swatch BEFORE you press your flower. Acrylic is notorious for melting and losing all constructive properties when pressed. It melts to give a flat, melted look. Press with your iron at the lowest setting possible. Press with a damp cloth between the iron and the flower petals. Iron the flower from the BACK.
It’s not overly important where you single crochet between the petals on Round 4. As long as it’s only 1sc and consistent.
I like to stagger where I join the next colour of yarn to make the flower. That way the joins and end points don’t all congest at one point.
If you like the patterns and would like to support my future work
Please share this page!
More FREE patterns
Click the pic to read online!!














FREE Knitting Graph Paper for Colorwork Knitting
