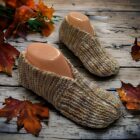
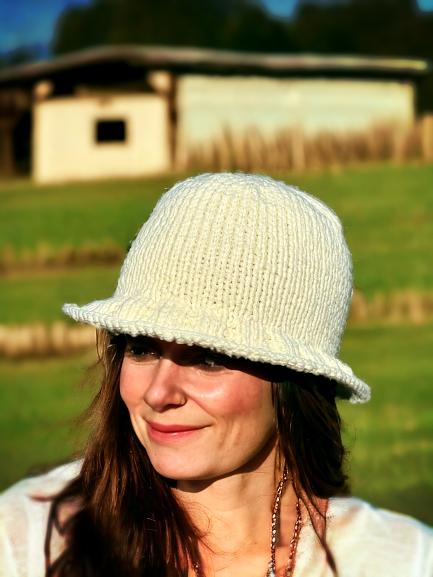
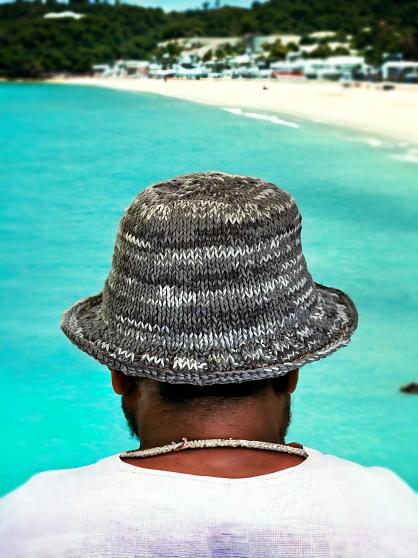
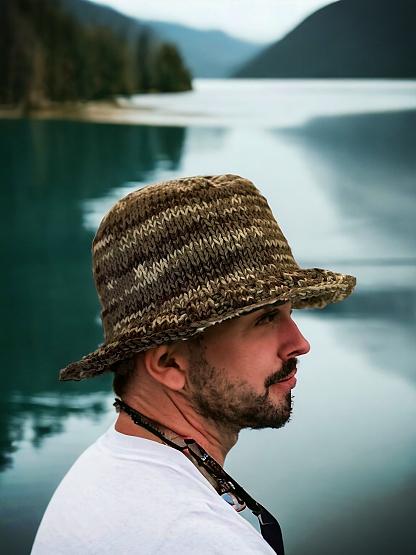
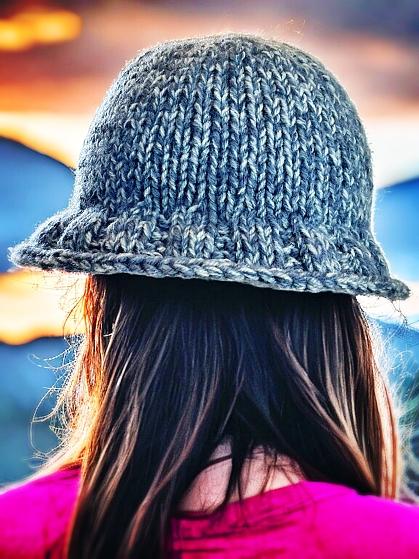
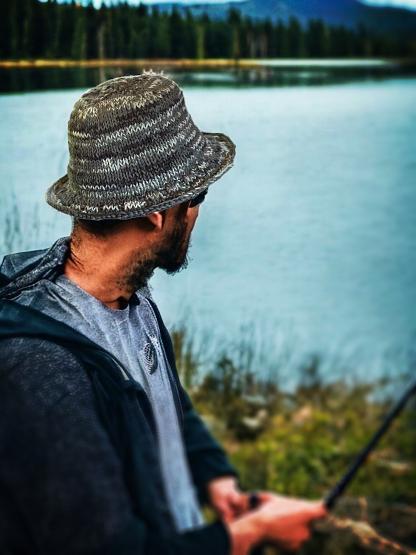
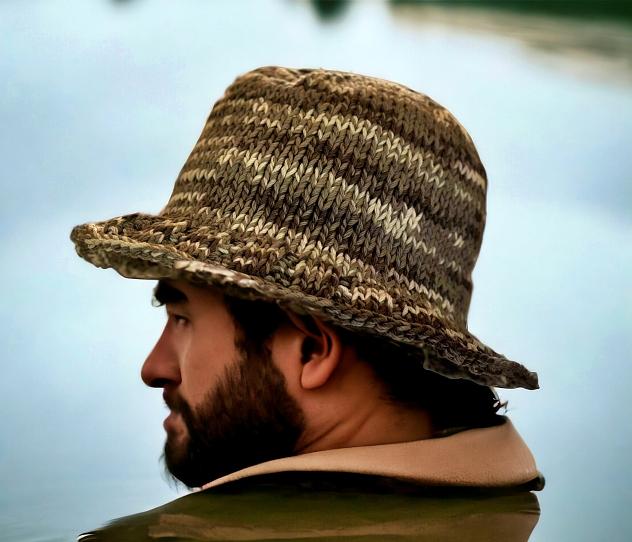
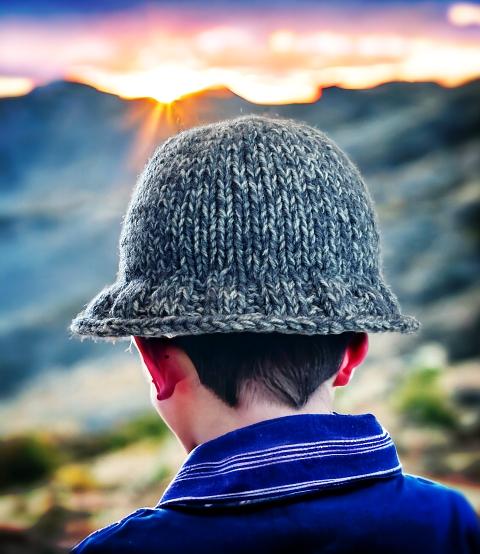
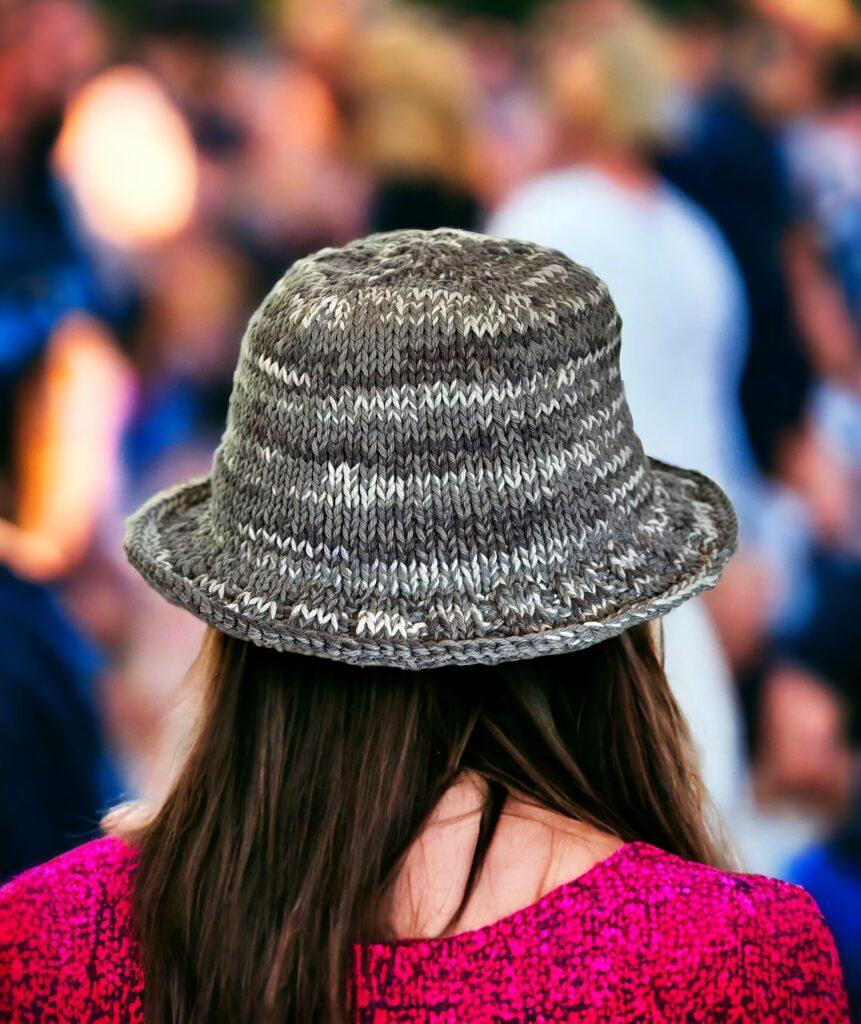
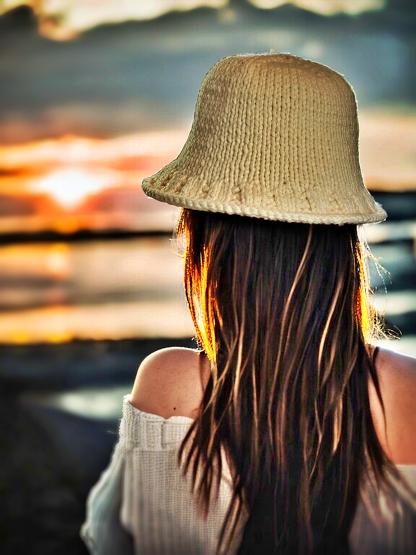
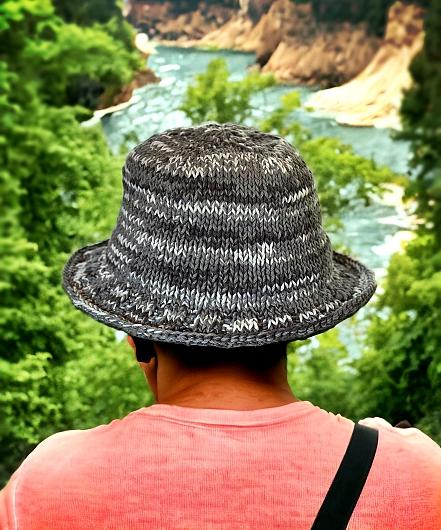
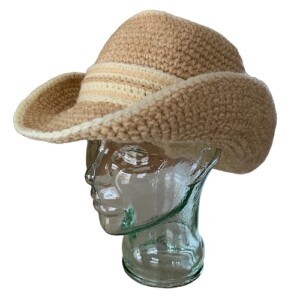
Looking for something to keep the sun off this summer? Why not try a knitted bucket hat. You can even make them for the whole family!
Made with thick yarn, this bucket hat works up faster than most knitted hats. And the stitches are tight. The brim can hold its shape to keep the sun out of your eyes. Because it is knitted you can fold or roll it up to fit any small space in your luggage, pack or bag. Upon arrival, it will look great once you put it on.
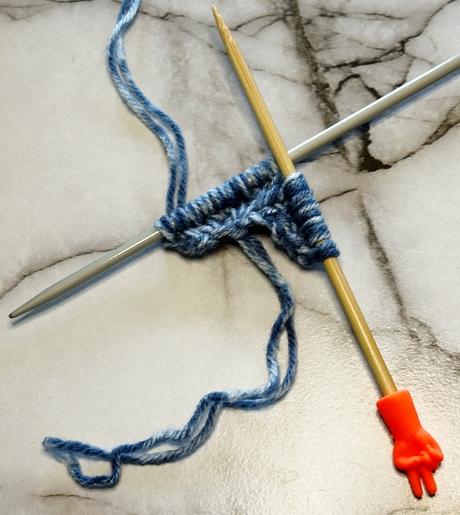
For this pattern, I use a very different technique involving multiple needles. Why the extra needles? Round things don’t like to be flat and the stitches get tight if not separated on multiple needles. I included photos to demonstrate how I’m using the extra set and it totally works! Trust me. Where you end with one needle, the tip of the next needle is there for you to continue on knitting. By doing it this way, the hat is knit flat and NOT in the round.
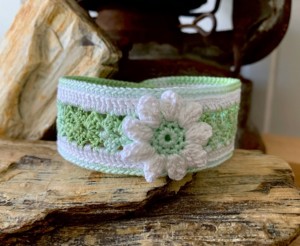
If you are the type that also crochets, I have a couple of summer hat crochet patterns you may want to take a look at. My Sunny Days Bucket Hat and my very popular Crochet Flower and Bucket Hat. Both are designed only for adults.
If you would like to ad free versions that you can download and print, there are a couple options. You can purchase it from this website – Knit Bucket Hat Pattern for Adults and Children. You can also get the pattern from Buy Me a Coffee, Ravlery, my Etsy Shop or get the paperback and Kindle version from Amazon.
Another way to avoid ads and pop-ups, get instant, PRINTABLE downloads of this pattern and others, is by becoming a Member. When you become a Website Supporter at $4/month, you’ll gain access to exclusive member only posts on Buy Me A Coffee. You can download as many patterns as you like for the same $4 each month. You can go to this page to learn more, become a member and support my work… Exclusive Member Area
Don’t forget to support my work with a share! Letting people know about my patterns is the easiest way for you to help me.
Things You Will Need
2 balls of worsted weight yarn or 1 ball of Super Bulky Yarn – The standard large size balls (360 yards of worsted weight) will do and you’ll have a lot left over. When using 2 strands of yarn use either the same colour or 2 colours. Combining shades, colours and textures can give interesting effects. (Acrylic, blends and cotton all work)
One set of size US 8 (5 mm) straight (single point) knitting needles
One set of size US 8 (5 mm) dpn (double pointed) knitting needles – We’re using these needles a single pointed needles. These usually come with 5 in a set, are shorter and are less unwieldy when knitting. You can use stitch stoppers at one end of each needle or wrap the end with an elastic band to keep the stitches from slipping off the end.
2 Size US 8 (5 mm) circular needles (optional) – The last rows of the brim for the largest size has a large number of stitches. It can be easier to use circular needles to knit these when used as a regular single pointed needle.
Stitch stoppers (optional) – for the ends of the dpn’s or circular needles to make them single pointed needles. Elastics wrapped around the end of the dpn’s or circular needles work just as well.
Tapestry needle – To sew the seam and work in ends.
How to Use the Needles
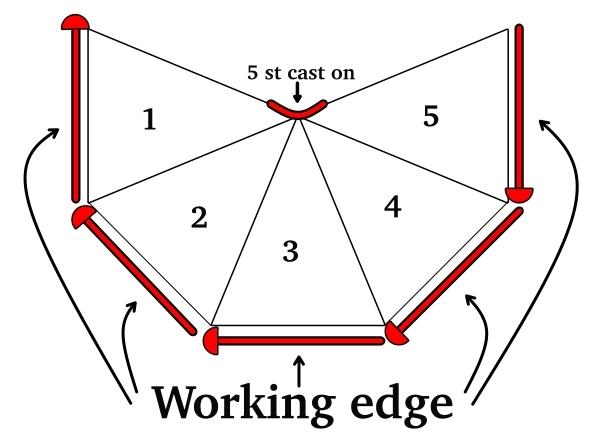
The rows work back and forth like every other flat thing you’ve knitted. The only difference with the hat is you are going to be adding stitches for each section and these additional stitches are going to make it round. To help you visualize what you’re going to make I’ve include the following graphic. The hat is divided into 5 sections, each divided with knit stitches. You work back and forth, from one needle to the next, until you have the correct number of stitches for the size hat you are making.
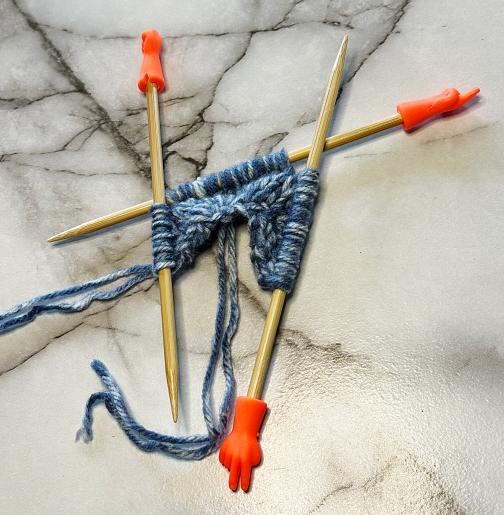
You don’t need to use 5 separate needles with one working needle. 2 or sometimes 3 sections will fit on one needle before the stitches become to tight to knit. Switch to a new needle when it suits you. There is no right or wrong time to add a new needle.
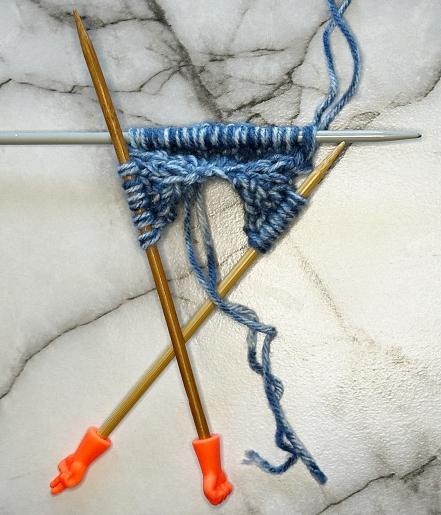
The stitches at the start of the hat need to be split between at least 2 needles with one additional working needle. The stitches quickly become too tight to work with a single straight needle.
You can also use 2 sets of circular needles when you get further along in the hat. Use each needle as a long and flexible single pointed needle. You can wrap an elastic band or use a stitch stopper at the end so the stitches don’t slide off the end.
Sizing
Every 3 sts equals approximately 1 inch. When making the child hat, you can make it slightly bigger by adding additional M1 sts to each section past what is written in Row 11. If you need an inch larger, when knitting the next increase row, evenly add one M1 st in 3 of the 5 sections (ie section 1, 3, and 5). If 2 inches, 2 M1 sts in 3 sections. The ribbing for the brim will work for every inch (or 3 M1 sts) you add.
If you need a smaller hat, when making Row 11, knit 3 M1 sts less in 3 sections. You’ll have a total of 52 sts.
If you are adjusting for size, only knit an additional 18 rows instead of 20.
If adding or subtracting M1 sts, the number of repeats and stitch counts for the child size for the brim will be off. Adjust accordingly.
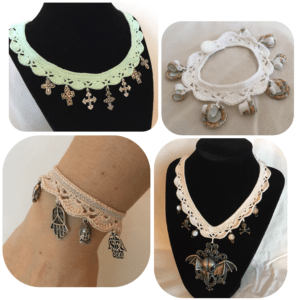
More of my Stuff on Etsy
You can make a widget like this for your blog or website, too.
Instructions are on my website here: How to Display Etsy Items on Your Website
Gauge
With 2 strands of worsted weight yarn or 1 strand of super bulky yarn
in stockinette
6 sts = 2 inches (5 cm)
11 rows = 2 inches (5 cm)
Measurements for the sizes:
child = 18.5 inches (47 cm)
sm/med adult = 21.5 inches (54.5 cm)
lg/x-lg adult = 23.5 inches (60 cm)
Pattern is written as such:
Child (sm/med adult, lg/x-lg adult)
The Pattern
Cast on 5
Row 1: Inc in every st (10 sts)
Please share this page!
More FREE patterns
Click the pic to read online!!


![]()
![]()


FREE Knitting Graph Paper for Colorwork Knitting


You can watch the video below if you are uncertain how to make the increases.
Row 2: P across
Purl across for every even row [the WRONG side] until making the brim
Row 3: ◊ K M1 K ◊ Repeat from ◊ to ◊ 4 more times. (15 sts)
Click on the video below if you need help with the M1 stitch

The first 2 sections (*K M1 K* twice) are on the first needle with the remaining sections are on the second needle.
Row 5: ○ K M1 K M1 K ○ Repeat from ○ to ○ 4 more times. (25 sts)
with the remaining sections on the second needle.
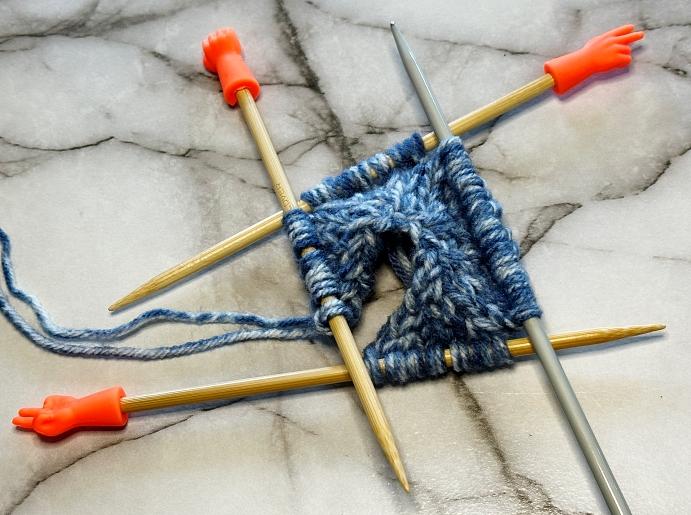
Row 7: ◘ K M1 K3 M1 K ◘ Repeat from ◘ to ◘ 4 more times. (35 sts)
Sections 3 & 4 (*K M1 K3 M1 K* twice) are on the second needle.
Section 5 on the third needle.
You can use any combo of stitches that you like
purled 3 sections on the middle needle,
and still need to purl the last section.
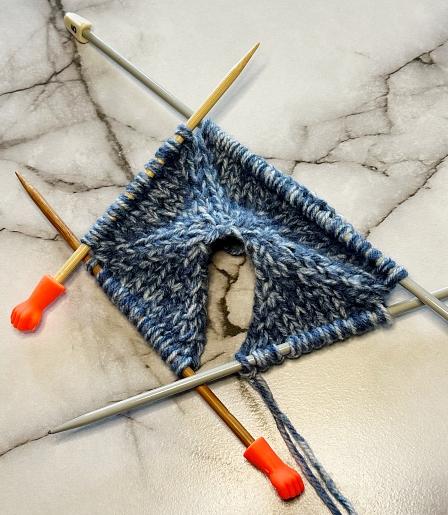
Or maybe this combo
Sections 2 & 3 are on the second needle. Section 4 is on the third needle.
Section 5 on the fourth needle.
Whatever works for you is perfect!
Row 9: ☺ K M1 K5 M1 K ☺ Repeat from ☺ to ☺ 4 more times. (45 sts)
Row 11: ♠ K M1 K5 M1 K ♠ Repeat from ♠ to ♠ 4 more times. (55 sts)
Stop here if making the child size bucket hat.
Move on to Row 16.
Row 13: ♪ K M1 K7 M1 K ♪ Repeat from ♪ to ♪ 4 more times. (65 sts)
Stop here if making the teen/small adult size bucket hat.
Move on to Row 16.
Row 15: ▲ K M1 K9 M1 K ▲ Repeat from ▲ to ▲ 4 more times. (75 sts)
Row 16: P across
Row 17: K across
Row 18: P across
Repeat rows 17 and 18 for a total of 20 (22, 24) rows.
Make the Brim
Next Row: K3 (1, 2) ♥ K1 M1 K2 ♥ Repeat from ♥ to ♥ 16 (20, 23) times more. K1 (1, 1). 72 (86, 99 sts)
Next Row: P1 K1 ■ P3 K ■ Repeat from ■ to ■ 16 (20, 23) times more. P2 (0, 1).
Next Row: K2 (4, 1) ☼ Inc, K3 ☼ Repeat from ☼ to ☼ 16 (19, 23) times more. Inc, K1. 90 (107, 124 sts)
✿ Next Row: P1 K2 ∞ P3 K2 ∞ Repeat from ∞ to ∞ 16 (19, 23) times more. P2 (3, 1) K0 (1, 0).
Next Row: K across
Next Row: Repeat row marked with ✿
Next Row: K across
Next Row: Repeat row marked with ✿
Cast off. Leave a longer length of 1 strand of your yarn to sew seam and draw the circle closed at the top of the head. Work in the remaining ends of yarn.
Hints and Tips
Where you split the stitches is up to you. If the stitches are getting difficult to knit, use a new needle from the set.
When separating the sections between needles, lines can form in your work where the needles meet. To avoid this, knit a few stitches off the next needle. When knitting on the other side, knit one or two stitches from the next needle. This alternates the stitches where the needles meet and can prevent the line from forming.
Abbreviations
K – knit
P – purl
Inc – Make 2 sts in one st. Knit in the front of the stitch and the back of the stitch
M1 – Make one (knit wise). Increase one stitch between the stitches. Pick up the yarn between the stitches. Twist slightly. Place it on your non-working needle. Knit the stitch. Click this link to watch this video to see how. How to Make One or M1 – Increase between stitches