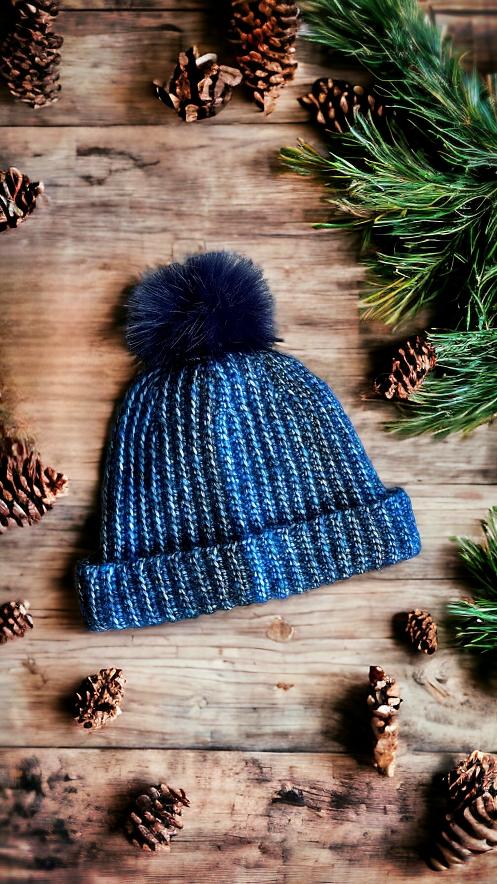

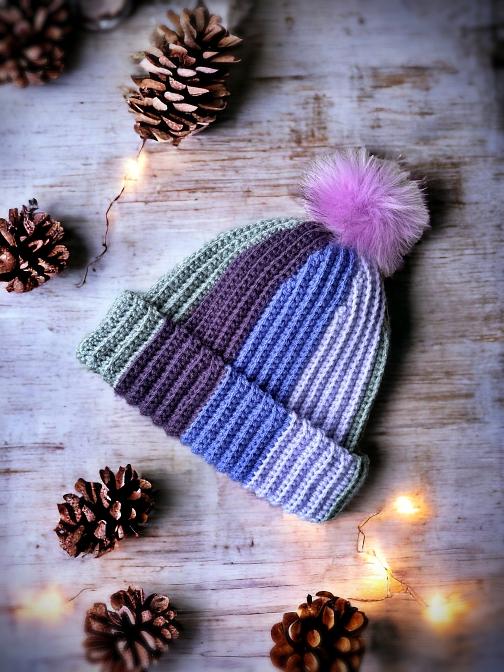
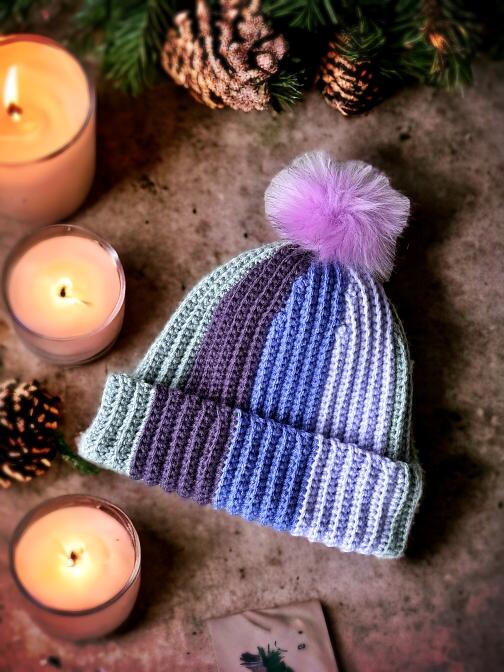
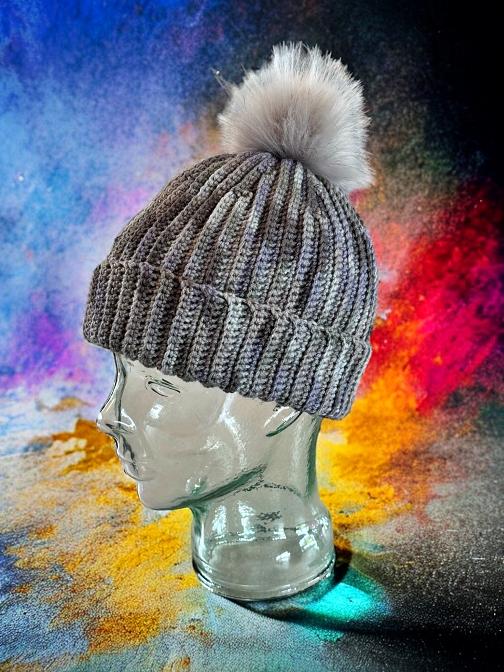
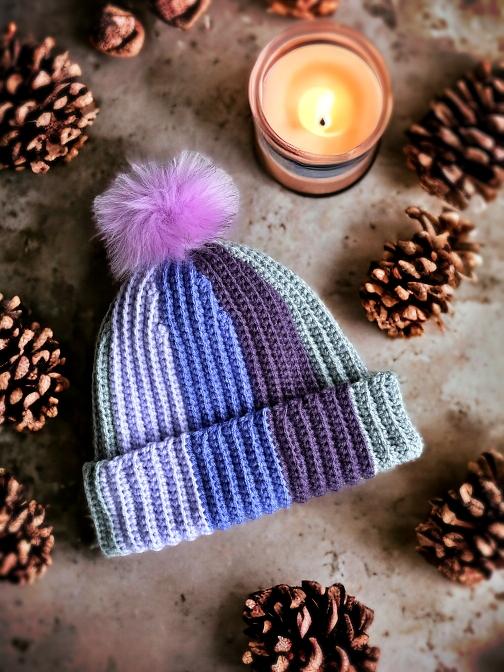
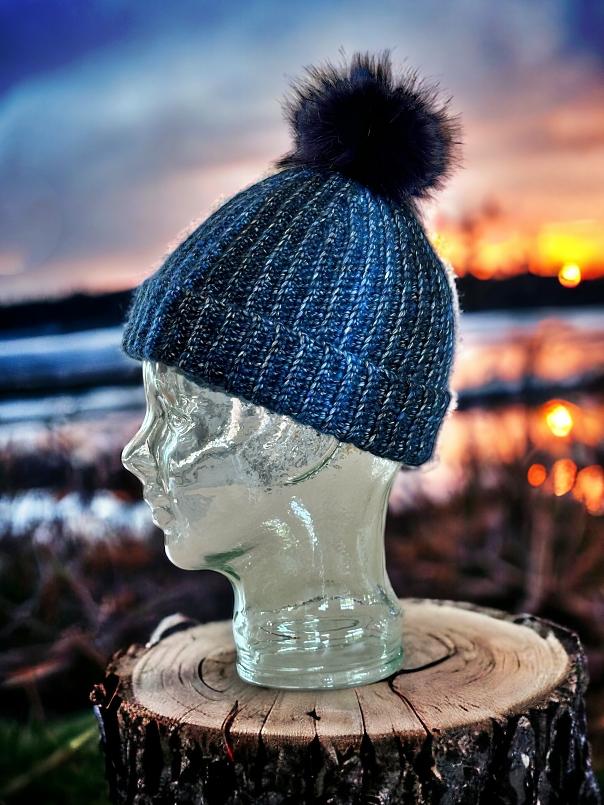
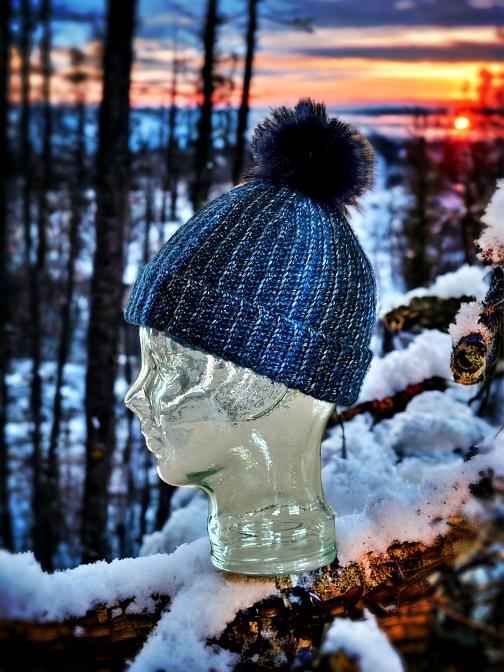
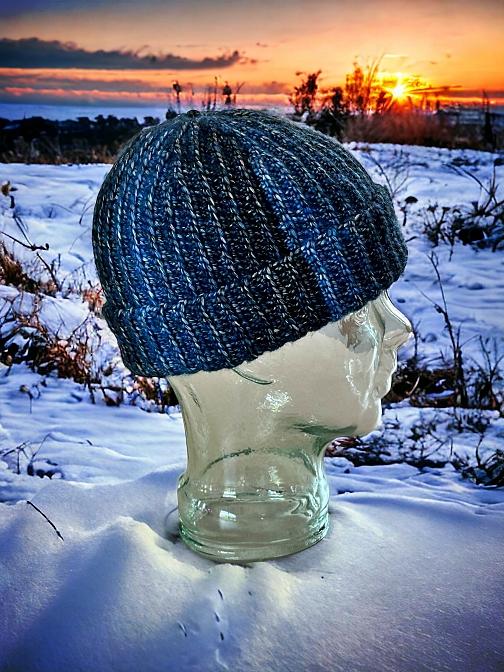
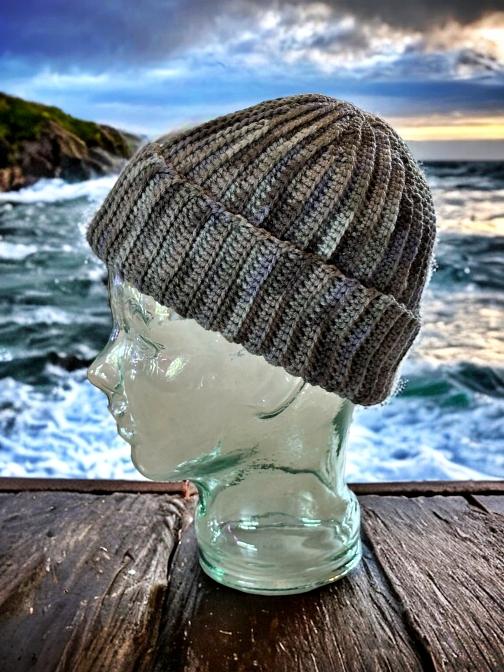
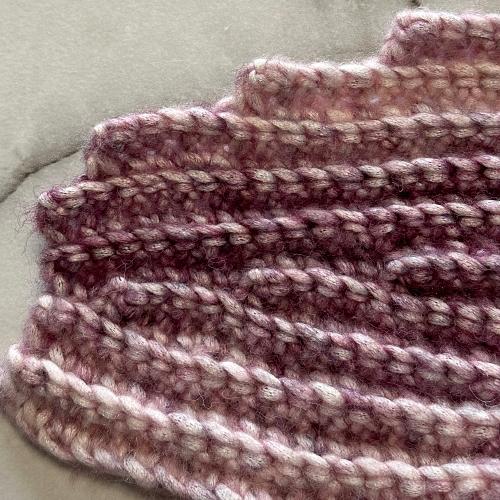
Looking for a more form fitting hat or toque to keep yourself or your loved ones a bit extra warm? This ribbed crochet beanie will certainly do that. Made with simple stitches and many photos to help you along, this crochet project is perfect for all levels of crocheters.
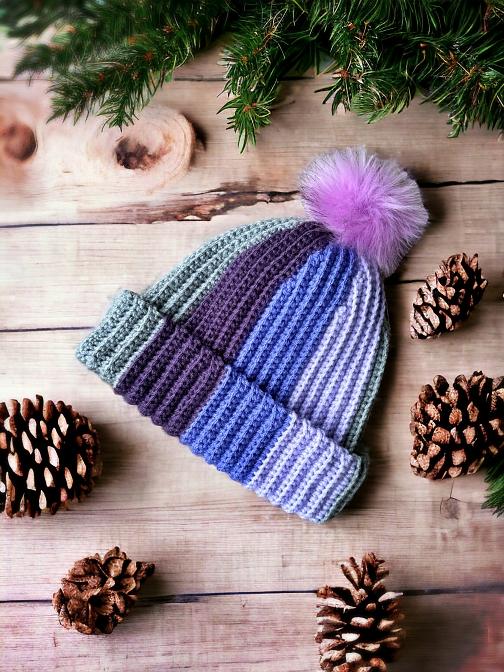
Due to the sideways, ribbed design, it is very forgiving in the sizing. It snugs in tightly to the head of the wearer and is very customizable. You can make it with or without extra folded edging across the forehead and ears. It all depends on how many stitches you chain at the start. Don’t worry I explain this all later on in the pattern.
If you aren’t a fan of crocheting, this was originally designed as a knitted beanie. It too, is done in an up and down fashion like this. If you would like to see that pattern, you can click this link – Winter Beanie Toque or Touque or Tuque with Vertical Stripes


Love the free patterns? You can say thanks in a couple of ways. You can read more about how you can Support My Work by clicking that link or make a small donation and Buy Me a Coffee. That is a website where you can make a one time donation as a thanks. (FYI I have some great offers if you would like to buy me multiple coffees. You can see those by clicking on the Extras tab or you can click this link Janis Frank Extras).
If you don’t want to or are unable to make a financial donation, sharing this pattern through social media is a great way to help out too! The links below are a super easy way for you to do so.
If you would like to avoid the ads on this page or would like to print the pattern, you can purchase the PDF for a small fee from this website here – Easy to Crochet Beanie – Printable Crochet Hat Pattern, through my Etsy shop, on Ravelry or as Kindle or paperback on Amazon.
Another way to avoid ads and pop-ups, get instant, PRINTABLE downloads of this pattern and others, is by becoming a Member. When you become a Website Supporter at $4/month, you’ll gain access to exclusive member only posts on Buy Me A Coffee. You can download as many patterns as you like for the same $4 each month. You can go to this page to learn more, become a member and support my work… Exclusive Member Area
Like all of my patterns you have my permission to sell and/or give away the physical items that you make using this pattern. You are NOT permitted to reprint this pattern in any form unless you have obtained my written permission to do so.
Things You Need
Worsted weight yarn. One standard ball (278 yards or 255 m) will do but if you want other colour segments, of course it will be more skeins of yarn. This doesn’t include yarn for an optional pom pom.
Size 5 mm (H or size 8) crochet hook
Tapestry needle so work in ends
Gauge
In single crochet
17 sts = 4 inches or 10 cm
16 rows = 4 inches or 10 cm
The Pattern
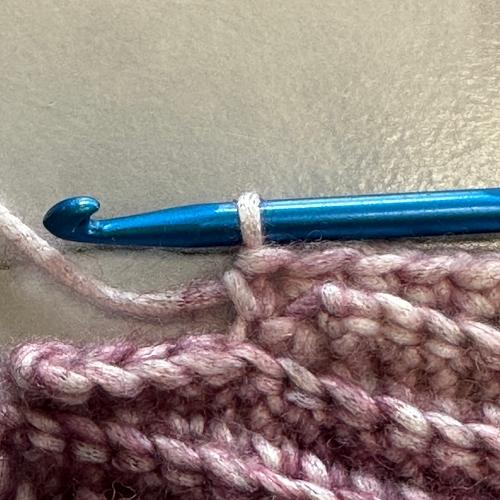
To achieve the ribbing effect, all stitches are made in the BACK loop only! ALL stitches throughout the pattern are made in the back loop.
Ch 51. In second ch from hook:
*Row 1 – 4: 50 SC across in the back loop of every st
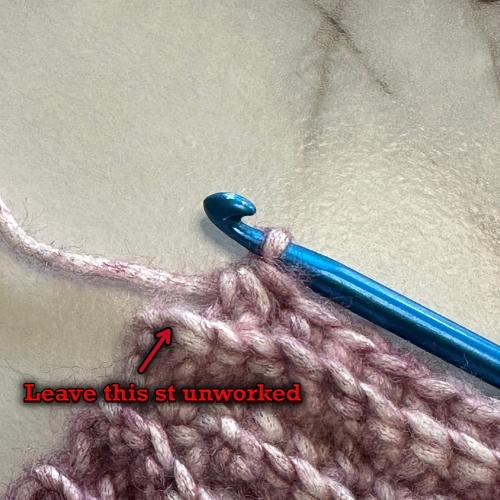
Row 5: 47 SC, HDC over the next 2 sts. Ch 1, Turn (leave remaining sts unworked).
Row 6: 48 SC, Ch 1. Turn.
Row 7: 42 SC, HDC over the next 2 sts. Ch 1, Turn (leave remaining sts unworked).
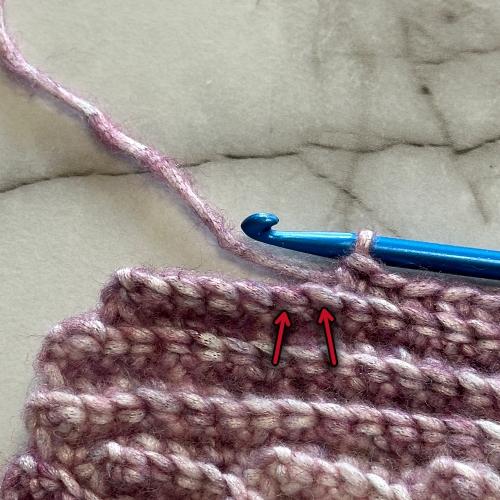
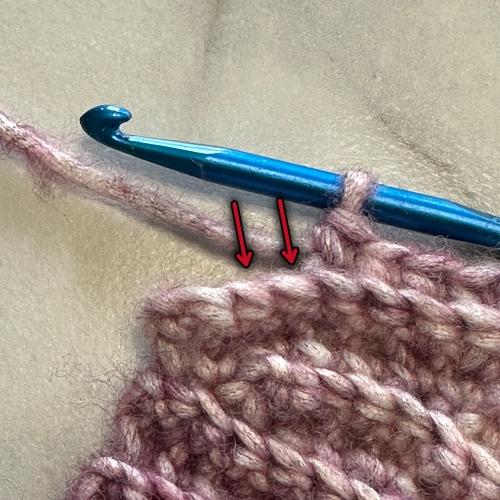
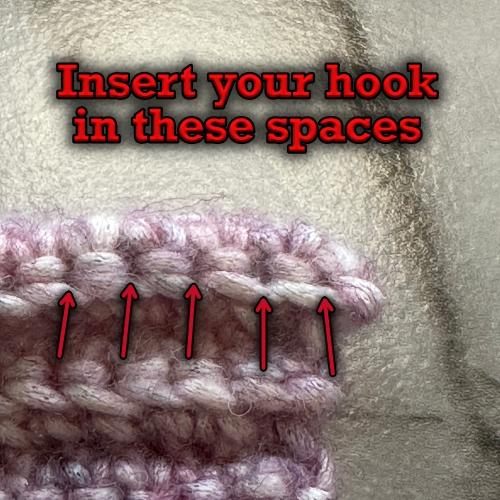
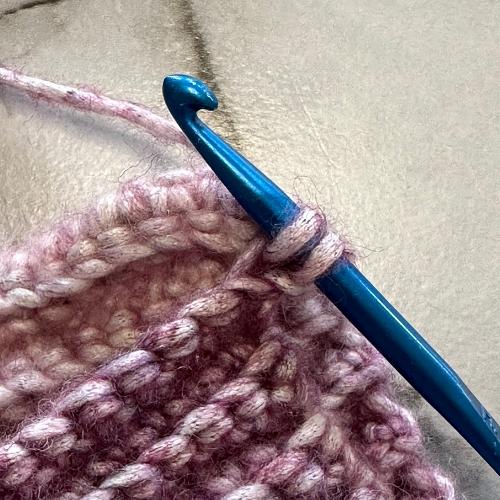
Pull up loops in the back loop of these 2 sts.
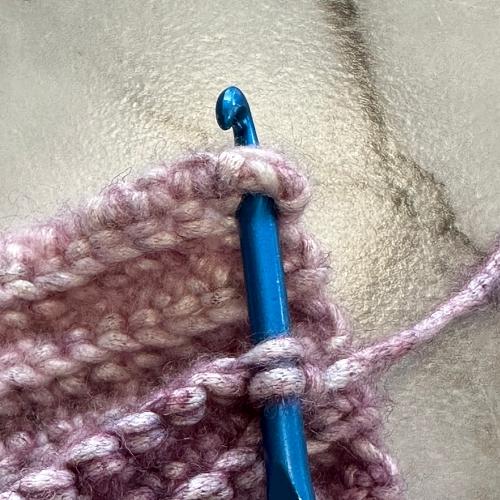
YO and draw through all 3 loops.
Leave remaining 4 sts unworked.
Row 8: 43 SC, Ch 1. Turn.
Row 9: 37 SC, HDC over the next 2 sts. Ch 1, Turn (leave remaining sts unworked).
Row 10: 38 SC, Ch 1.Turn.*

Repeat from * to * 7 more times (for a total of 8 sections). If you want to change colours, do so BEFORE the Ch 1. Then turn.
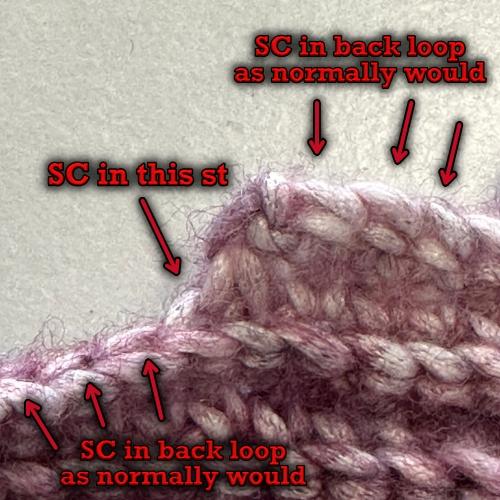
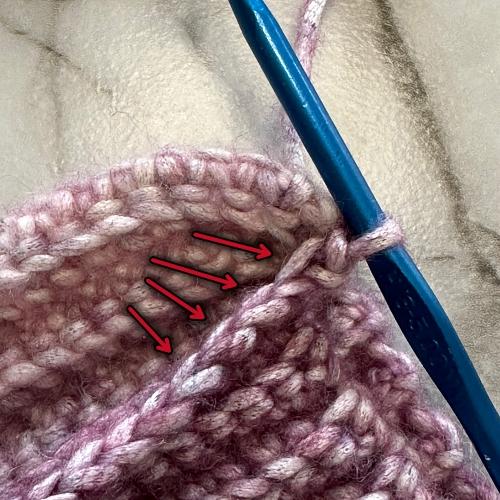
When repeating you need to pick up the stitches that were decreased.
More of My Stuff on Etsy
You can make a widget like this for your blog or website, too.
Instructions are on my website here: How to Display Etsy Items on Your Website
Finishing
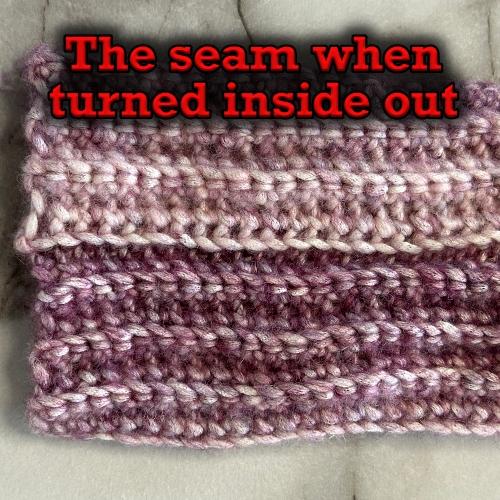
Bring the edges together and slip stitch the seam together. Go through the back loop, and between the sts of the row 1 as you SL ST down the length of the toque. Turn the hat inside out when done the seam.
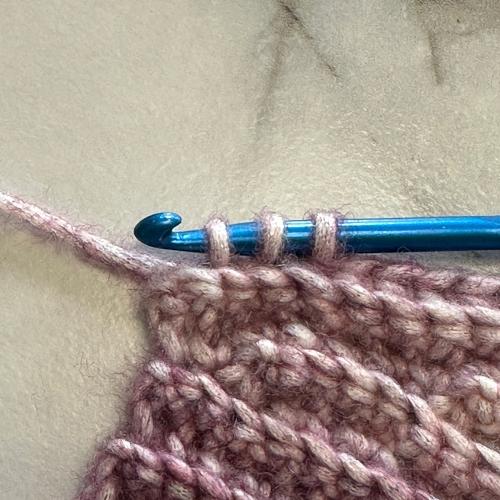
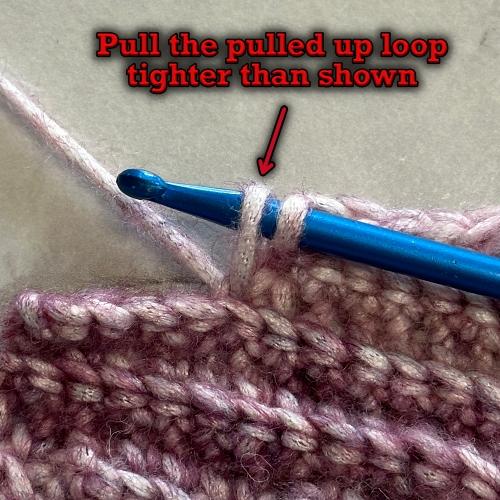
Do NOT YO yet!
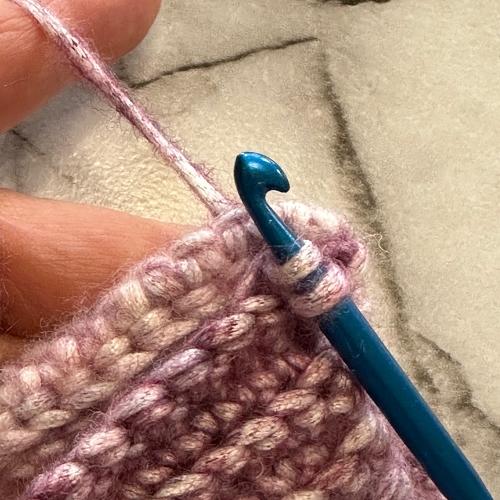
YO now and pull through.
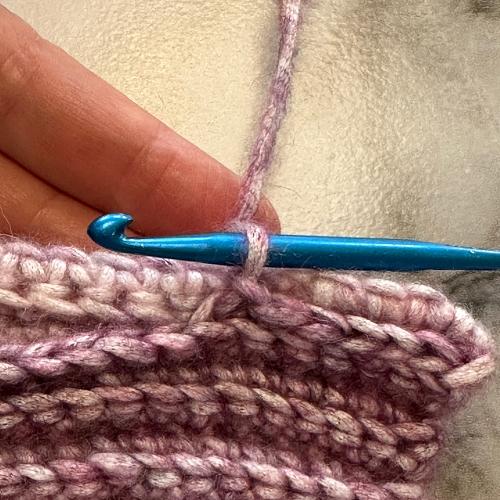
there is a single loop on your hook.
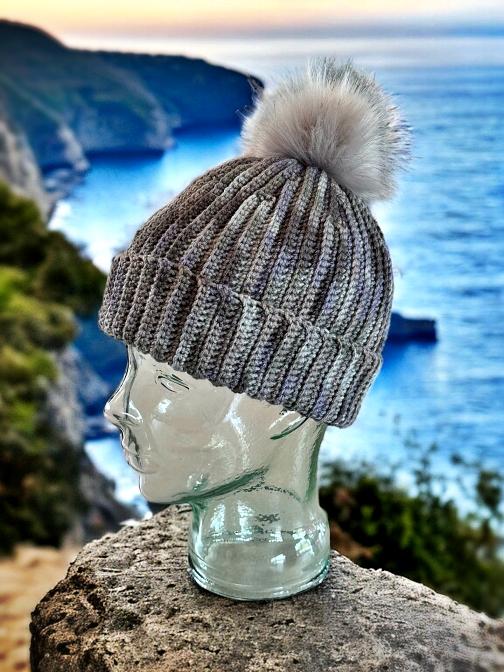
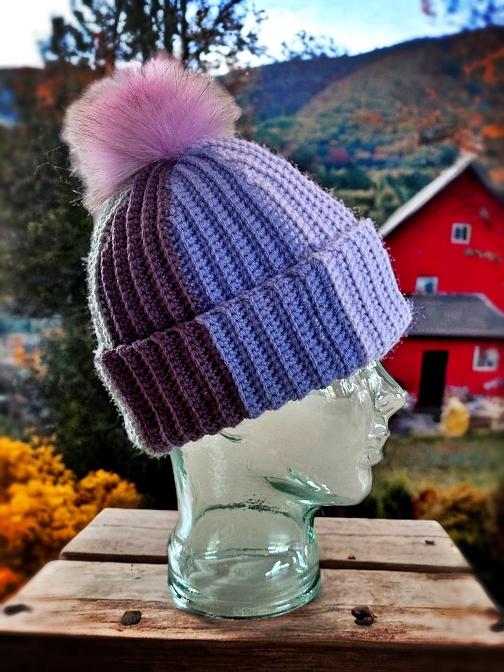
Leave a length of yarn about 8 inches long. Draw the ends of the rows together to close the hole at the top of the beanie. Add a pom pom if you like.
Alternate Pattern for ANY Length
If you would like to make a larger folded edge over the forehead and ears, you can chain more sts to make it as long as you want. You can also have no folded edge. For this, chain less stitches. How many chains all depends on what you’re looking to accomplish and will take some trial and error. Of course, if you are doing this, the st counts will be off.
Another way to write the pattern for any number of sts is as follows.
*Row 1 – 4: SC across in the back loop of every stitch
Row 5: SC until there is 3 sts remaining. HDC over the next 2 sts. Ch 1. Turn (leave remaining sts unworked).
Row 6: SC to the end of the row. Ch 1. Turn.
Row 7: SC until there are 6 sts unworked of the previous row (doesn’t include sts from previous row). HDC over the next 2 sts. Ch 1. Turn
Please share this page!
More FREE patterns
Click the pic to read online!!


FREE Knitting Graph Paper for Colorwork Knitting


![]()
![]()


Row 8: SC to the end of the row., Ch 1. Turn.
Row 9: SC until there are 6 sts unworked of the previous row (doesn’t include sts from previous rows). HDC over the next 2 sts. Ch 1. Turn
Row 10: SC to the end of the row., Ch 1.Turn.*
Repeat from * to * 7 more times (for a total of 8 sections). If you want to change colours, do so BEFORE the Ch 1. Then turn.
Bring the edges together and slip stitch the seam together. Go through the back loop, and between the sts of the row 1 as you SL ST down the length of the toque. Turn the hat inside out when done the seam.
Leave a length of yarn about 8 inches long. Draw the ends of the rows together to close the hole at the top of the beanie. Add a pom pom if you like.
Abbreviations
SC – single crochet
HDC – half double crochet
YO – yarn over
sl st – slip stitch
st – stitch
sts – stitches
Hints and Tips
If you would like to alternate colours, anything that goes evenly into 8 will work; any 2 or 4 colours.
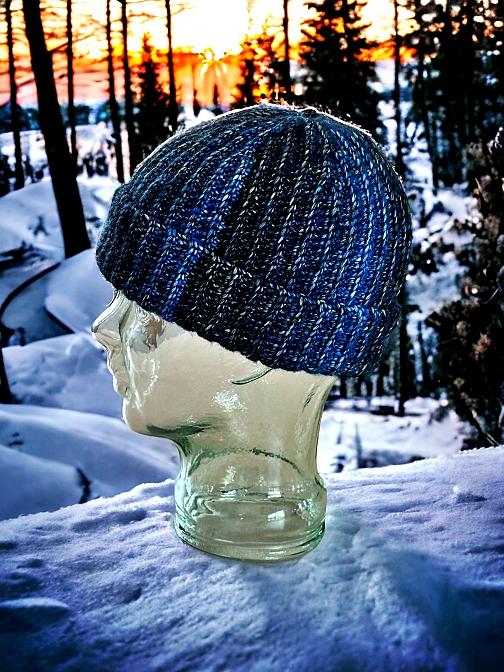
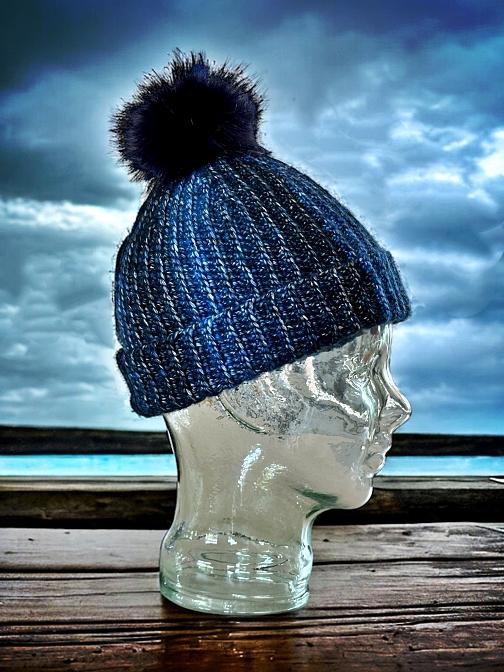
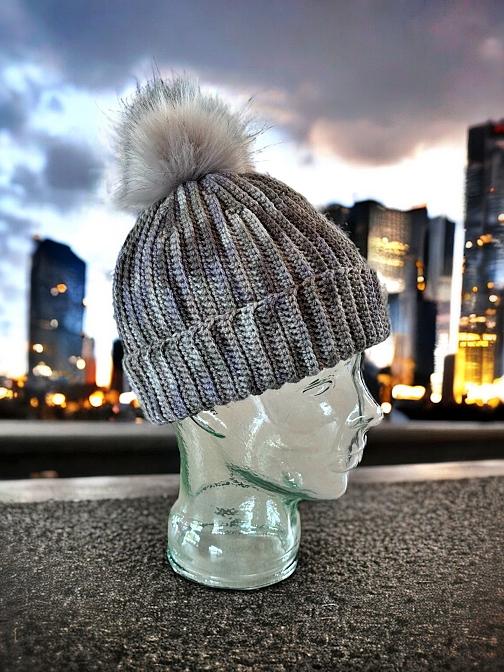
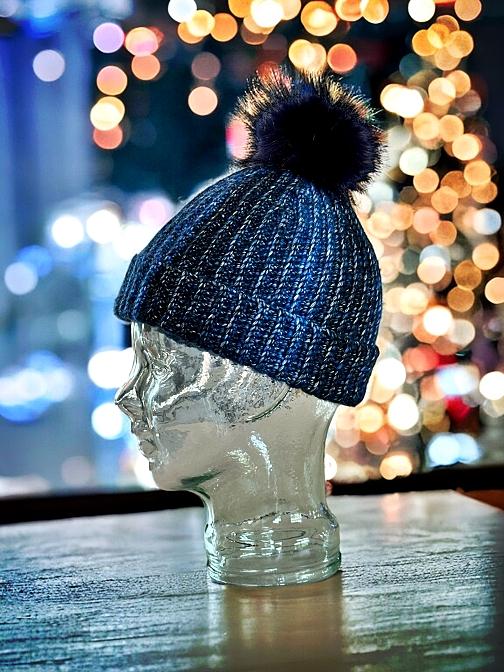
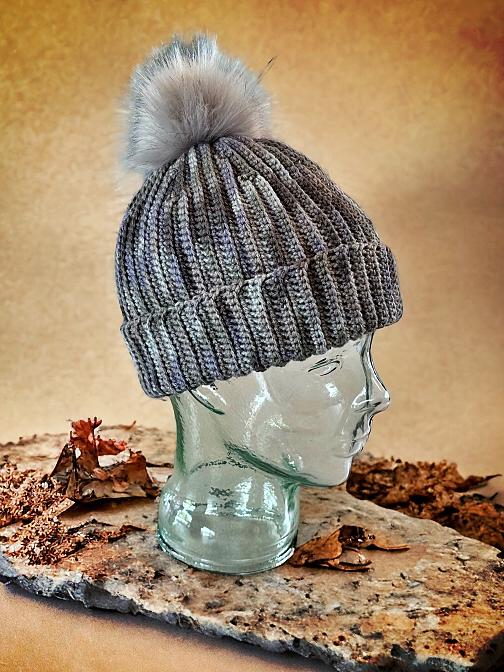
Speaking of colours, this design works particularly well with ombre, variegated and self striping yarns.
I’m always a fan of these yarns, but find that there aren’t many patterns where I can use them.
If you would like to make it fit child sized heads, you have a couple of options. You can either use a smaller size hook so there are more stitches per inch/cm. The other option is to make less sections and ch fewer sts when starting. Changes such as these are beyond what I can calculate for so I can’t help you much with that. It will be trial and error on your part.
Like all of my patterns you have my permission to sell and/or give away the physical items that you make using this pattern. You are NOT permitted to reprint this pattern in any form unless you have obtained my written permission to do so.