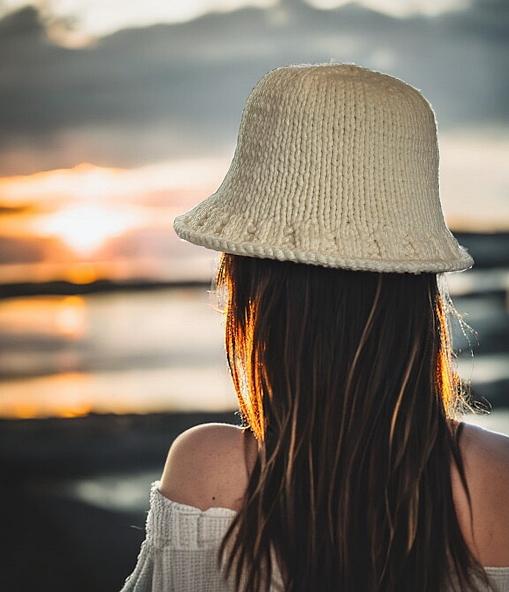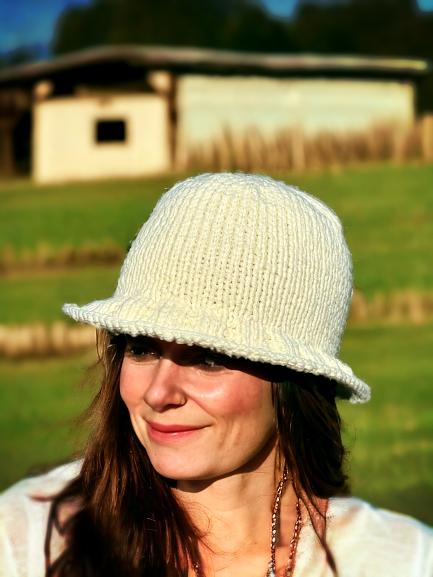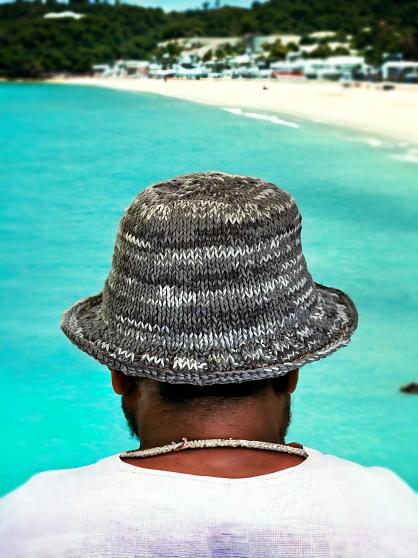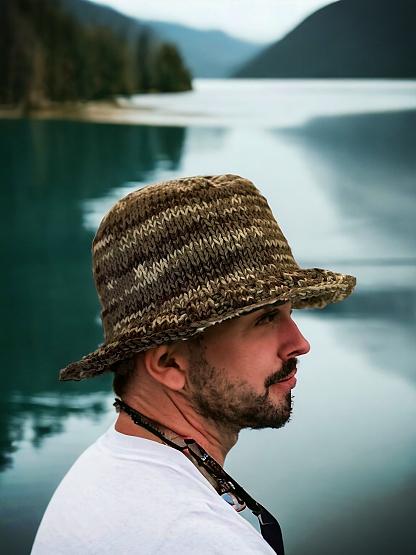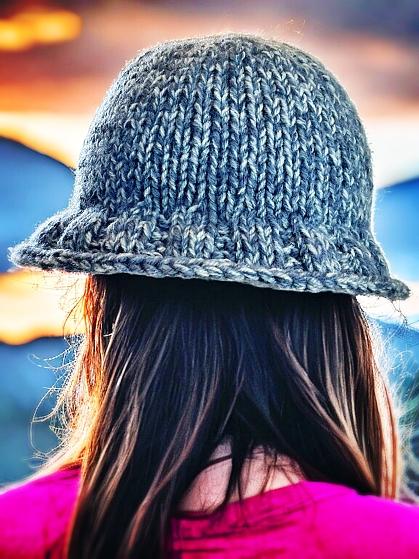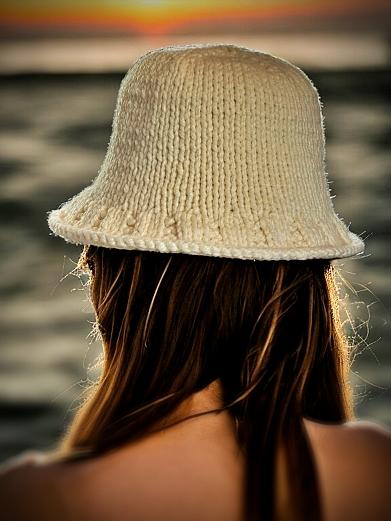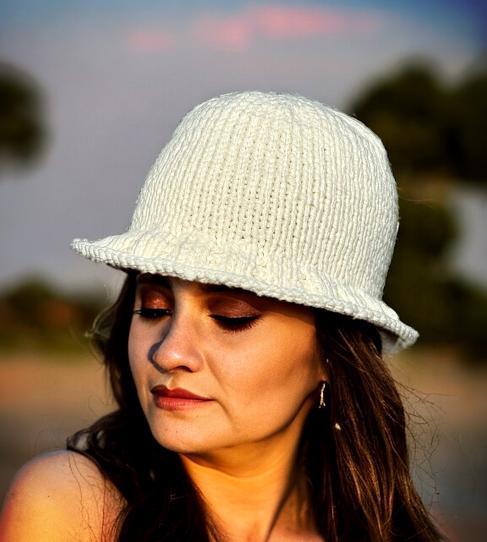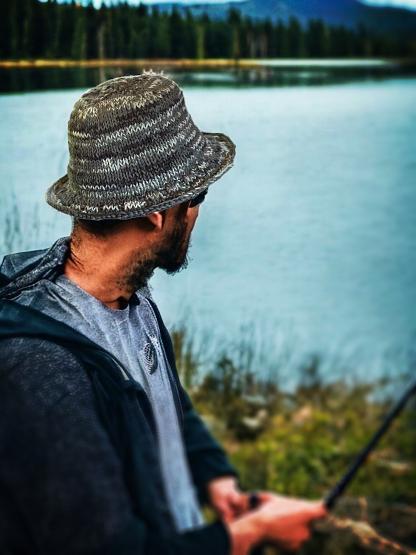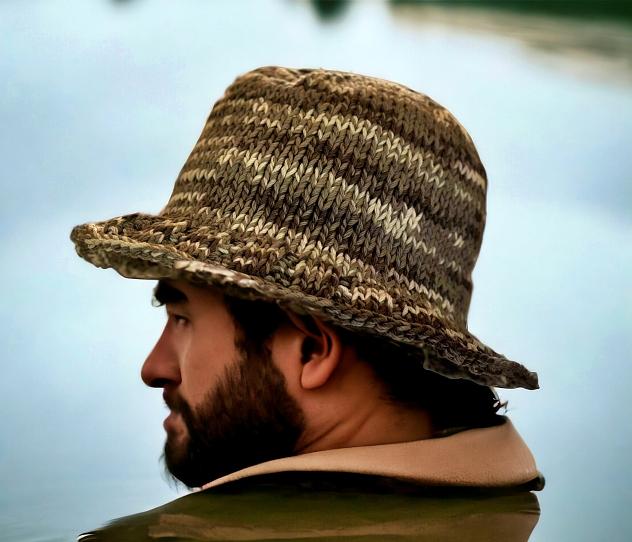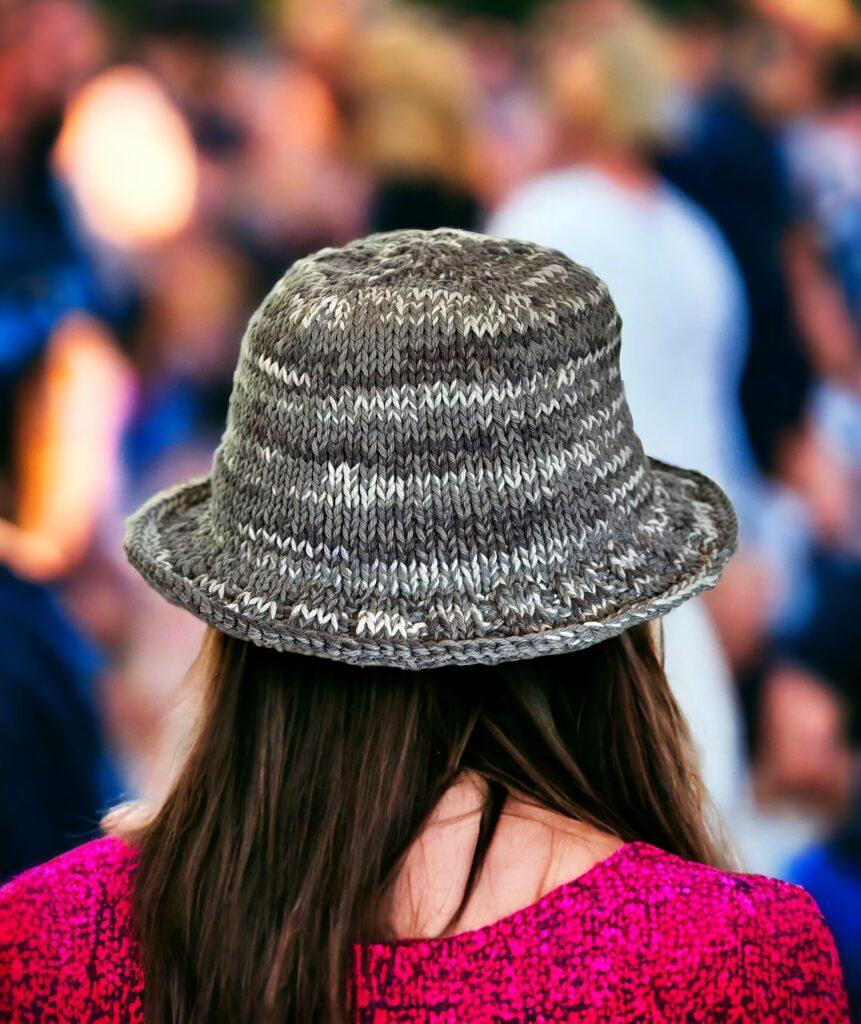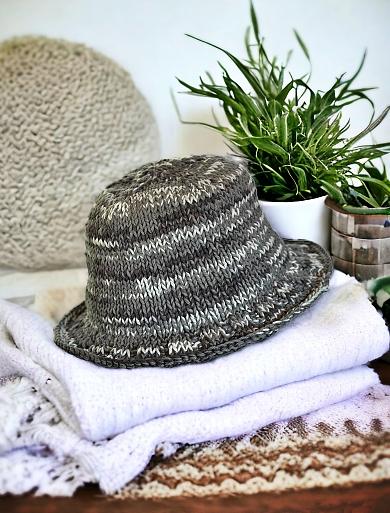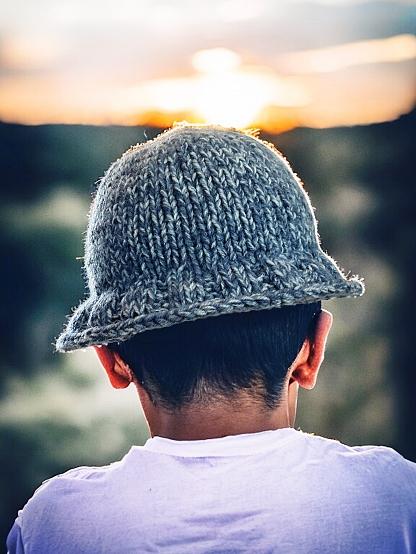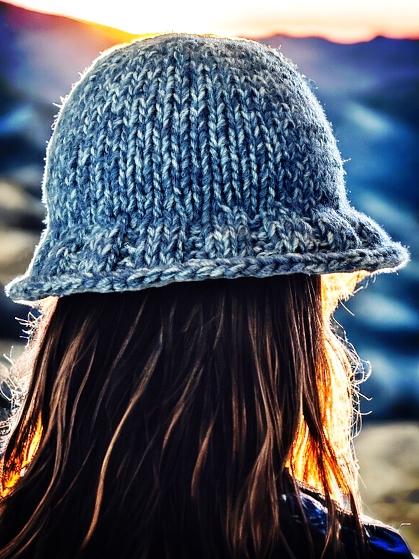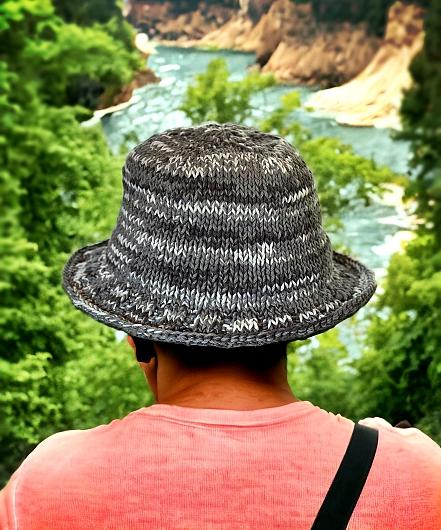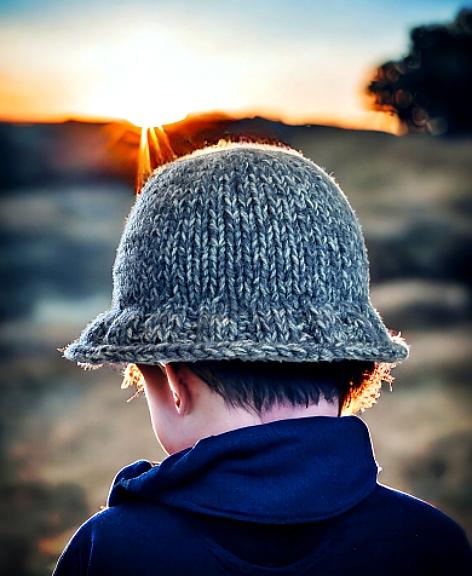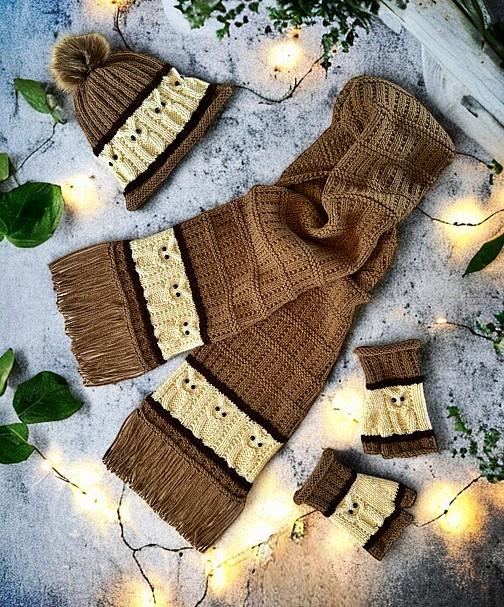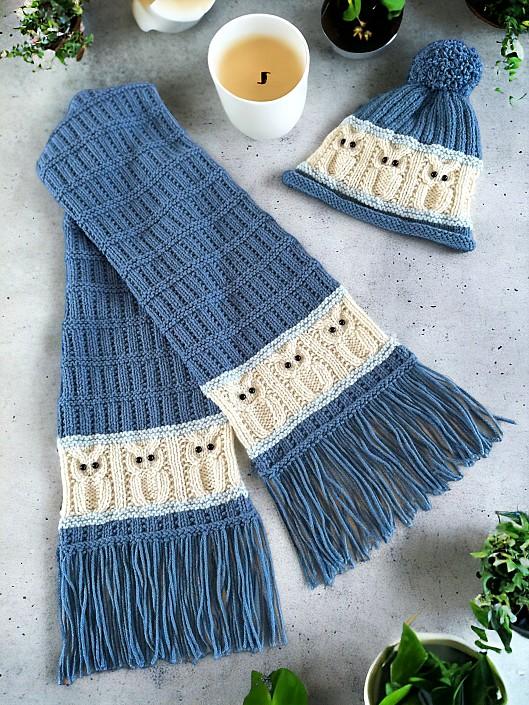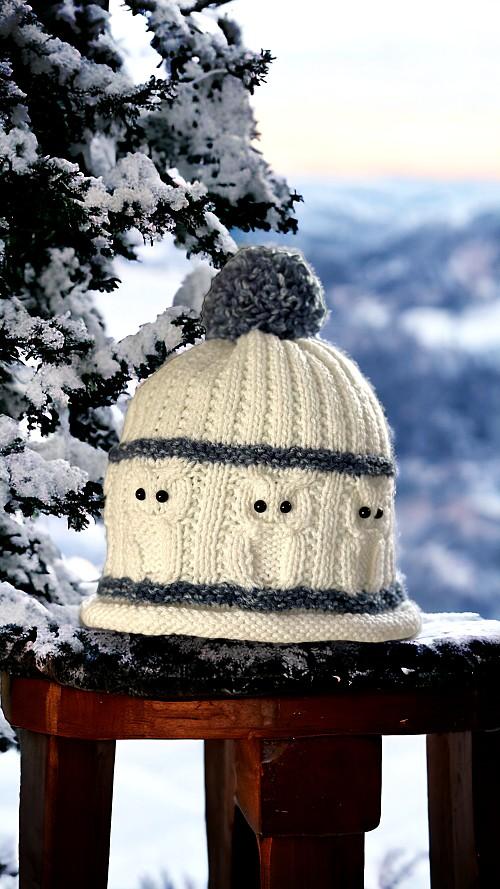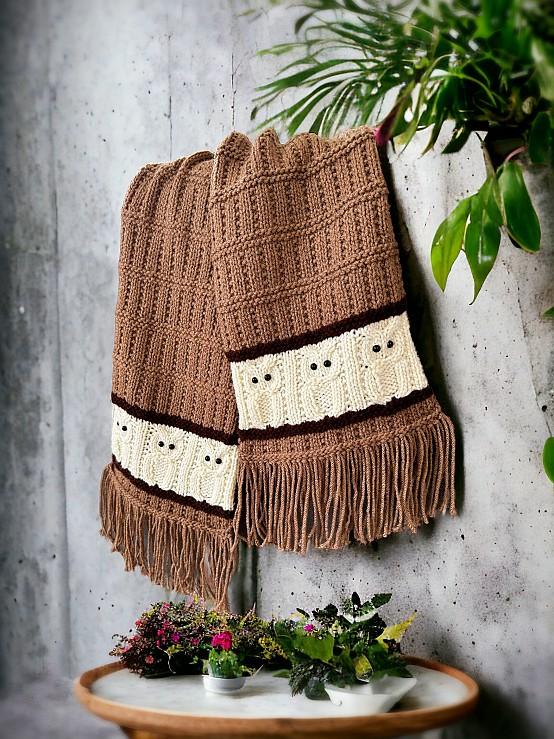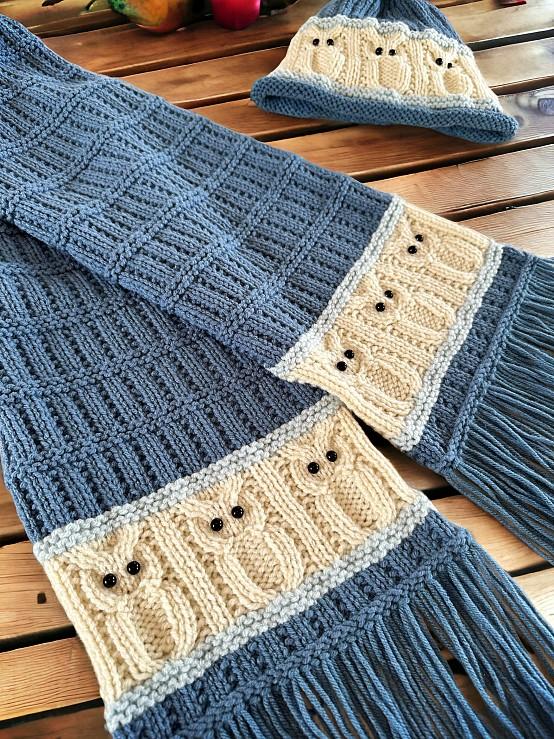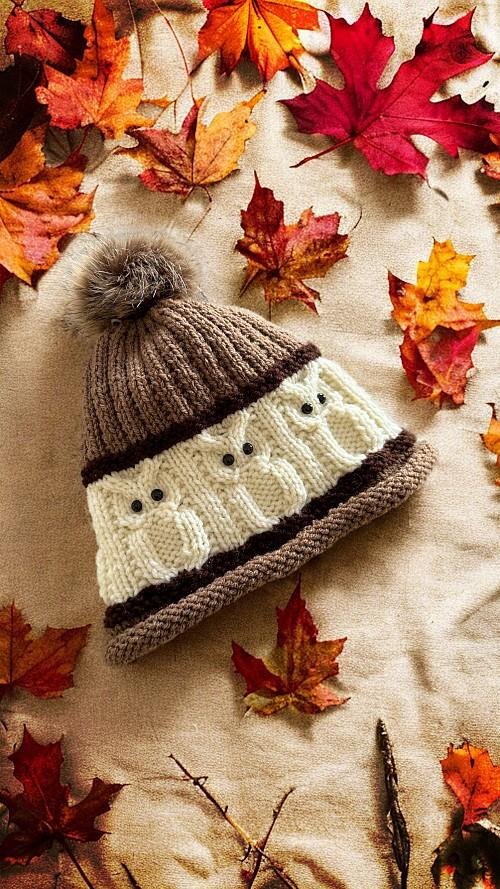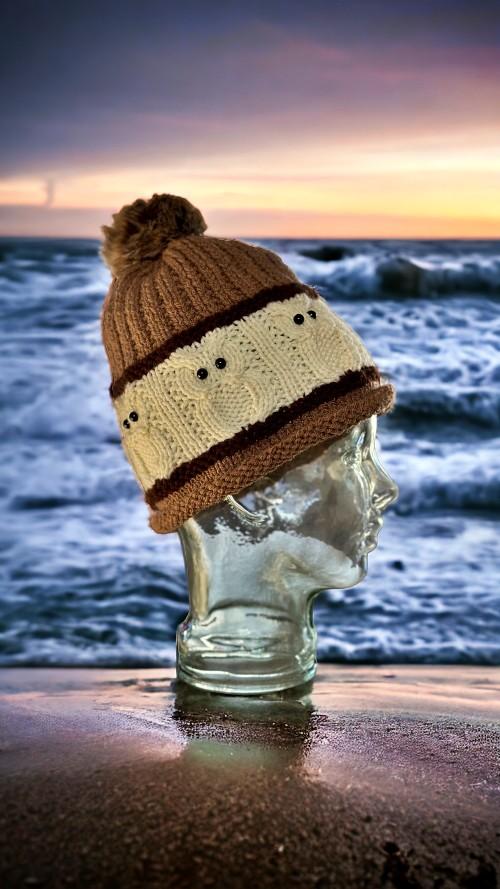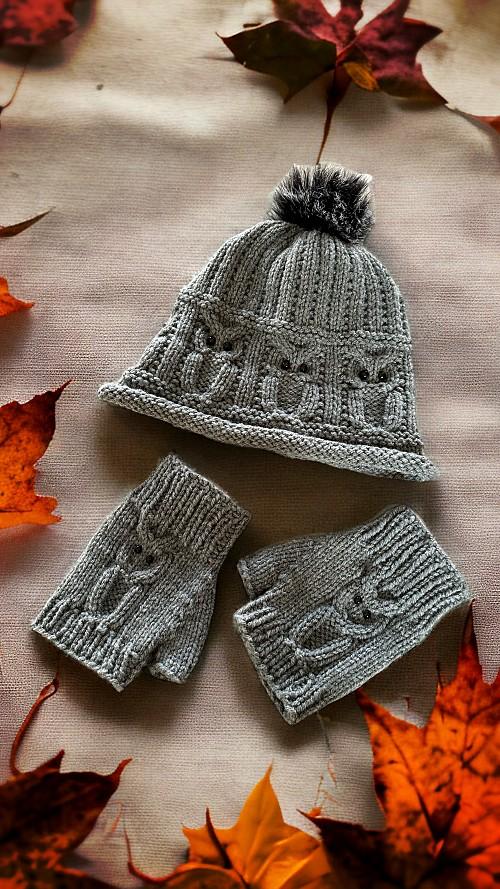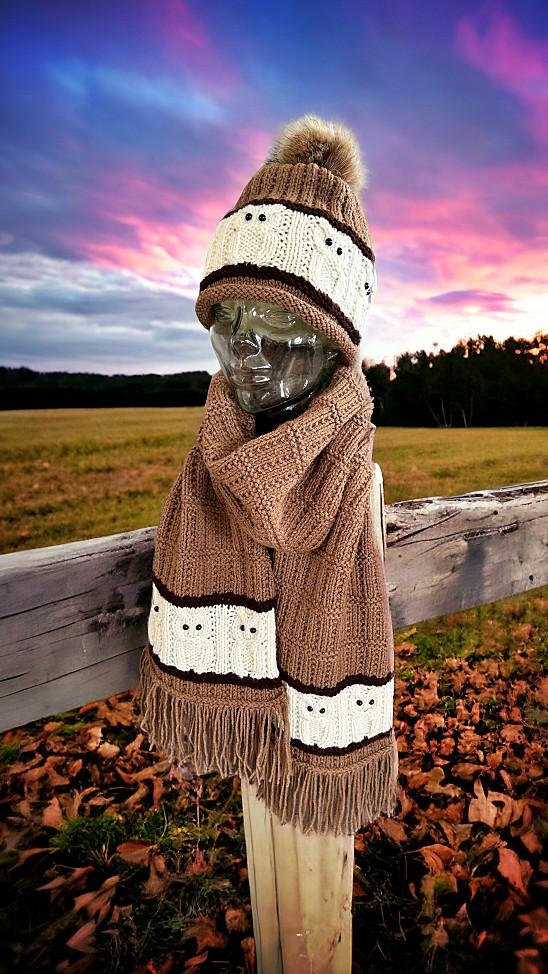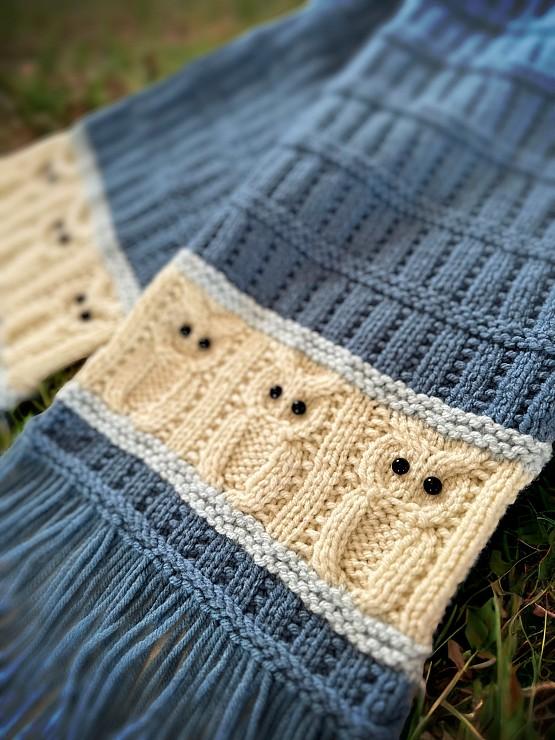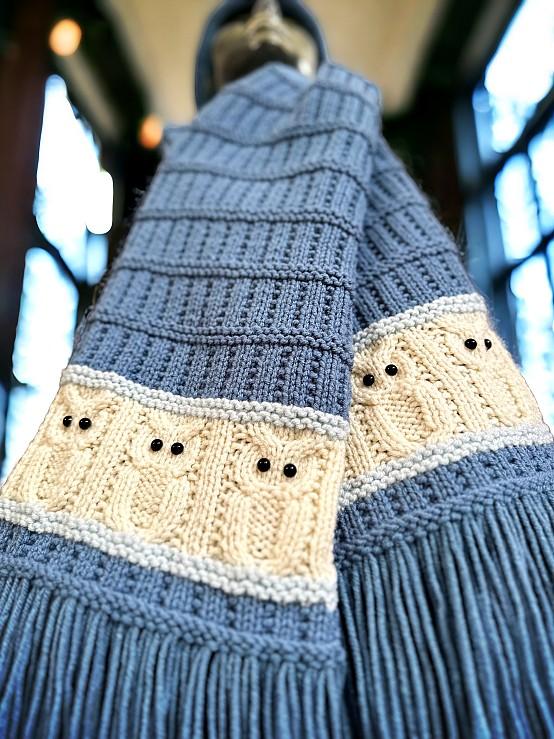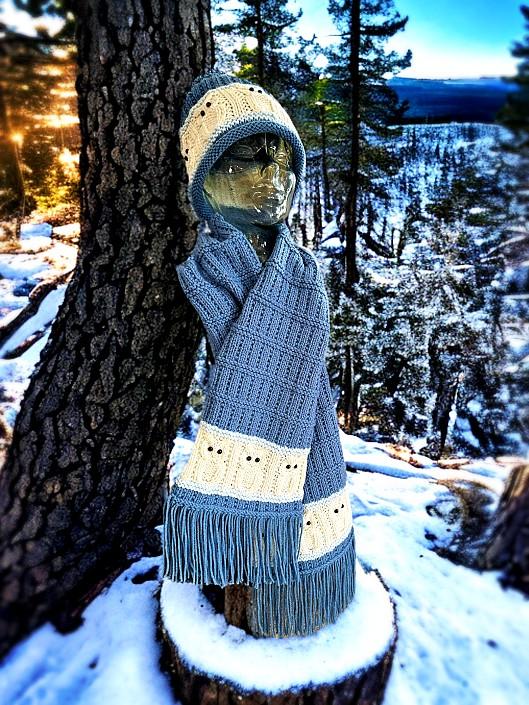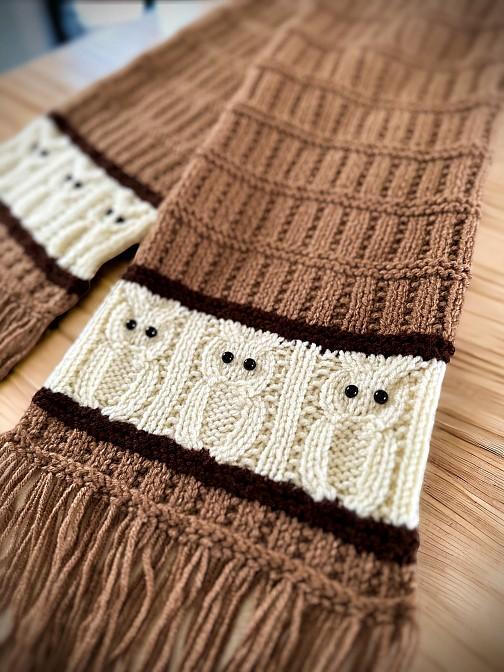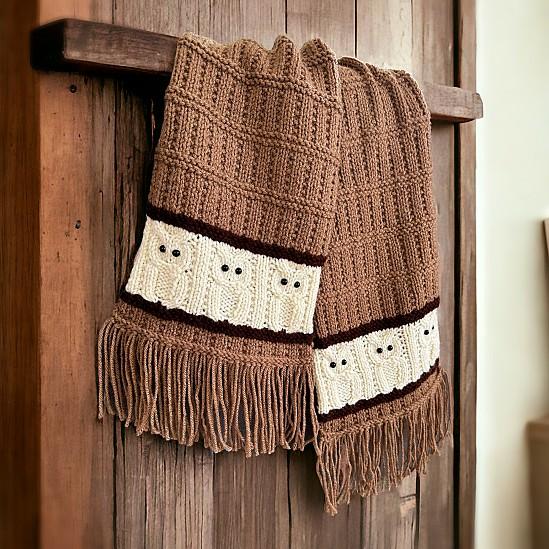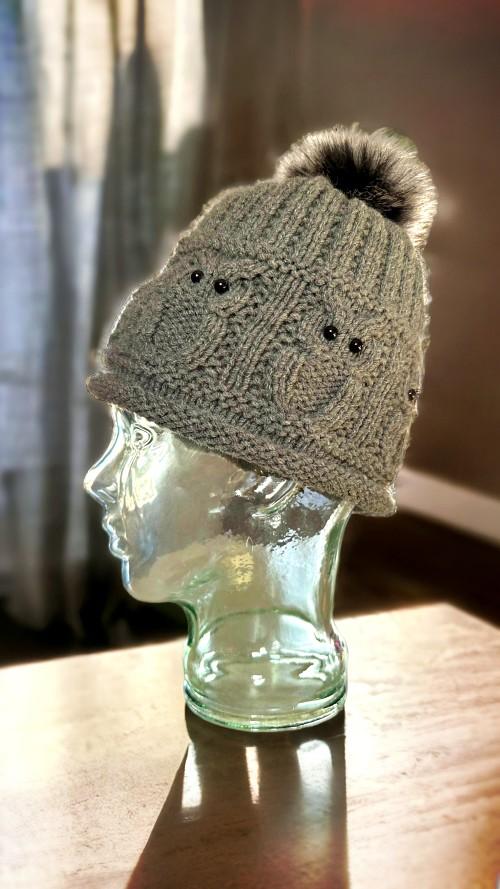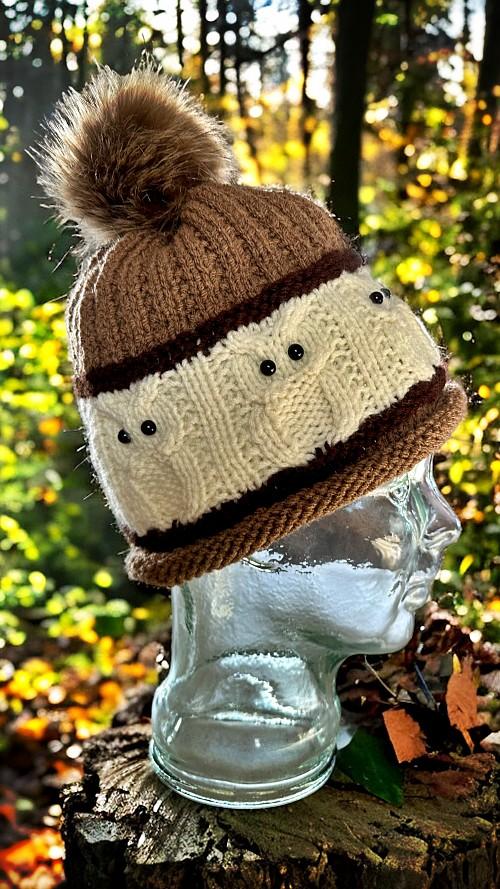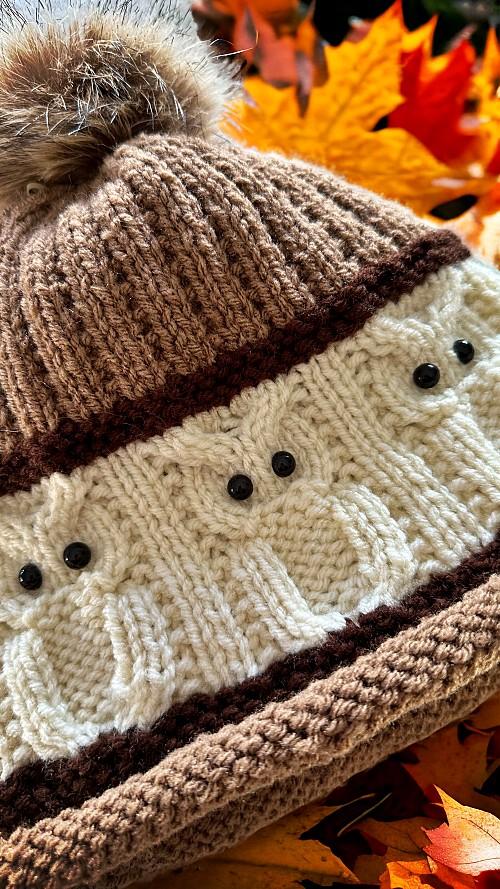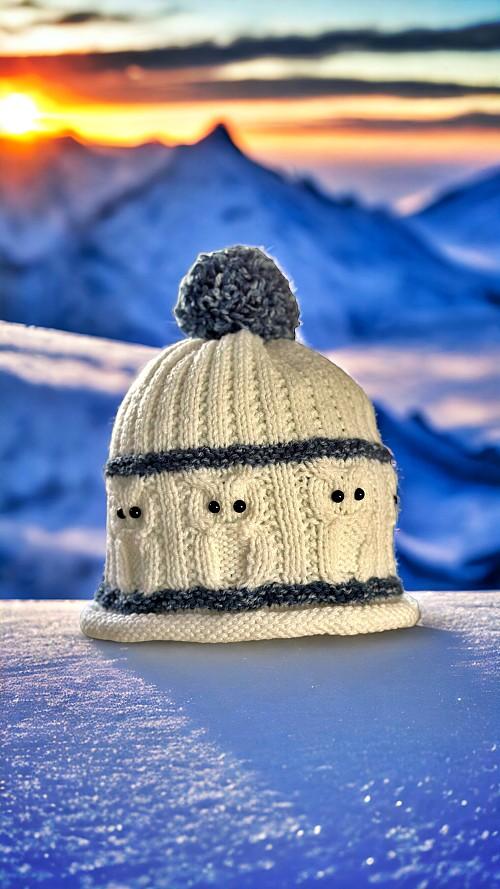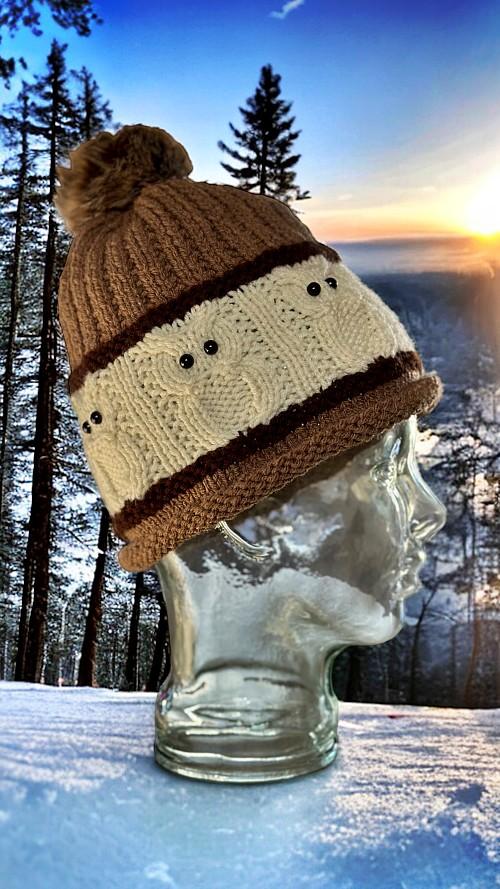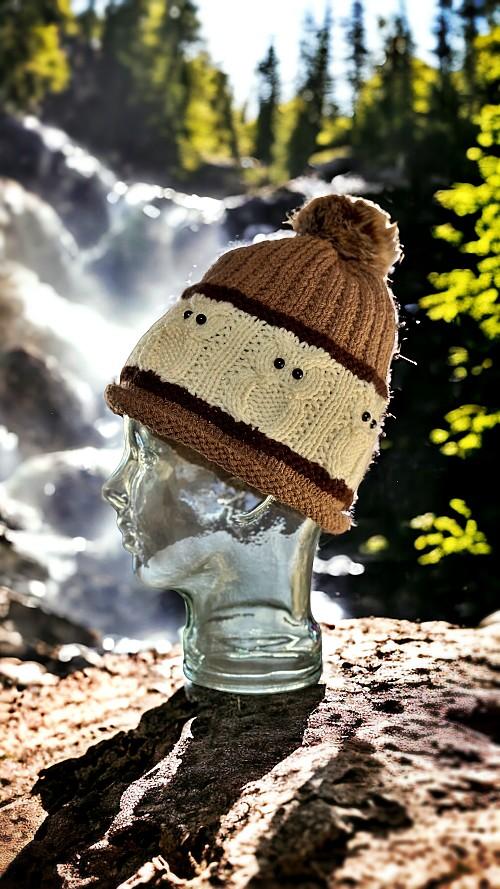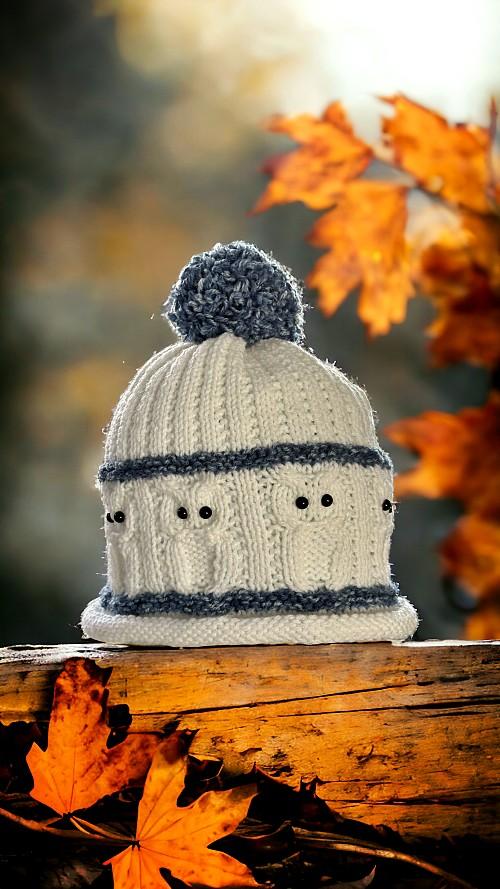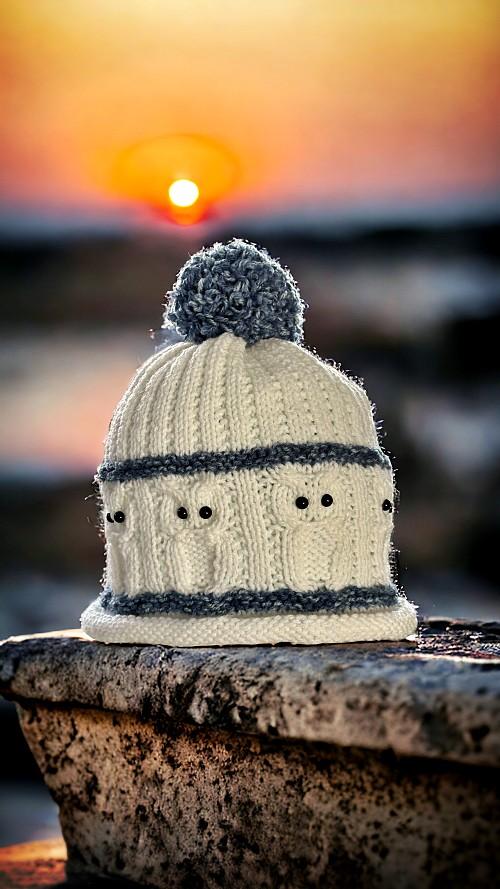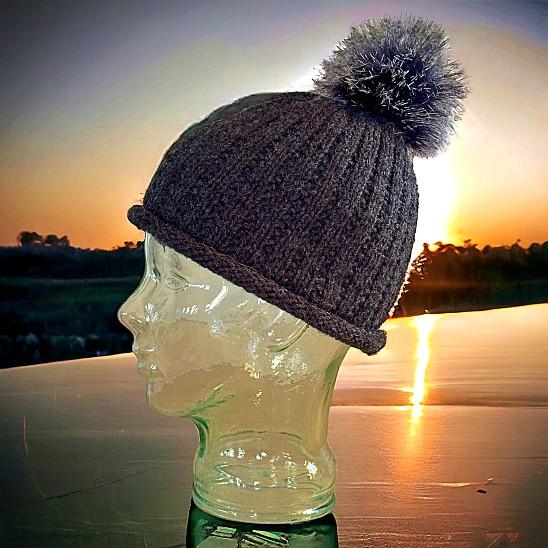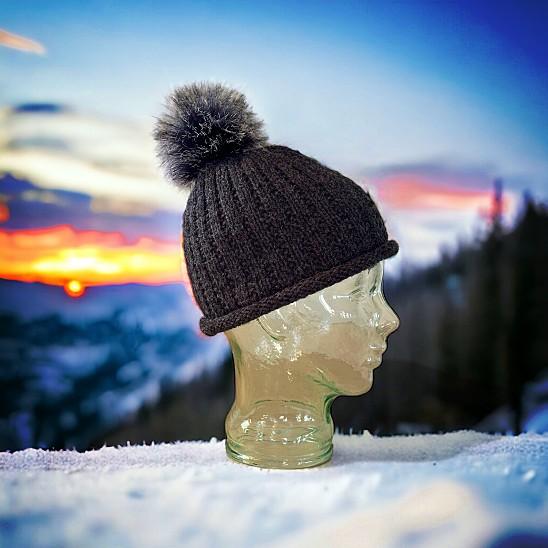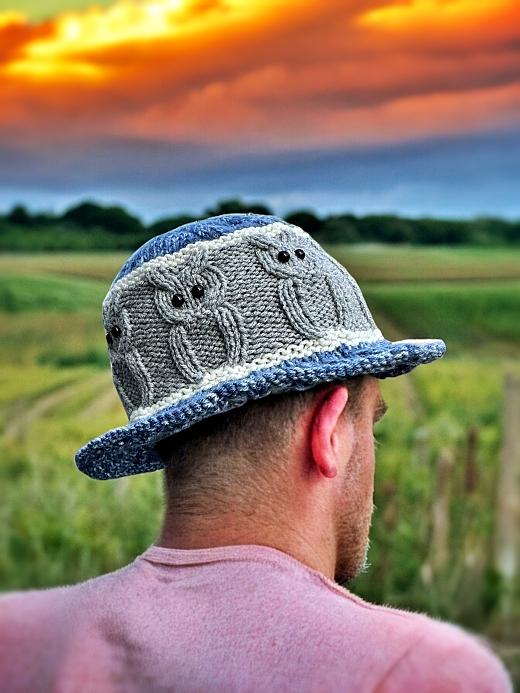
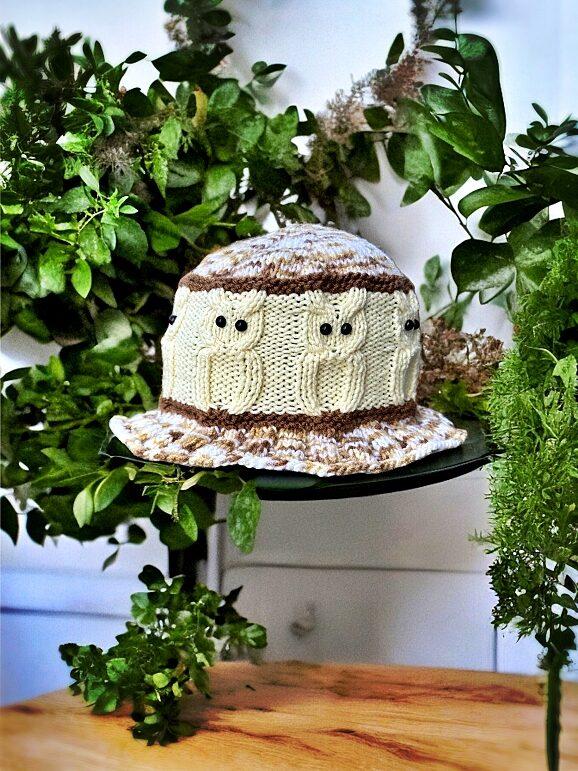
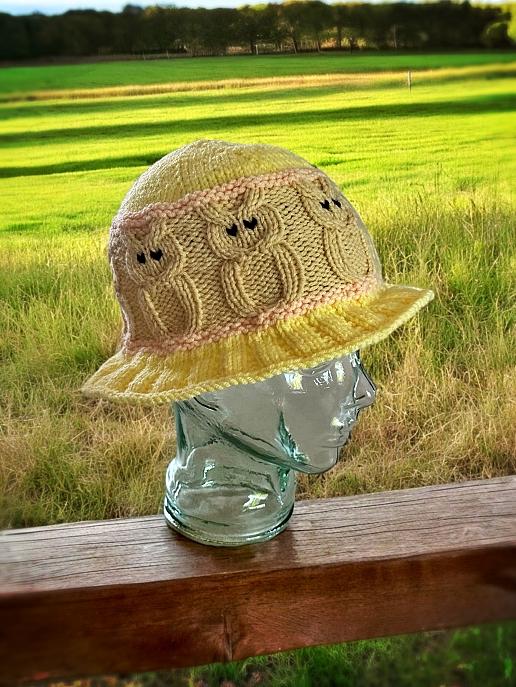
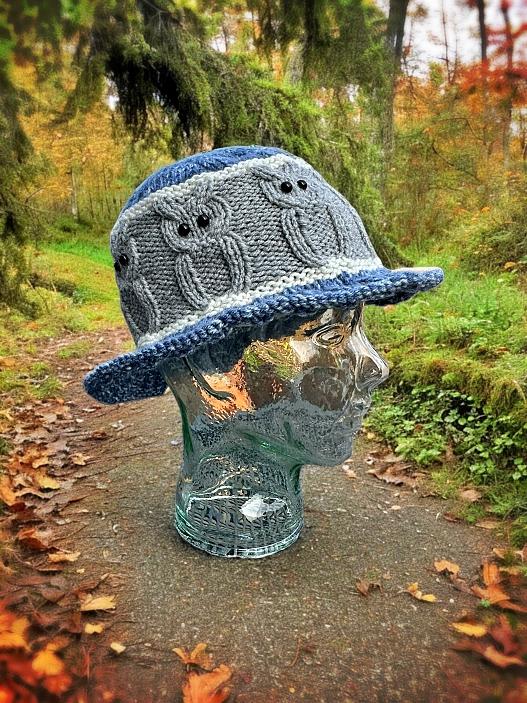
This is an old riff on a new design. As you may know, I have a thing for owls. I’m also starting to develop a thing for hats. In particular, bucket hats. I have a crochet version and a double thick knit version done thus far. With this hat, the owls can easily be replaceable with any design. And yes, I will be replacing it with various stitch patterns, colours and the like. I may even redesign it so it’s knit in the round on multiple needles so there’s no seam. If you would like that pattern, let me know in the comments.
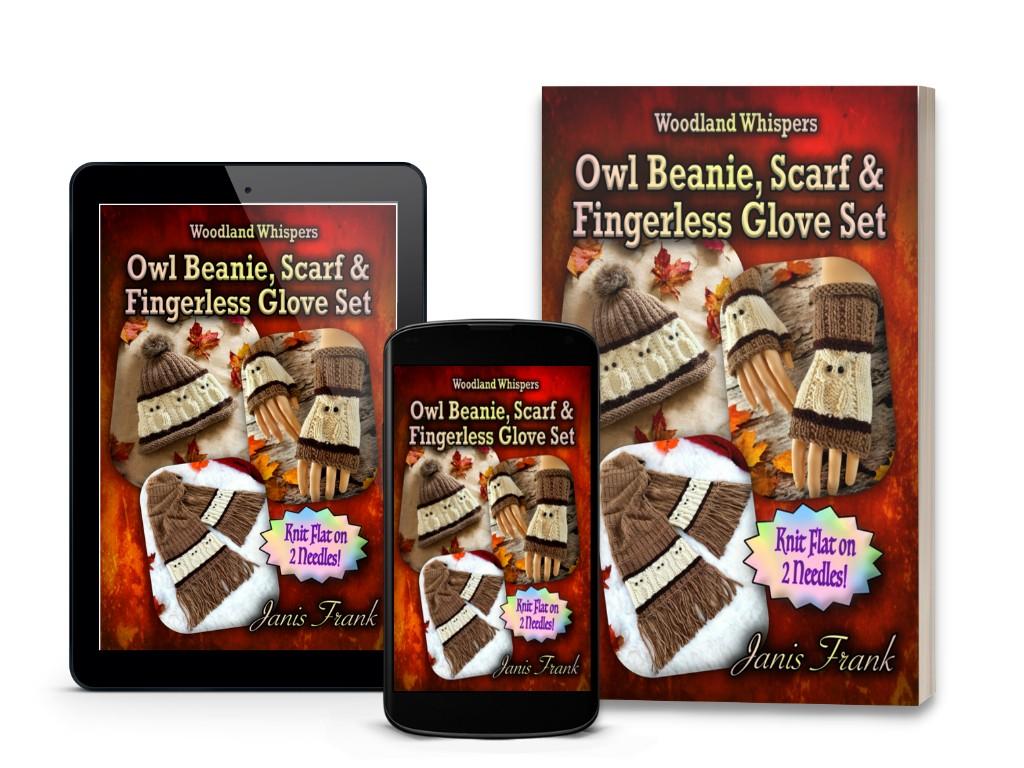
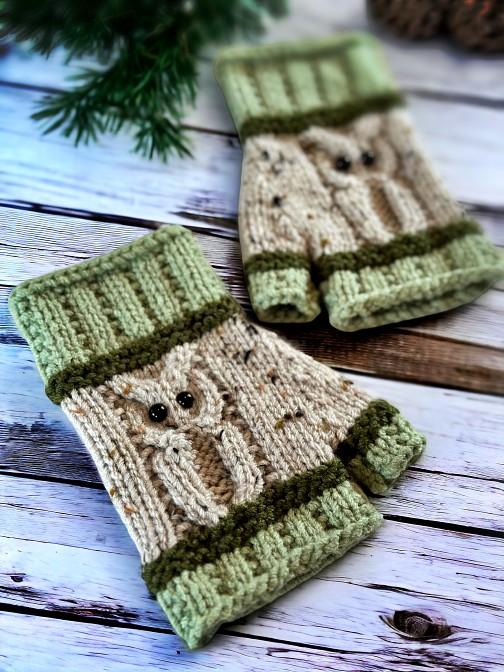
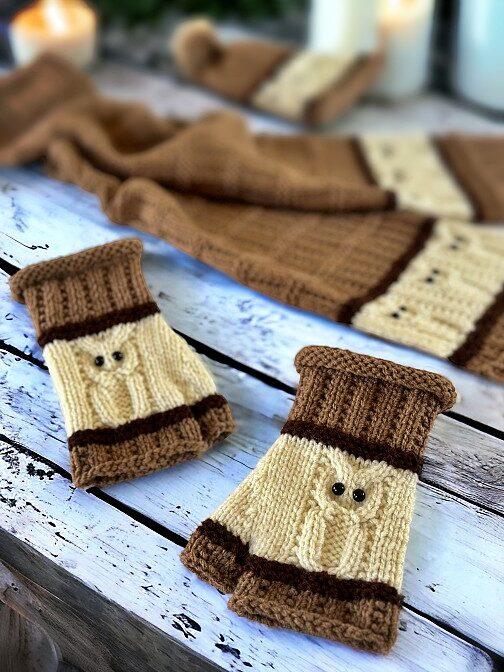
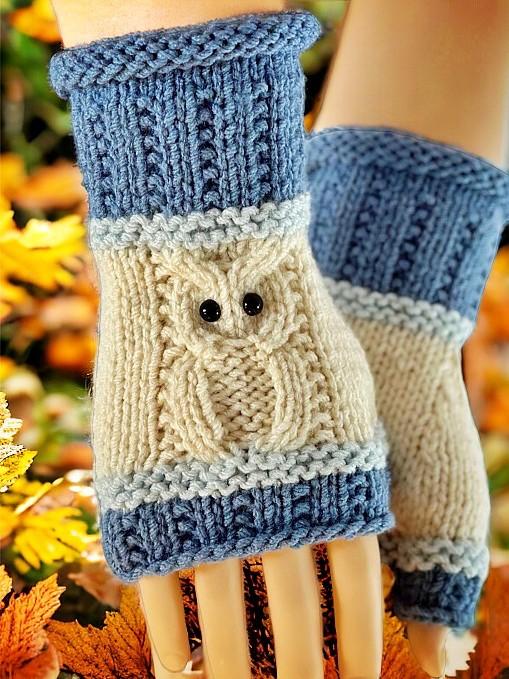
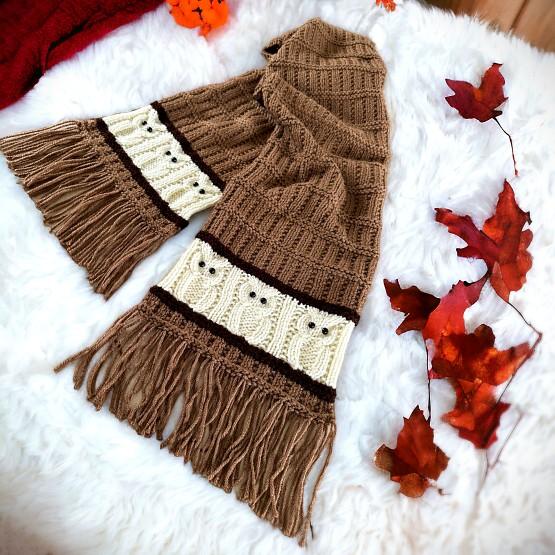
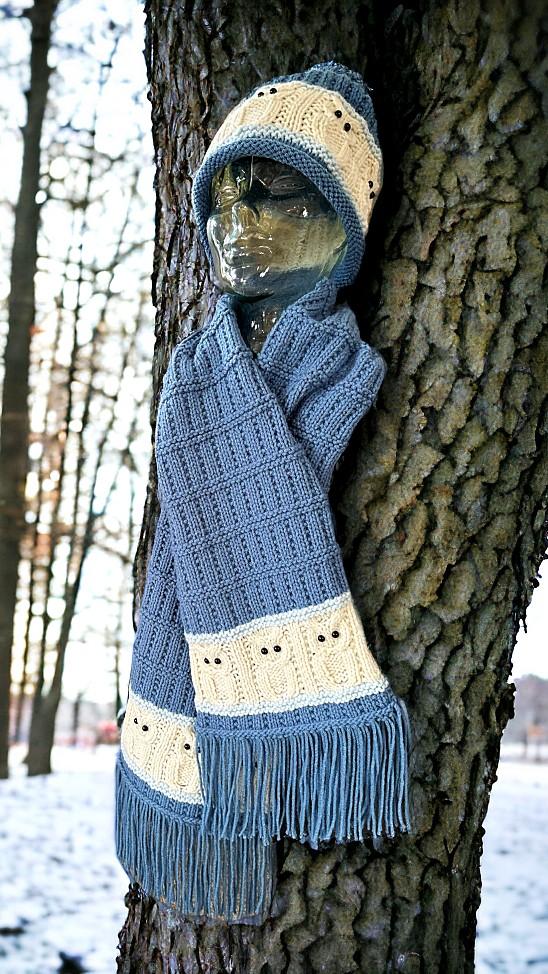
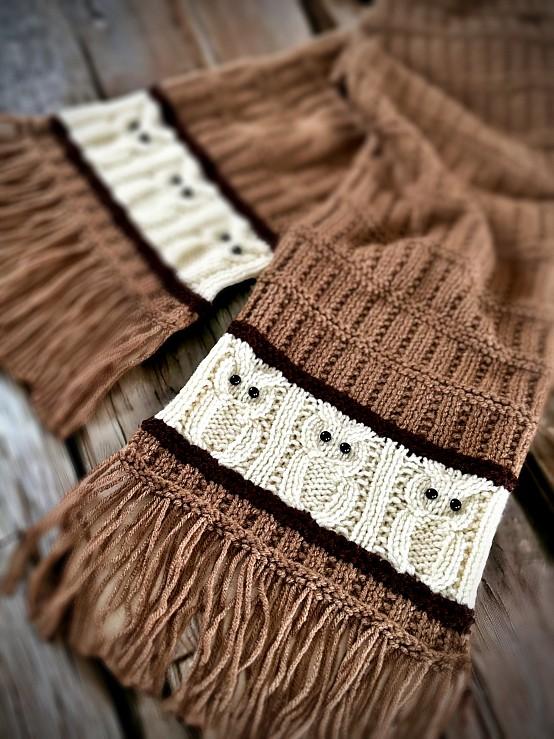
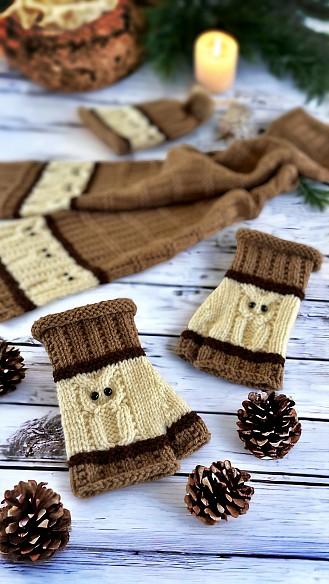
Unlike my other plain knitted bucket hat, this one doesn’t require anything beyond a single pair of knitting needles and a cable needle. If you’ve made my other owl projects like the scarf, fingerless gloves and the beanie hat, then you’ll be able to make this up in no time.
If you are enjoying the free patterns, please consider helping out financially by going to my page Help Support My Work. If you’re not in the position to make a small donation, please help me out by sharing this pattern with anyone you think may enjoy it. I’ve include these handy buttons to make it super easy. All you have to do is click!
Another option, become a member on this site. It’s not overly expensive, only $3 per month, and you can cancel at any time.
In the exclusive member area, I’ve listed all of my patterns by category and you can download them with a single click. No waiting for links through an email. Simply click the link, the pattern downloads, and depending on your computer or smart device settings, opens automatically. Easy peasy. Once you become a member, you can also read the pattern online without ads or pop-ups. Interested? Click the link below…
Things You Need
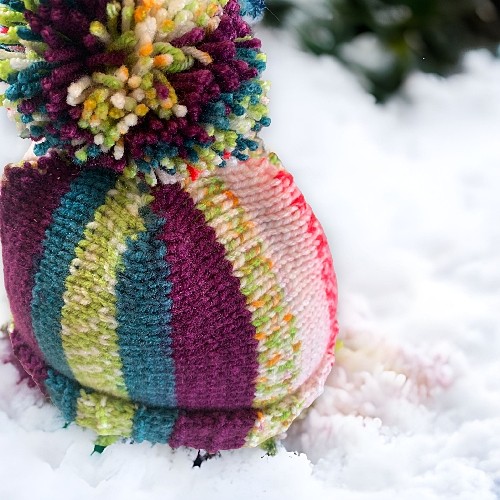
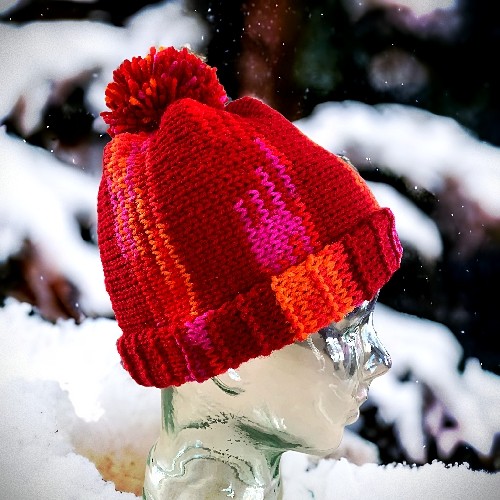
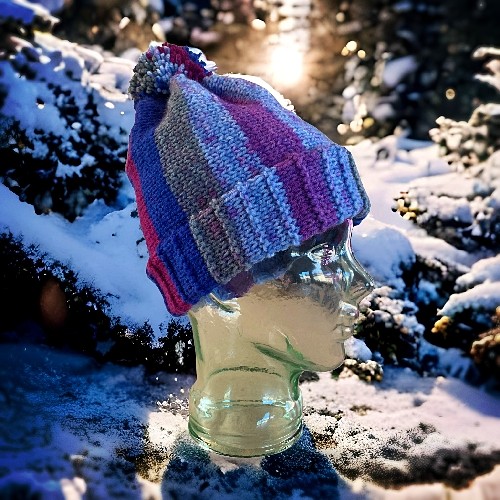
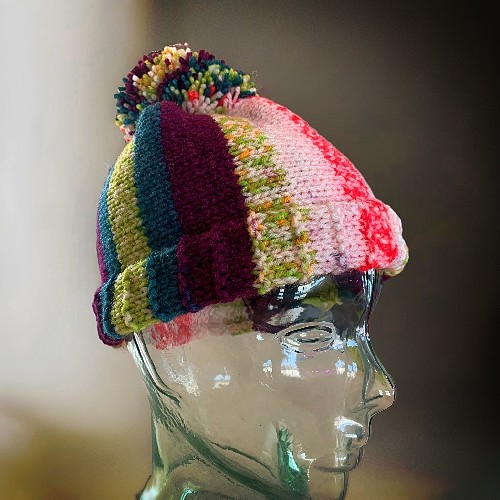
Worsted weight yarn (either complimentary colours or single colour)
4 mm (Size 6 US) single pointed knitting needles
Cable needle
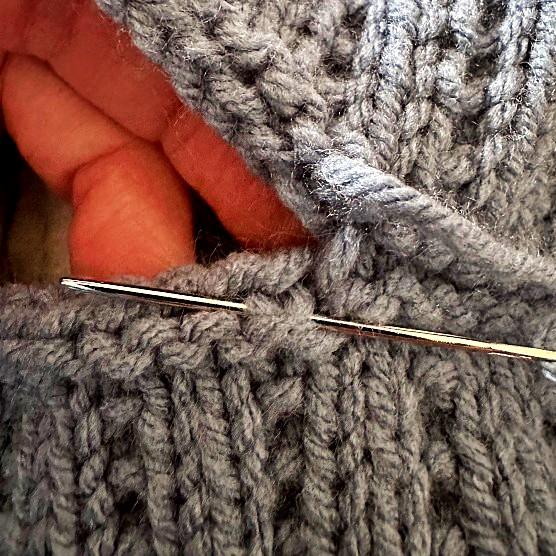
Tapestry needle to sew seams and work in ends
16 buttons or jewels for eyes
Gauge
In stockinette
10 sts = 2 inches (5 cm)
13 rows = 2 inches (5 cm)
Sizes are written as such:
S-M (L-XL)
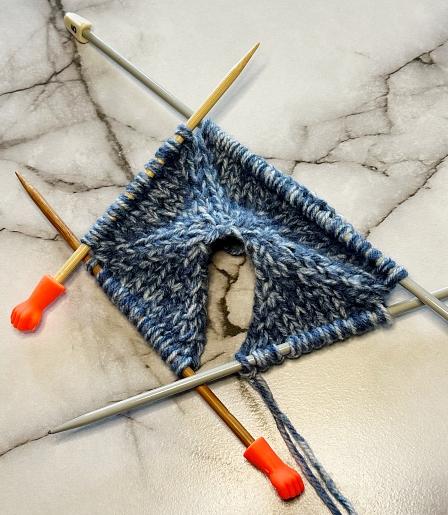
Top
With main colour
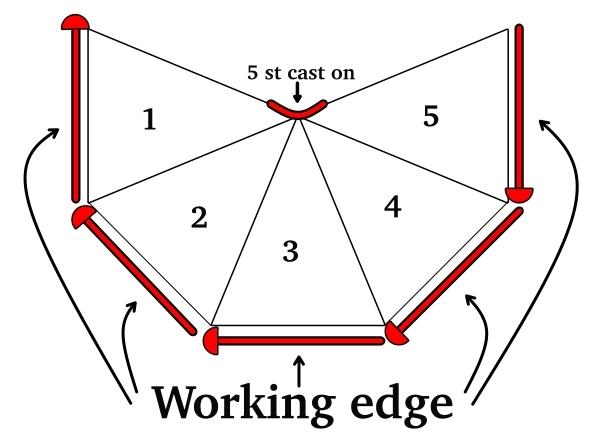
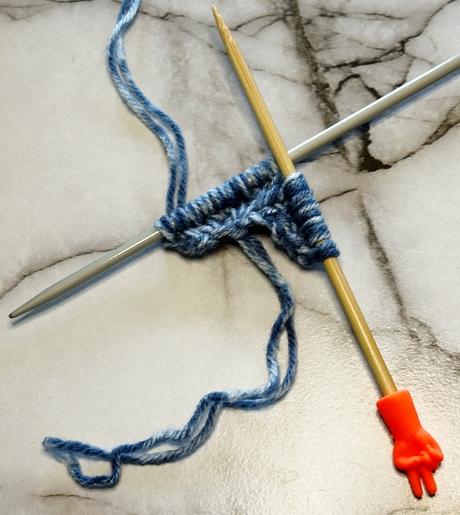
Cast on 5
Row 1: INC across (10 sts)
If there are any stitches that you don’t know how to make, please go to the Abbreviations section at the end of the pattern. I embedded the how-to YouTube videos for you to watch there. 😊
Row 2: P across (always P across for every even row, or WRONG side, until told otherwise directed in the instructions)
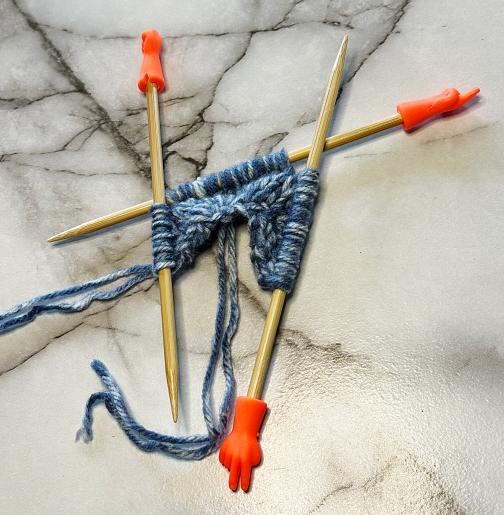
Row 3: *K1 M1 * Repeat from * to * until last 2 sts. K2 (18 sts)
Row 5: ♠ K2 M1 ♠ Repeat from ♠ to ♠ until last 2 sts. K2 (26 sts)
Row 7: ♦ K3 M1 ♦ Repeat from ♦ to ♦ until last 2 sts. K2 (34 sts)
Row 9: ♥ K4 M1 ♥ Repeat from ♥ to ♥ until last 2 sts. K2 (42 sts)
Row 11: ♪ K5 M1 ♪ Repeat from ♪ to ♪ until last 2 sts. K2 (50 sts)
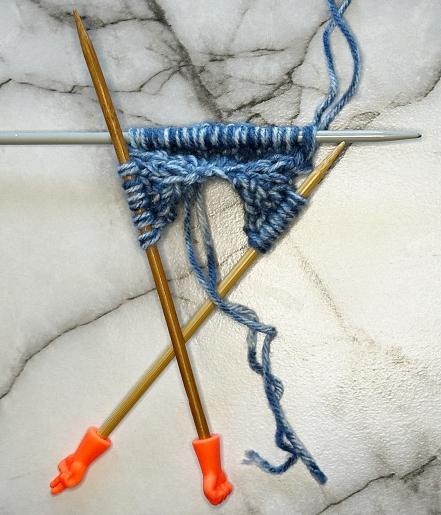
Row 13: ▲ K6 M1 ▲ Repeat from ▲ to ▲ until last 2 sts. K2 (58 sts)
Row 15: ☼ K7 M1 ☼ Repeat from ☼ to ☼ until last 2 sts. K2 (66 sts)
Row 17: ⌂ K8 M1 ⌂ Repeat from ⌂ to ⌂ until last 2 sts. K2 (74 sts)
Row 19: ∞ K9 M1 ∞ Repeat from ∞ to ∞ until last 2 sts. K2 (82 sts)
Row 21: ♣ K10 M1 ♣ Repeat from ♣ to ♣ until last 2 sts. K2 (90 sts)
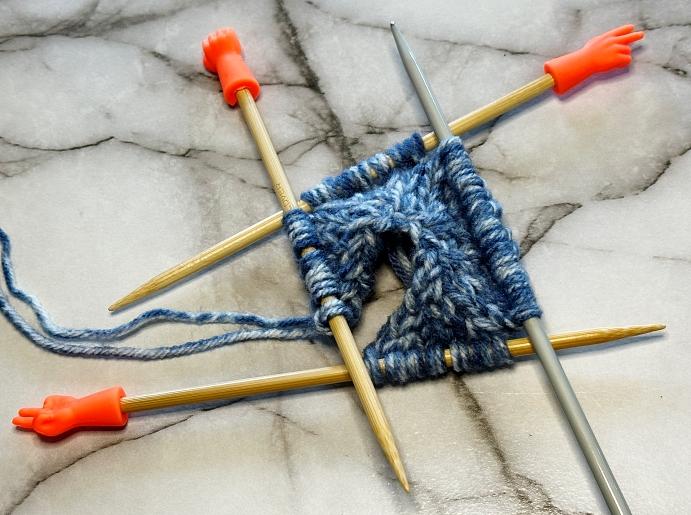
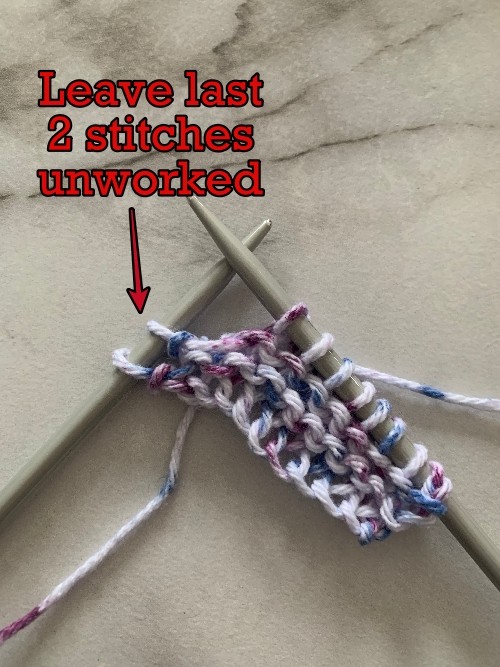
Stop here if making the sm/med size hat. Go to row marked with ■ and skip row 23 and 24.
Row 23: ◄ K11 M1 ◄ Repeat from ◄ to ◄ until last 2 sts. K2 (98 sts)
Owl Band
■ Change colour for top stripe.
Next 4 rows: K across.
Change colour for owls.
Next row (right side): K across.
Next row (wrong side): K1 * K2 P2 K4 P2 K1(2) * Repeat from * to * 7 times more. K1
Next row (right side): P1 ♠ P1(2) K2 P4 K2 P2 ♠ Repeat from ♠ to ♠ 7 times more. P1
Next row: K1 ɵ K2 P2 K4 P2 K1(2) ɵ Repeat from ɵ to ɵ 7 times more. K1
Next row (right side): P1 ɸ P1(2) C4F C4B P2 ɸ Repeat from ɸ to ɸ 7 times more. P1
Next row: K1 Ʊ K2 P8 K1(2) Ʊ Repeat from Ʊ to Ʊ 7 times more. K1
☺Next row (right side): P1 ¤ P1(2) K8 P2 ¤ Repeat from ¤ to ¤ 7 times more. P1
Next row: K1 ɚ K2 P8 K1(2) ɚ Repeat from ɚ to ɚ 7 times more. K1 ☺ Repeat from ☺ to ☺
2 times more.
Next row: P1 ☻ P1(2) C2F C2B P2 ☻ Repeat from ☻ to ☻ 7 times more. P1
Next row: K1 * K2 P2 K4 P2 K1 (2) * Repeat from * to * 7 times more. K1
◊ Next row (right side): P1 ♠ P1 (2) K2 P4 K2 P2 ♠ Repeat from ♠ to ♠ 7 times more. P1
Next row: K1 ȸ K2 P2 K4 P2 K1 (2) ȸ Repeat from ȸ to ȸ 7 times more. K1 ◊ Repeat from ◊ to ◊
4 times more.
Change colour for bottom stripe.
Next row: K1 ∆ K1(2) C4F C4B K2 ∆ Repeat from ∆ to ∆ 7 times more. K1
Next 3 rows: K across
More of my stuff on Etsy
You can make a widget like this for your blog or website, too.
Instructions are on my website here: How to Display Etsy Items on Your Website
Brim
Change to main colour.
Next row: * K2 M1 K1* Repeat across. K0(2). (120 (162 sts)
۞ Next row: K0(2) ♥ P3 K1 ♥ Repeat from ♥ to ♥ across
Next row: K across
Next row: Repeat row marked with ۞
Next row: ♫ INC K3 ♫ Repeat from ♫ to ♫ across. K0(2). (150 (162 sts)
Next row: K0(2) ɷ P3 K2 ɷ Repeat from ɷ to ɷ across
§ Next row: K across
Next row: K0(2) ɷ P3 K2 ɷ Repeat from ɷ to ɷ across § Repeat from § to § 2 more times.
Cast off.
Hints and Tips
Unlike the other knit bucket hat I have, there is nothing overly tricky about this one. It knits flat on one set of needles making it much easier to make.
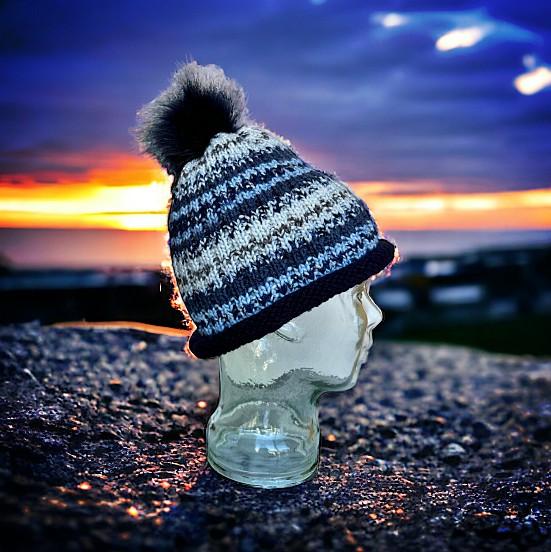
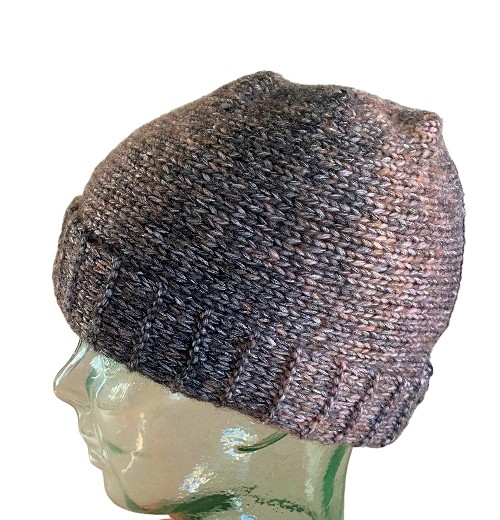
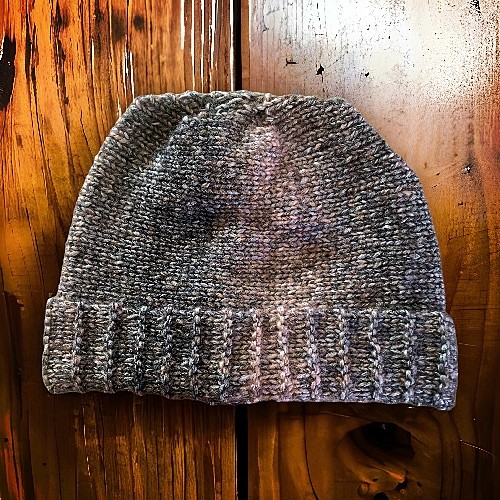
Blocking your final project is always up to you. Most things I make I never block. I did with the smaller version (yellow with the yarn eyes) so it would fit the mannequin head better. I cannot recommend a steamer enough! There are a variety on Amazon for fairly cheap. These use nothing but steam, and even when using acrylic yarn, it still holds its shape while relaxing the stitches and doesn’t squash the knitting like a standard iron will.
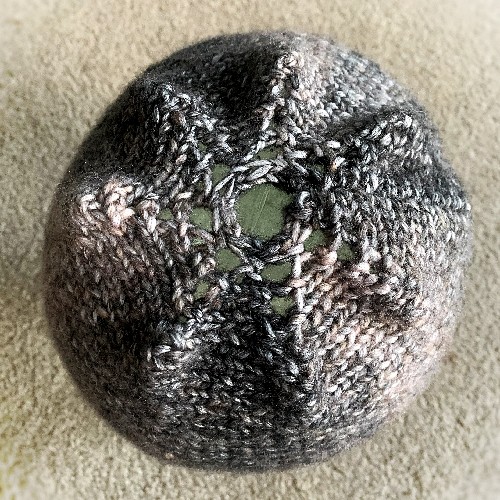
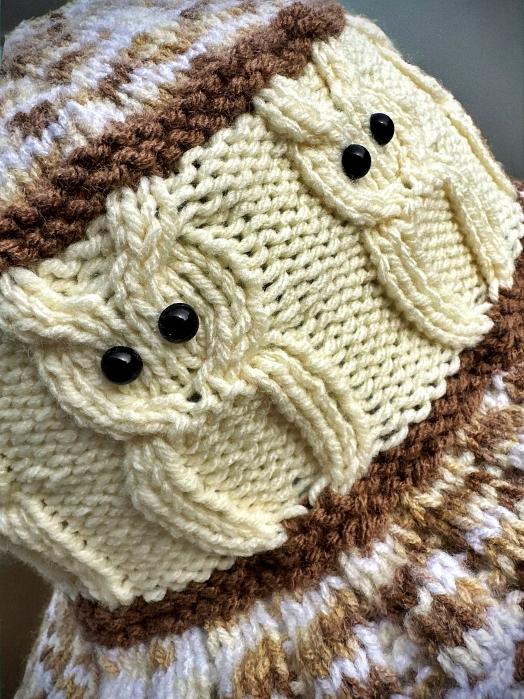
I also decided to try embroidering on the eyes for the owls. I’m also running out of the half cabochons for eyes so I kinda had to. Do I love it? I don’t hate it and prefer the half cabs but that’s just me. All I did was run a single strand of yarn behind the owls and embroider over the stitches in the eye position. You can see the yarn running behind a bit. If it was a lighter yarn behind a darker colour it would look better. I also left enough yarn between eyes to stretch with the hat. Make sure it’s not too tight if you do this!
Abbreviations
K – knit
P – purl
INC – Make 2 sts in one st. Knit in the front of the stitch and the back of the stitch Click this link to watch this video to see how.
M1 – Make one (knit wise). Increase one stitch between the stitches. Pick up the yarn between the stitches. Twist slightly. Place it on your non-working needle. Knit the stitch. Click this link to watch this video to see how.
Side note: I use both versions of the terminology when it comes to cable stitches. I’ve been corrected that I’m using the wrong one for both occasions so it’s a no win for me. What I mean is that C4F is the same technique as C2F. Just like how C2B is the same as C4B. Do you think of it as the just the stitches you’re pulling or the number of stitches you’re using in total when you do it? It’s a personal choice, I guess.
C4F – Pick up the next 2 stitches with your cable needle. Pull the stitches to the FRONT of your work. Knit the next 2 stitches on your non-working needle. Knit the 2 stitches from the cable needle. Watch this video to see how.
C4B – Pick up the next 2 stitches with your cable needle. Pull the stitches to the BACK of your work. Knit the next 2 stitches on your non-working needle. Knit the 2 stitches from the cable needle. Watch this video to see how.